Gallery
About Project
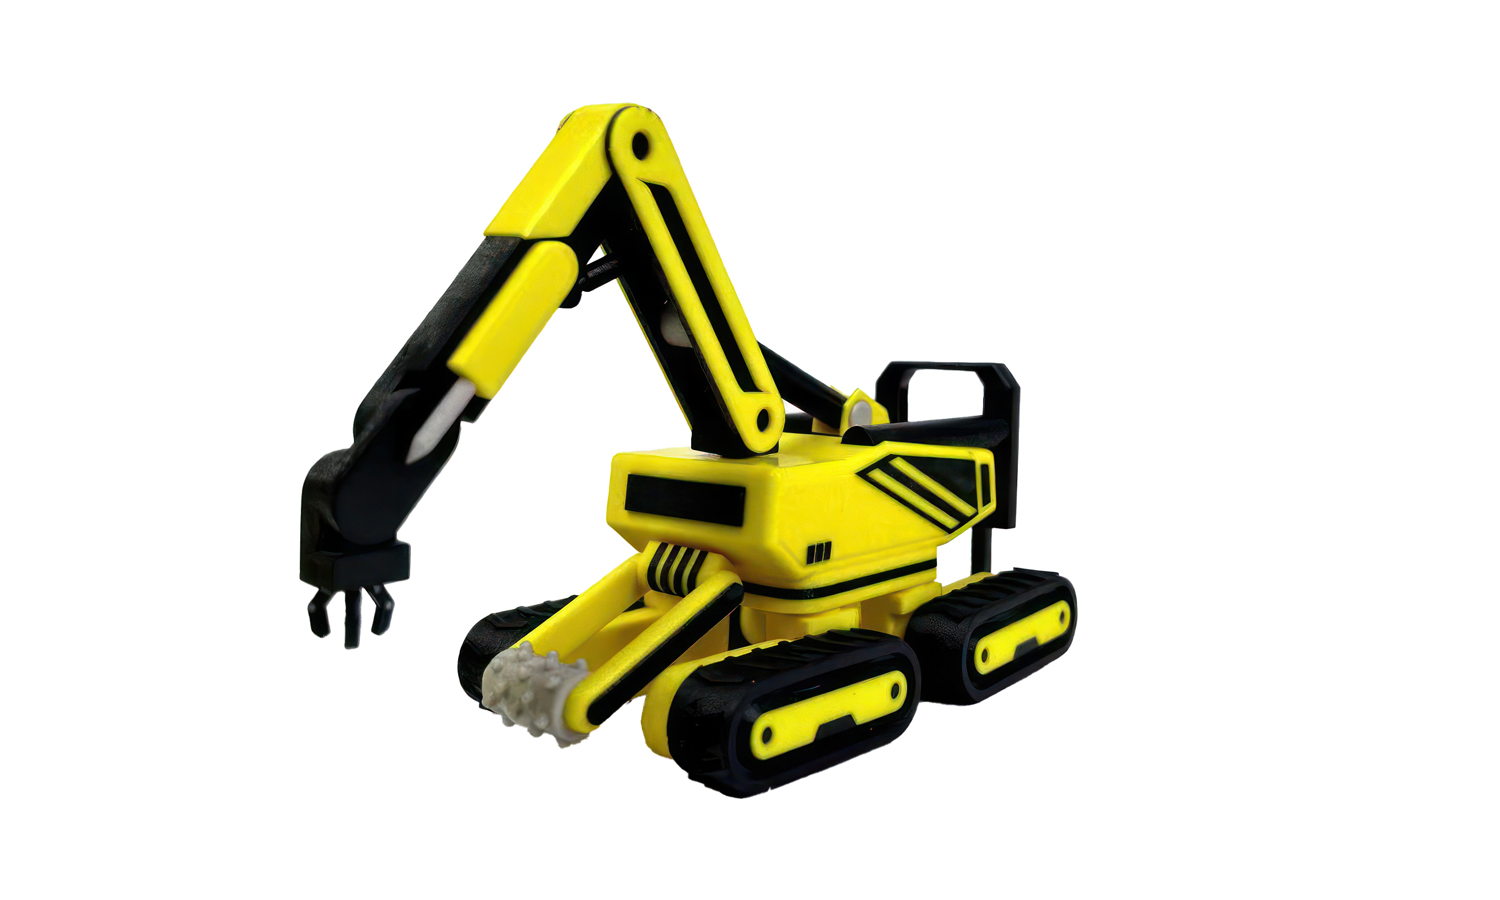
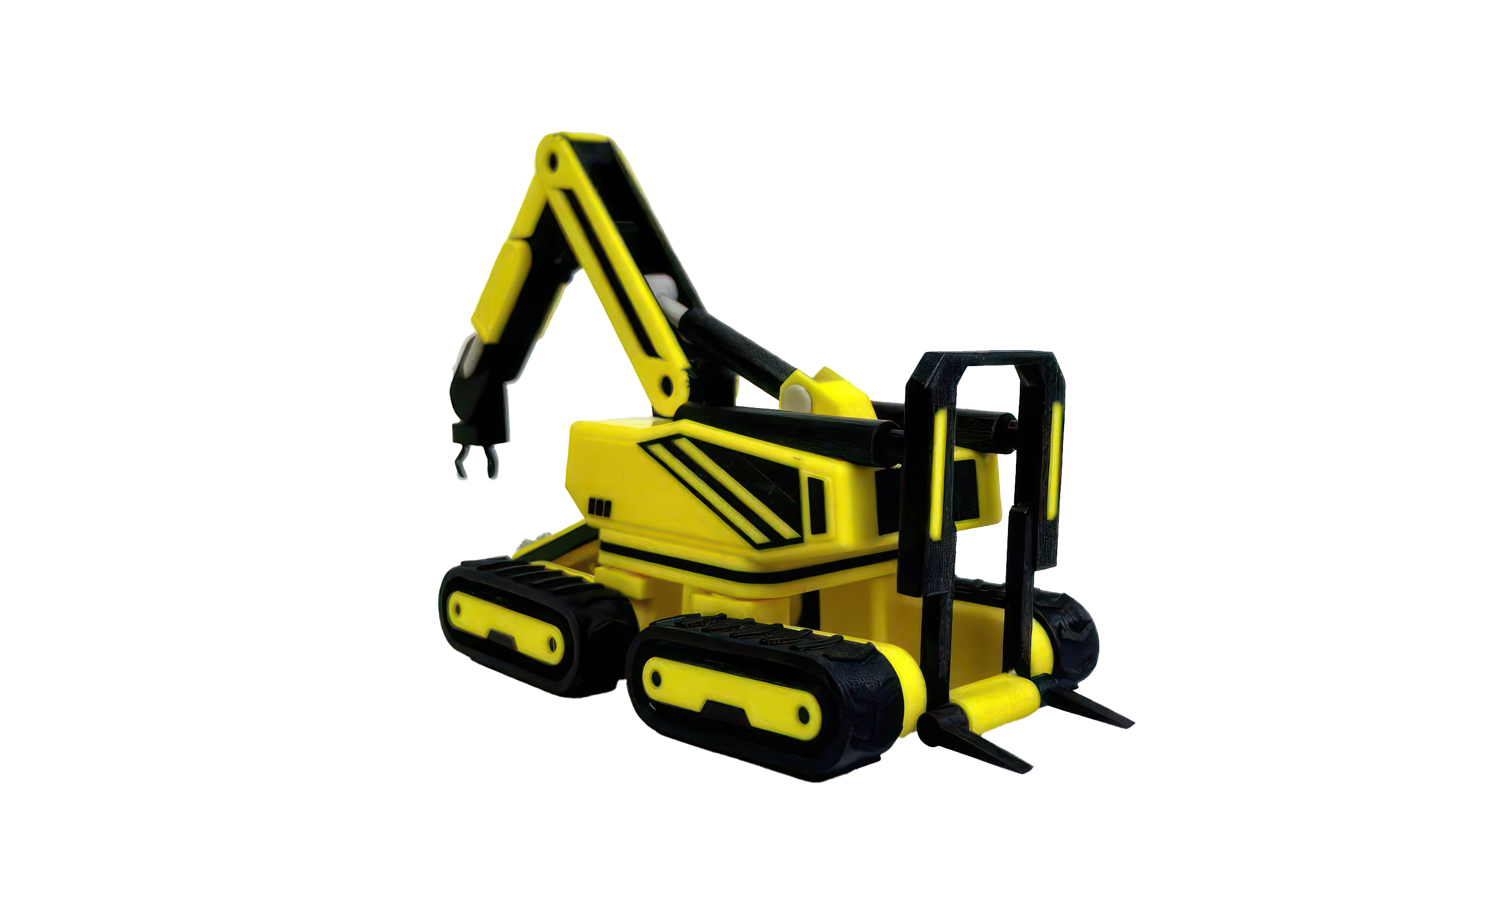
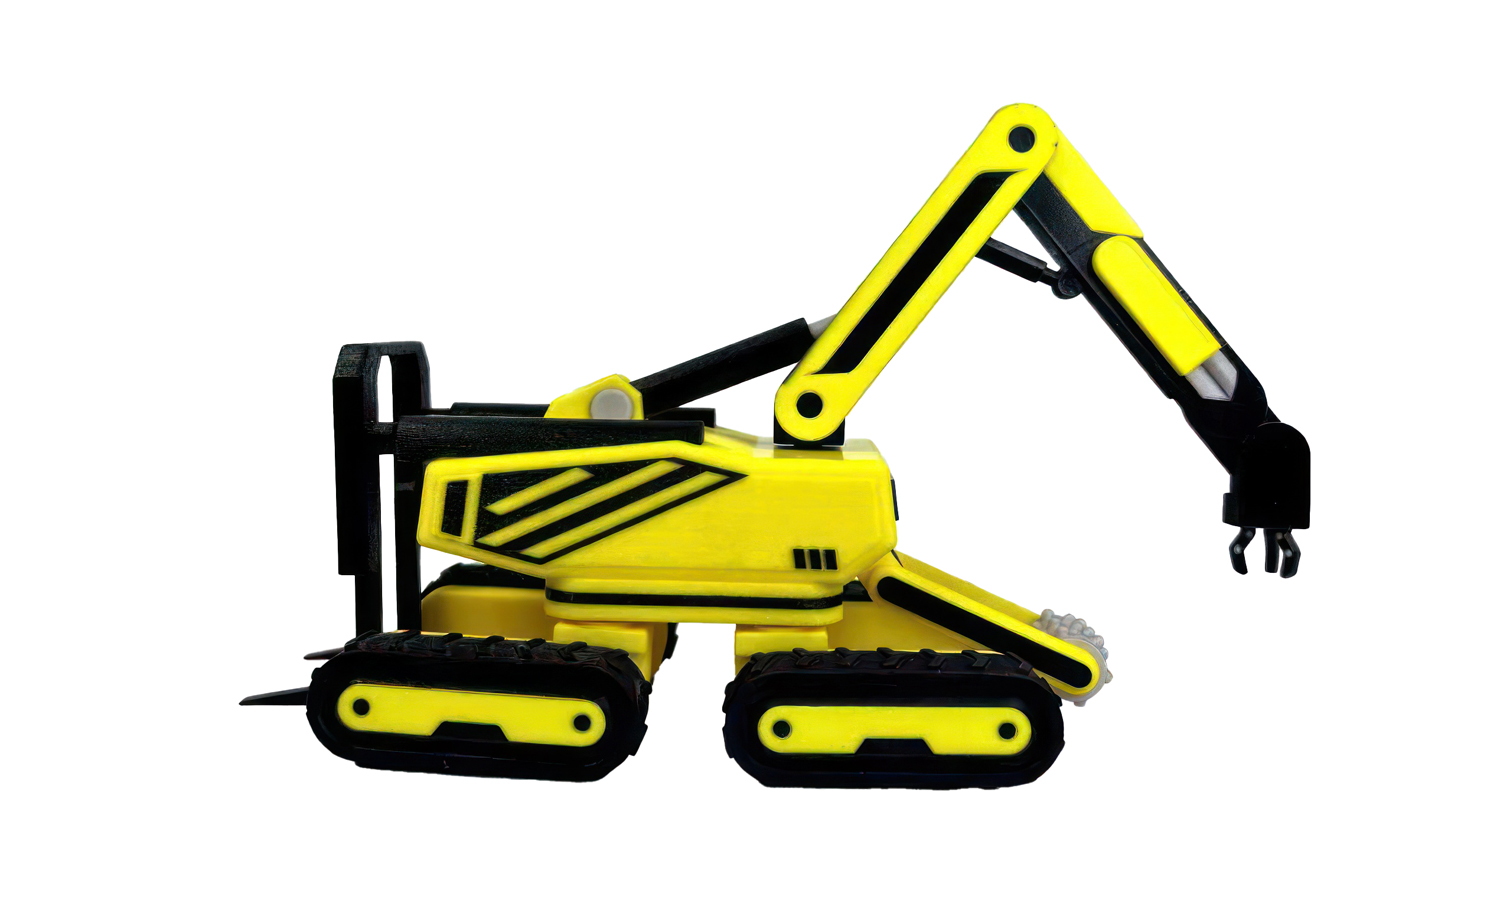
Construction machines have a very satisfying kind of charm: bold colors, exposed mechanisms, long arms, tracks, joints, and small functional details all working together in one compact form. This FDM 3D printed yellow excavator model captures that appeal with a bright yellow body, black crawler tracks, a raised boom arm, rear attachments, fork-like front parts, and small mechanical details that make it feel like a miniature engineering toy.
Judging from the finished model, it was likely not produced as a single dual-color print. Instead, the yellow and black sections appear to have been printed as separate FDM parts and assembled afterward. This workflow is common for models with multiple colors and mechanical features, because it allows each part to be printed in the correct filament color while keeping the visual contrast clean. It also means the design must be controlled carefully: holes, pins, arms, tracks, panels, and connection points all need enough accuracy to fit together properly.
For prototypes like this, FDM 3D printing offers a practical balance between cost, strength, size, and easy post-processing. Minor fitting issues can often be improved through sanding, trimming, drilling, or manual adjustment before final assembly. If you need construction vehicle models, mechanical display prototypes, educational models, or functional toy samples, contact FacFox, get an instant quote online, or email us for your projects.
Solution
- Step 1: The excavator model was reviewed and divided into printable components, including the main body, crawler tracks, boom arm, joints, panels, front forks, rear attachment, and small connection parts.
- Step 2: The yellow and black parts were arranged separately for FDM printing, so each visible section could be produced directly in the required filament color without painting.
- Step 3: The components were printed layer by layer with FDM technology, where thermoplastic filament was heated, extruded through a nozzle, and deposited along the toolpath to build each part.
- Step 4: After printing, support structures and small brim or edge residues were removed, and visible surfaces, holes, pins, and fitting areas were trimmed or lightly sanded.
- Step 5: The printed parts were test-fitted, and minor tolerance issues were adjusted manually so the arm, tracks, panels, and attachment points could be assembled more smoothly.
- Step 6: The yellow and black components were assembled into the final excavator model, with attention paid to the alignment of the boom arm, crawler tracks, body panels, and small mechanical details.
- Step 7: The finished model was inspected from multiple angles to confirm the overall proportions, color contrast, structural fit, and display effect of the assembled FDM prototype.