Material Resin
Quantity 1 pcs
Price Range $1-100
Lead Time 4 workdays
Gallery
About Project
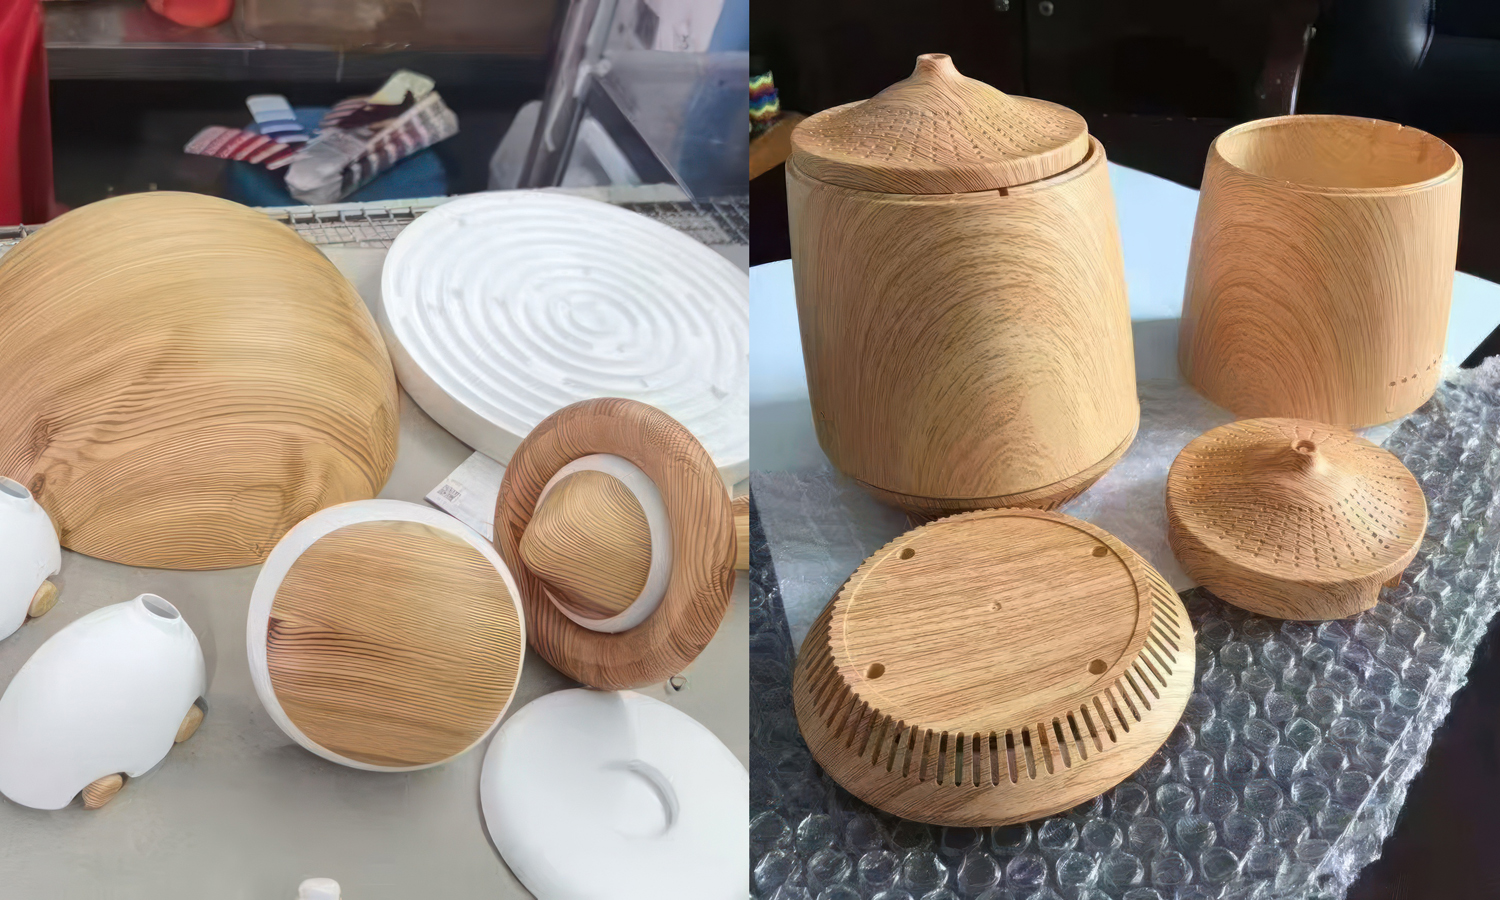
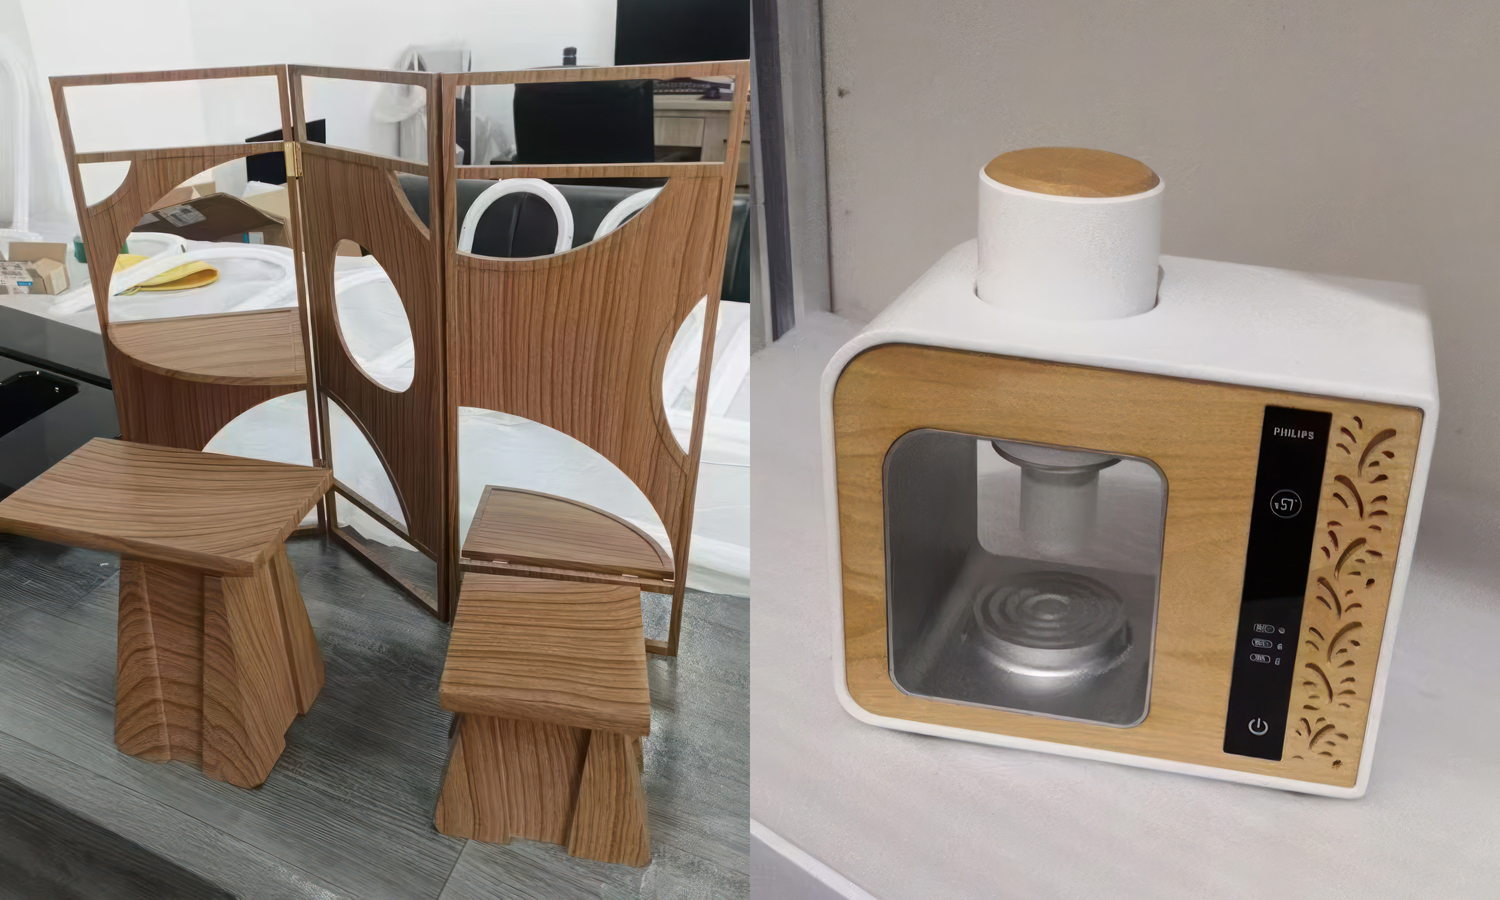
Tired of the lack of diversity in consumer appliance design? Most electronics still rely on generic plastic shells that clash with modern home aesthetics. ThatŌĆÖs why we created these photorealistic, 3D-printed wood-grain prototypes. Designed specifically for customers who crave a unified, natural wood aesthetic in their living spaces, these models prove that technology can blend seamlessly into the popular “raw wood” and Japandi home trends.
Look closely at the details: a miniature folding screen and minimalist stools with flawless micro-hinges, a complete mockup of a smart appliance featuring a stunning wood-grain faceplate, and a set of intricate canisters with precision ventilation holes. On the workbench, the raw components are meticulously prepped for final assembly. Through advanced sanding and professional CMF (Color, Material, Finish) hydro-dipping, we achieved a texture and warmth that is indistinguishable from genuine, hand-carved hardwood.
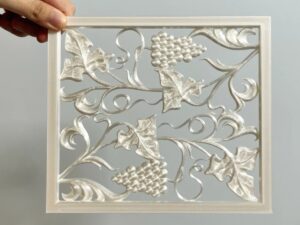
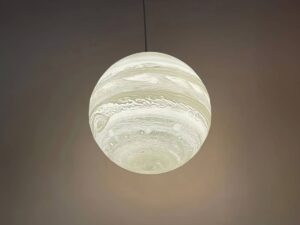
But wood is just the beginning. To help your products stand out, we offer an incredibly diverse range of surface styles. We can perfectly mimic premium textures, including luxurious matte or polished marble, high-tech textured carbon fiber, brushed aerospace titanium, sleek anodized aluminum, and even rustic weathered copper. 3D printing grants you total geometric freedom, while our artisan-level finishing brings any material texture to life.
Whether you are designing next-generation home appliances or bespoke interior decor, you don’t have to settle for boring plastic. FacFox provides high-fidelity 3D printing and expert CMF finishing to bring your boldest aesthetic visions to life before you ever invest in expensive hard tooling.
Solution
- Step 1: 3D Printing. The digital CAD models were sliced and printed using high-resolution SLA (stereolithography) resin to ensure crisp geometric details and tight tolerances.
- Step 2: Cleaning and Curing. The green parts were submerged in isopropyl alcohol to dissolve excess liquid resin, after which they were post-cured under a high-intensity ultraviolet light chamber to achieve maximum structural integrity.
- Step 3: Support Removal and Initial Sanding. The sacrificial support structures were carefully clipped away, and the contact points were sanded flat to restore the uniform profile of the components.
- Step 4: Surface Refinement. The surfaces were meticulously hand-sanded using progressively finer grits of sandpaper until all microscopic layer lines were entirely eliminated.
- Step 5: Priming. A specialized base primer was airbrushed onto the smooth parts to seal the resin substrate and create an ideal surface for subsequent paint adhesion.
- Step 6: Texture Application. The photorealistic wood-grain pattern was applied to the prepped components via water-transfer printing (hydro-dipping), ensuring the graphic wrapped seamlessly around the compound curves.
- Step 7: Top Coating. A premium, dead-matte protective clear coat was sprayed over the surfaces to protect the wood-grain pattern and eliminate any unnatural, plastic-like reflection.
- Step 8: Final Assembly. The completed pieces, including the micro-hinges and multi-material appliance housings, were carefully aligned and assembled into the final high-fidelity prototypes.


