Material Resin
Quantity 5 pcs
Price Range $100-1,000
Lead Time 2 workdays
Gallery

About Project
In the fast-paced world of automotive design, the transition from a digital CAD model to a physical, full-scale prototype is a critical milestone. We recently documented a fascinating project involving a complex rear bumper assembly that perfectly illustrates the power of industrial additive manufacturing.
The Challenge: Precision at Scale
Modern automotive components, like the bumper fascia and its internal support structures, are increasingly complex. These parts must house sensors, fog lights, and mounting brackets while maintaining a perfect “Class-A” surface finish. The sheer size of these components often exceeds the build volume of standard 3D printers, requiring a strategic approach to manufacturing and assembly.
The Solution: SLA Technology and Expert Craftsmanship
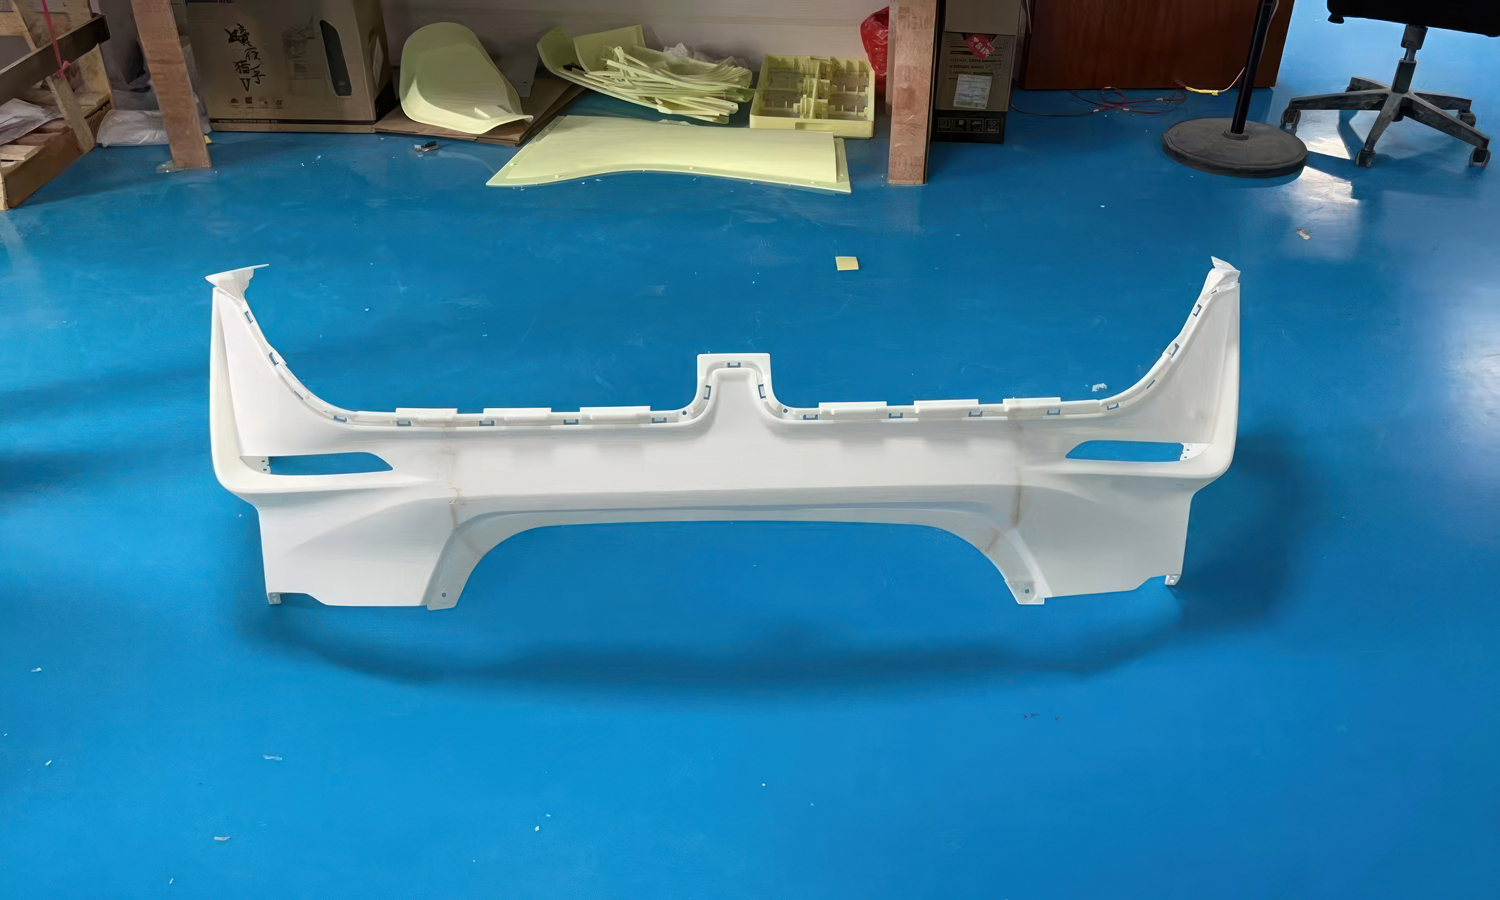
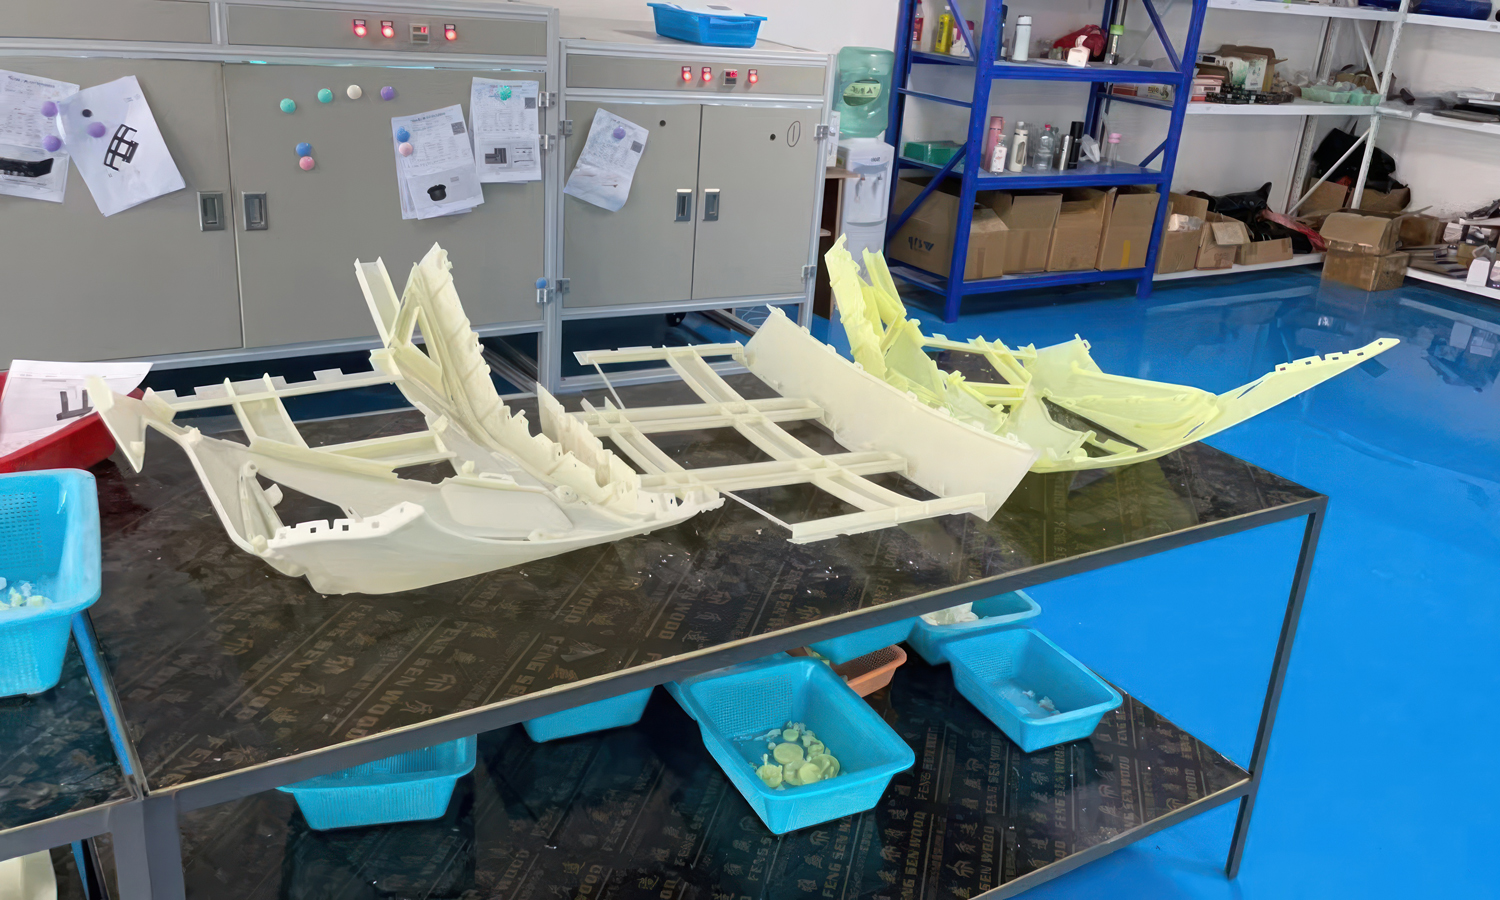
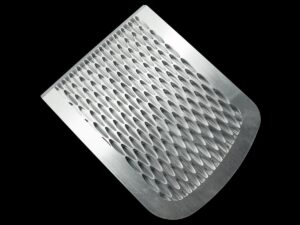
To meet these requirements, the assembly was produced using industrial-grade Stereolithography (SLA) 3D printing. The bumper was printed in sections using a high-stability, pale-yellow resin. This material is favored for its ability to capture fine detailsŌĆösuch as the intricate lattice patterns of the internal stiffenersŌĆöwhile remaining easy to post-process.
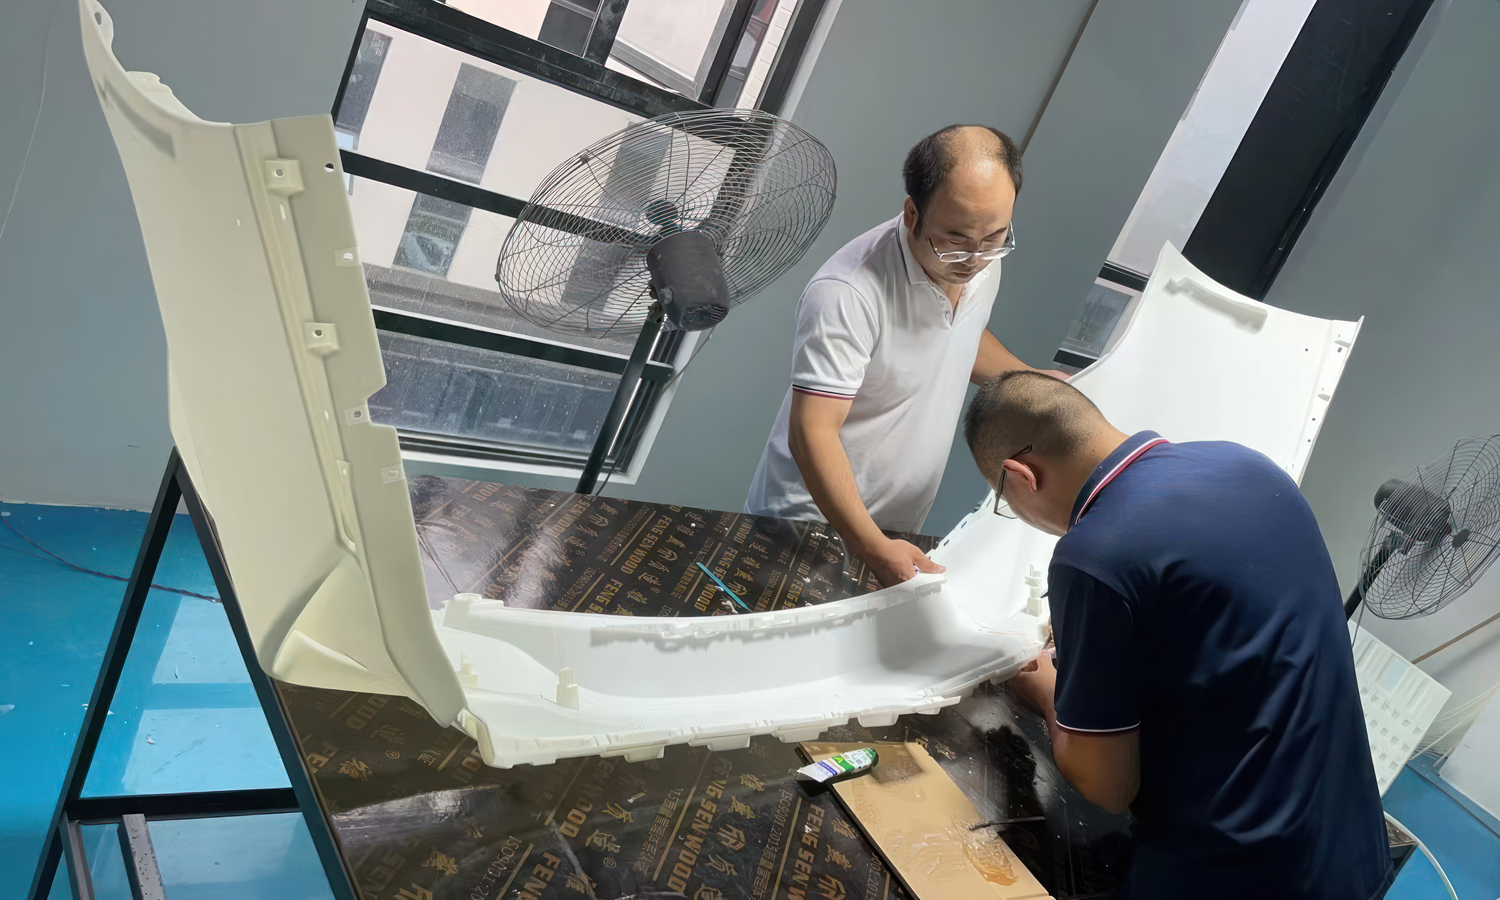
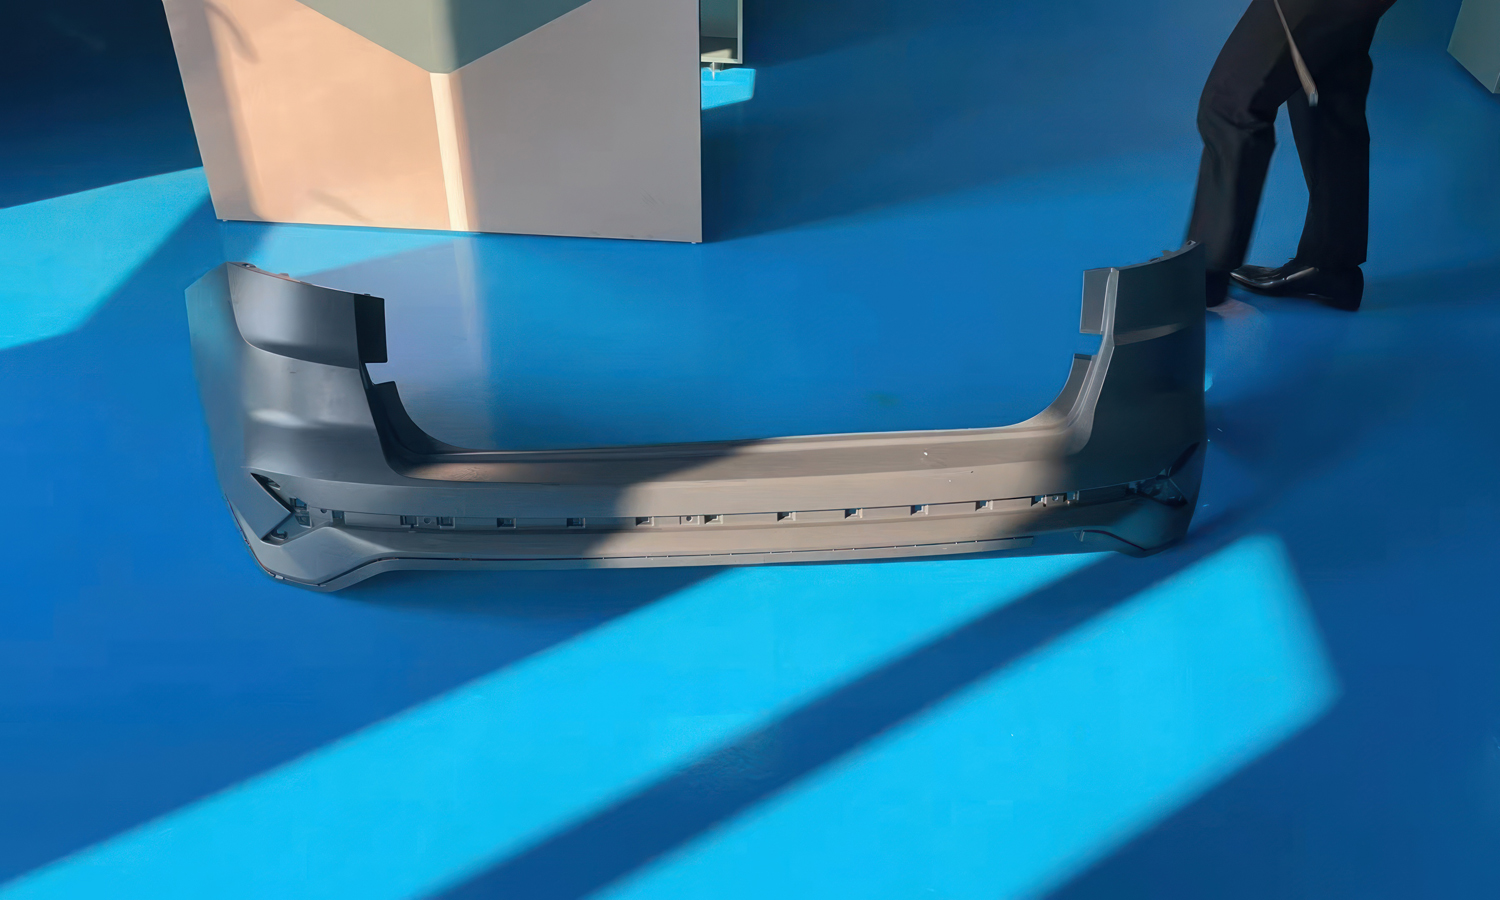
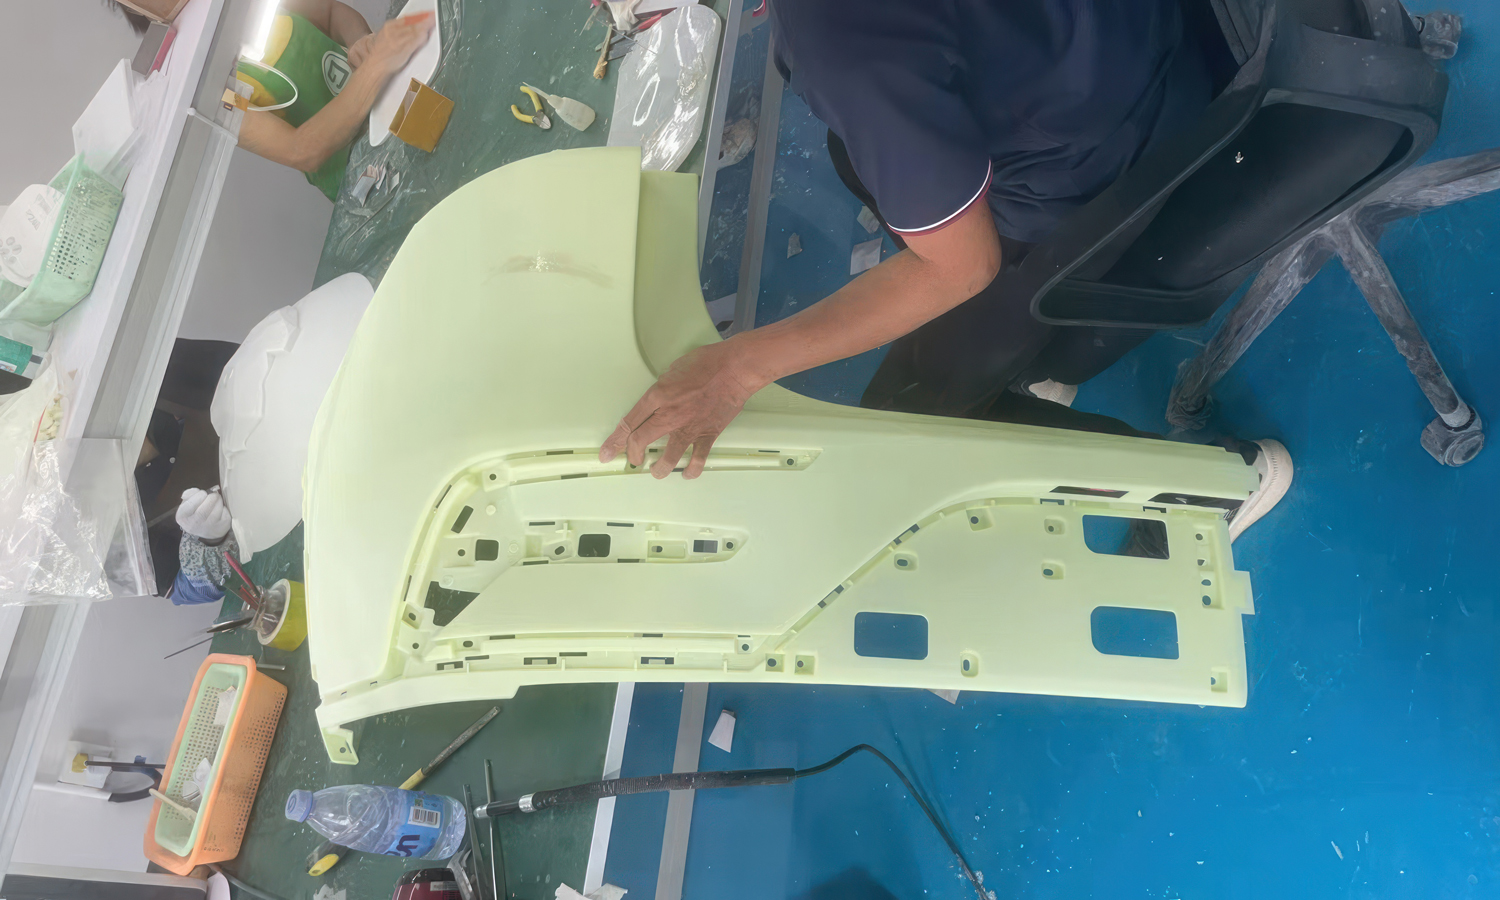
Our skilled technicians meticulously joined these sections using industrial adhesives, ensuring the seams were structurally sound and invisible to the eye. Following the assembly, the prototype was sanded and coated in a professional matte grey primer. This step is essential for design validation, as it allows engineers to evaluate the vehicleŌĆÖs “lines” and light-play without the distraction of raw print layers. The result is a prototype that looks and fits exactly like a production-ready part.
Partner with FacFox for Your Prototyping Needs
Whether you are developing full-scale automotive body panels or intricate mechanical components, FacFox is your premier partner for professional 3D printing services. Our industrial SLA, SLS, and MJF capabilities, combined with expert post-processing and manual assembly, ensure your designs transition from the screen to the showroom with unmatched precision. Visit FacFox.com today to accelerate your innovation and bring your next big idea to life.
Solution
- Step 1: Digital Sectioning and Preparation. The full-scale CAD model of the bumper assembly was analyzed and digitally partitioned into several manageable sections. This was performed to ensure each component fit within the build volume of the industrial SLA printers while strategically placing joints where they would least affect structural integrity.
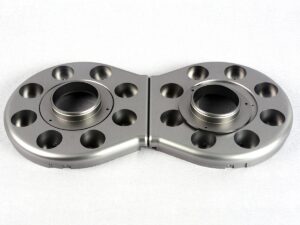
- Step 2: High-Precision SLA 3D Printing. The individual sections were printed using SLA Tough Resin in both white and yellow variants. A high-resolution laser was utilized to solidify the liquid resin layer-by-layer, allowing the intricate internal mounting brackets and the smooth outer fascia to be produced with extreme dimensional accuracy.
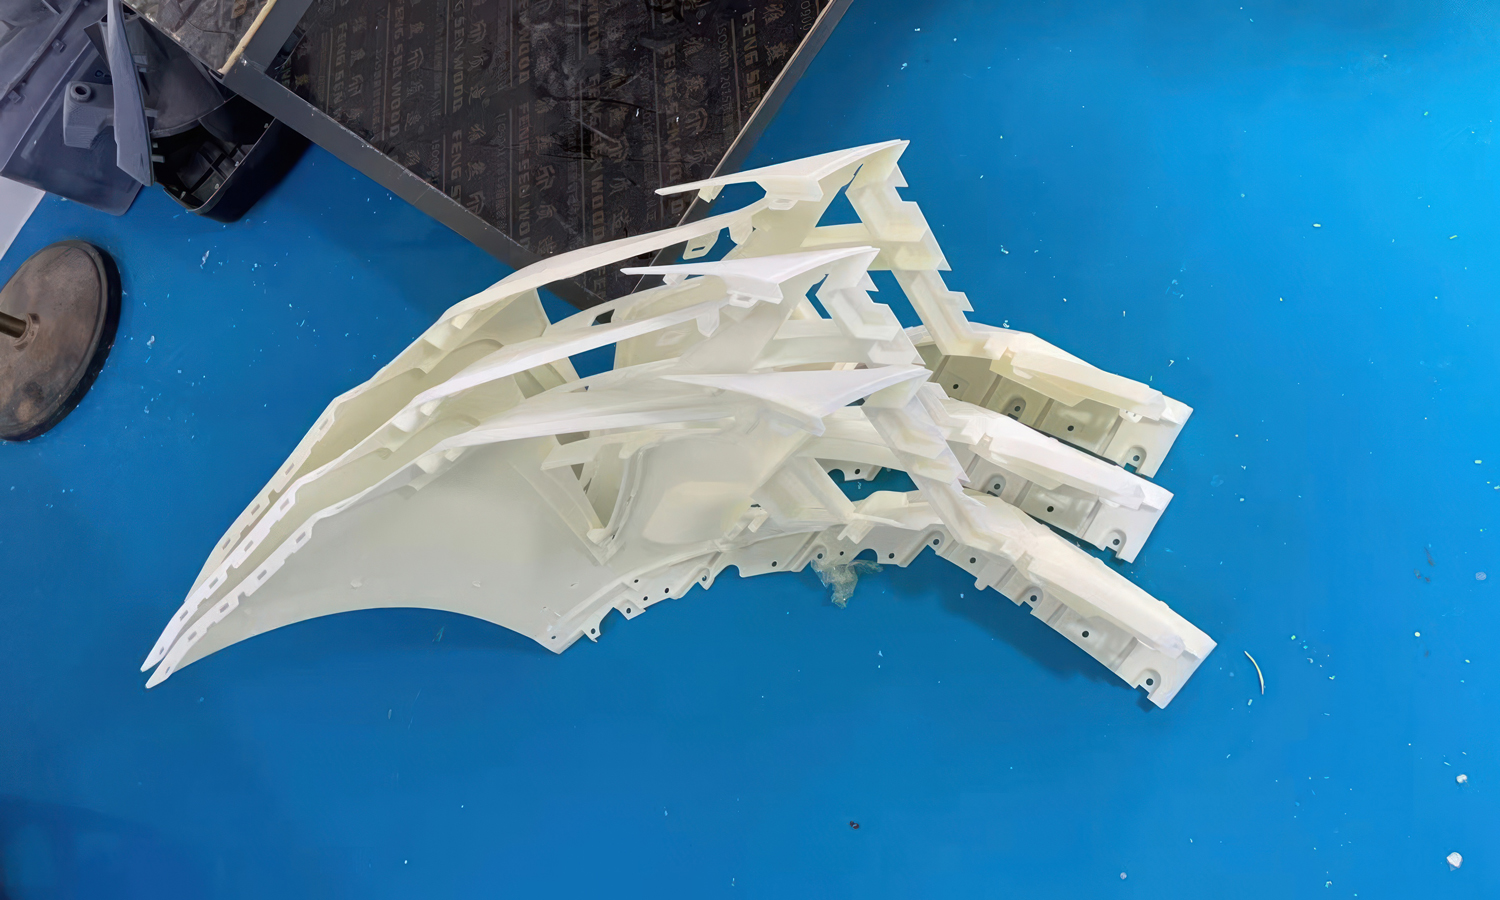
- Step 3: Post-Curing and Support Removal. Once the printing cycles were completed, the parts were removed from the build plates and submerged in a chemical bath to remove excess resin. The temporary support structures were then manually detached, and the parts were placed in a UV curing oven to reach their full mechanical strength and “tough” properties.
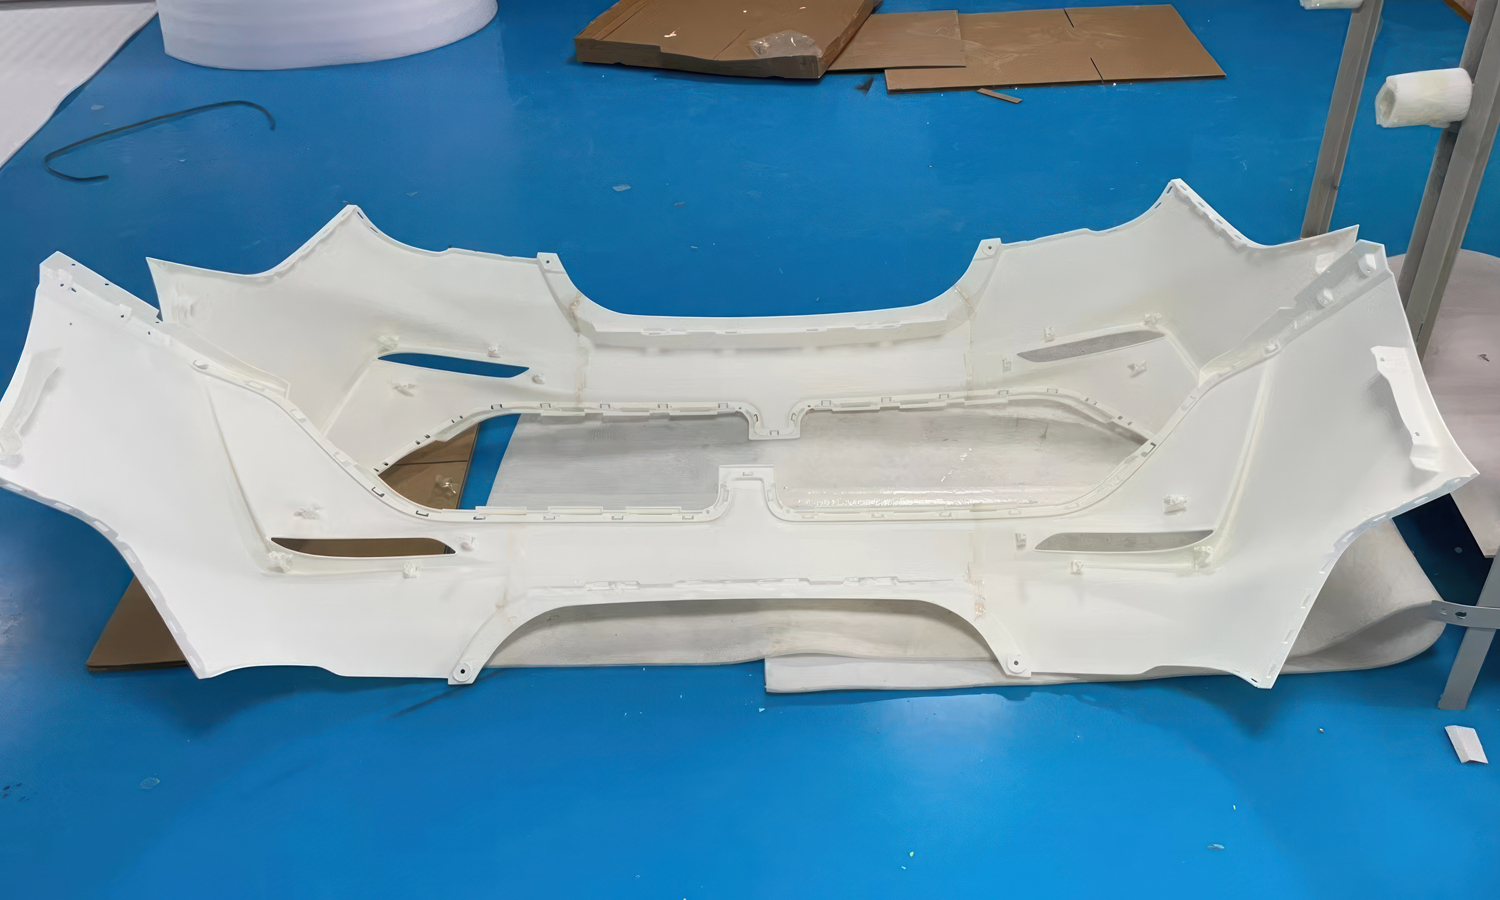
- Step 4: Manual Alignment and Bonding. The printed sections were laid out on specialized workbenches for assembly. High-strength industrial adhesives were applied to the joints, and the sections were carefully aligned and clamped by hand. The white internal structures were bonded to the yellow outer panels, creating a unified, multi-material prototype.
- Step 5: Surface Refinement and Seam Filling. The visible seam lines at the junction points were filled with a specialized putty and sanded down by hand. This process was repeated across the entire surface to eliminate any evidence of the sectional printing and to ensure a perfectly continuous profile.
- Step 6: Priming and Final Inspection. A uniform layer of matte grey primer was applied to the entire assembly. This served to reveal any remaining surface imperfections and provided a neutral finish for final quality inspection. The completed prototype was then verified against the original design specifications to ensure it was ready for fitment testing.


