Material Resin
Quantity 1 pcs
Price Range $1-100
Lead Time 2 workdays
Gallery

About Project
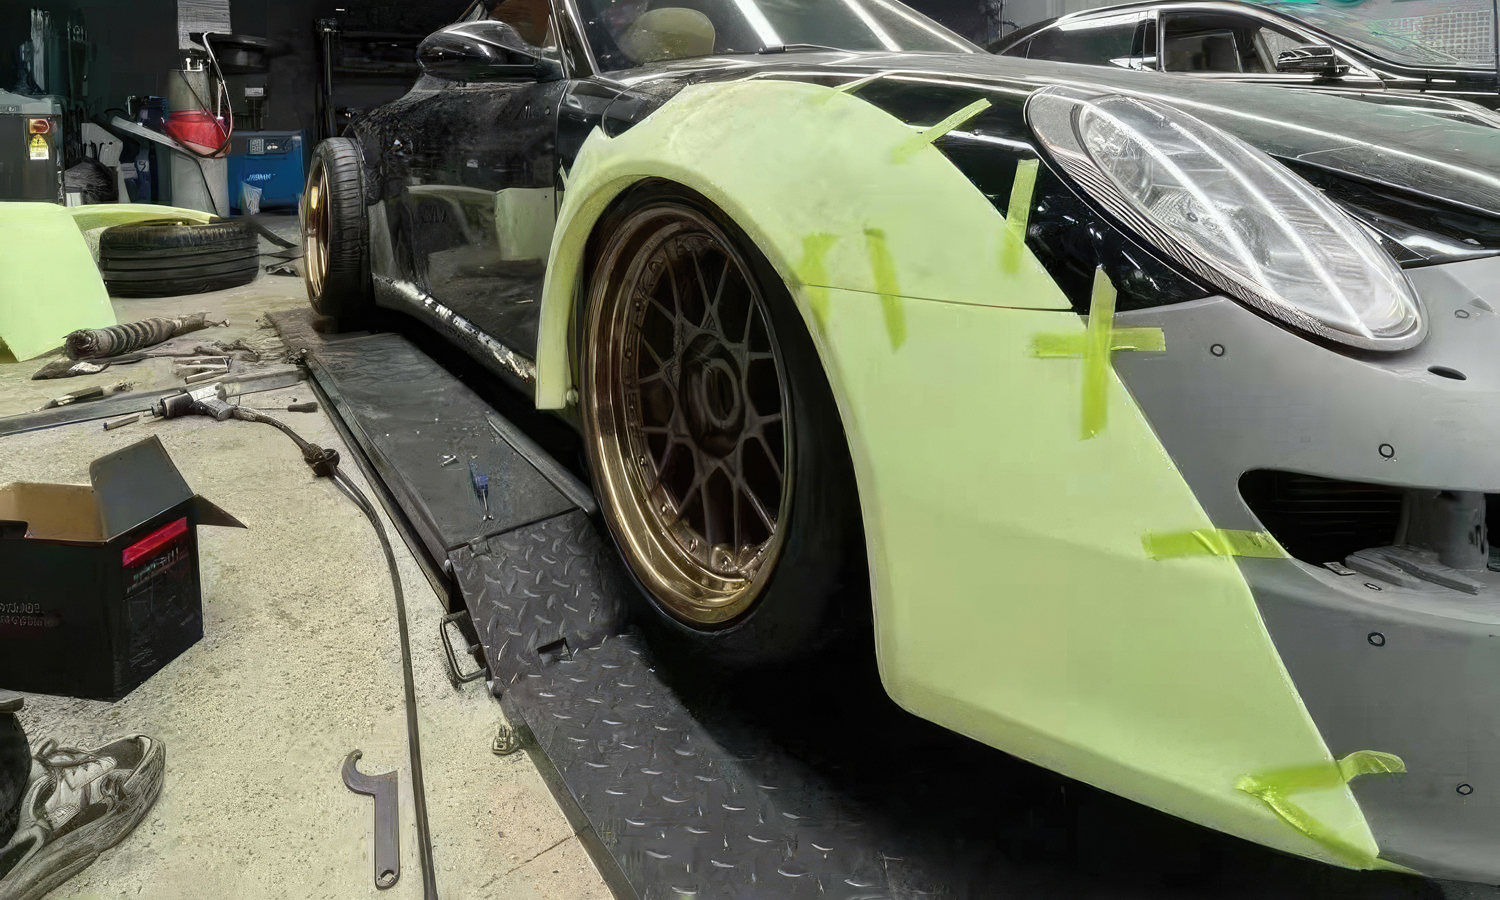
In the world of high-performance tuning, a widebody kit is the ultimate transformation. As shown in this Porsche 911 project, owners invest in custom widebody parts for three critical reasons: performance, aerodynamics, and aesthetics. By widening the track, drivers can fit larger wheels for superior grip, optimize airflow for downforce, and achieve that aggressive, muscular “stance” that sets a build apart from the crowd.
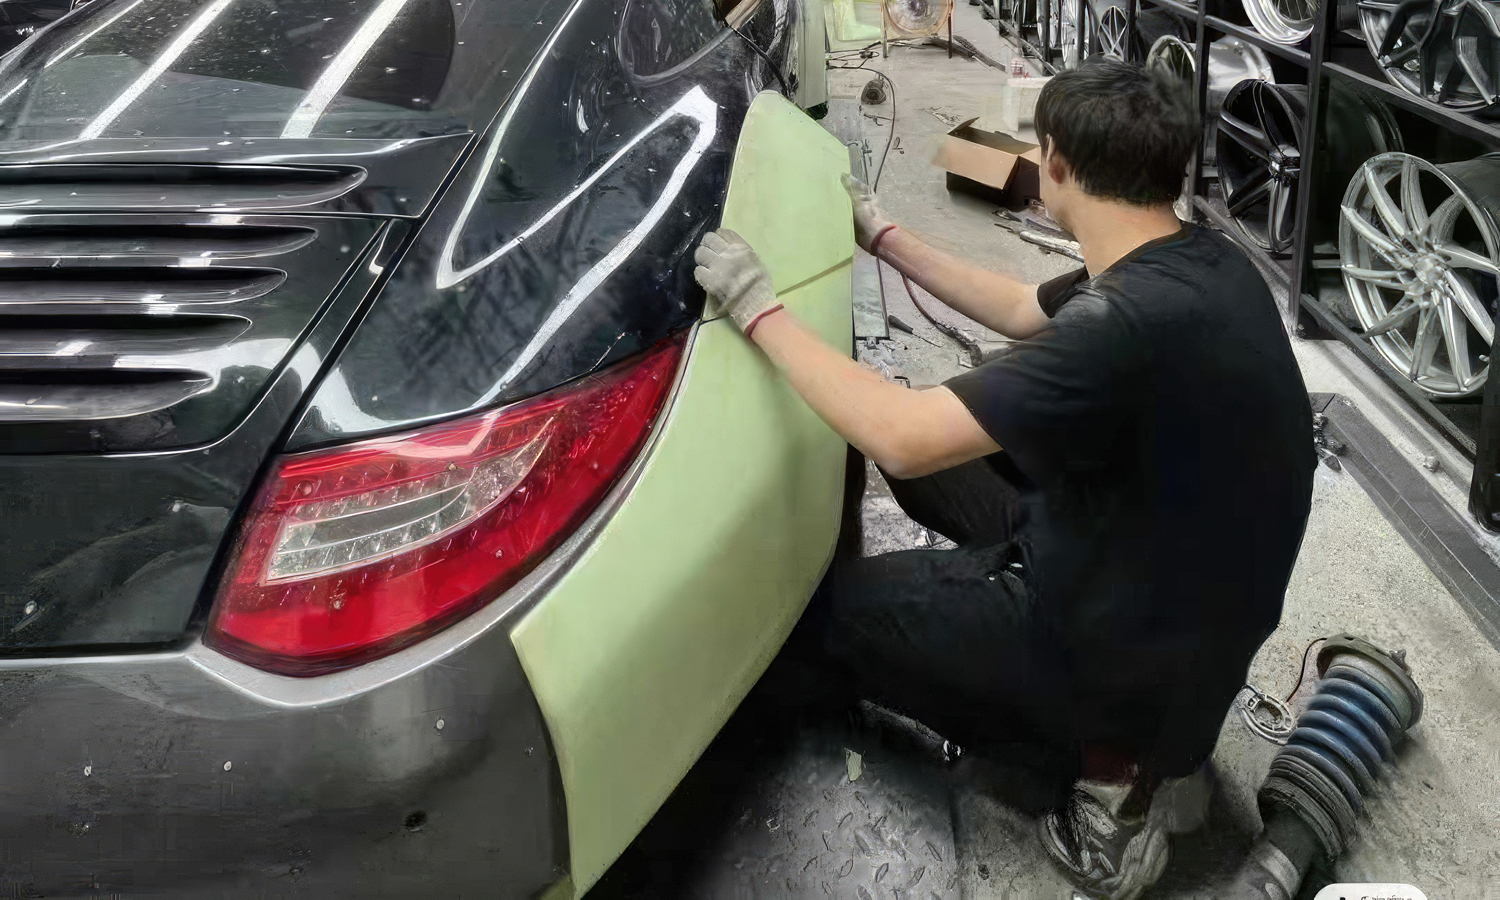
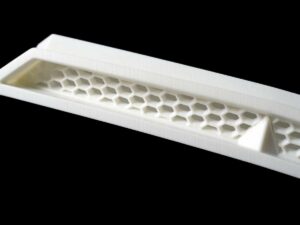
To bridge the gap between a digital vision and a perfect physical fit, this build utilized SLA (Stereolithography) 3D printing. These light green prototype panels allow the builders to mock up the fender flares, checking wheel clearances and body lines in real-time. This “test fit” phase is vital; it ensures the design is flawless before moving into expensive final production in carbon fiber or fiberglass.
Why SLA is the Automotive Standard
- Precision Fitment: With high dimensional accuracy, these prints mirror the CAD data perfectly, ensuring the widebody contours match the car’s original lines.
- Smooth Surfaces: SLA resin offers a professional finish that is easy to sand and prime, ideal for visualizing the final painted look.
- Complex Geometry: 3D printing handles the complex, sweeping curves of a Porsche 911 that would be incredibly difficult to hand-shape using traditional foam or clay.
At FacFox, we help automotive enthusiasts and professional shops accelerate their custom builds. Our industrial-grade 3D printing services, including large-format SLA and durable SLS, are designed to handle the scale and precision required for automotive bodywork. Whether you’re looking to fit wider tires for the track or create a one-of-a-kind show car, we provide the rapid prototyping tools to make it happen.
Bring your custom vision to life. Upload your designs to FacFox for a professional quote and let’s get your project on the road!
Solution
- Step 1: The digital 3D models were designed and scaled into three distinct sizes to create a matching set.
- Step 2: The small figurine was 3D printed as a solid piece using SLA resin for maximum detail, while the large sculptures were hollowed out in the software to reduce weight and material consumption.
- Step 3: The resin prints were cured under UV light, and the necessary support structures were carefully removed from the surfaces.
- Step 4: For the large sculptures, internal reinforcements were added if necessary, and the drainage holes (used for hollowing) were filled and leveled.
- Step 5: All surfaces were meticulously sanded by hand through multiple grits until a perfectly smooth finish was achieved.
- Step 6: A high-quality primer was applied to all figurines to ensure even adhesion for the subsequent color layers.
- Step 7: The vibrant green and white base colors were applied using professional spray-painting techniques.
- Step 8: The intricate details, such as the black stripes, large eyes, and orange cheeks, were carefully masked and painted.
- Step 9: A final high-gloss UV-resistant clear coat was sprayed over the sculptures to provide a durable, mirror-like shine.

