CNC Machined Cobalt Blue Mounting Clamps
Posted on 2026-03-11 in Automotive ┬Ę µ▒ĮĶĮ”
Gallery
About Project
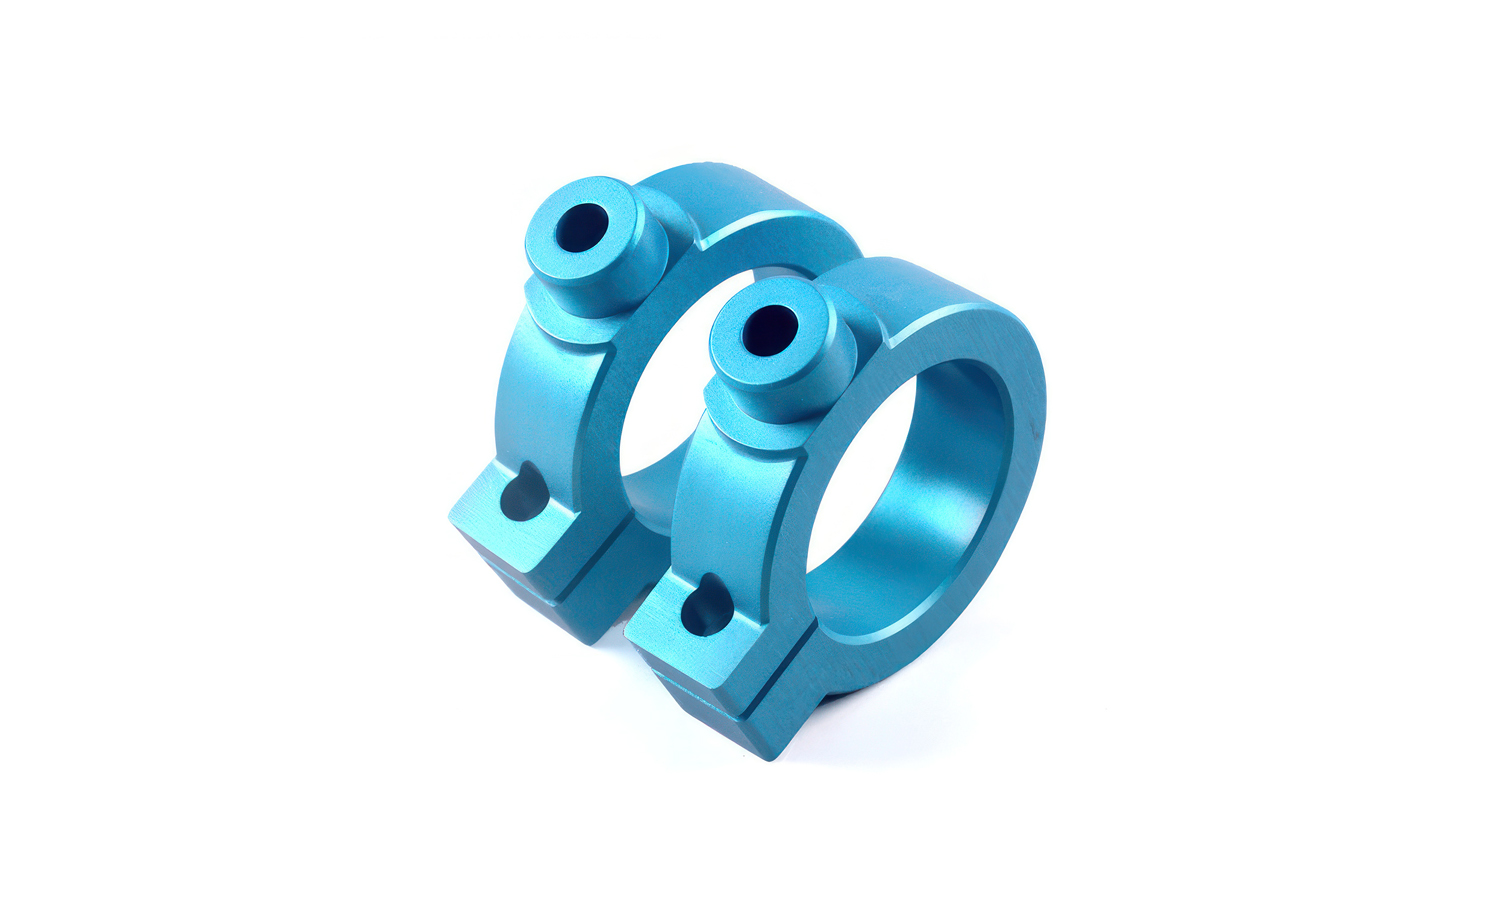
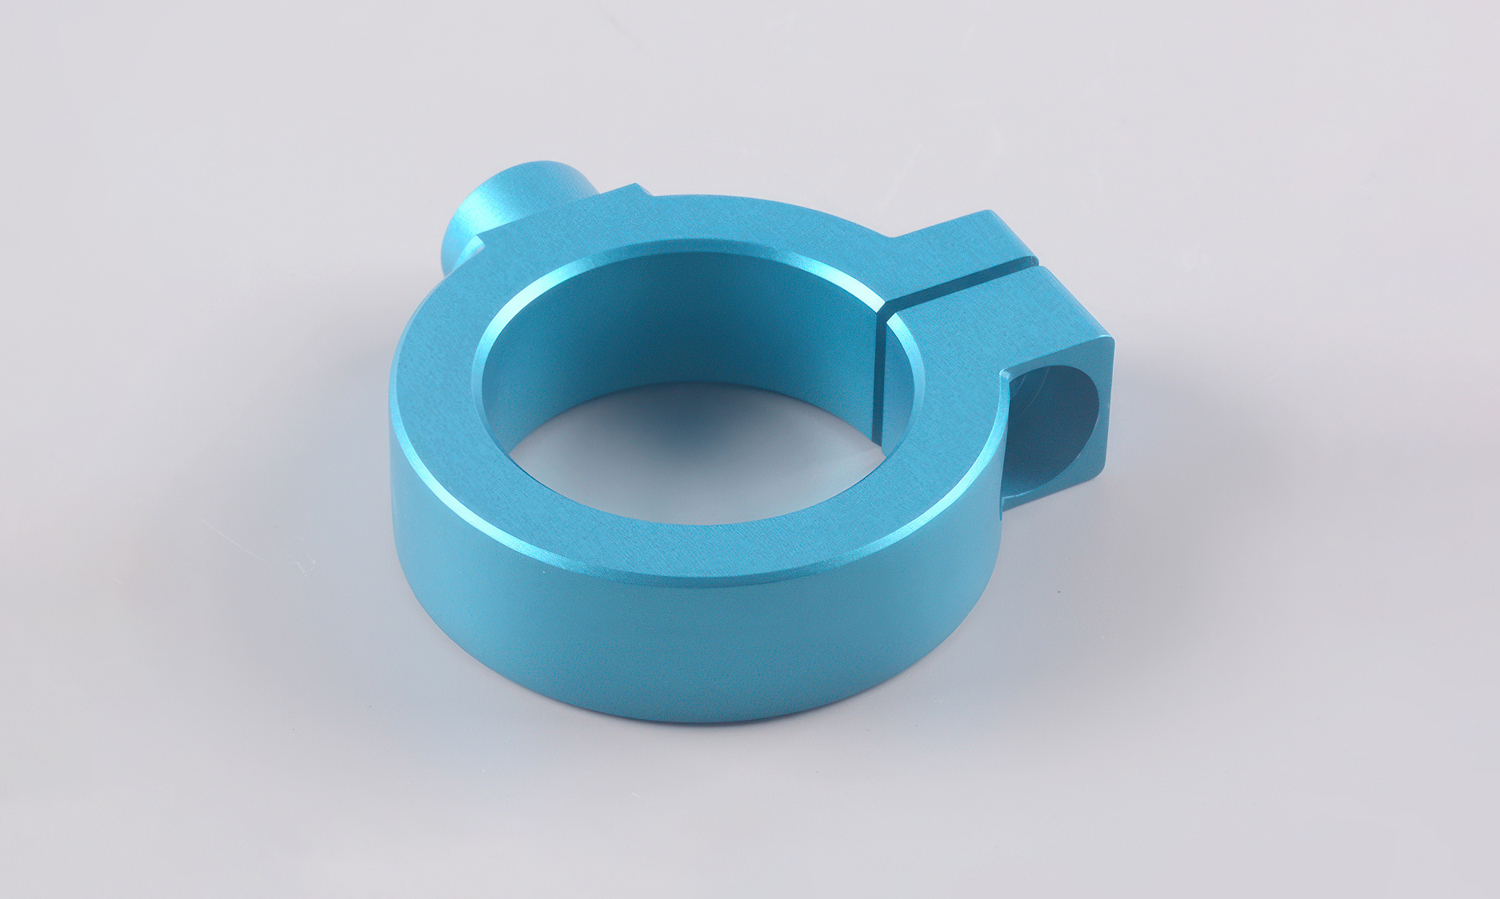
Check out these beauties! We recently wrapped up a project for these custom aluminum alloy parts, and we couldn’t be happier with how that vibrant blue popped.
What are we looking at?
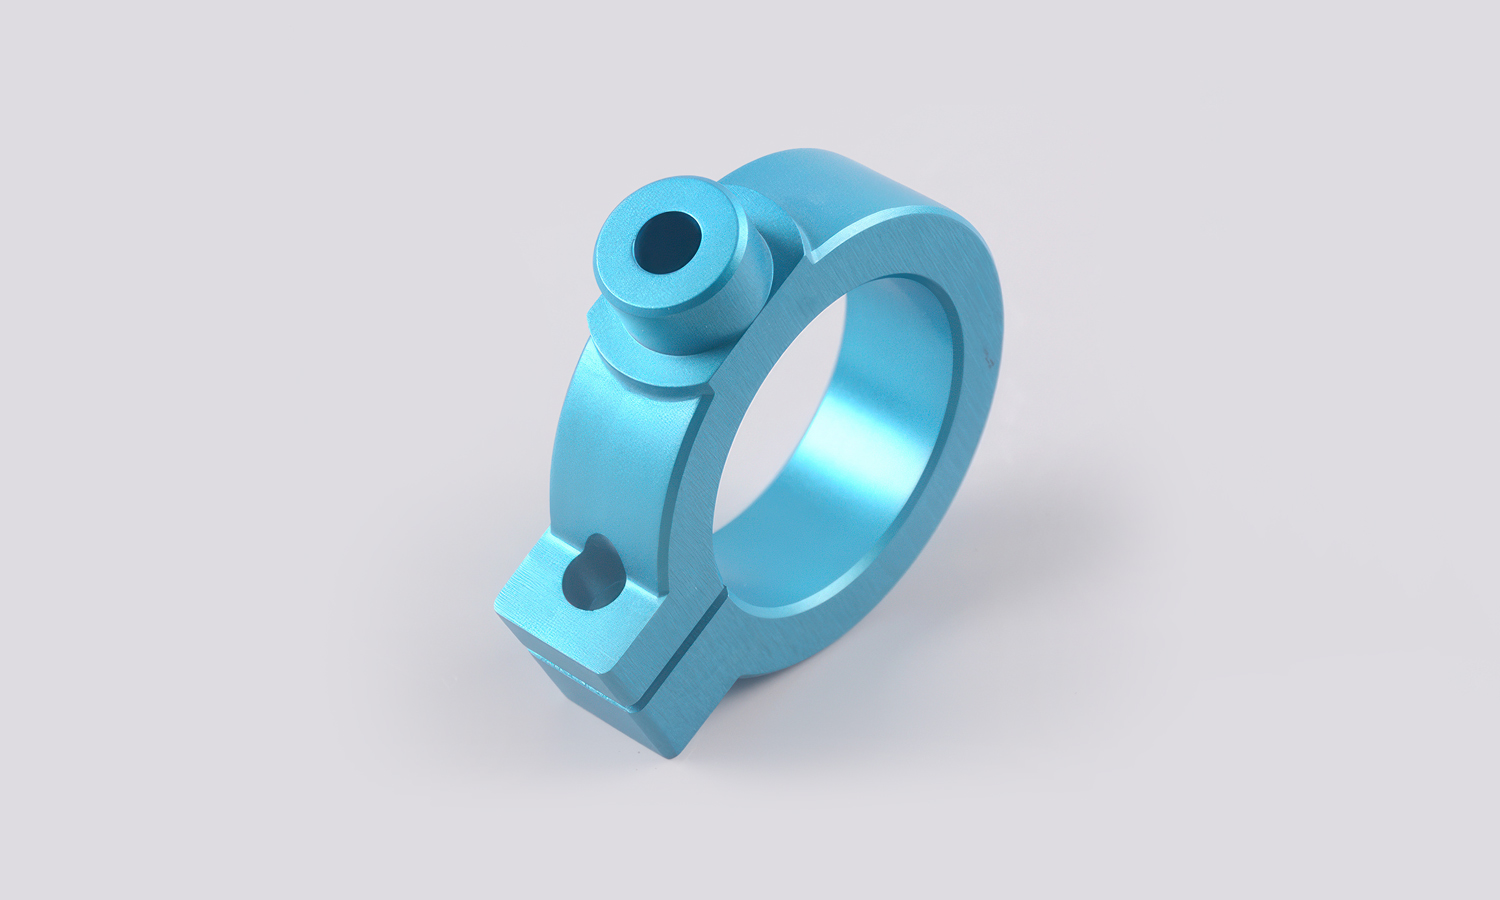
While the exact application is a secret, these look to be high-precision mounting clamps. With their split-ring design and threaded boss, theyŌĆÖre perfect for securely “hugging” sensors, tubes, or cables within a larger machine.
The Magic Behind the Model
To get this level of detail and “wow” factor, we used a two-step process:
- Precision Milling: We CNC machined these from solid 6061 Aluminum. This ensures they aren’t just prettyŌĆötheyŌĆÖre incredibly strong and accurate to the original CAD design.
- Satin Anodized Finish: To get that gorgeous color, we used Type II Anodizing. Before the dye, we gave them a light bead-blast to create a smooth, matte texture that feels great in the hand and resists those pesky fingerprints!
Why Choose CNC for Your Prototypes?
When you’re building a “hand model” (a high-end prototype), you want it to look like it just rolled off the assembly line. CNC machining gives you that production-grade quality, and anodizing offers a rainbow of professional finishes to make your brand stand out.
Solution
- Step 1: 3D Modeling and CAM Programming.┬ĀThe initial design was translated into a precise 3D CAD model. This digital geometry was then processed through CAM (Computer-Aided Manufacturing) software, where the optimal toolpaths and cutting speeds were calculated to guide the machinery.
- Step 2: Material Selection and Loading.┬ĀHigh-grade 6061 aluminum alloy blocks were selected for their superior machinability and anodizing characteristics. These raw “bricks” were securely loaded and clamped into the CNC milling machine’s workholding fixture.
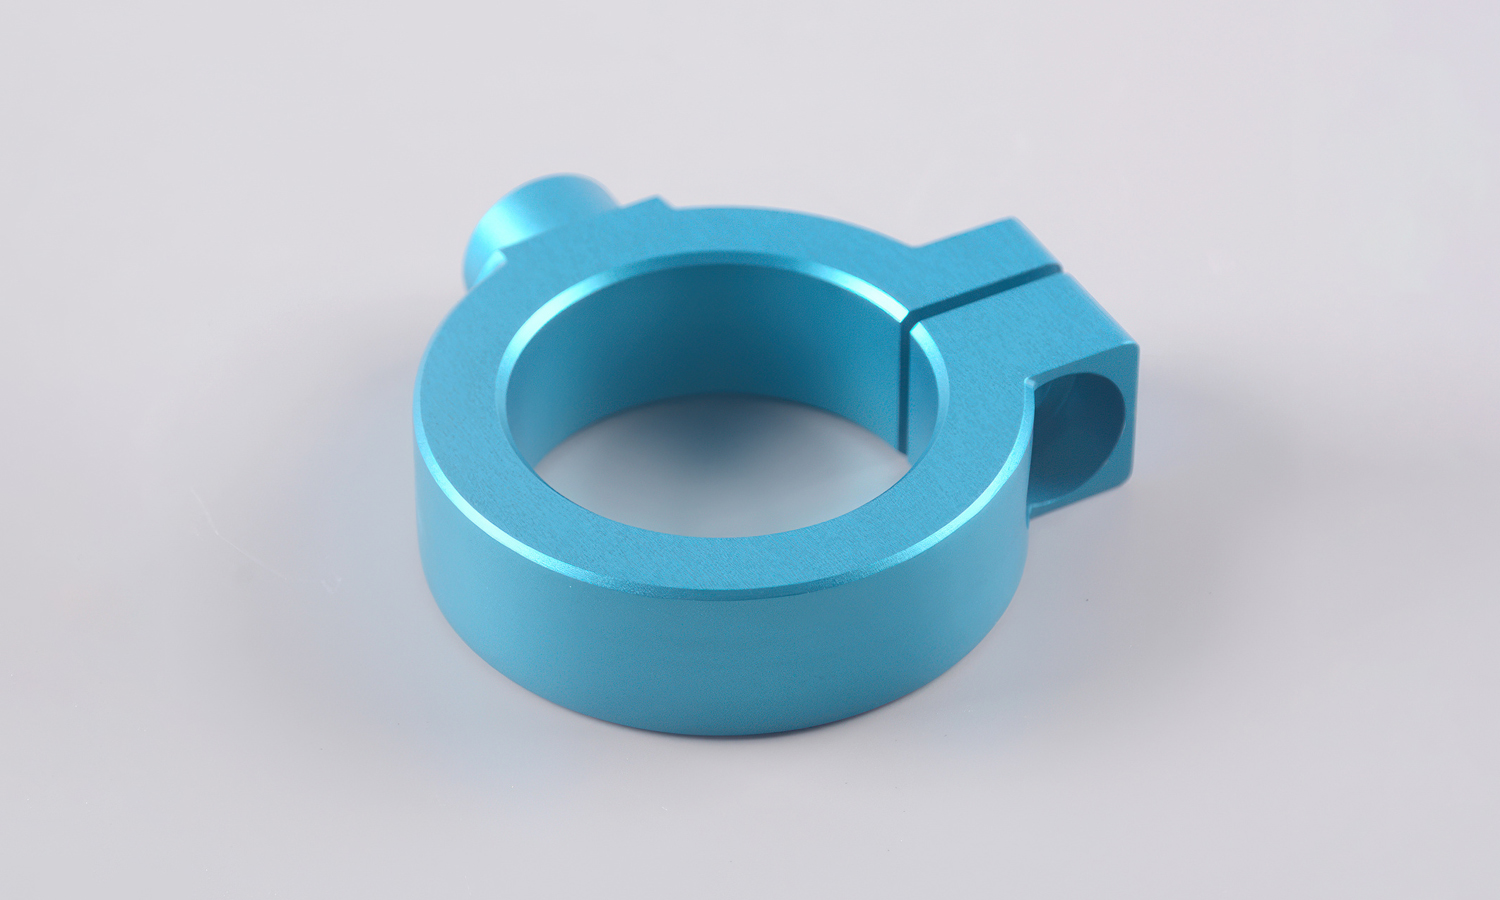
- Step 3: CNC Precision Milling.┬ĀThe excess material was systematically removed by high-speed rotating cutting tools. Complex features, including the central bore, the split-ring gap, and the threaded boss, were carved with micron-level accuracy.
- Step 4: Mechanical Surface Pre-treatment (Bead Blasting). Once the machining was completed, the parts were subjected to bead blasting. Fine glass beads were propelled at the surface to erase tiny tool marks and create a uniform, matte “satin” texture.
- Step 5: Chemical Cleaning and Degreasing. The aluminum components were submerged in specialized cleaning baths. All residual oils, metal shavings, and surface impurities were removed to ensure the subsequent electrochemical reaction would be perfectly even.
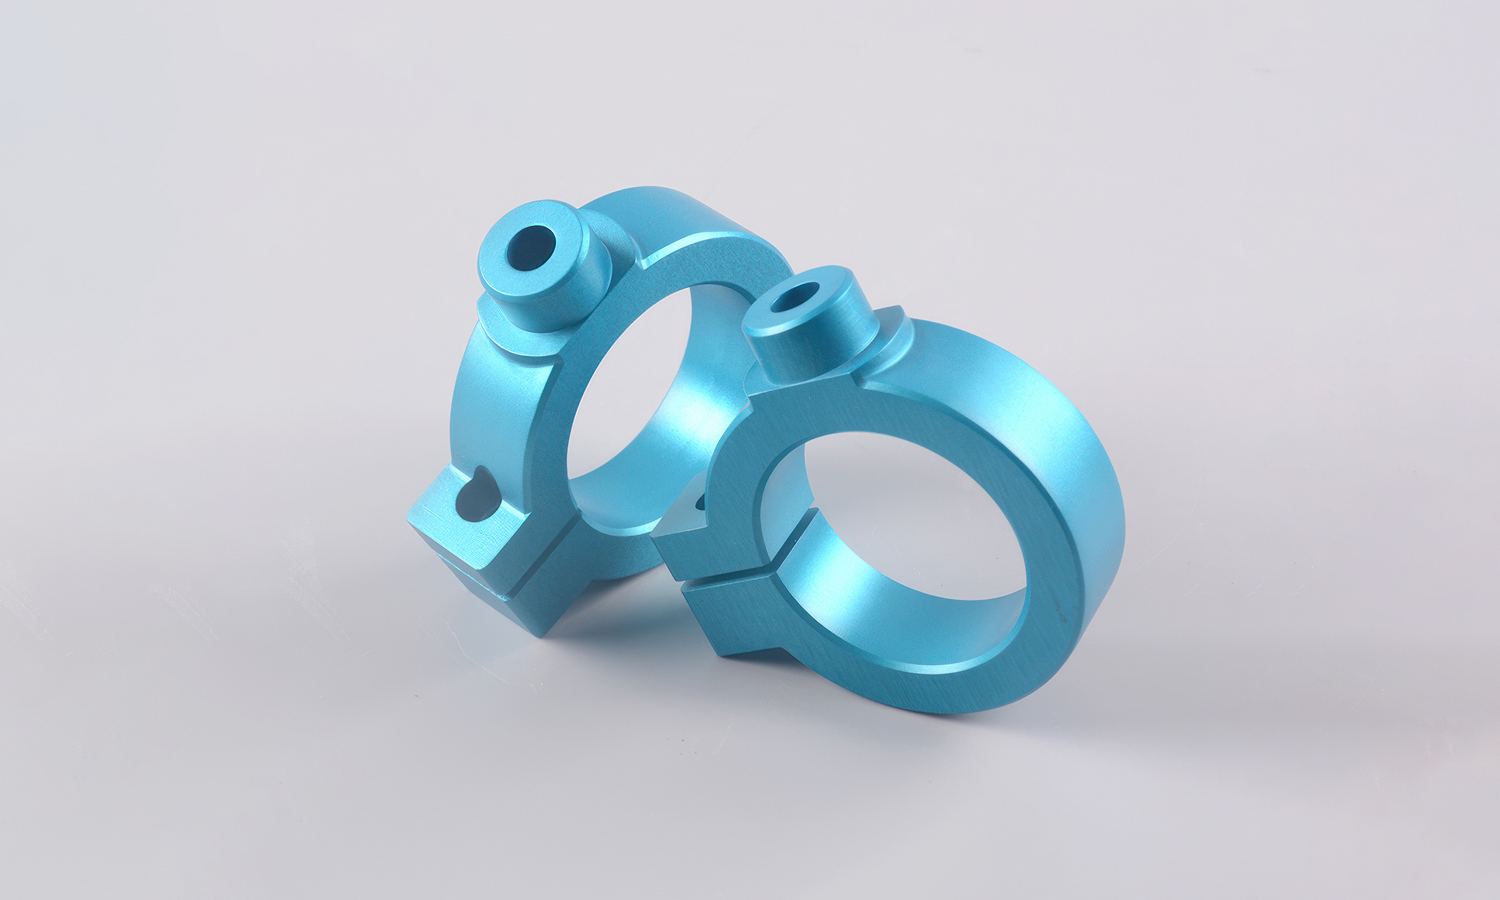
- Step 6: Type II Anodizing and Dyeing. The parts were placed in an acid electrolyte bath where an electric current was applied. This process caused a controlled oxide layer to grow on the surface. While this layer was still porous, it was submerged in a vibrant cobalt blue dye, which was absorbed deep into the structure of the metal.
- Step 7: Sealing and Quality Inspection. Finally, the parts were placed in a high-temperature sealing bath to “close” the pores and lock the color in. Each piece was then inspected for dimensional accuracy and color uniformity before being cleared for shipment.


