Gallery
About Project
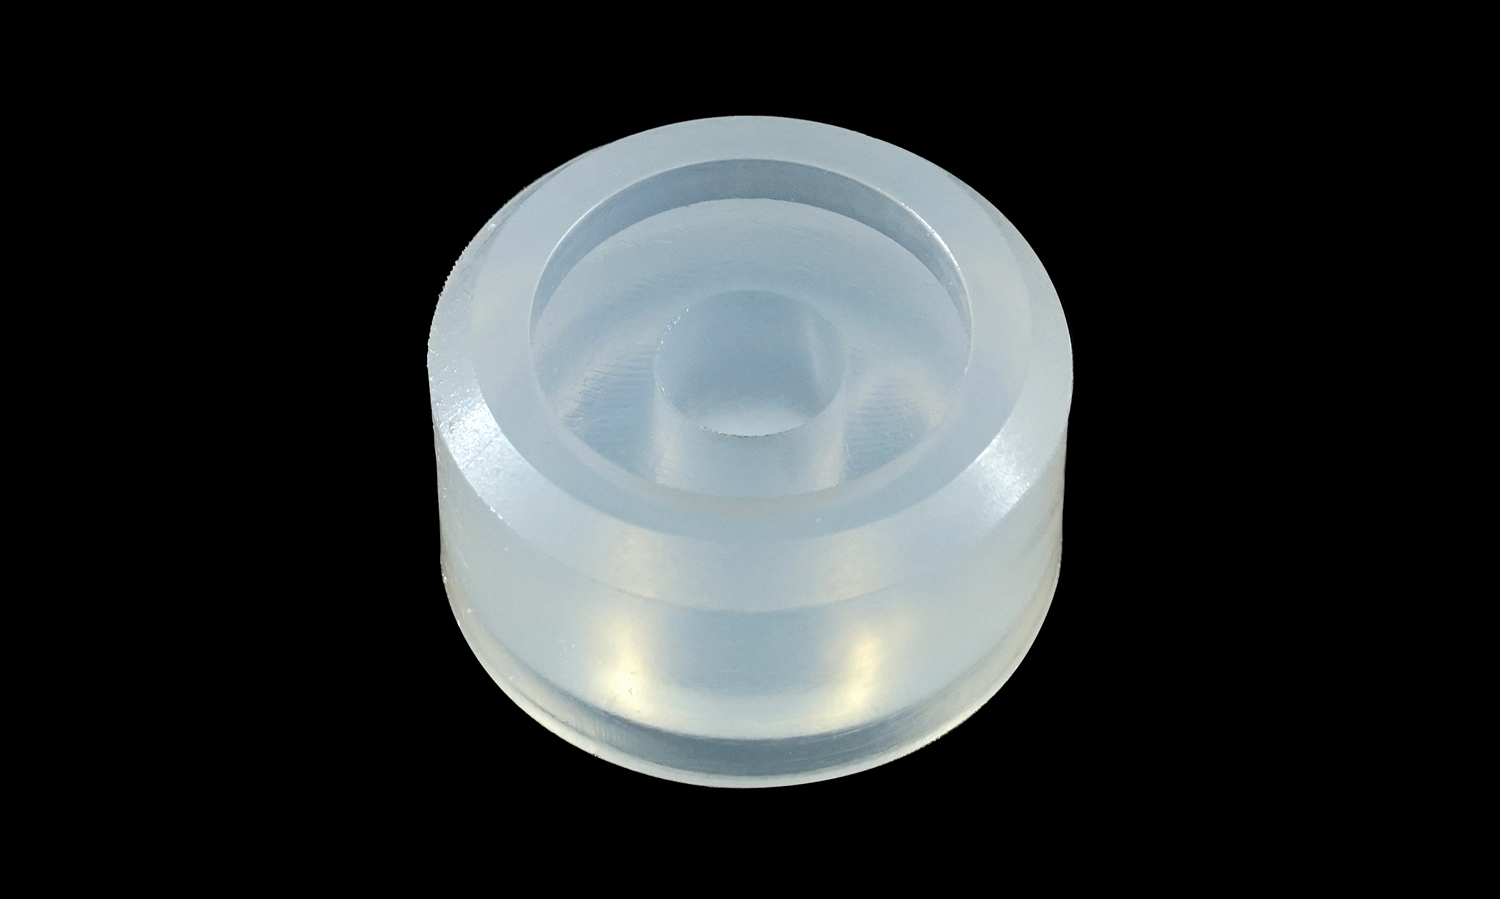
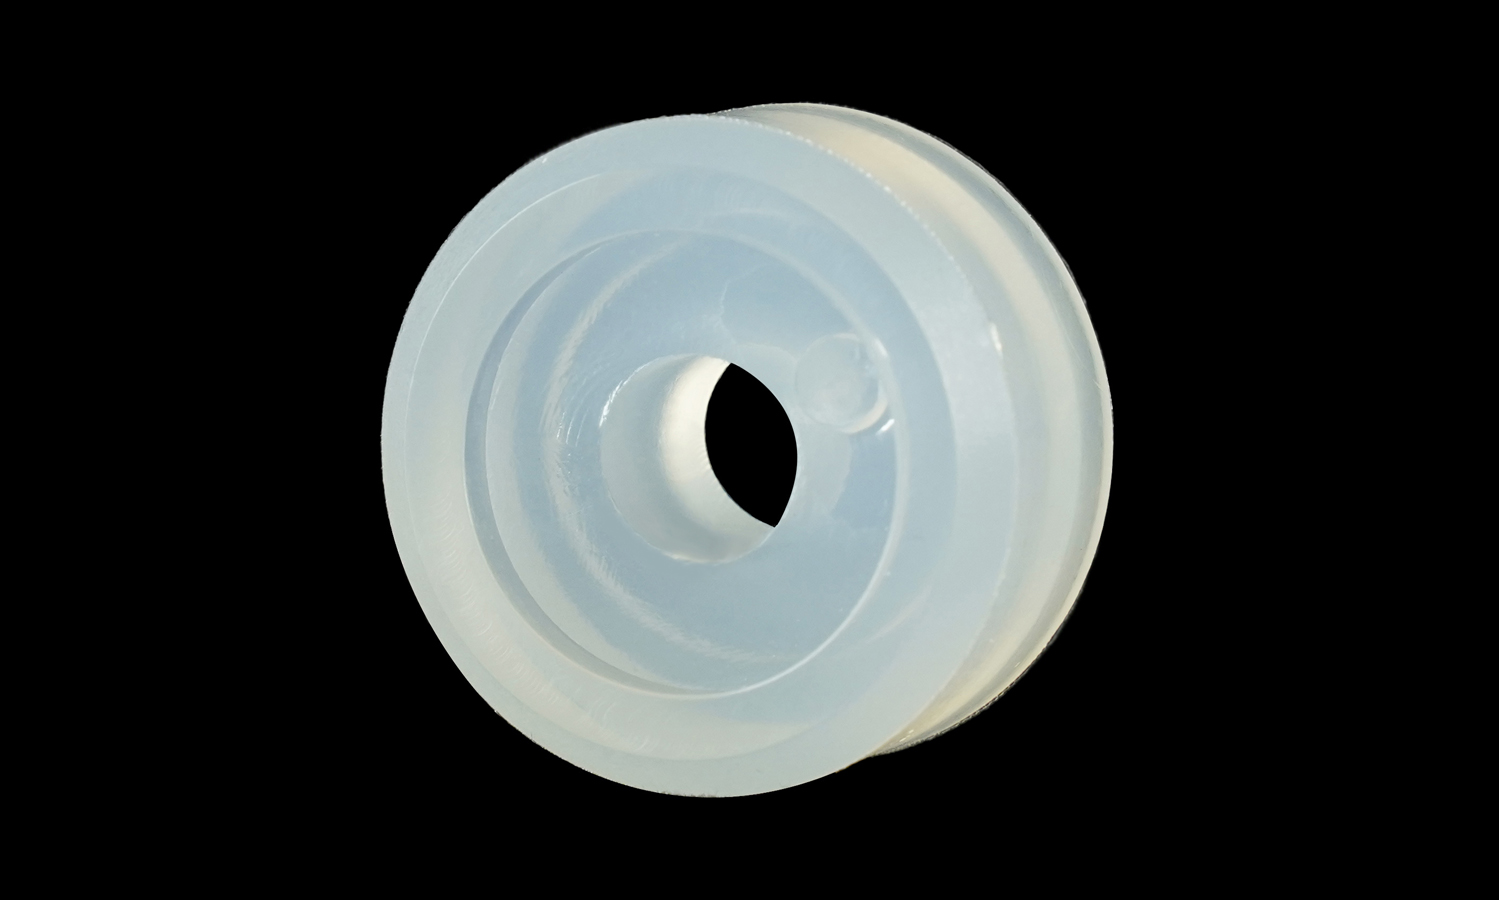
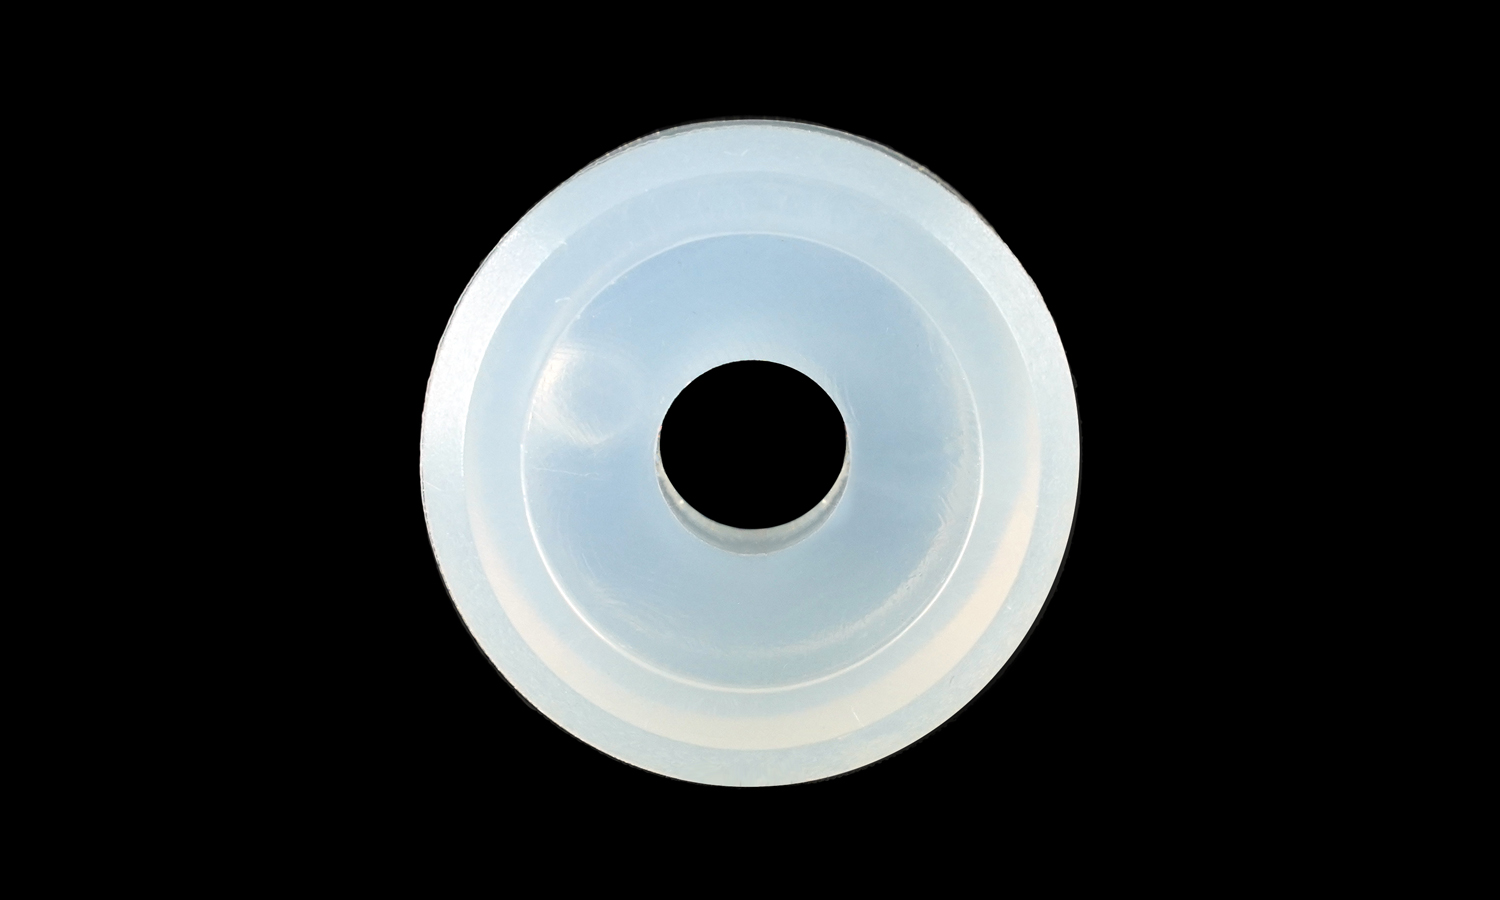
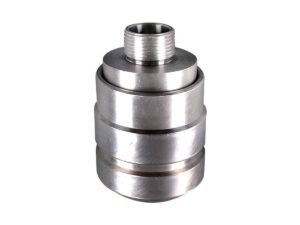
In the world of machinery, itŌĆÖs often the smallest components that carry the heaviest burdens. Take this Polyurethane (PU) bushing, for example. While it might look like a simple plastic ring, it is actually a high-performance engineering marvel designed to bridge the gap between rigid metal parts and moving components.
Unlike traditional rubber bushings that crack, rot, or lose their shape over time, PU is built for the long haul. It offers the perfect balance of resilience and stiffness, effectively absorbing vibrations and dampening noise without sacrificing structural integrity. Whether itŌĆÖs sitting in an automotive suspension, an industrial press, or a high-speed conveyor, this bushing acts as a protective shield, reducing friction and preventing metal-on-metal wear.
One of PUŌĆÖs greatest “superpowers” is its resistance to the elements. It shrugs off oils, greases, and harsh chemicals that would typically dissolve rubber. This makes it the go-to choice for environments where durability isn’t just a preferenceŌĆöitŌĆÖs a requirement.
If youŌĆÖre looking to prototype a custom bushing or need a low-volume production run with specialized geometry, FacFox is your ideal partner. Our professional 3D printing services specialize in high-quality elastomers like TPU and PU, allowing you to bypass expensive molds and get functional, high-performance parts delivered in days. From custom shore hardness to intricate internal structures, FacFox brings your industrial designs to life with precision and speed.
Solution
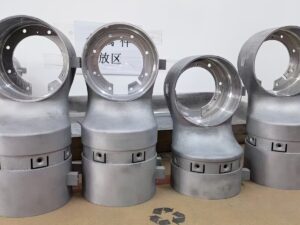
- Step 1: A master pattern was created using high-precision CNC machining or 3D printing to define the exact dimensions of the bushing.
- Step 2: A flexible silicone mold was formed by pouring liquid silicone rubber over the master pattern and allowing it to cure.
- Step 3: The silicone mold was carefully split, the master pattern was removed, and the resulting cavity was prepared with a release agent.
- Step 4: A two-part liquid polyurethane resin (polyol and isocyanate) was measured and mixed in a controlled ratio.
- Step 5: The liquid mixture was placed in a vacuum chamber where all trapped air was removed to ensure a bubble-free, translucent finish.
- Step 6: The degassed liquid was poured into the silicone mold through a small channel called a gate.
- Step 7: The mold was placed in a curing oven where the resin was heated to trigger a cross-linking chemical reaction, transforming the liquid into a solid elastomer.
- Step 8: The solidified bushing was demolded, and the excess material remaining in the gate was trimmed away, leaving the small circular mark visible on the side of the part.


