Material Resin
Quantity 1 pcs
Price Range $1-100
Lead Time 2 workdays
Gallery
About Project
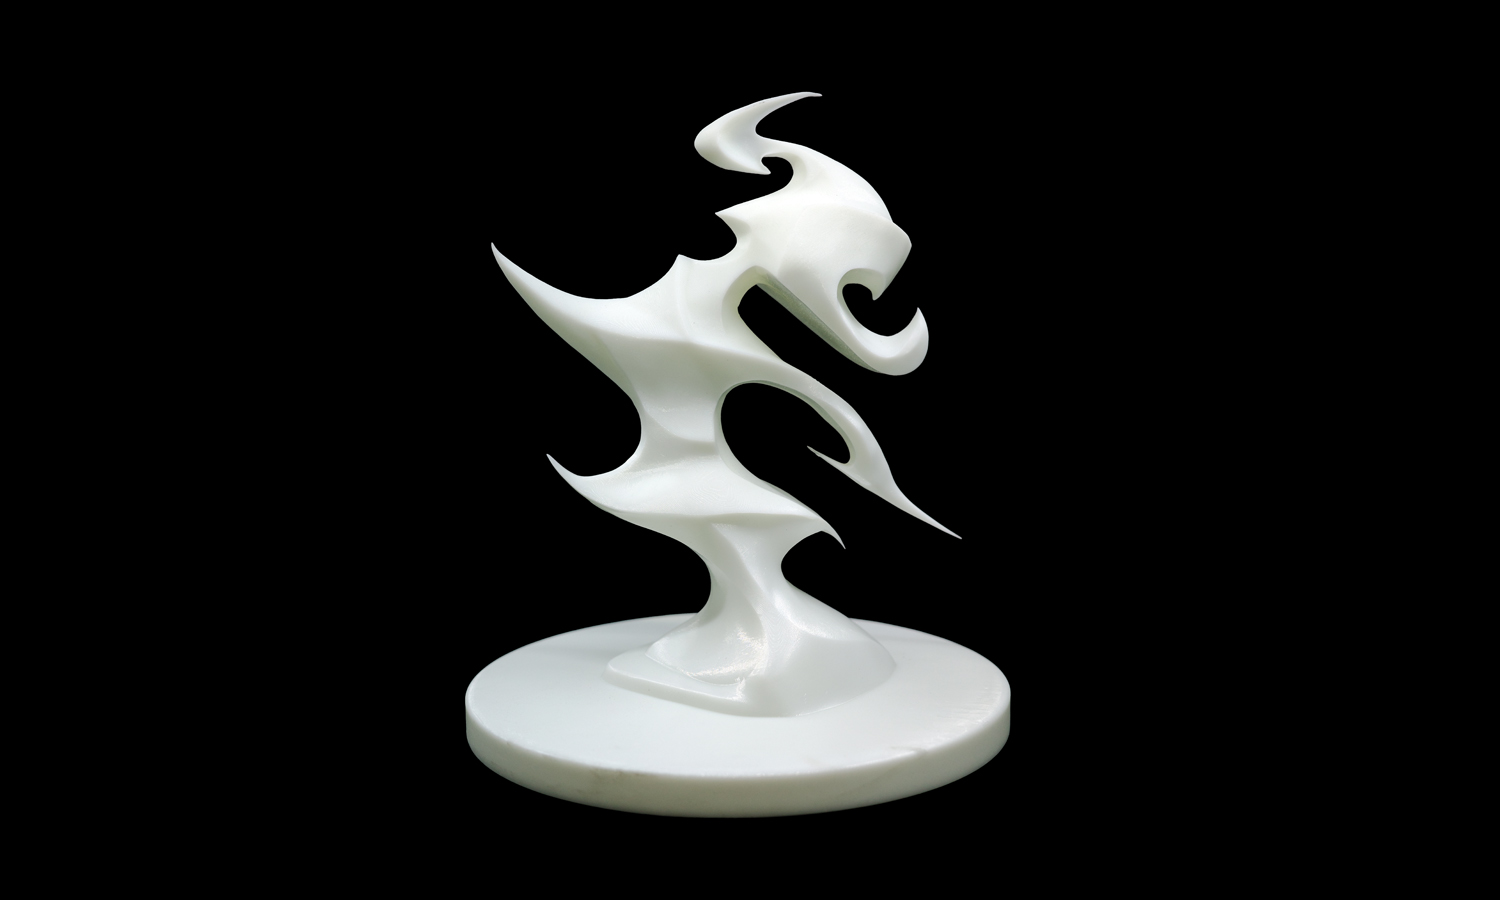
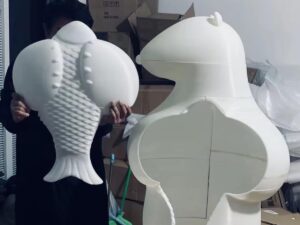
There is a unique satisfaction in seeing digital complexity transformed into a physical masterpiece. This abstract sculpture is a testament to the power of High-Detail Resin 3D Printing, turning fluid, organic geometry into a tangible work of art.
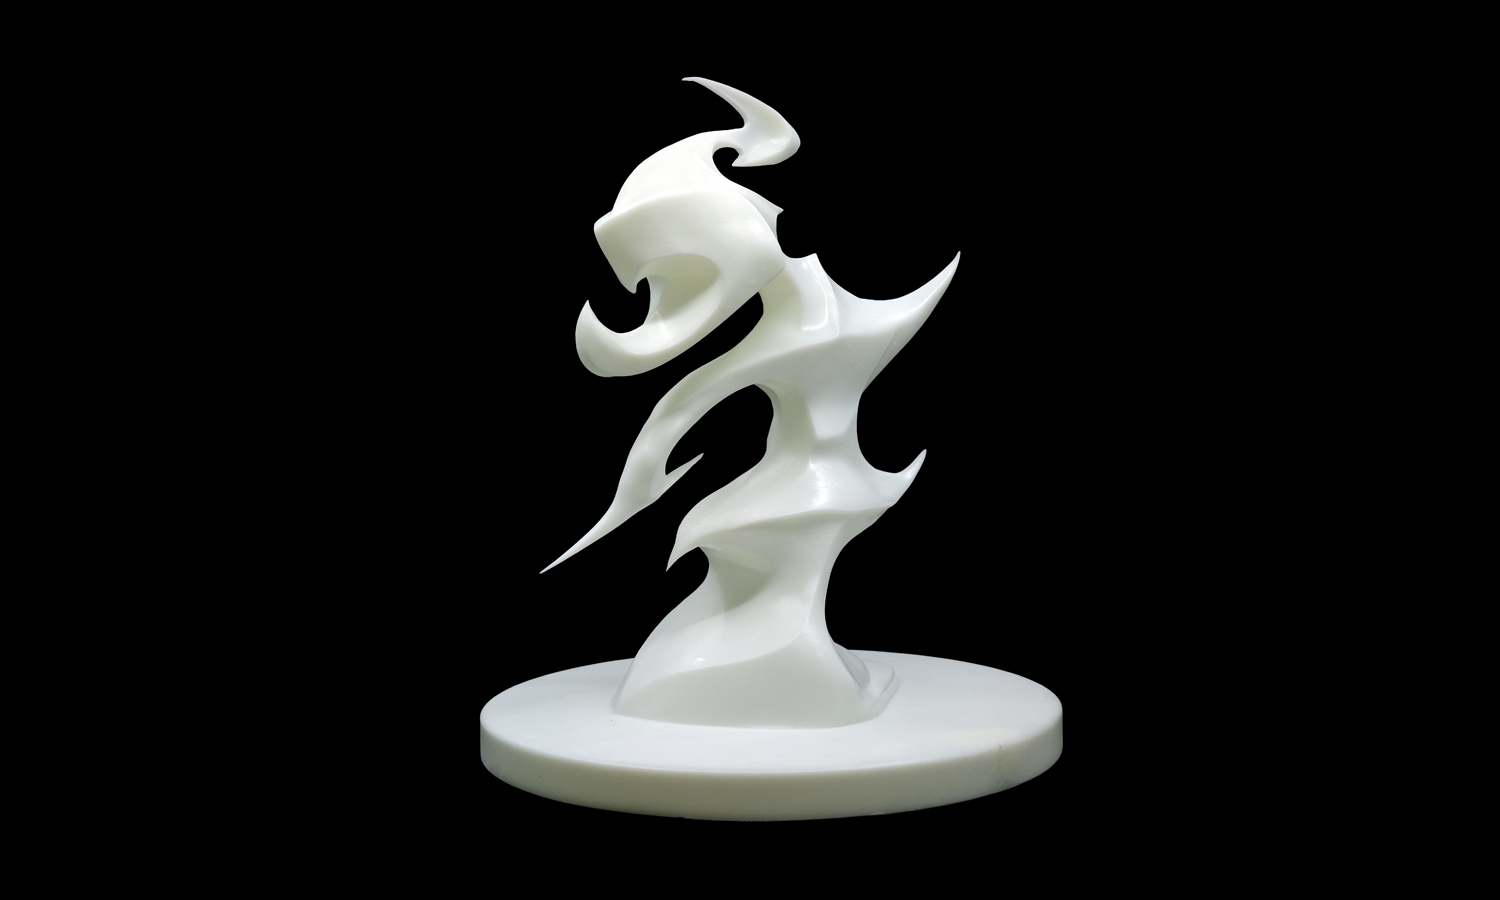
Rising from a minimalist circular base, the piece is a study in dynamic motion. Its interlocking, blade-like curves twist and fold around a central axis, creating a silhouette that evolves as you move around it. One moment you are looking at solid, sculptural mass; the next, the piece opens up into delicate negative spaces that play with light and shadow.
Precision in Every Curve
The technical execution of this print highlights the strengths of the resin medium:
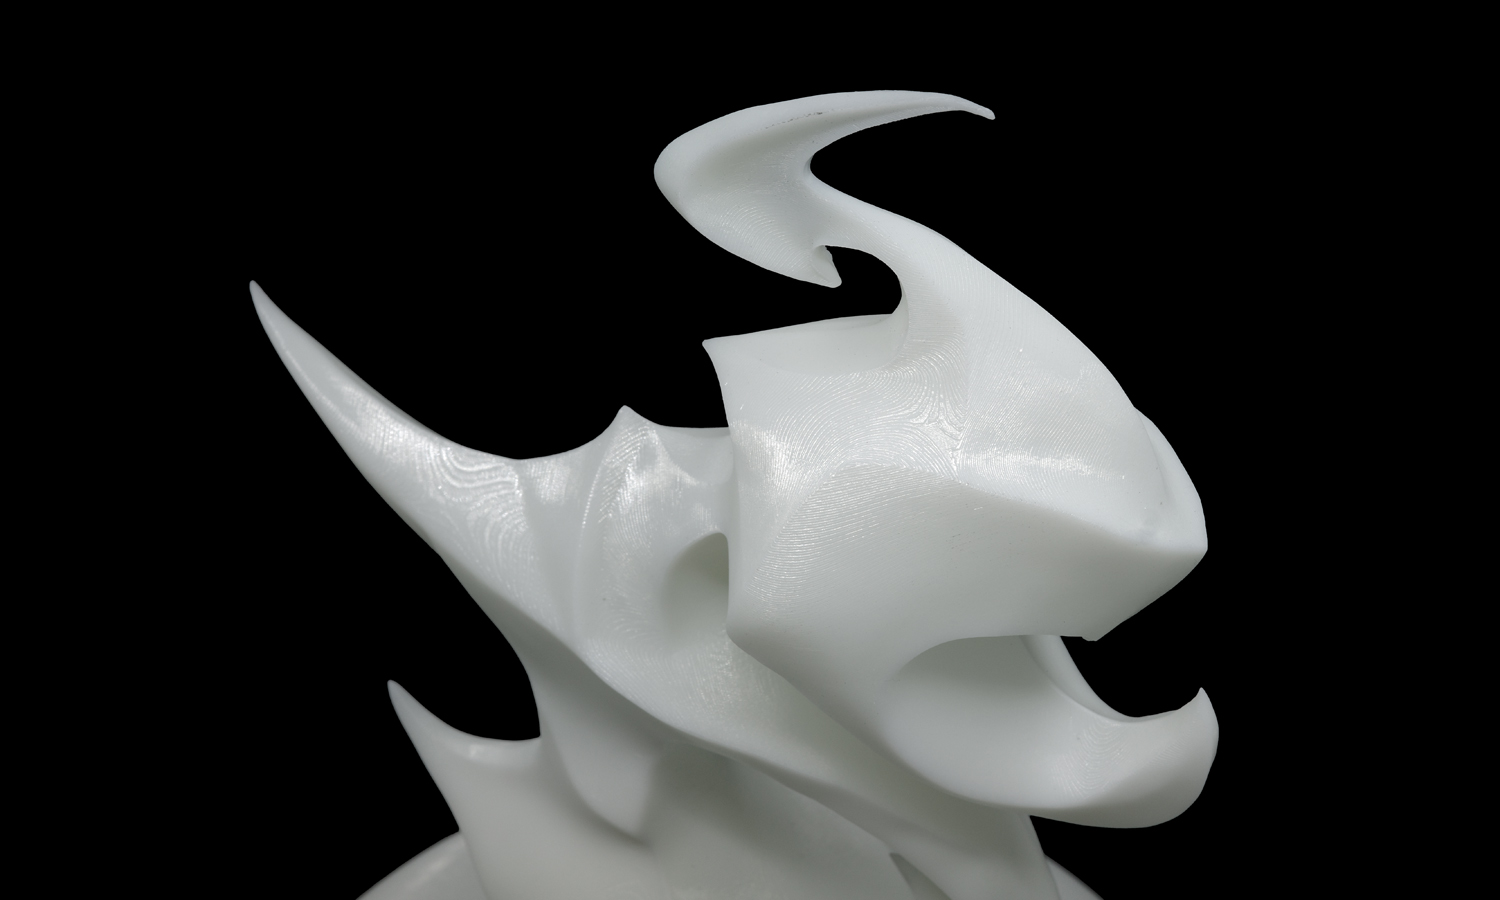
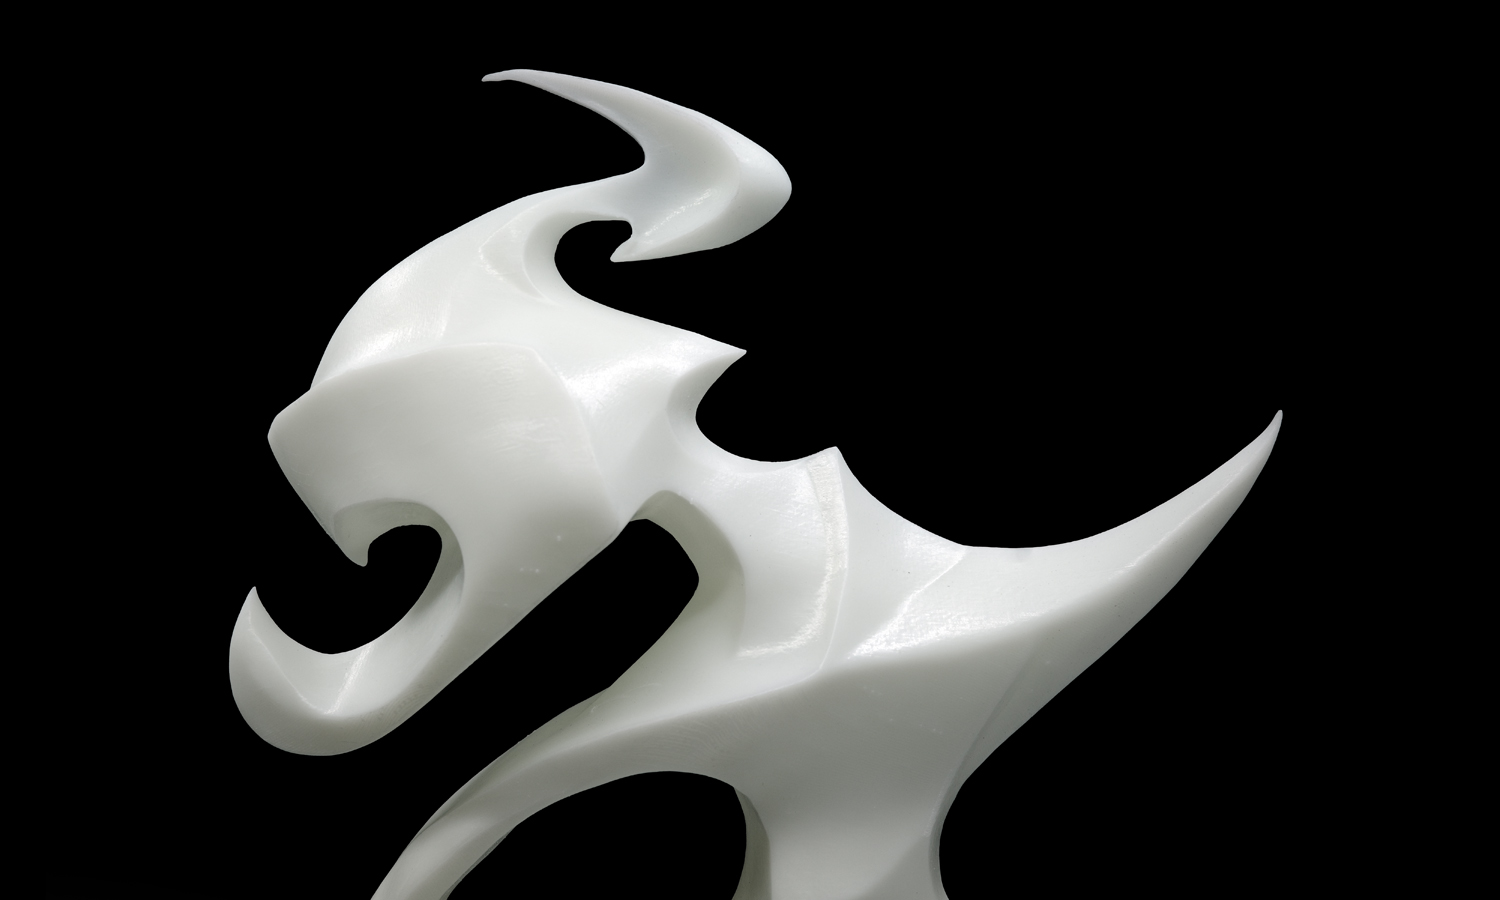
- Crisp Definition: The edges remain incredibly sharp, tapering into fine, needle-like tips that would be nearly impossible to achieve with traditional filament printing.
- Subtle Texture: Upon close inspection, the faint, concentric layer lines add a rhythmic quality to the surface, showcasing a highly stable and refined printing process.
- Complex Overhangs: Despite the deep recesses and gravity-defying sweeps, the form maintains perfect dimensional integrity, free from sagging or distortion.
This sculpture isn’t just an object; it’s an exploration of how spatial complexity and continuous motion can be captured through modern manufacturing.
Bring Your Vision to Life with FacFox
Whether you are an artist pushing the boundaries of organic form or an engineer requiring micron-level precision, FacFox is your premier partner for 3D printing services. We specialize in high-resolution resin printing that captures every intricate detail of your most complex CAD designs. From custom art pieces like this sculpture to functional prototypes, FacFox offers a wide range of materials and professional post-processing to ensure your project arrives gallery-ready.
Ready to start your next project? Upload your model to FacFox today and experience the future of manufacturing.
Solution
- Step 1: The 3D model was inspected for manifold geometry, minimum wall thickness, and unsupported overhangs, and any non-printable features were corrected.
- Step 2: The model was oriented in the slicer to reduce visible support marks on the most prominent surfaces and to improve drainage from the hollowed cavities and recesses.
- Step 3: Support structures were generated and manually adjusted, and extra reinforcement was added to thin tips, sharp edges, and long cantilevered curves to prevent warping or breakage.
- Step 4: Printing parameters were set (layer height, exposure, lift speed, and rest times), and the resin vat, build plate, and optics were cleaned and checked.
- Step 5: The resin was poured and mixed in the vat, and the build plate was leveled and secured.
- Step 6: The part was resin-printed layer by layer until the full sculpture and base were completed on the build plate.
- Step 7: The printed part was removed from the build plate, and excess resin was allowed to drain away from the recesses and internal contours.
- Step 8: The part was washed in solvent (typically IPA or an equivalent wash solution) to remove uncured surface resin, and the deep cavities were flushed to prevent residue buildup.
- Step 9: The part was air-dried or gently blow-dried until all solvent evaporated, and the surface was checked for tackiness.
- Step 10: The part was post-cured under UV light for a controlled duration, and it was rotated as needed to ensure even curing across all surfaces.
- Step 11: Support structures were removed using cutters and careful hand pressure, and the contact points were trimmed to minimize scarring.
- Step 12: Support marks and minor artifacts were sanded progressively, and the sharp tips and edges were protected during handling to avoid chipping.
- Step 13: The surface was lightly refined to achieve a uniform matte/satin appearance, and any remaining dust was cleaned off.
- Step 14: The base was checked for flatness and stability, and the finished sculpture was final-inspected for surface defects, cracks, and incomplete curing.


