Material Resin
Quantity 1 pcs
Price Range $100-1,000
Lead Time 7 workdays
Gallery
About Project
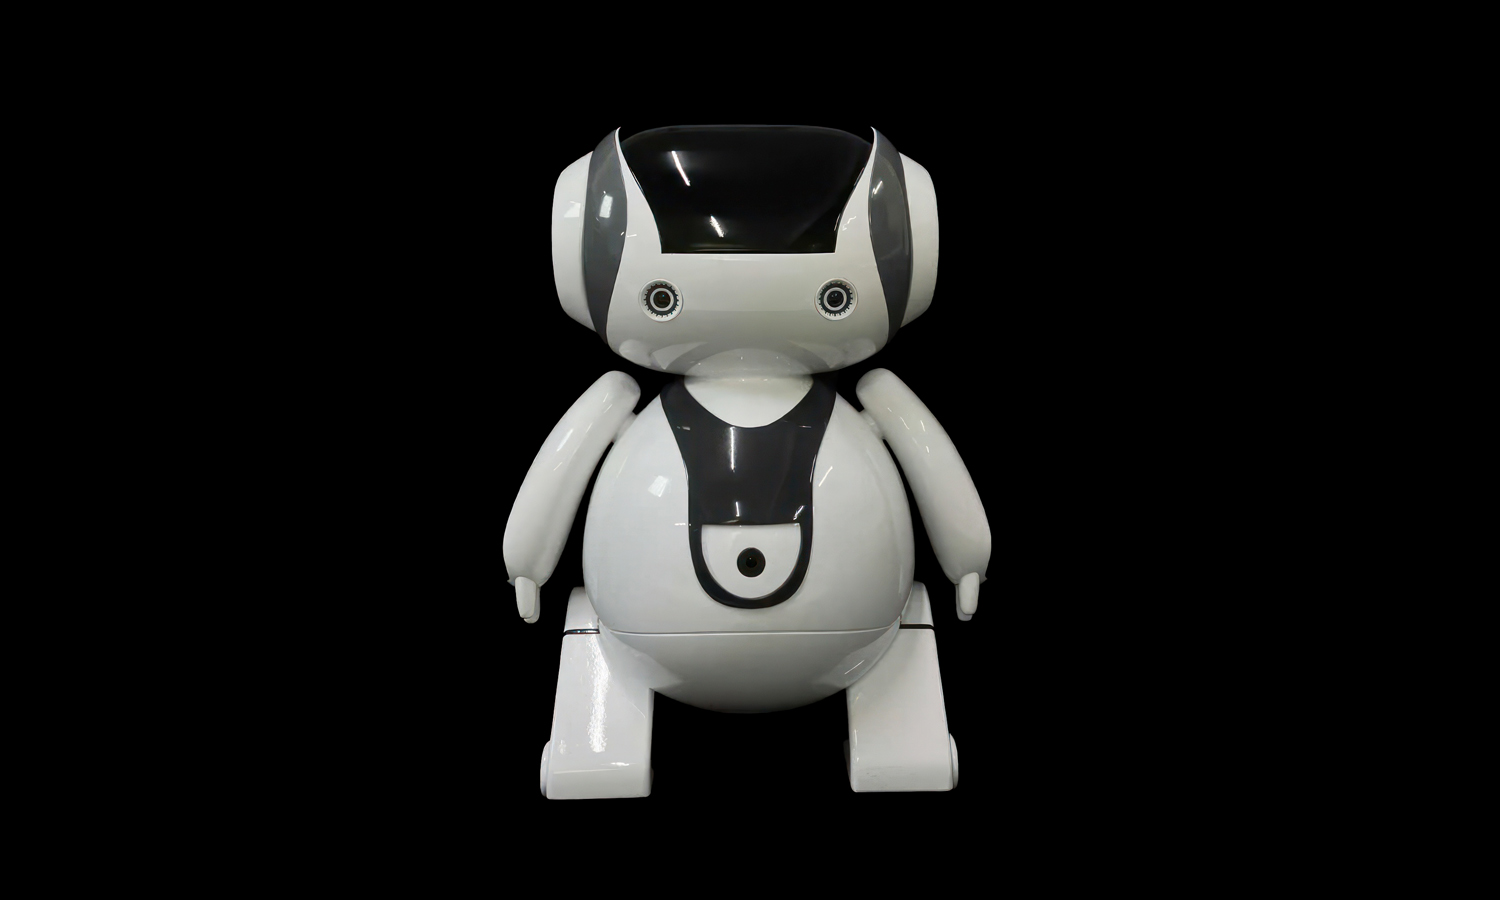
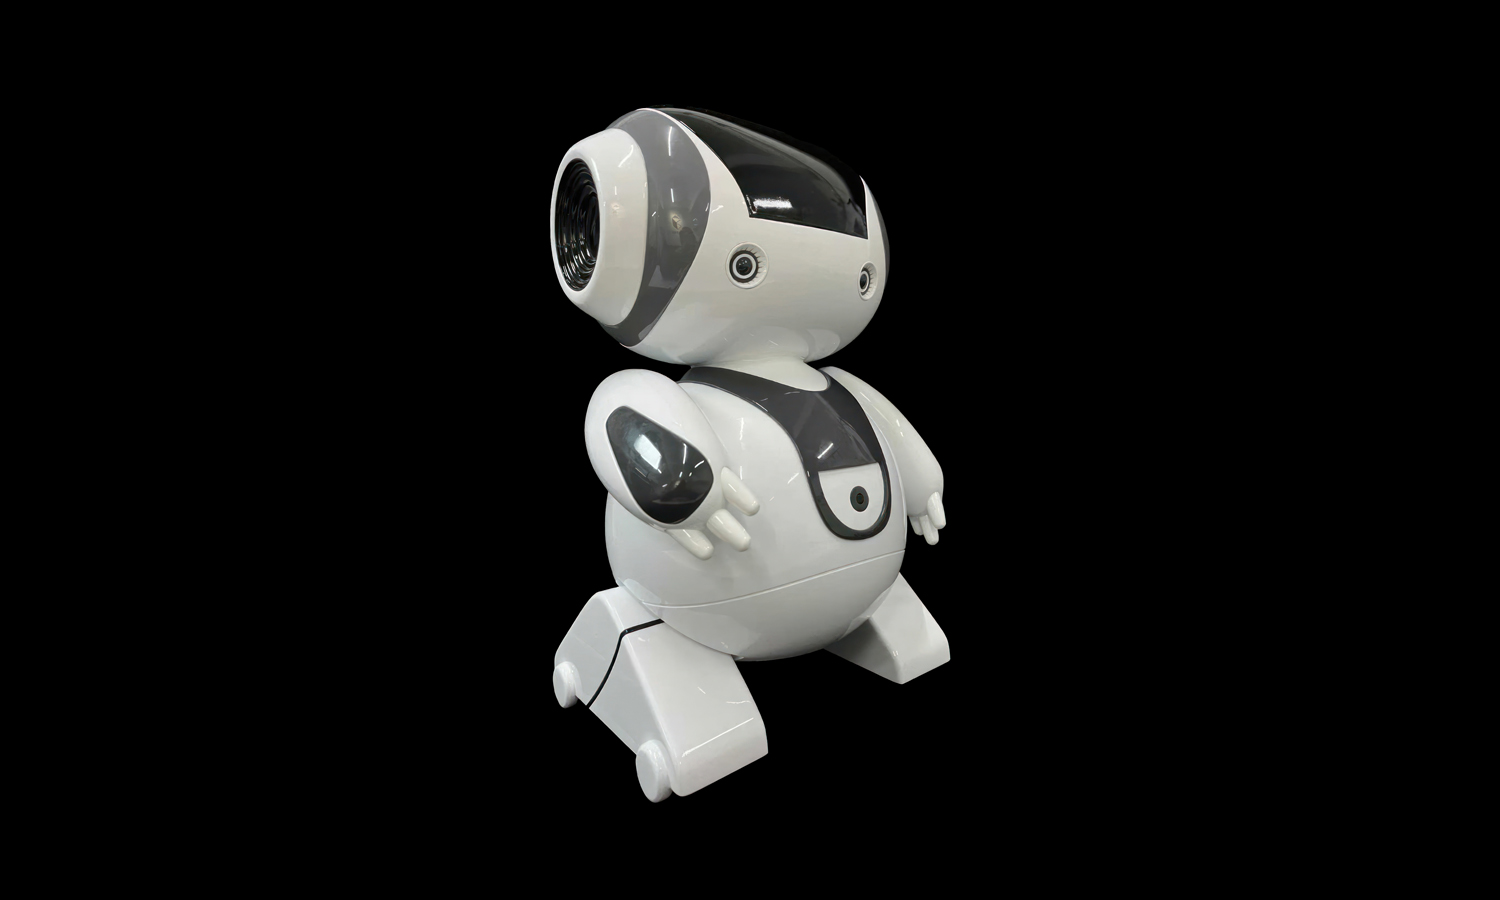
Check out our latest project-a sleek, high-fidelity robot model that bridges the gap between futuristic design and functional engineering. This charming companion features a glossy, aerodynamic silhouette and a modular internal structure designed specifically for human-robot interaction testing.
To achieve this level of detail, we utilized SLA (Stereolithography) 3D printing with ABS-like Resin at a precise 0.05mm layer thickness. This combination ensures a “near-injection-molded” finish, perfectly capturing every smooth curve of the robot’s body and the intricate mechanics of its joints. More than just a display piece, this physical model allowed our team to verify the fit and reliability of the interaction modules, proving that the design is as functional as it is aesthetic.
Why Choose SLA for Robotics Prototyping?
- Ultra-Smooth Surfaces: The 0.05mm layer height eliminates visible print lines, making it ideal for sleek, consumer-facing robot skins.
- Dimensional Accuracy: Perfect for testing snap-fit parts, internal sensors, and moving joints.
- Rapid Iteration: Move from a 3D CAD file to a physical test subject in a fraction of the time of traditional manufacturing.
Bring Your Designs to Life with FacFox
Are you looking to accelerate your robotics R&D? At FacFox, our professional 3D printing services provide a comprehensive solution from virtual simulation to physical testing. By leveraging our high-precision SLA technology and industrial-grade resins, we can help you perfectly replicate streamlined aesthetics and complex joint structures. Whether you are building an interactive robot or a complex mechanical prototype, FacFox ensures your rapid iterations are supported by functional reliability and premium quality.
Would you like a custom quote for your next robotics project or more information on our material options?
Solution
- Step 1: Digital Pre-processing and Slicing. The 3D CAD model was meticulously inspected for manifold errors and structural integrity. The digital file was then sliced into layers of 0.05mm thickness, and necessary support structures were added to stabilize the overhanging components during the build.
- Step 2: SLA 3D Printing. High-precision SLA (Stereolithography) technology was employed for the fabrication. An ultraviolet laser was directed onto a vat of liquid ABS-like resin, where the robot’s parts were traced and solidified layer by layer.
- Step 3: Part Cleaning and Post-Curing. Once the printing was finalized, the components were washed in isopropyl alcohol to remove excess resin. To achieve maximum material stability, the parts were placed into a UV curing chamber until the chemical bonds were fully cross-linked.
- Step 4: Support Removal and Surface Priming. The temporary support structures were carefully detached, and the surfaces were sanded with progressively finer grits to eliminate any layer lines. A high-build primer was then applied to the components to seal the resin and create a perfectly smooth base for the aesthetic finish.
- Step 5: Professional Painting and Masking. A multi-stage painting process was executed to replicate the design’s color scheme. The primary white “body” sections were spray-painted with a high-gloss automotive-grade pigment. Once dried, specific areas were masked off with precision tape so that the contrasting charcoal-grey accents and the black “visor” could be applied without overspray.
- Step 6: Clear Coating and Polishing. To protect the paint and enhance the robot’s futuristic sheen, a transparent UV-resistant clear coat was applied. The surface was then buffed and polished to a mirror-like finish, ensuring the model was resistant to fingerprints and scratches during handling.
- Step 7: Final Assembly and Functional Verification. In the final stage, the individual components were integrated with the internal electronics and interaction modules. The fit of the joints and the reliability of the mechanical interfaces were verified, completing the transition from a virtual simulation to a physical testing prototype.


