Material Resin
Quantity 1 pcs
Price Range $100-1,000
Lead Time 5 workdays
Gallery
About Project
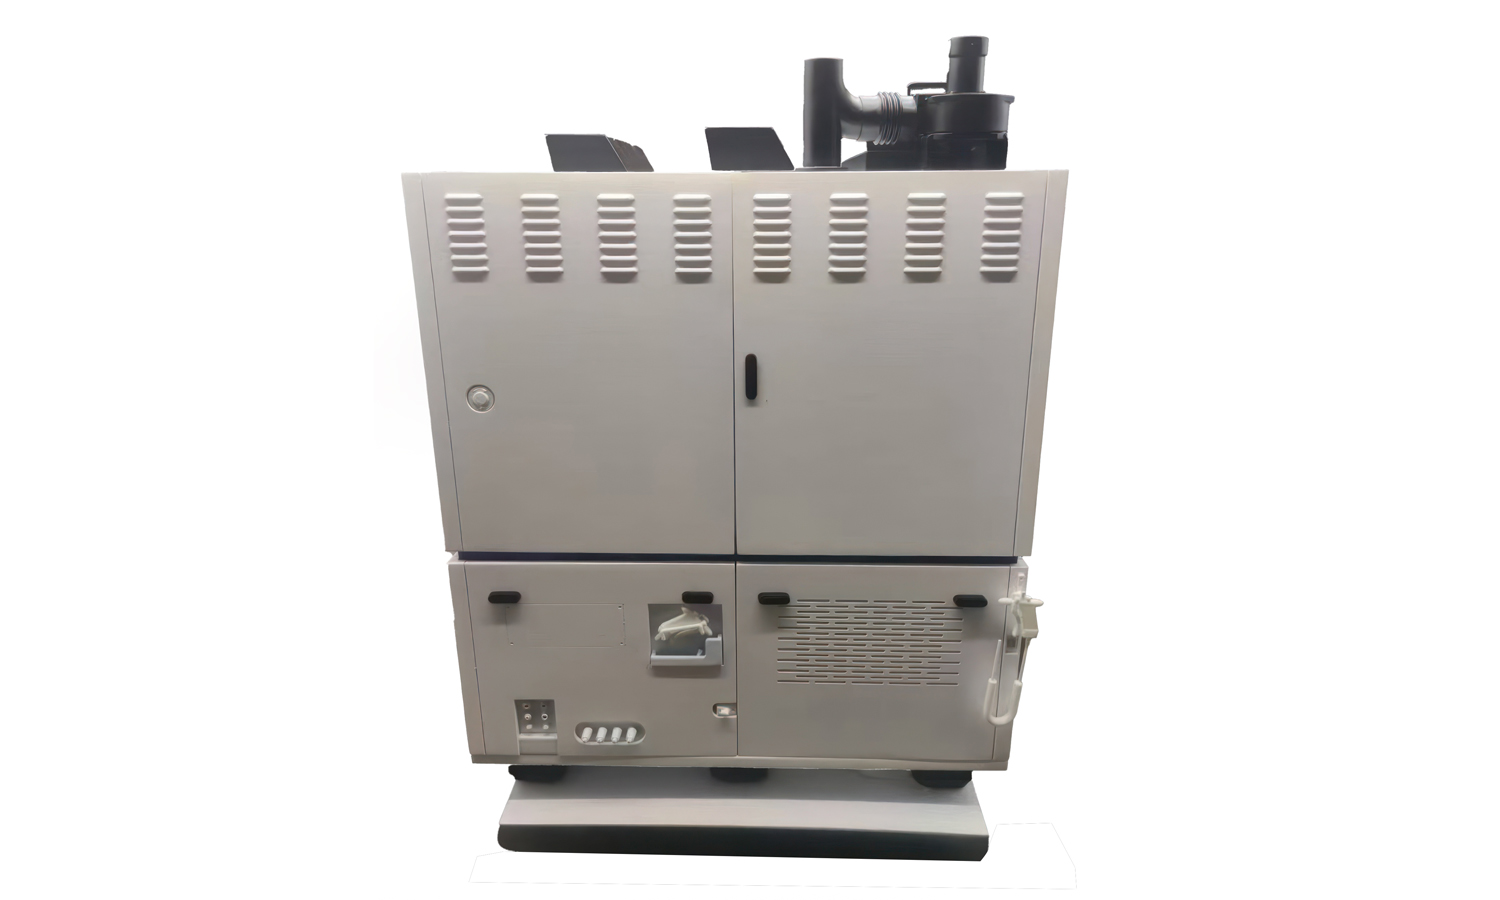
This detailed model replicates a modern industrial machine enclosure, featuring functional-looking doors, vents, and window panels. Designed to demonstrate both form and assembly, it was fabricated through precision 3D printing and post-processing to capture every contour of the real equipment.
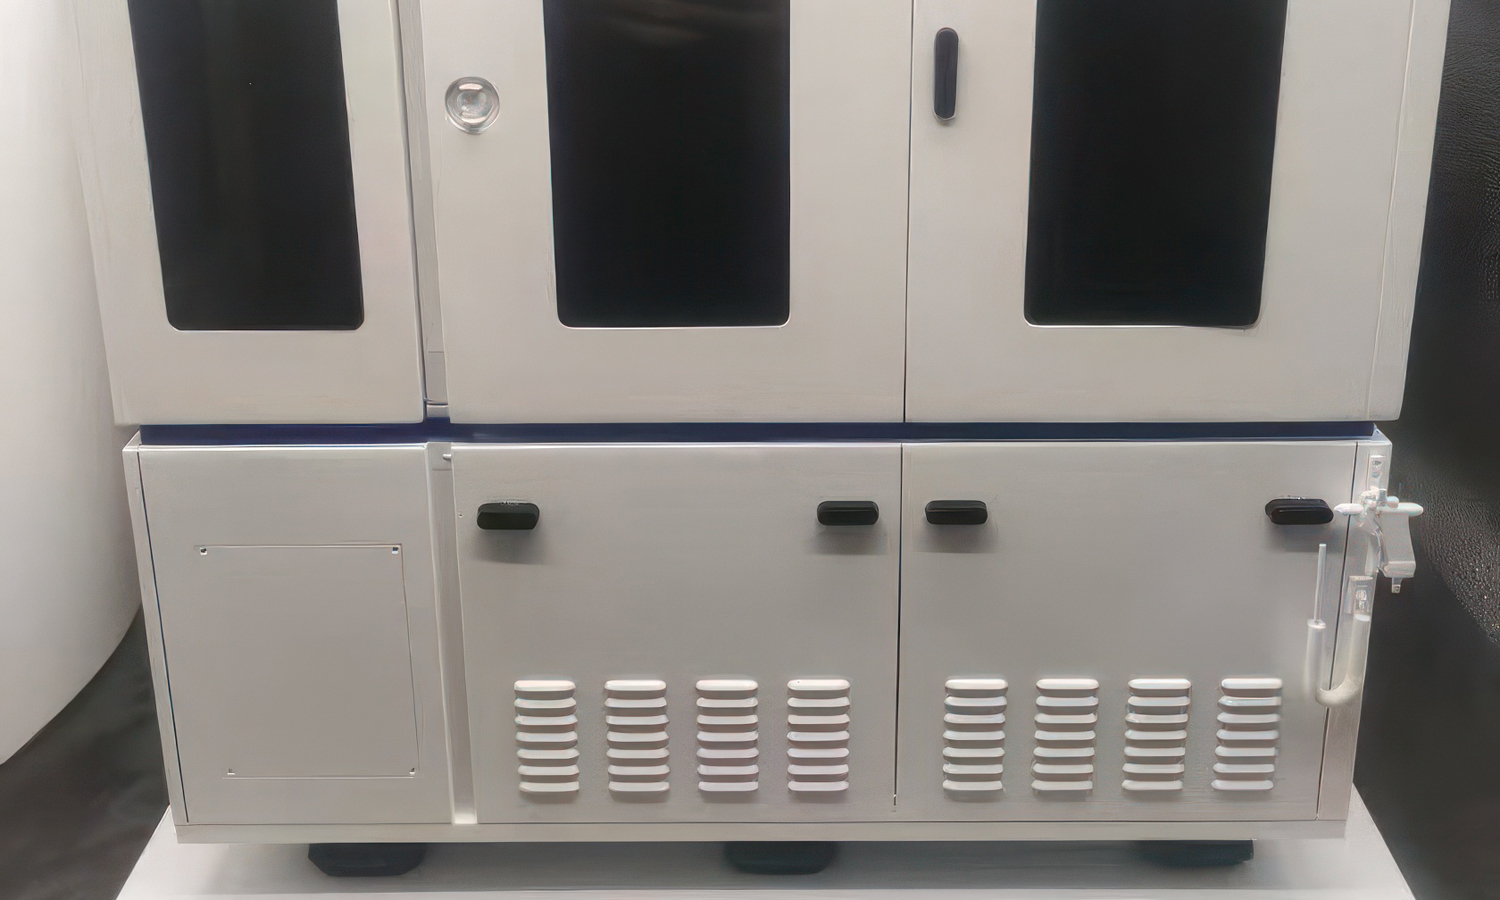
The main body was printed in SLA Tough Resin, ensuring excellent dimensional accuracy and rigidity. After printing, the parts were carefully sanded and primed to achieve a smooth surface. The panels were then coated in matte white and black, with clear window sections precisely cut and fitted to emulate a functional design. The sharp panel lines, symmetrical ventilation patterns, and proportional accessories on the roof showcase the precision possible through digital fabrication.
Upon close inspection, the overall surface finish is highly refined-flat, uniform, and cleanly painted. Minor assembly seams are visible but well-aligned, demonstrating tight tolerances in the 3D-printed components. The paintwork provides a realistic industrial texture while concealing layer lines, making it ideal for presentation and concept validation.
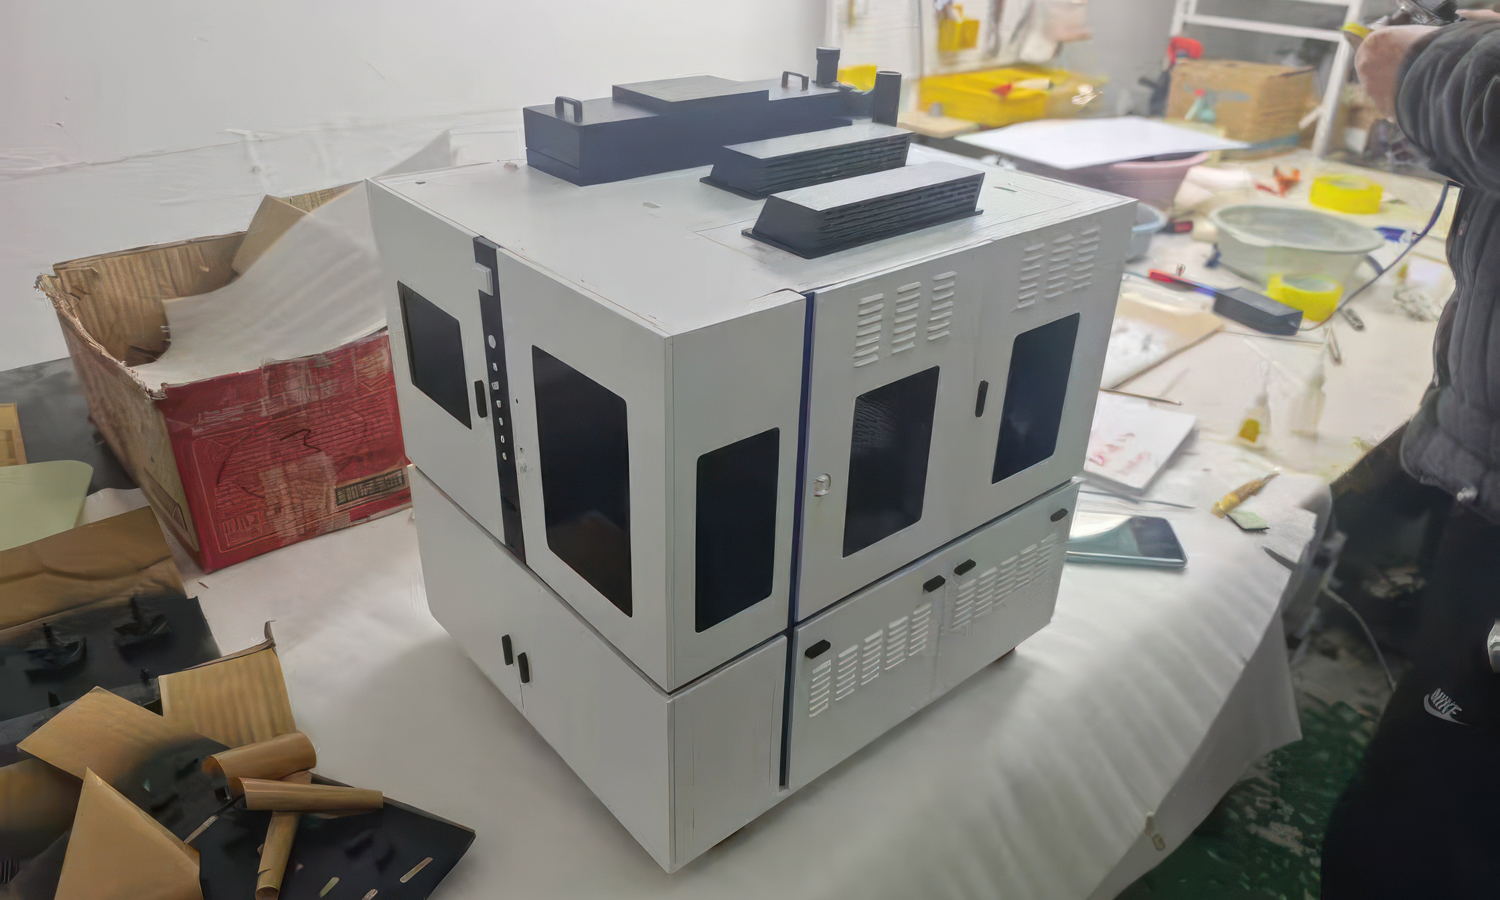
The finished prototype convincingly represents a scaled-down version of the industrial equipment, achieving both aesthetic fidelity and mechanical precision. It demonstrates how 3D printing can accelerate product visualization and engineering communication without the need for costly tooling.
FacFox provides professional 3D printing and finishing services for industrial design prototypes, machine models, and functional parts. Whether you need large-scale mockups or intricate enclosures, our engineering team can turn your CAD files into physical models with exceptional accuracy and finish quality.
Solution
- Step 1: The CAD model was split and optimized for 3D printing.
- Step 2: Each section was printed with industrial SLA resin for high detail and surface quality.
- Step 3: The printed parts were washed, cured, and sanded to remove support marks.
- Step 4: Panels were primed and painted in multiple layers for a clean matte finish.
- Step 5: Clear windows, vents, and handles were installed, followed by final touch-up and inspection.


