Material Rubber
Quantity 30 pcs
Price Range $100-1,000
Lead Time 5 workdays
Gallery
About Project
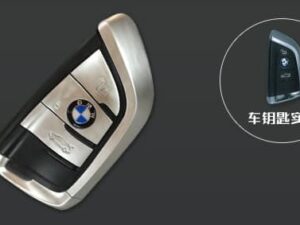
Ever wondered how ideas are transformed into tangible, functional products without the need for costly mass-production tooling? At FacFox, our vacuum casting (urethane casting) service bridges the gap between prototyping and full-scale manufacturing.
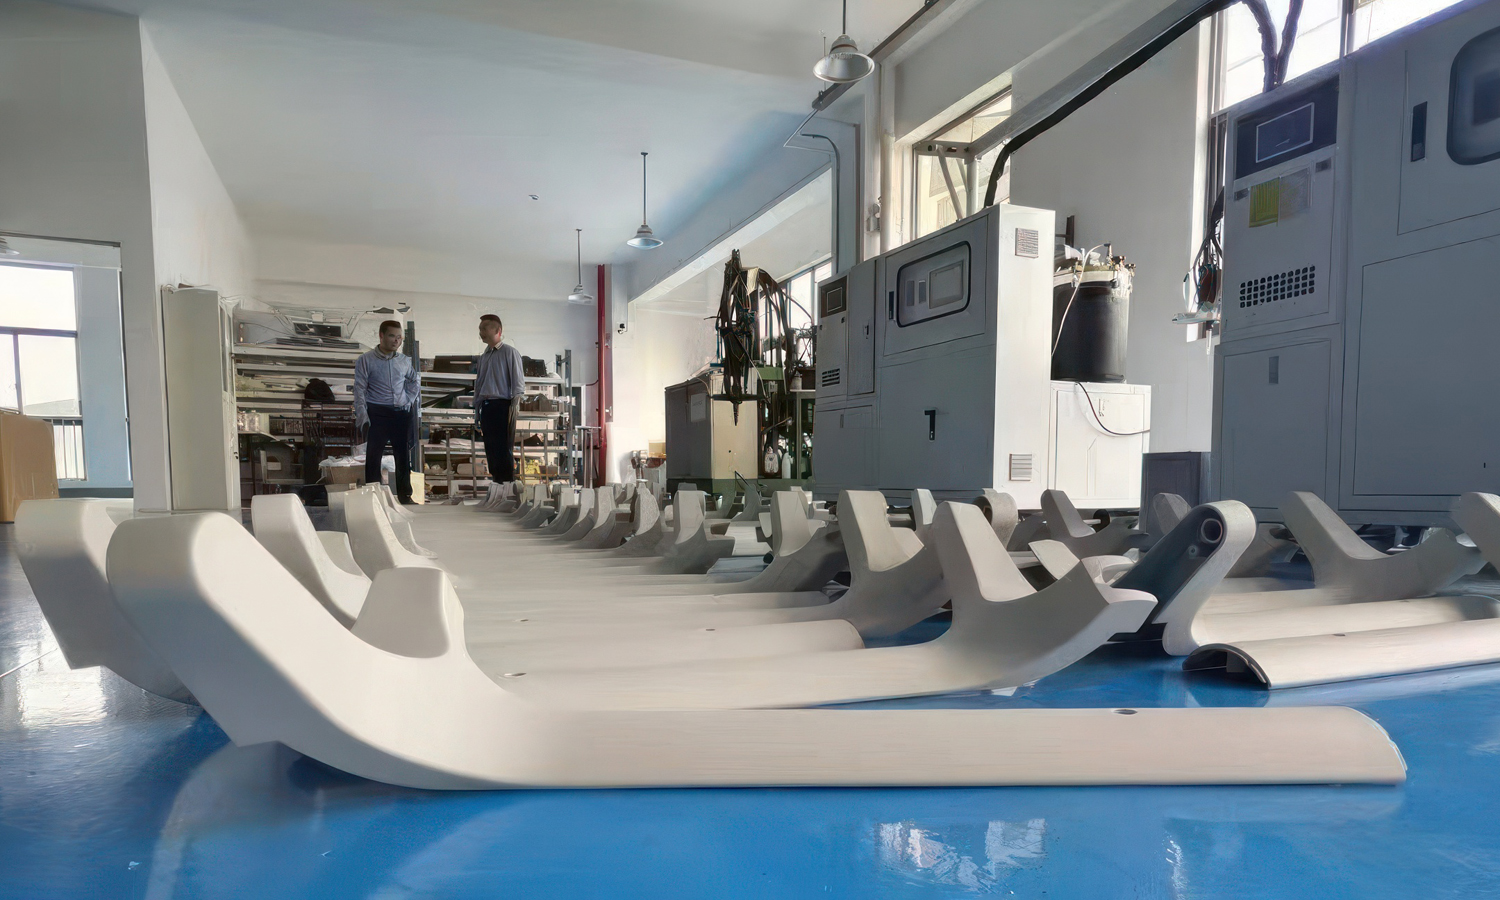
The process starts with a high-quality master model, often 3D printed. From this, silicone molds are created to reproduce precise replicas in a variety of polyurethane resins. The result? Durable, detailed parts that closely mimic final production materials-perfect for functional testing, design validation, and short-run production.
Why choose vacuum casting with FacFox?
- Cost-effective for low volumes
- High accuracy and surface quality
- Wide range of material properties (rigid, flexible, transparent, heat-resistant)
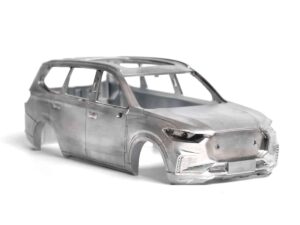
- Ideal for prototypes, housings, consumer goods, automotive and industrial applications
Whether you’re an innovator refining your design or a manufacturer needing small batches before mass production, FacFox’s expertise ensures your parts meet the highest standards.
Ready to bring your project to life? Contact us today and explore how our vacuum casting solutions can accelerate your product journey.
Solution
- Step 1: Master pattern was produced.A high-accuracy master was created by SLA/SLS/MJF 3D printing or CNC machining according to the approved CAD.
- Step 2: Surface was finished.The master’s surfaces were filled, sanded, and polished to the specified gloss level; texture and split lines were verified.
- Step 3: Parting strategy was defined.A mold parting line, draft, and pull direction were planned; gates, risers, and vents were positioned to ensure complete filling and bubble release.
- Step 4: Mold box and supports were prepared.A rigid mold frame, alignment keys, and core/insert fixtures were built to maintain geometry during casting.
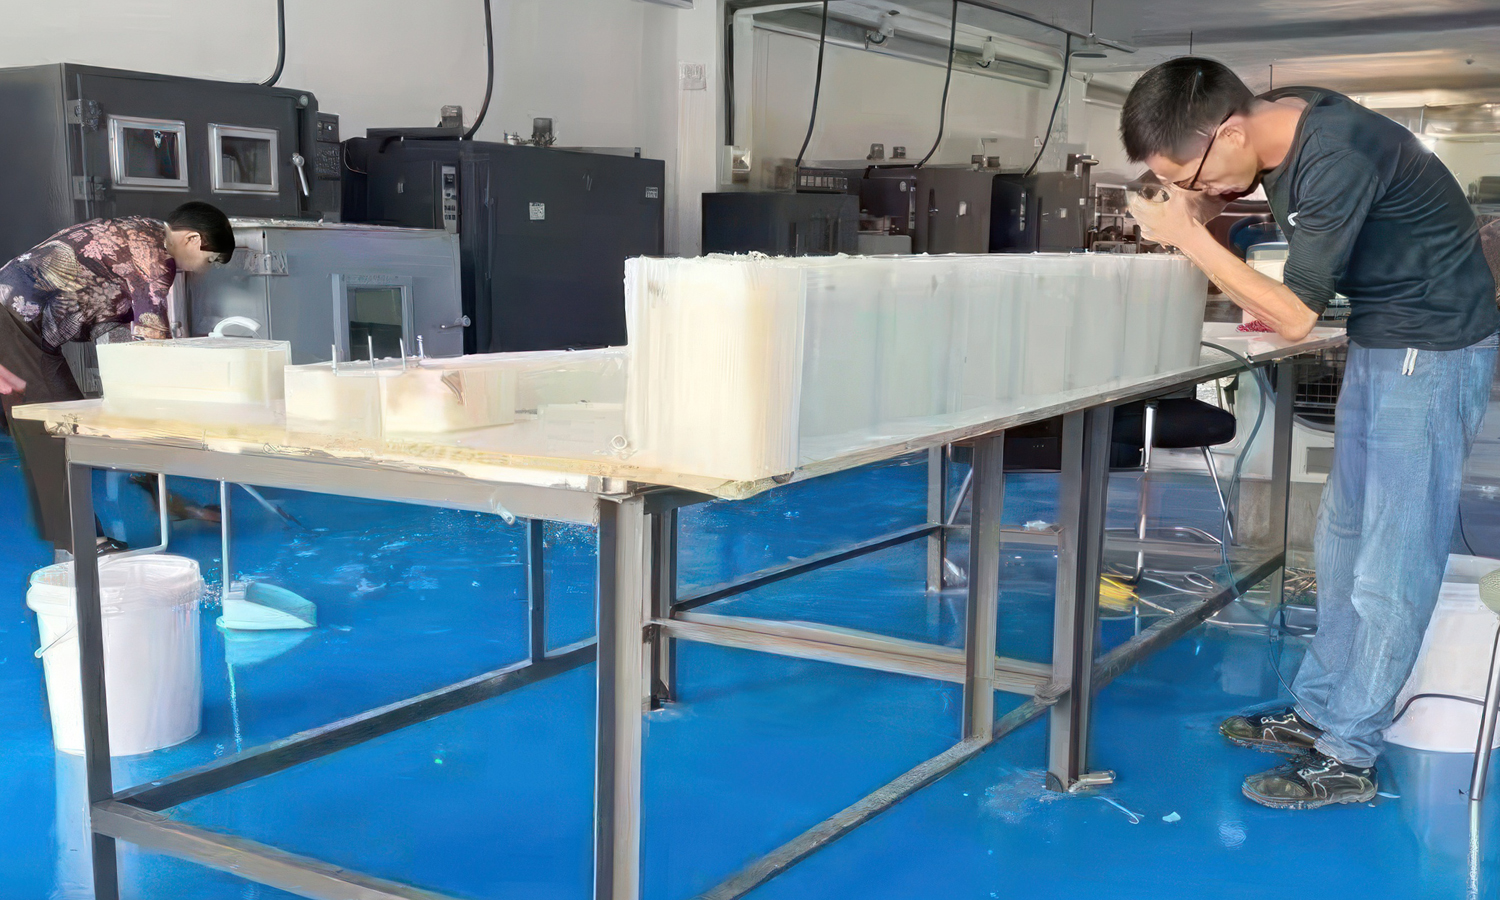
- Step 5: Silicone was mixed and de-gassed.Platinum-cure silicone rubber was weighed, mixed, and vacuum de-gassed to remove entrapped air.
- Step 6: Silicone was poured over the master.The master was set in the mold box, and silicone was poured in a thin stream; the assembly was further vacuumed to evacuate bubbles.
- Step 7: Silicone was cured and the mold was opened.After full cure, the silicone block was split along the planned parting line; the master was removed and the cavity was cleaned.
- Step 8: Gates, vents, and hard jackets were completed.Feed gates and micro-vents were cut; a rigid fiberglass/metal jacket was added to prevent deformation during casting.
- Step 9: Mold was pre-heated.The silicone mold and jacket were pre-heated to the target temperature to stabilize viscosity and shrinkage.
- Step 10: Casting resin was prepared.The specified polyurethane system (rigid, flexible, transparent, or heat-resistant) was weighed; pigments and additives were blended as required.
- Step 11: Resin was vacuum de-gassed.Mixed resin was placed under vacuum until visible foaming subsided to minimize porosity.
- Step 12: Resin was poured and the cavity was filled.The mold was assembled and clamped; resin was poured under vacuum (or poured and then vacuumed) through the main gate until the overflow risers were filled.
- Step 13: Part was cured under controlled conditions.The filled mold was transferred to an oven or pressure chamber, and the resin was cured per the material datasheet.
- Step 14: Part was de-molded and trimmed.After cure, the mold was opened; gates and vents were removed, and edges were deflashed.
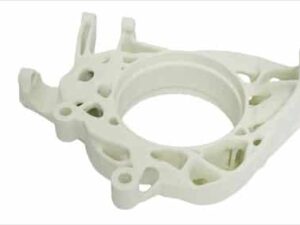
- Step 15: Post-cure and finishing were performed.Parts were post-cured if required; surfaces were sanded, bead-blasted, or polished. Primer, painting, texture, clear coat, or soft-touch finishes were applied as specified.
- Step 16: Inserts, overmolds, or assemblies were completed (if required).Threaded inserts, metal reinforcements, transparent windows, gaskets, or multi-shot overmolds were integrated according to the design.
- Step 17: Dimensional and functional QC was carried out.Critical dimensions were inspected against CAD; color, gloss, and weight were checked; fit and functional tests were executed.
- Step 18: Parts were cleaned, packed, and shipped.Each part was cleaned, labeled, and protected with custom packaging; batches were documented and dispatched.


