Material Resin
Quantity 4 pcs
Price Range $1-100
Lead Time 2 workdays
Gallery
About Project
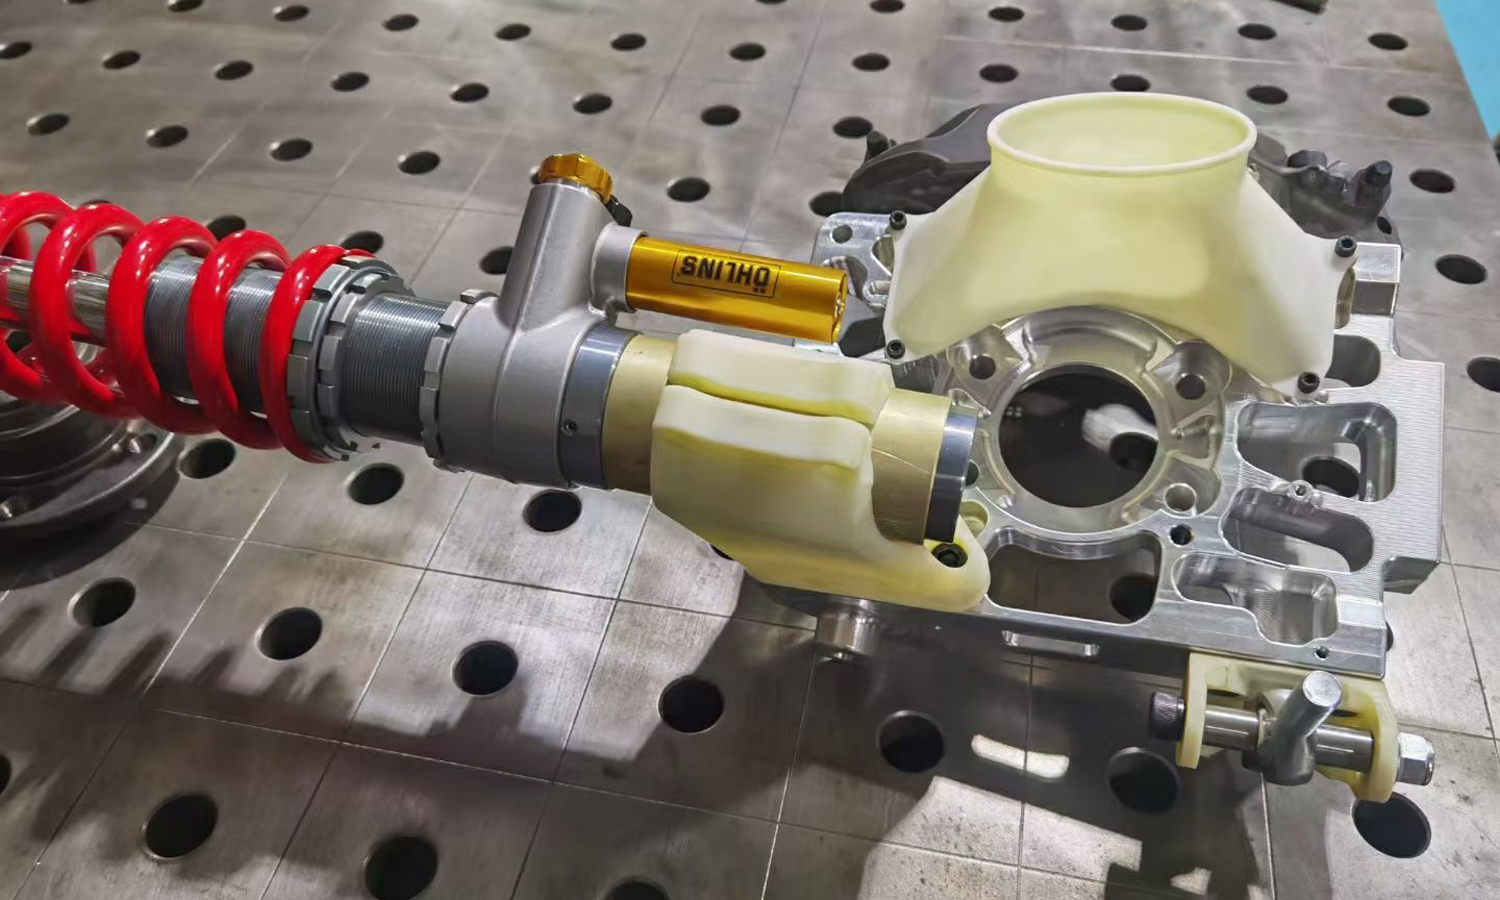
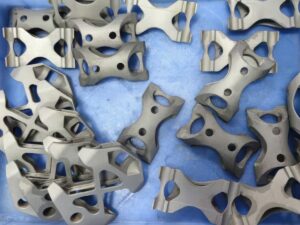
FacFox takes automotive prototyping to the next level with Stereolithography (SLA) 3D printing. This innovative technique allows for the creation of highly functional prototypes, like this steering joint component, in a fraction of the time traditional methods require.
Imagine being able to develop and test a steering joint component prototype with intricate yellow plastic parts that snap onto a stainless steel shaft. FacFox’s SLA technology makes this a reality. Our SLA Tough Resin is the secret sauce. This resin offers the perfect balance of durability and flexibility, allowing the printed parts to be easily assembled and disassembled.
Benefits of SLA 3D Printed Prototypes for Automotive Parts:
- Speed: SLA gets your prototypes in your hands faster than traditional manufacturing methods.
- Accuracy: The precision of SLA ensures your prototypes closely resemble the final product.
- Functionality: SLA Tough Resin’s properties allow for functional testing of components like this steering joint.
- Design Iteration: The rapid prototyping capabilities of SLA facilitate design changes before committing to large-scale production.
- Machinability: The printed material can be drilled and tapped for additional functionality.
FacFox is a leading provider of 3D printing services for the automotive industry. We offer a wide range of materials and technologies to meet your specific needs.
Contact us today to learn more about how SLA 3D printing can accelerate your automotive prototyping process. Let’s drive innovation together!
Solution
- Step 1: Design Phase. The digital 3D model of the steering joint component was created using CAD software. The design was optimized for SLA 3D printing, ensuring proper tolerances for assembly and operation.
- Step 2: Preparation for Printing. The 3D model file was uploaded to the SLA 3D printerБ─≥s software. Necessary supports for the printing process were generated by the software.
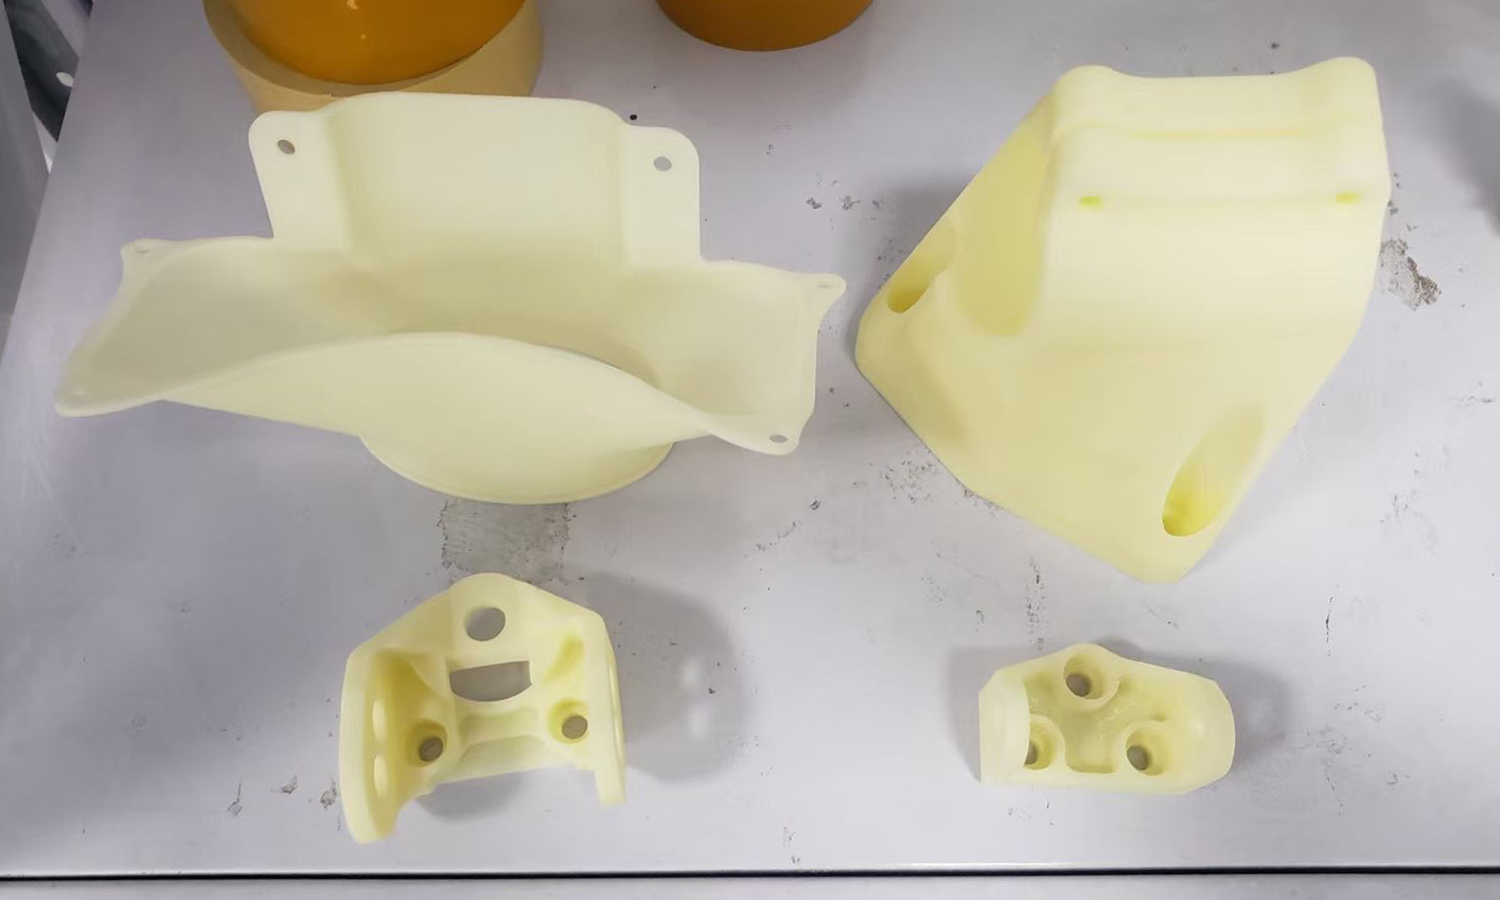
- Step 3: Printing Process. A vat ofб═SLA Tough Resin was prepared and placed into the SLA 3D printer. The build platform was lowered into the resin vat. UV laser was calibrated to the correct settings for the resin material. The laser selectively cured the resin, layer by layer, to form the yellow plastic parts.
- Step 4: Post-Processing. The build platform was raised, and the printed parts were removed from the platform. Excess resin was washed off the parts using isopropyl alcohol. The parts were then cured under UV light to achieve full strength and stability.
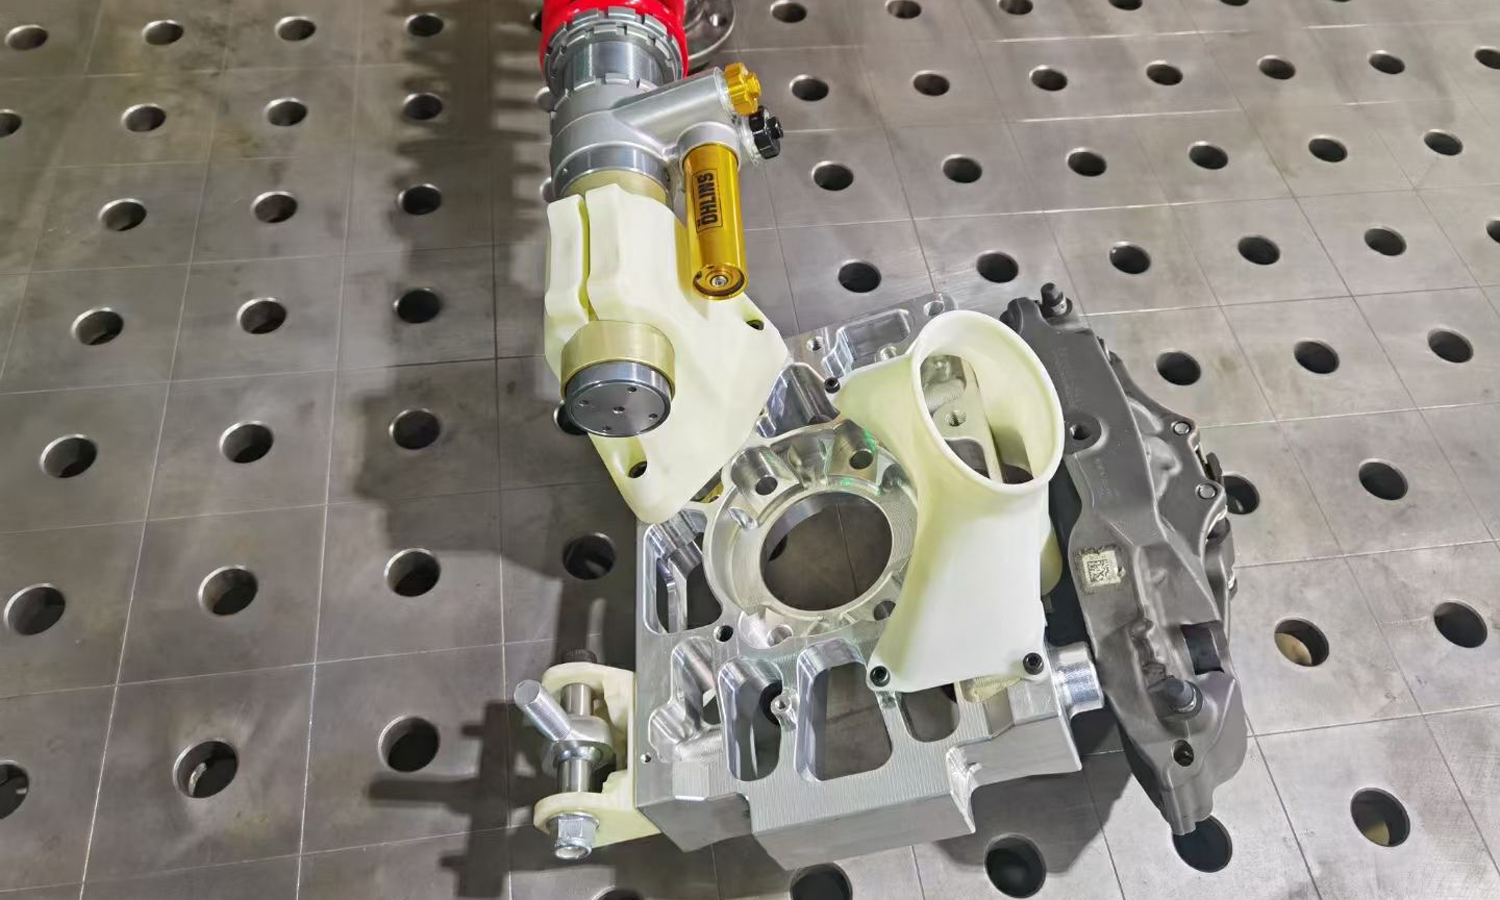
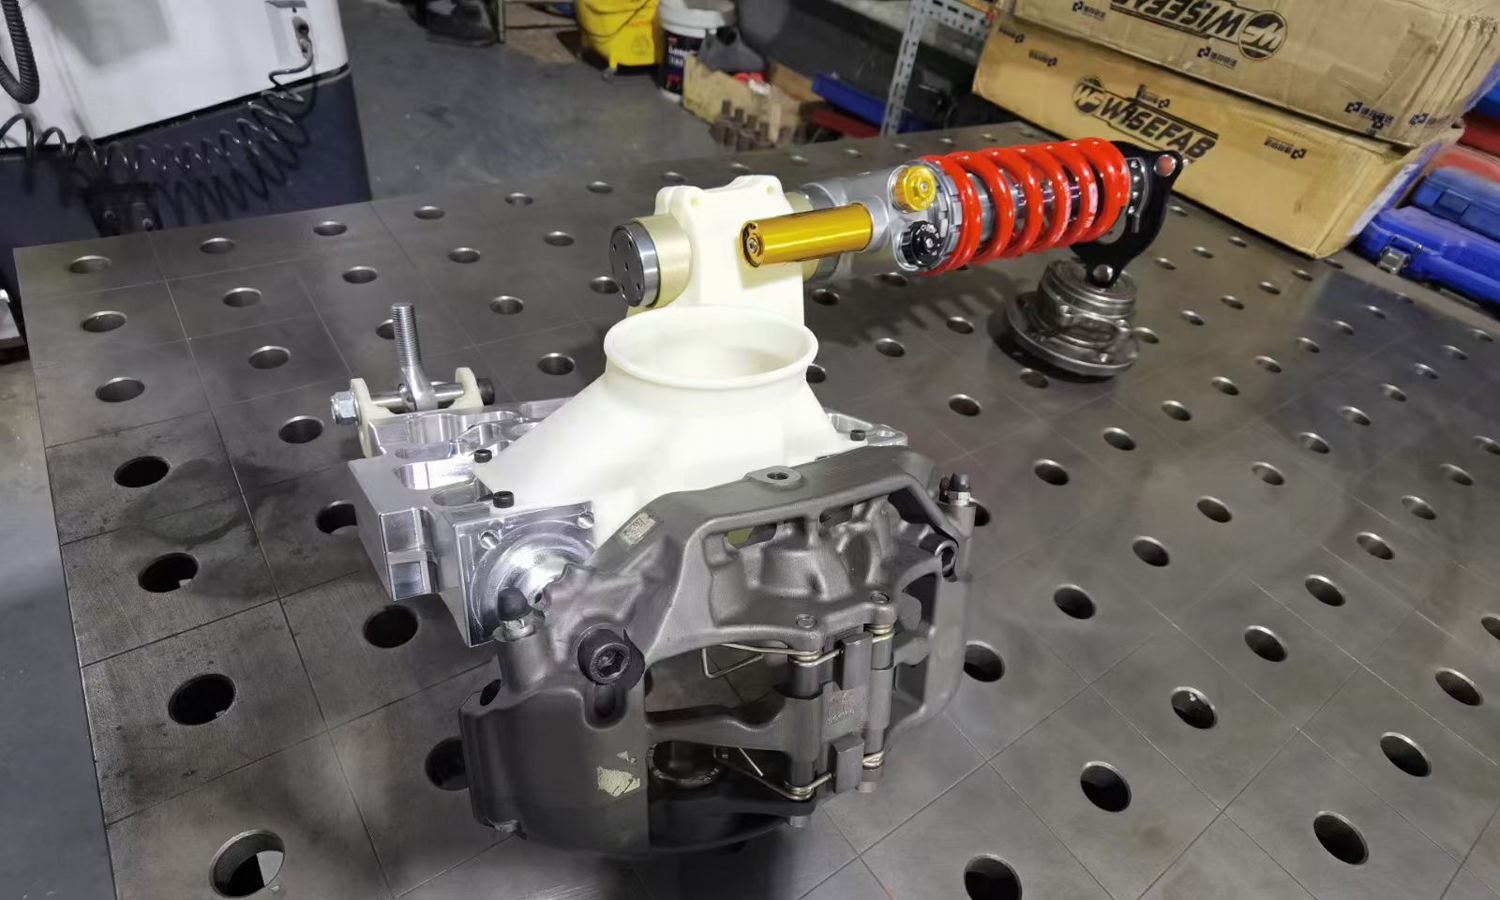
- Step 5: Assembly Testing. The printed parts were assembled onto the stainless steel steering joint component. The fit and functionality of the assembled prototype were tested.
- Step 6: Finishing. The parts were inspected for any surface imperfections. Post-curing processes were applied if necessary to improve the mechanical properties.
- Step 7: Drilling for Screw Holes. Markings for screw holes were made on the parts as per the design specifications. A drill press was used, and holes were drilled into the material at the marked locations.

