Material Resin
Quantity 1 pcs
Price Range $1-100
Lead Time 3 workdays
Gallery

About Project
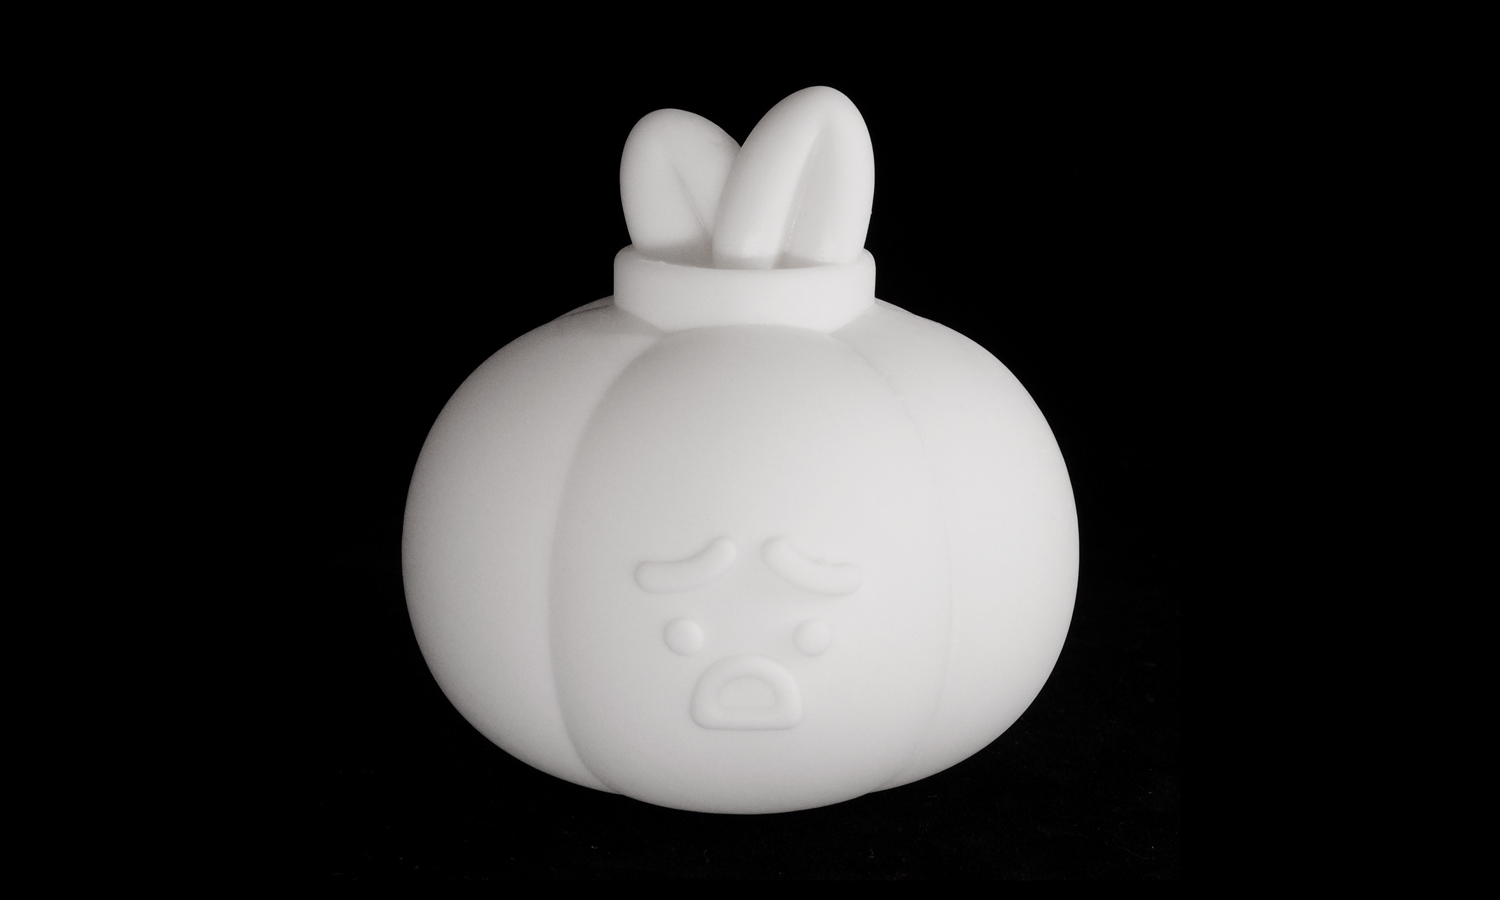
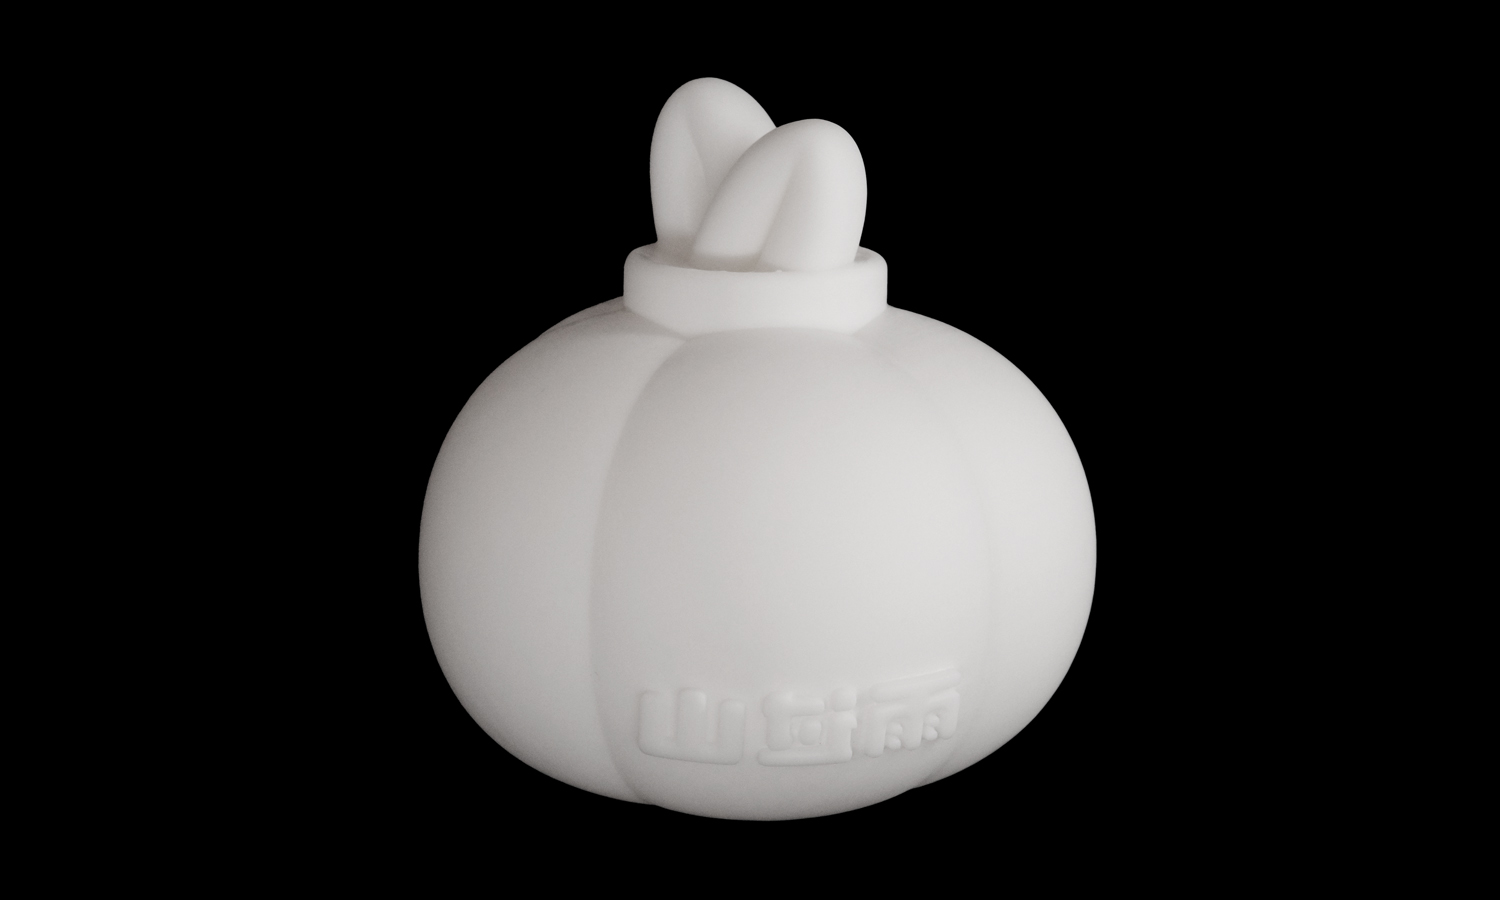
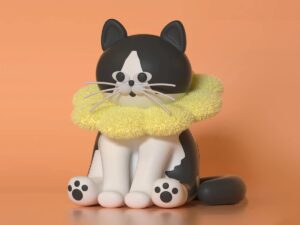
Are you looking for a unique and adorable garage kit to add to your collection? If so, you might want to check out the SLA 3D Printed White Resin Awkward Orange Garage Kit. This is a chubby cartoon orange with a sad and awkward expression that will melt your heart.
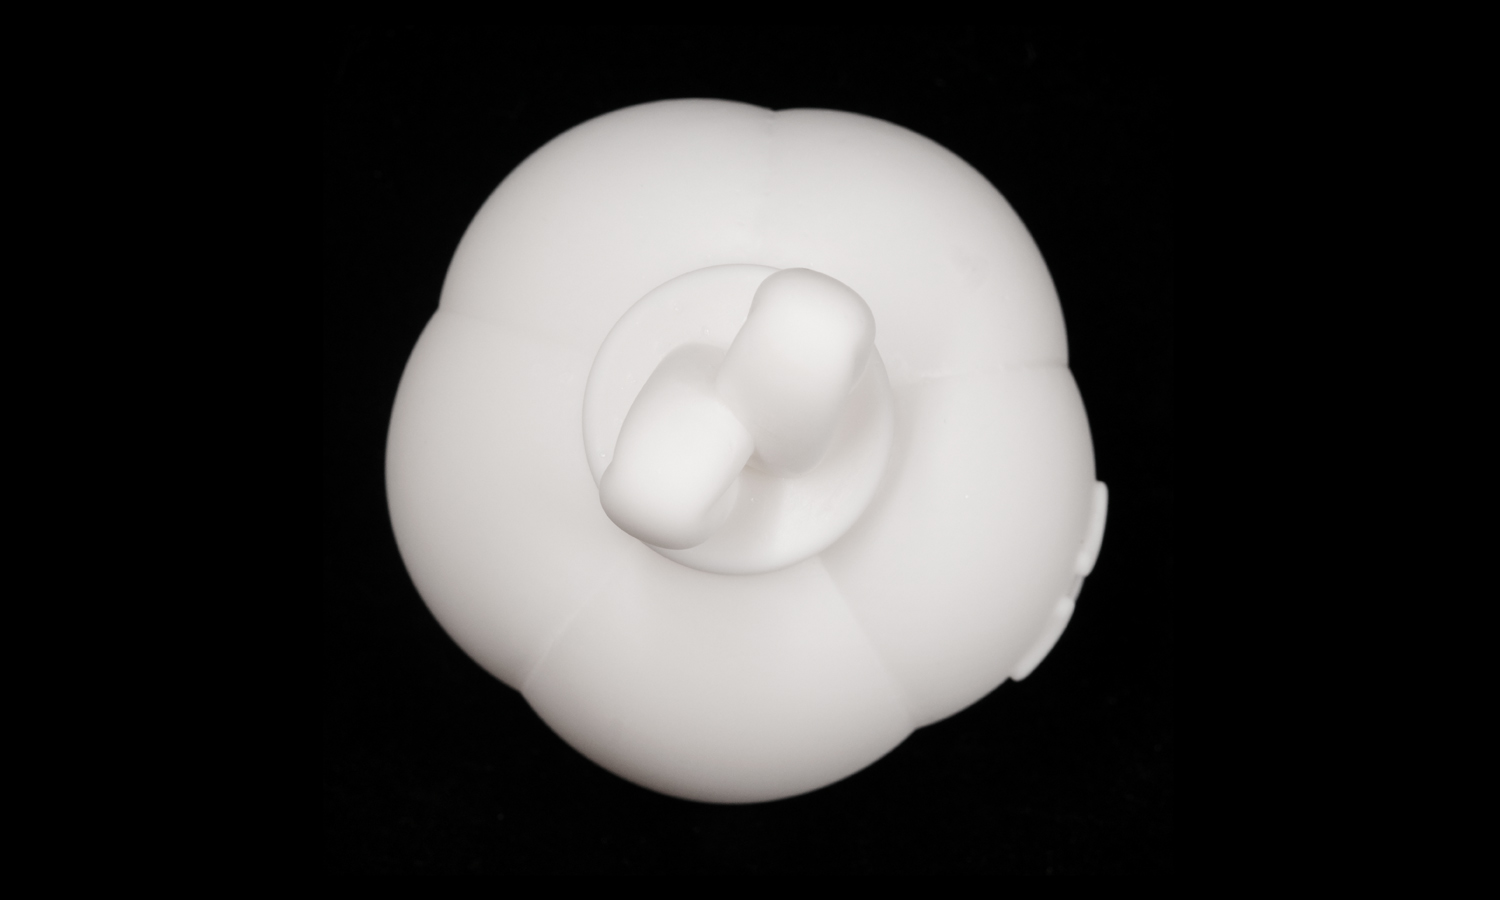
It also has chubby leaves on its head that add to its charm. It is printed in high-quality white resin that is smooth and durable. You can paint it with your favorite colors and customize it to your liking.
The SLA 3D Printed White Resin Awkward Orange Garage Kit is made by FacFox, a leading online platform for 3D printing services. FacFox offers a wide range of materials, colors, finishes, and post-processing options for your 3D printing needs. You can upload your own 3D models or choose from their extensive library of ready-to-print designs. You can also get instant quotes, fast delivery, and professional support from their team of experts. Whether you need prototypes, functional parts, or creative products, FacFox can help you turn your ideas into reality.
If you are interested in the Orange Garage Kit or any other 3D printing service from FacFox, visit their website facfox.com and start your 3D printing journey today. You will not regret it!
Solution
- Step 1: A 3D model of the awkward orange garage kit was created using CAD software or 3D scan data and exported in a 3D printable file format (STL or OBJ).
- Step 2: The 3D model was imported into a slicing software that prepared it for printing by generating support structures, orienting the model, and dividing it into layers.
- Step 3: The slicing software also calculated the optimal laser path and exposure time for each layer based on the material properties and print parameters.
- Step 4: The SLA 3D printer started the printing process by positioning the build platform in the tank of liquid photopolymer resin, at a distance of one layer height from the surface of the liquid.
- Step 5: A UV laser created the first layer by selectively curing and solidifying the photopolymer resin according to the laser path and exposure time.
- Step 6: The build platform was lifted up by one layer height and a recoating mechanism swept across the vat to recoat the cured layer with fresh resin.
- Step 7: The UV laser created the next layer by curing the resin on top of the previous layer, forming a bond between them.
- Step 8: The process was repeated until the entire model was printed.
- Step 9: The build platform was raised out of the resin tank and the printed model was removed from the platform using a spatula or a similar tool.
- Step 10: The printed model was rinsed with isopropyl alcohol (IPA) or a similar solvent to remove any excess resin from its surface.
- Step 11: The printed model was placed in a UV curing chamber or exposed to natural sunlight to fully cure and harden the resin.
- Step 12: The support structures were removed from the printed model using pliers or a similar tool.
- Step 13: The printed model was sanded, polished, or primed to smooth out any imperfections or marks left by the supports or the printing process.
- Step 14: The printed model was painted with acrylic paints or other suitable paints to give it color and detail.


