Material Resin
Quantity 1 pcs
Price Range $100-1,000
Lead Time 8 workdays
Gallery
About Project
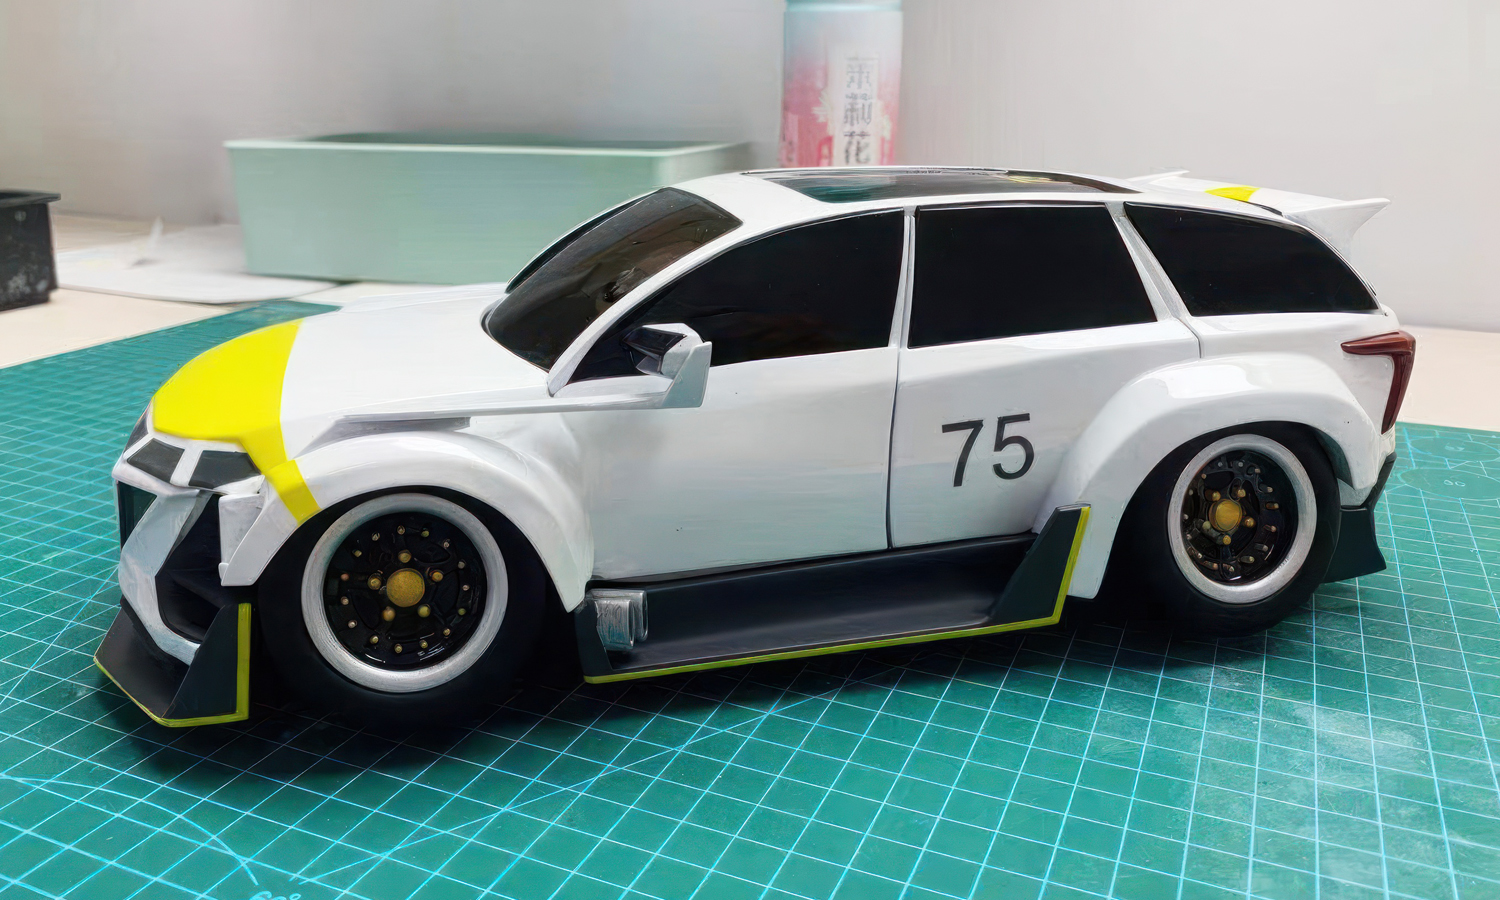
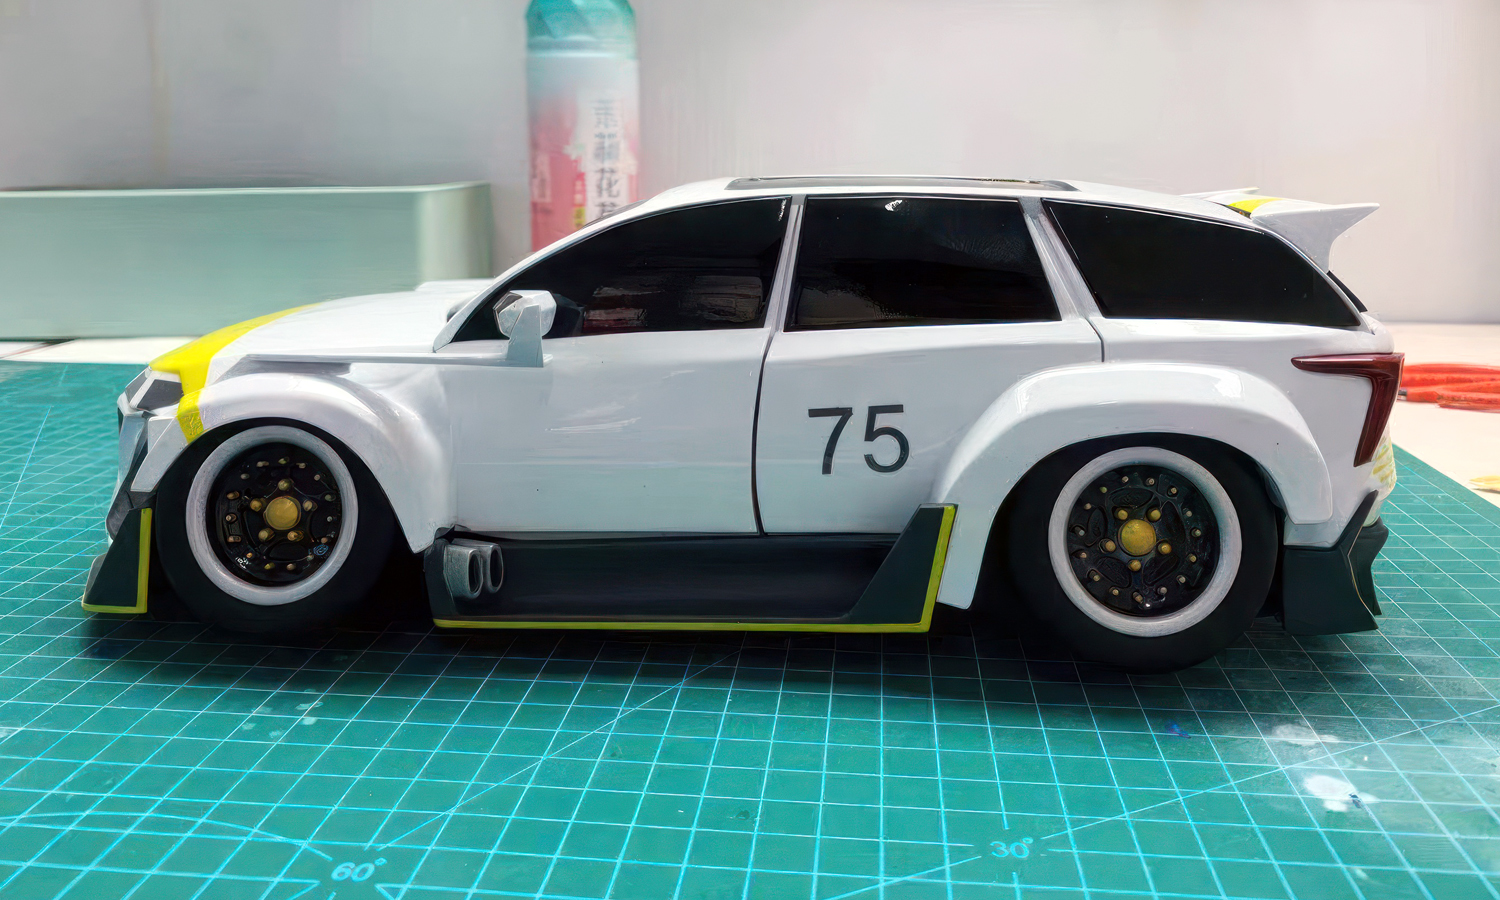
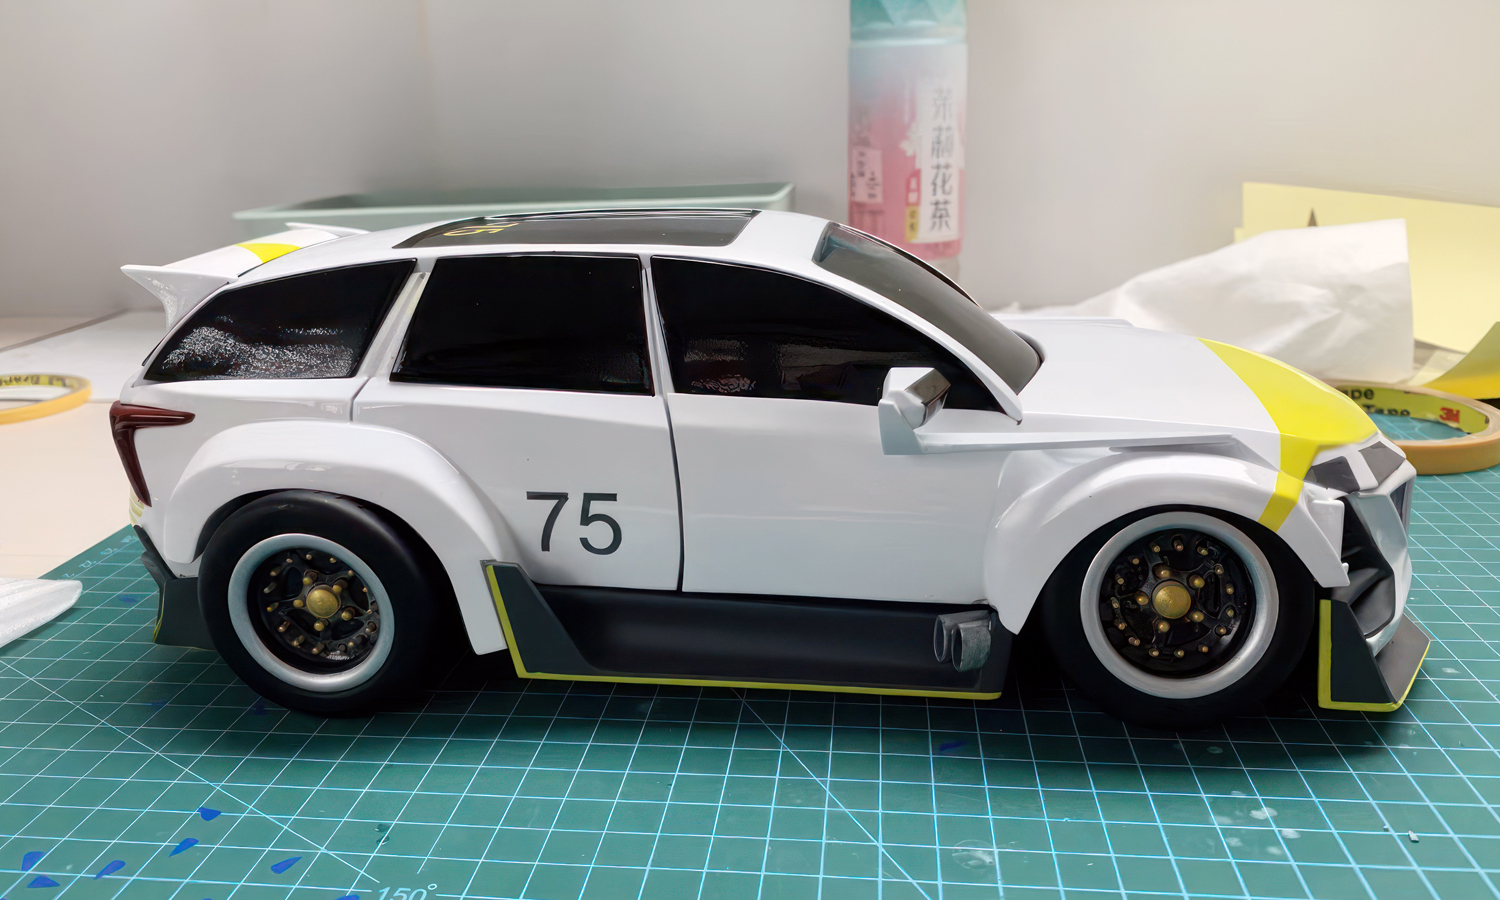
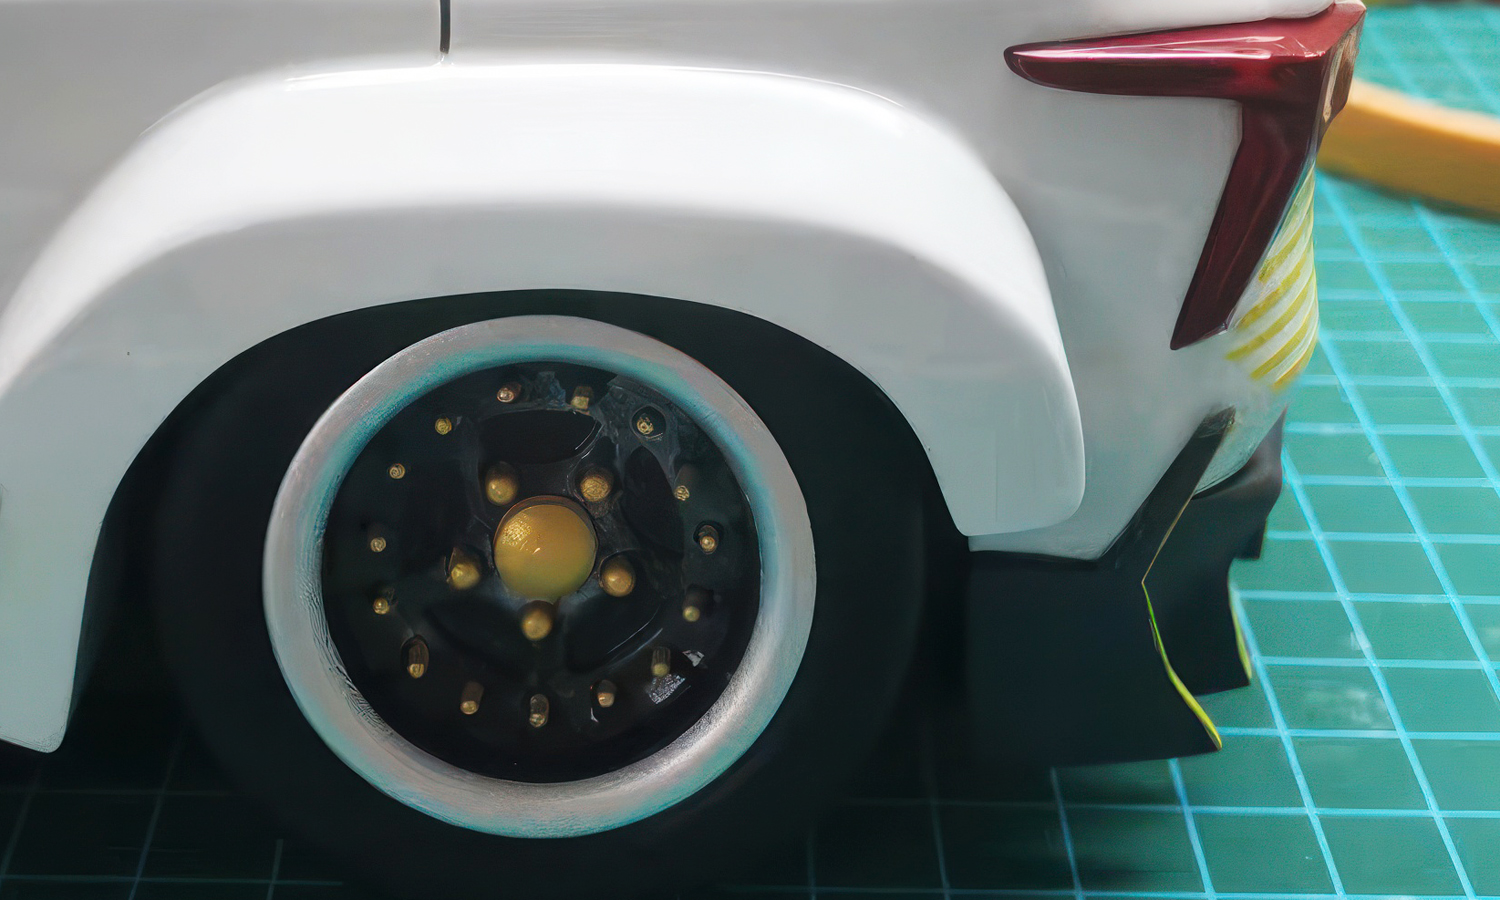
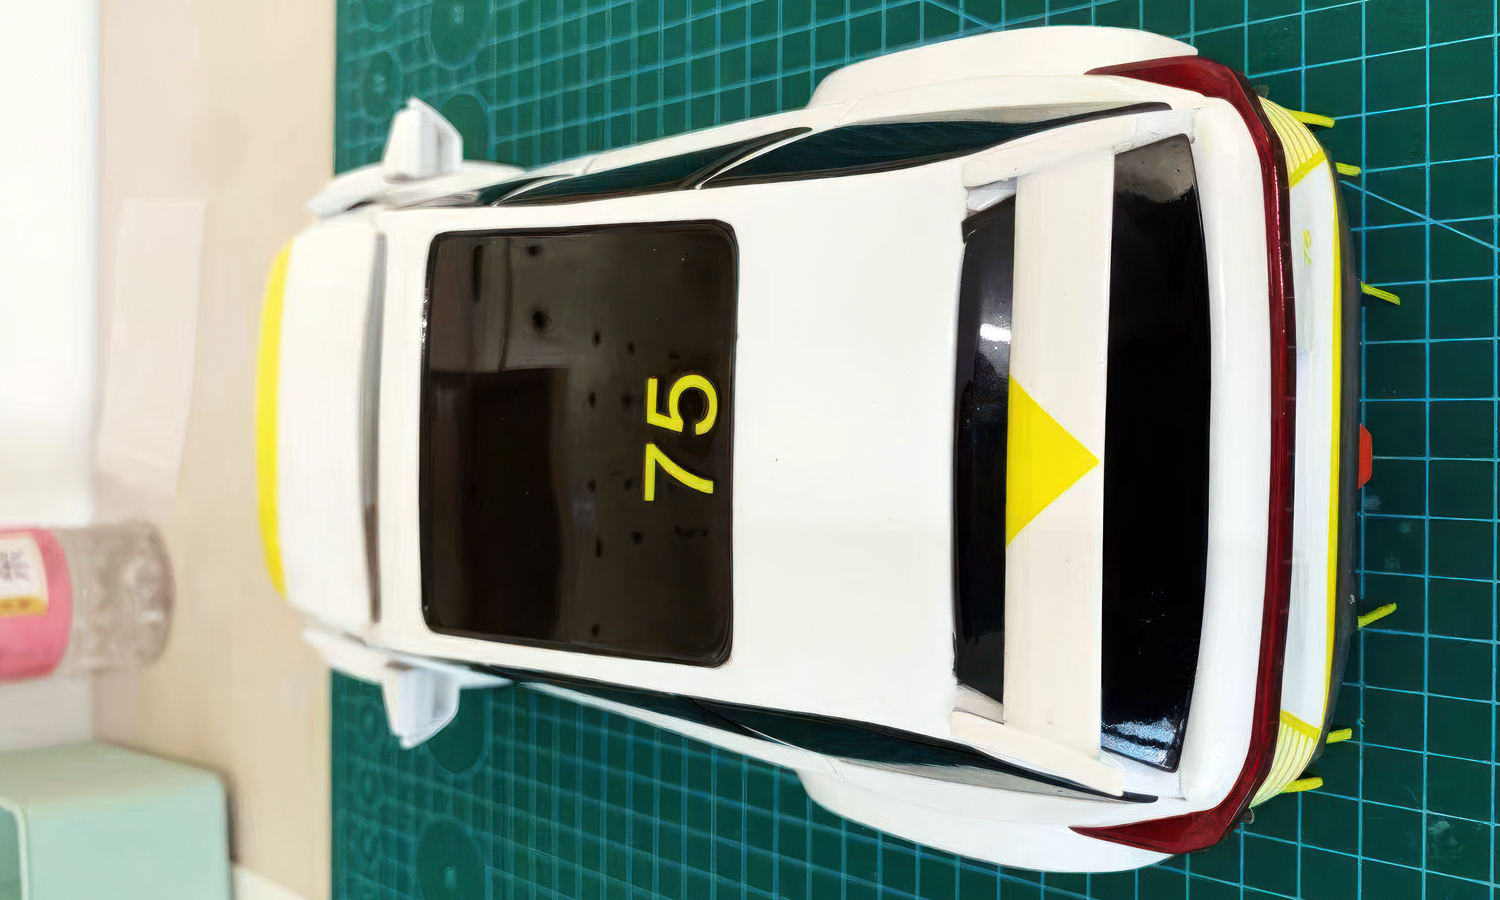
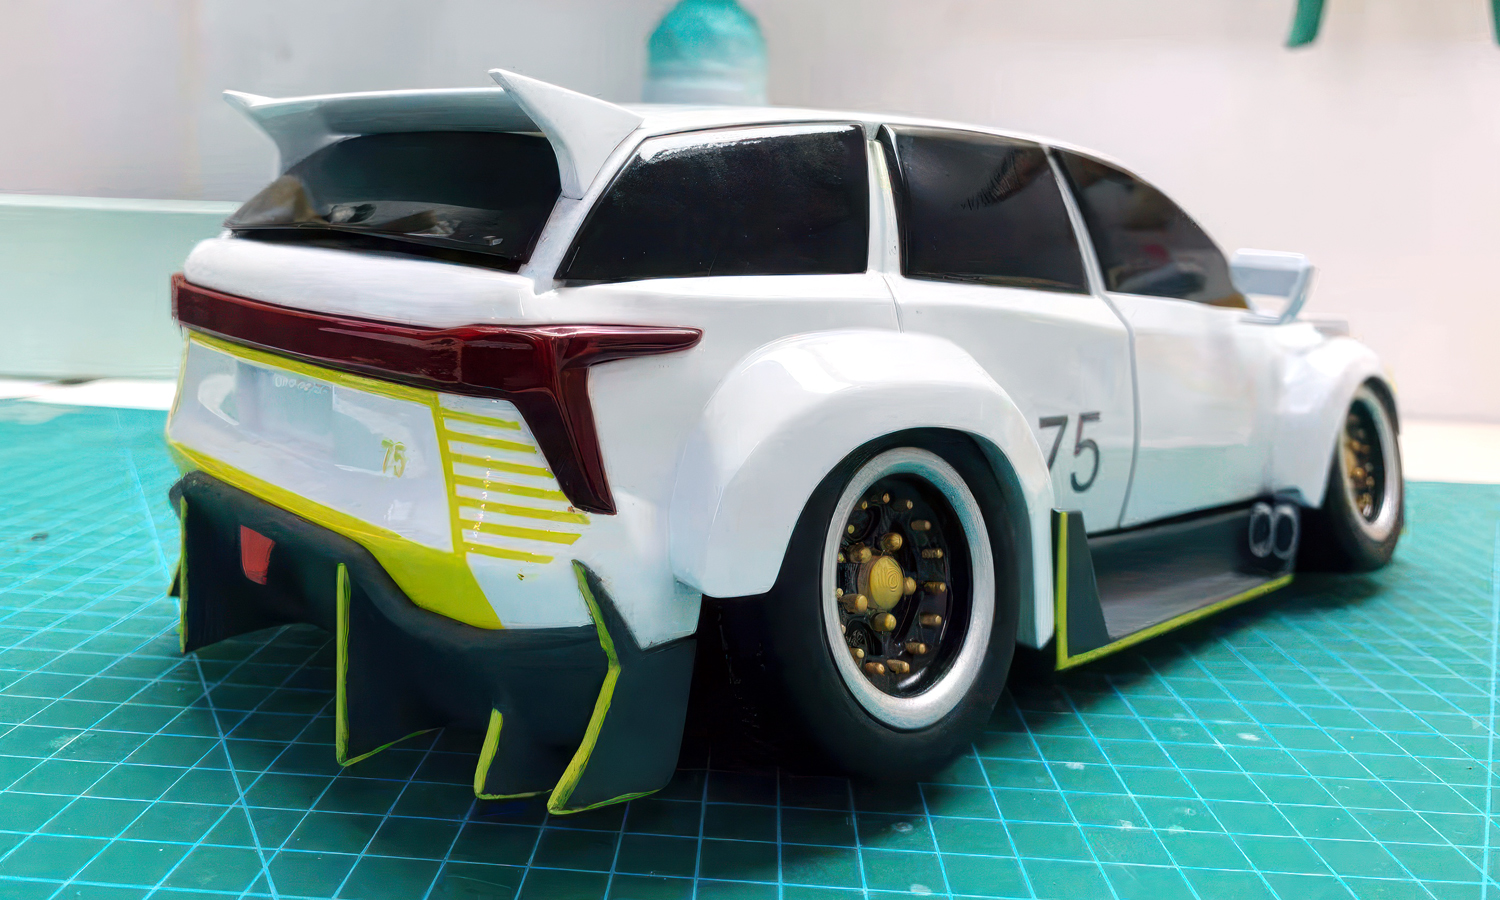
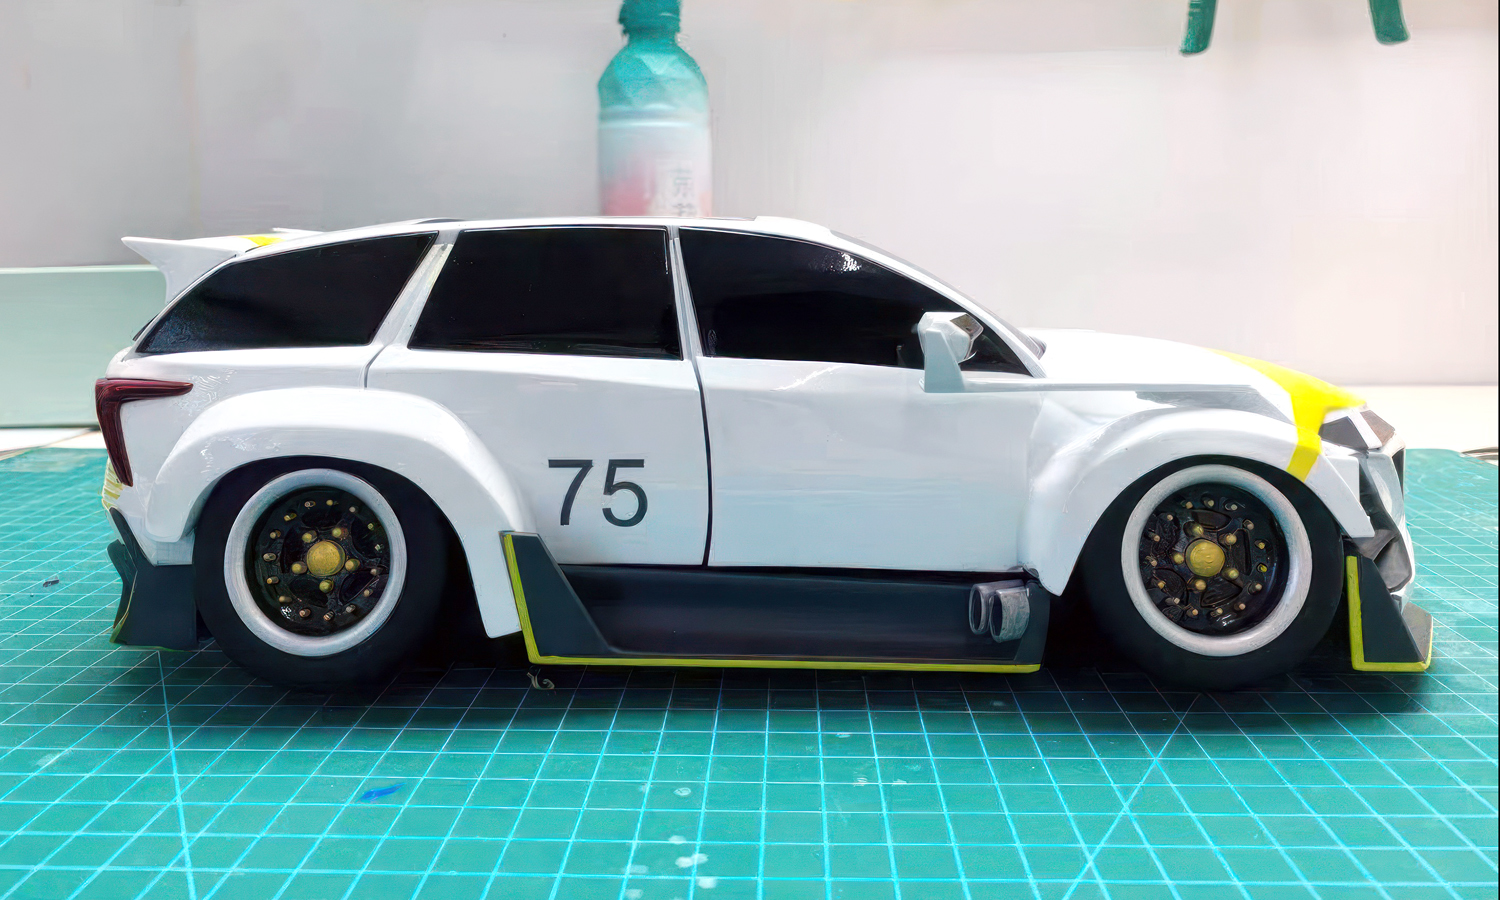
This car model is a magnificent creation that captures the essence of a sedan with SUV characteristics. This visually striking model showcases a captivating combination of colors, with a predominantly white body brought to life by vibrant yellow accents on the tail, front hood, and hub cap. Its distinctive features include a moon roof and outside mirrors that elegantly extend from the edge of the front hood.
Adding a personalized touch, the model proudly displays a lucky number 75 on the back door, moon roof, and rear wind shield. Through our collaboration with the client, who designed the 3D model, we transformed their vision into reality using the precision of 3D printing and the artistry of hand painting. While modifying a real car chassis can be challenging and costly, we made their dream come true on a miniature scale, capturing every detail as per their original blueprint.
At FacFox, we specialize in custom 3D printing services, offering a wide range of options to bring your unique ideas to life. Whether it’s a miniature car model like the one described or any other personalized creation, our team is dedicated to delivering exceptional craftsmanship. Explore the possibilities with FacFox and let us bring your imagination to life with our cutting-edge technology and expertise in 3D printing.
Solution
- Step 1: A 3D model of the car was designed by the client and sliced into layers by a 3D slicer software.
- Step 2: A resin tray was filled with UV resin and a mobile platform was lowered into the tray.
- Step 3: A UV laser was used to selectively cure the resin layer by layer, following the sliced 3D model. The laser was controlled by mirrors on the X and Y axes.
- Step 4: After each layer was cured, the platform was lifted slightly and a scraper moved across the surface to spread more resin for the next layer. This process was repeated until the entire car model was completed.
- Step 5: The model was then removed from the platform and washed with isopropyl alcohol to remove any excess resin.
- Step 6: The car model was then post-cured under UV light to enhance its mechanical properties and stability. Supporting structures were removed with scissors and pliers.
- Step 7: Then it was finely sanded and hand painted with acrylic paints, following the clientŌĆÖs specifications. The paint was applied carefully to avoid covering any details or features of the model.
- Step 8: The car model was then finished with a clear coat to protect the paint and give it a glossy appearance.


