Gallery
About Project
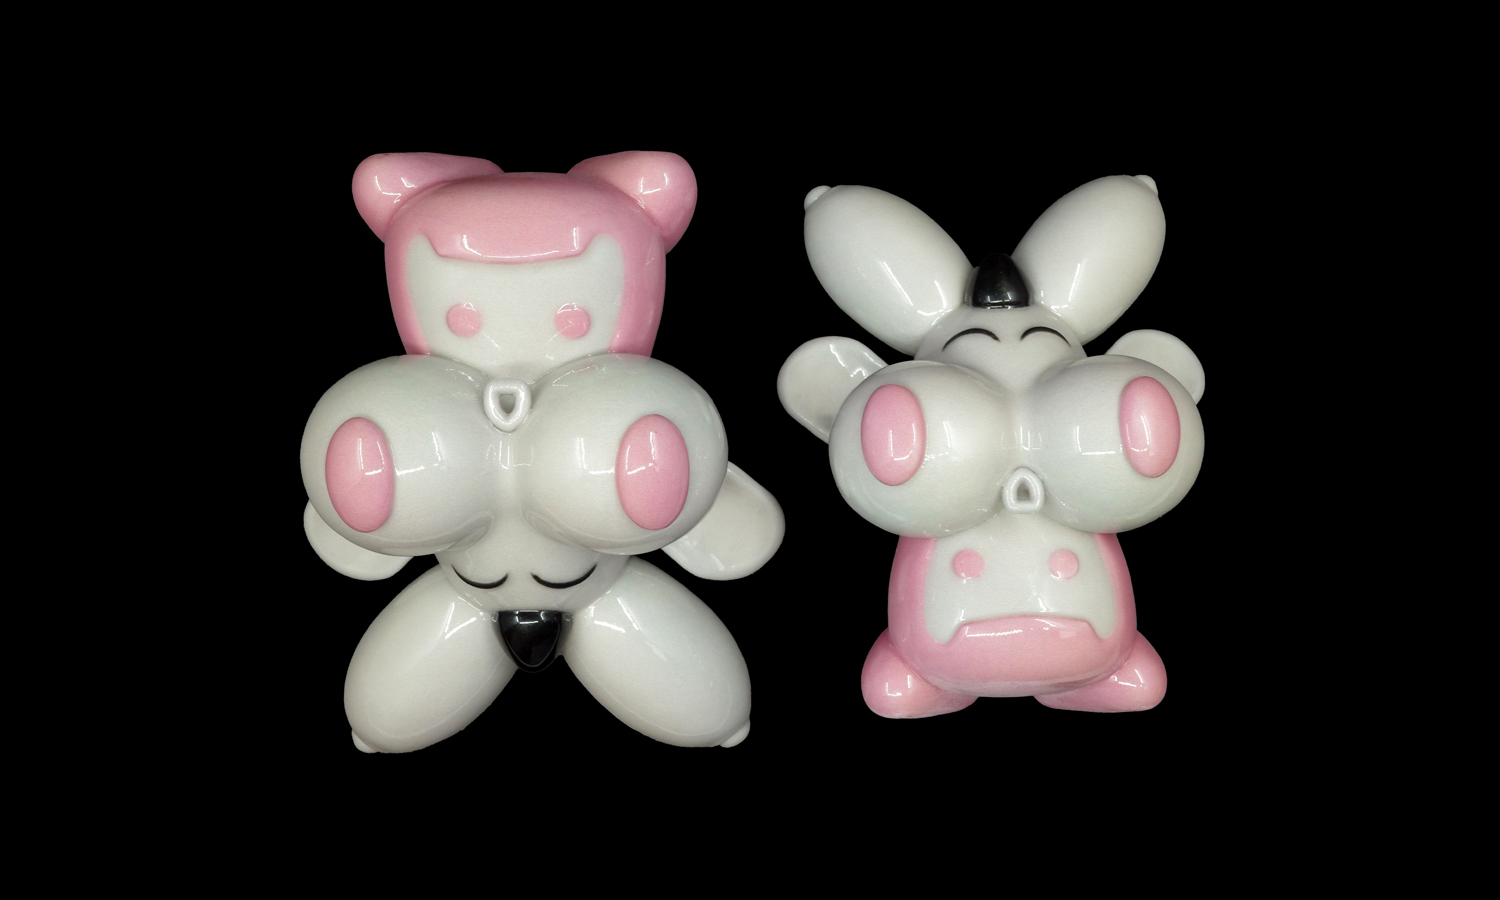
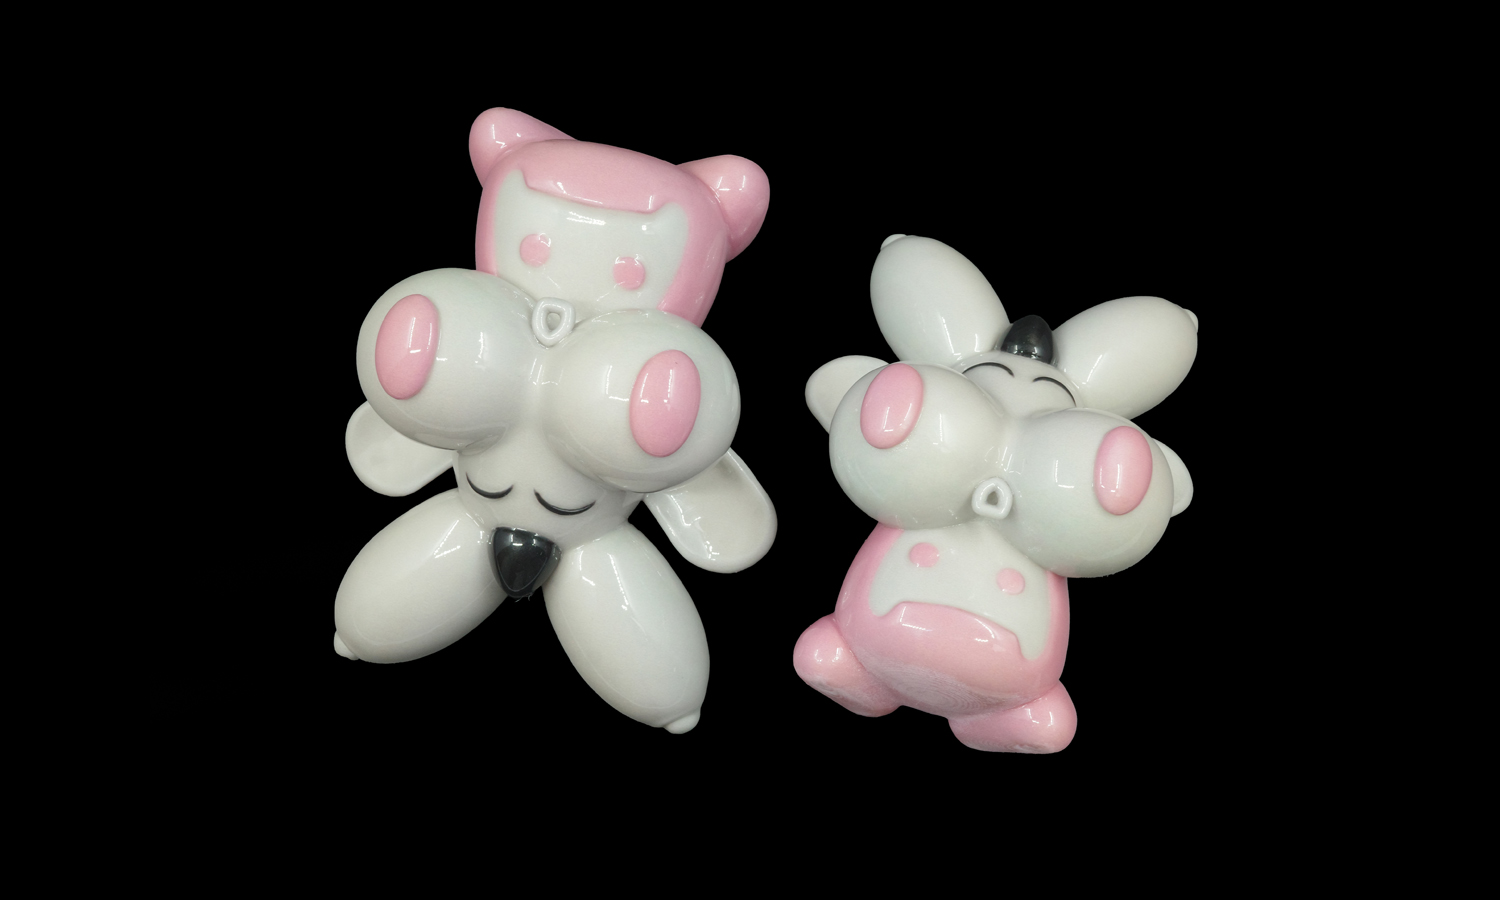
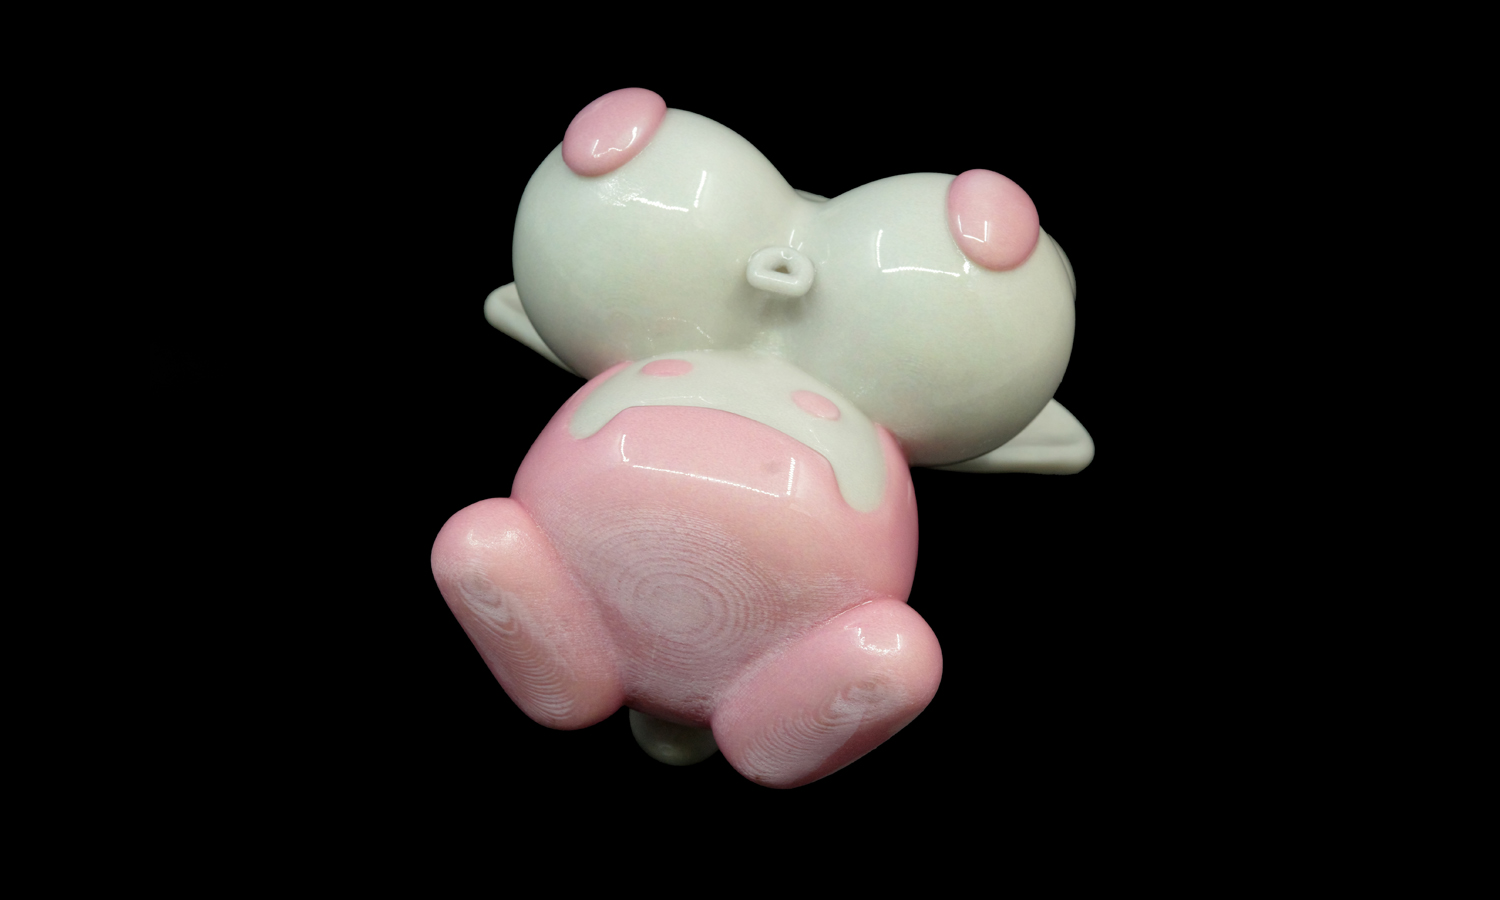
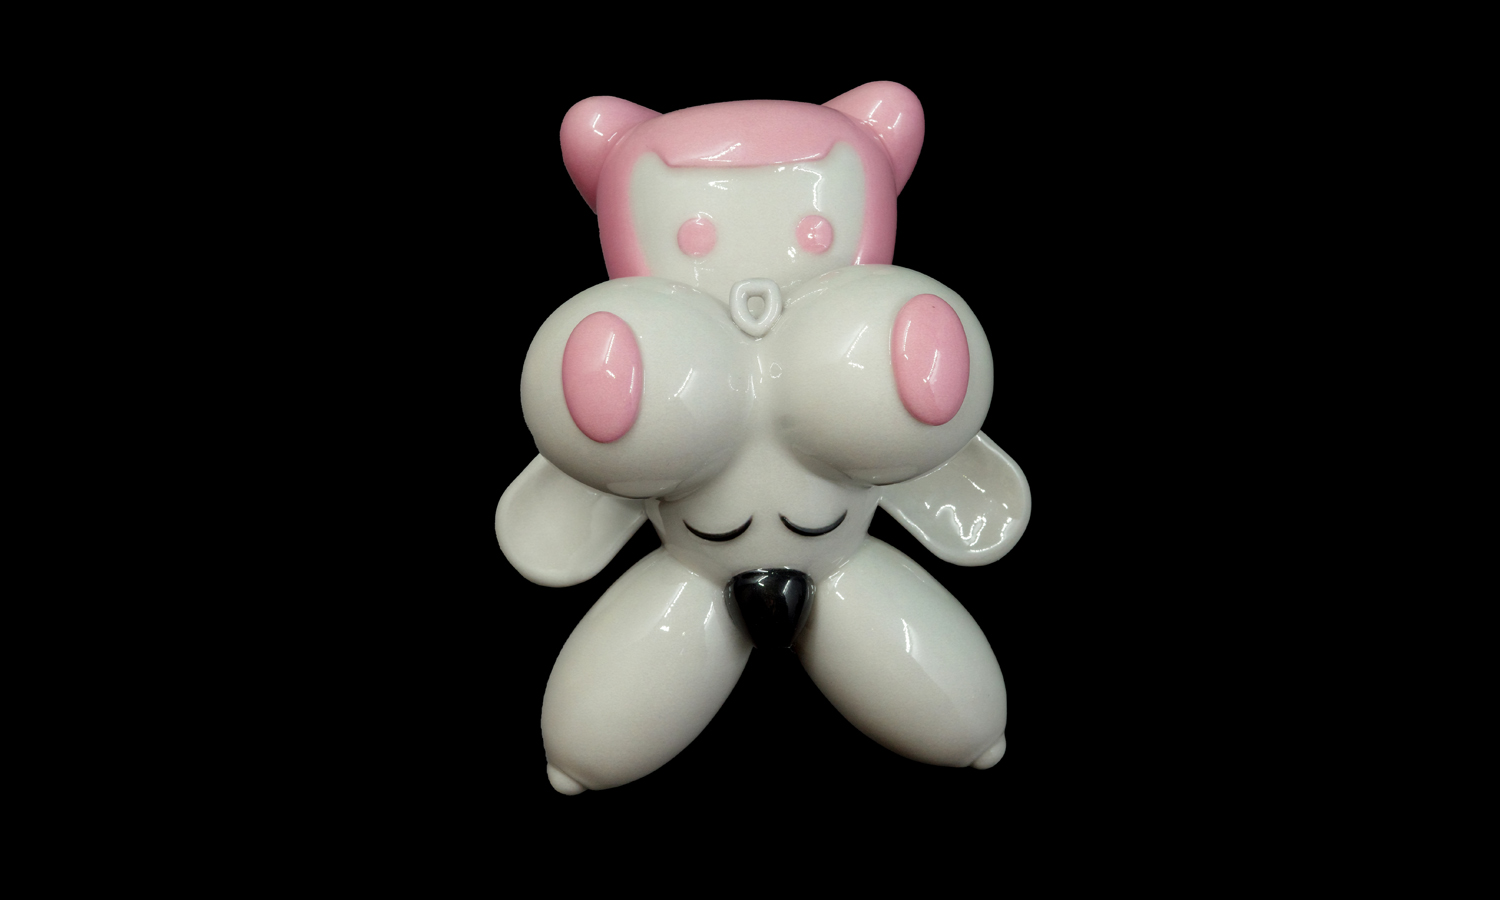
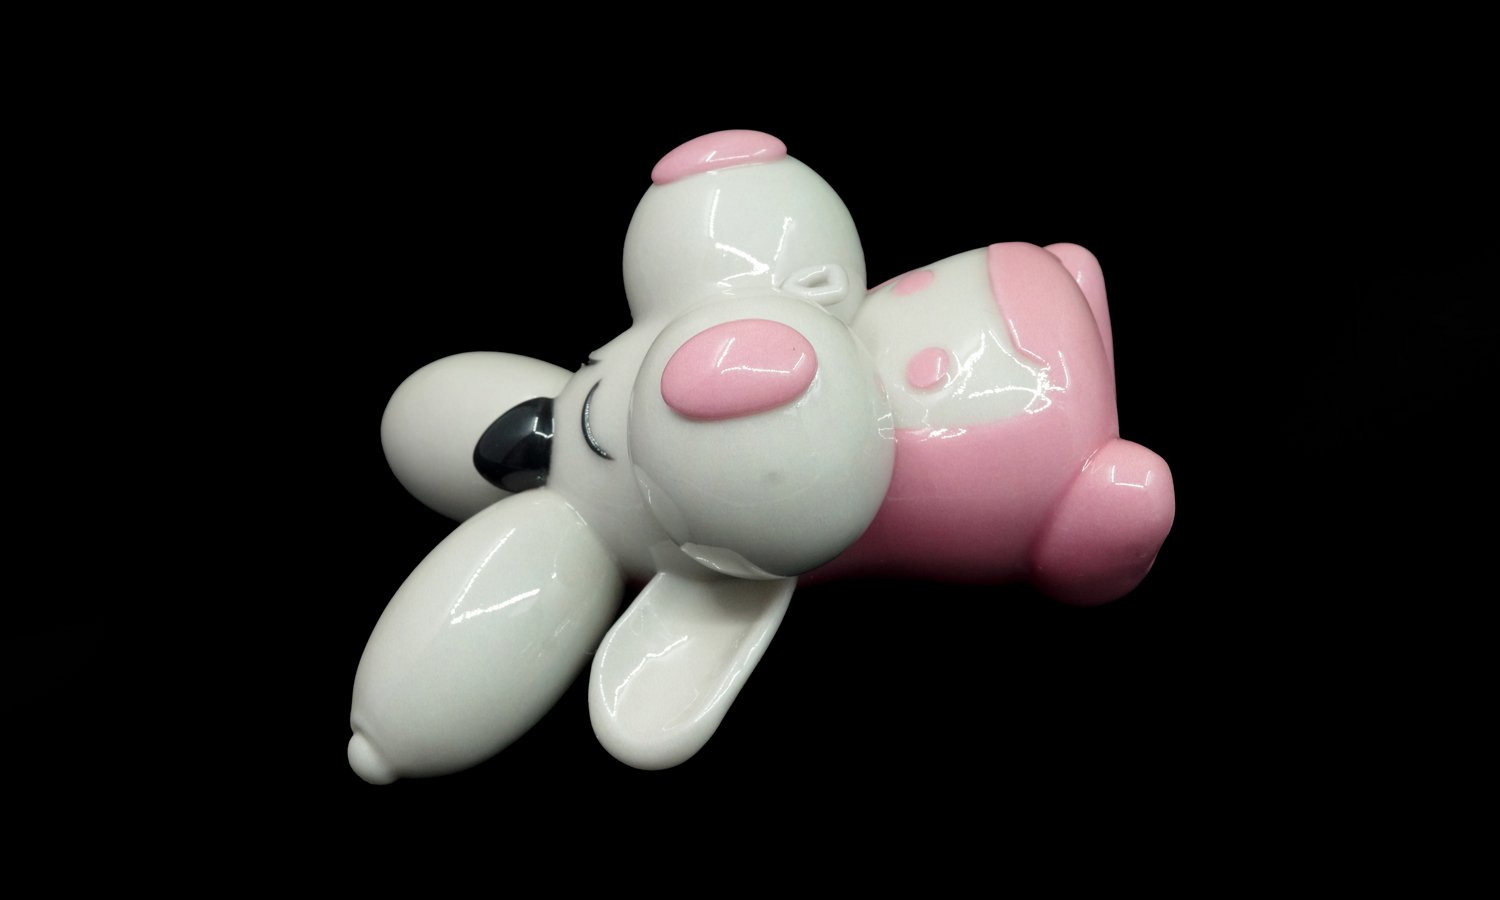
Talk about a perspective shift! We recently printed two versions of this clever, adult-themed creation for a designerŌĆöone 9cm and one 10cm. At first glance, you see a stylized girl with mouse ears and, well, some very “generous” proportions. But flip it upside down, andŌĆövoila!ŌĆöthe mouse ears become a snout, the “top” becomes a pair of chubby cheeks, and youŌĆÖre suddenly staring at a very surprised, wide-eyed hippo.
ItŌĆÖs a cheeky, “Mice-meets-Girl-meets-Hippo” hybrid thatŌĆÖs as hilarious as it is bold. The design uses a high-contrast palette of glossy white and “bubblegum” pink to accentuate the curves. Whether youŌĆÖre focusing on the mousey pigtails or the hippopotamus nostrils (which, let’s be honest, serve a dual purpose here), the symmetry is spot on.
What makes this double-sided character work so well is the precision of our Mimaki full-color 3D printing. We captured the tiny, surprised “o” of the mouth and the subtle indentations of the eyes so perfectly that the character looks intentional from every single angle. No messy hand-painting hereŌĆöthe vibrant pinks and crisp whites are printed directly into the material for a professional, seamless finish that feels great in the hand.
Bring Your Multi-Dimensional Ideas to Life
Got a design thatŌĆÖs a bit of a “transformer”? Whether itŌĆÖs a mouse, a hippo, or something even more “out there,” FacFoxŌĆÖs Mimaki Full-Color 3D Printing service is the perfect partner. With the ability to print over 10 million colors and maintain incredible detail on complex, curved geometries, we make sure your wildest (and weirdest) visions come out looking exactly like the digital model.
Solution
- Step 1: The 3D model was meticulously designed with dual-perspective geometry to transition between a mouse-girl and a hippo when rotated.
- Step 2: The digital files were optimized for the Mimaki 3DUJ-553 printer to ensure structural integrity at 9cm and 10cm scales.
- Step 3: Over 10 million colors were digitally mapped onto the character’s surface, allowing the vibrant pink accents to be integrated directly into the white base material.
- Step 4: The figures were printed layer-by-layer using UV-curable resins, while a specialized water-soluble support material was deposited to hold the overhanging curves in place.
- Step 5: Once the printing was completed, the models were submerged in a gentle water bath where the support material was completely dissolved, leaving a clean surface.
- Step 6: A clear, glossy coating was applied to the cured resin to enhance the “bubblegum” aesthetic and provide a premium, smooth-to-the-touch finish.


