- FDM 3D Printed Funny Seagull DJI Pocket 3 Case
- SLA 3D Printed Garage Kit of Anya-Nezuko Fusion Figure
Material Plastic
Quantity 1 pcs
Price Range $1-100
Lead Time 3 workdays
Gallery
About Project
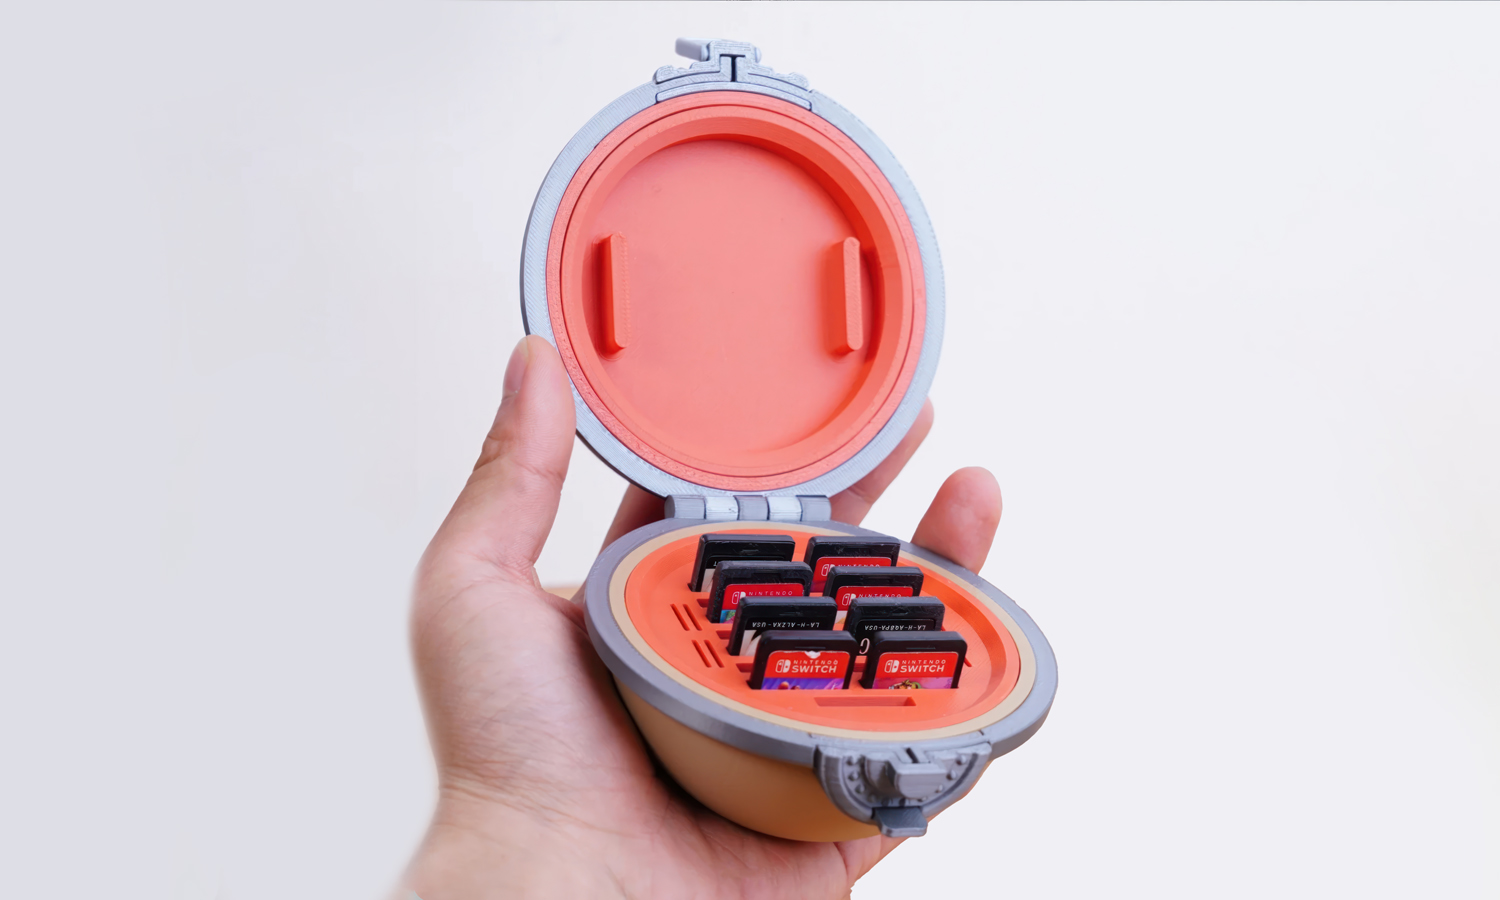
Introducing the ultimate accessory for every Pok├®mon and Nintendo Switch enthusiast-the FDM 3D Printed Pok├® Ball Switch Cartridge Container! Designed by a brilliant creator, this ingenious Pok├® Ball can hold up to 16 of your favorite game cartridges, ensuring you never have to leave your prized collection behind.
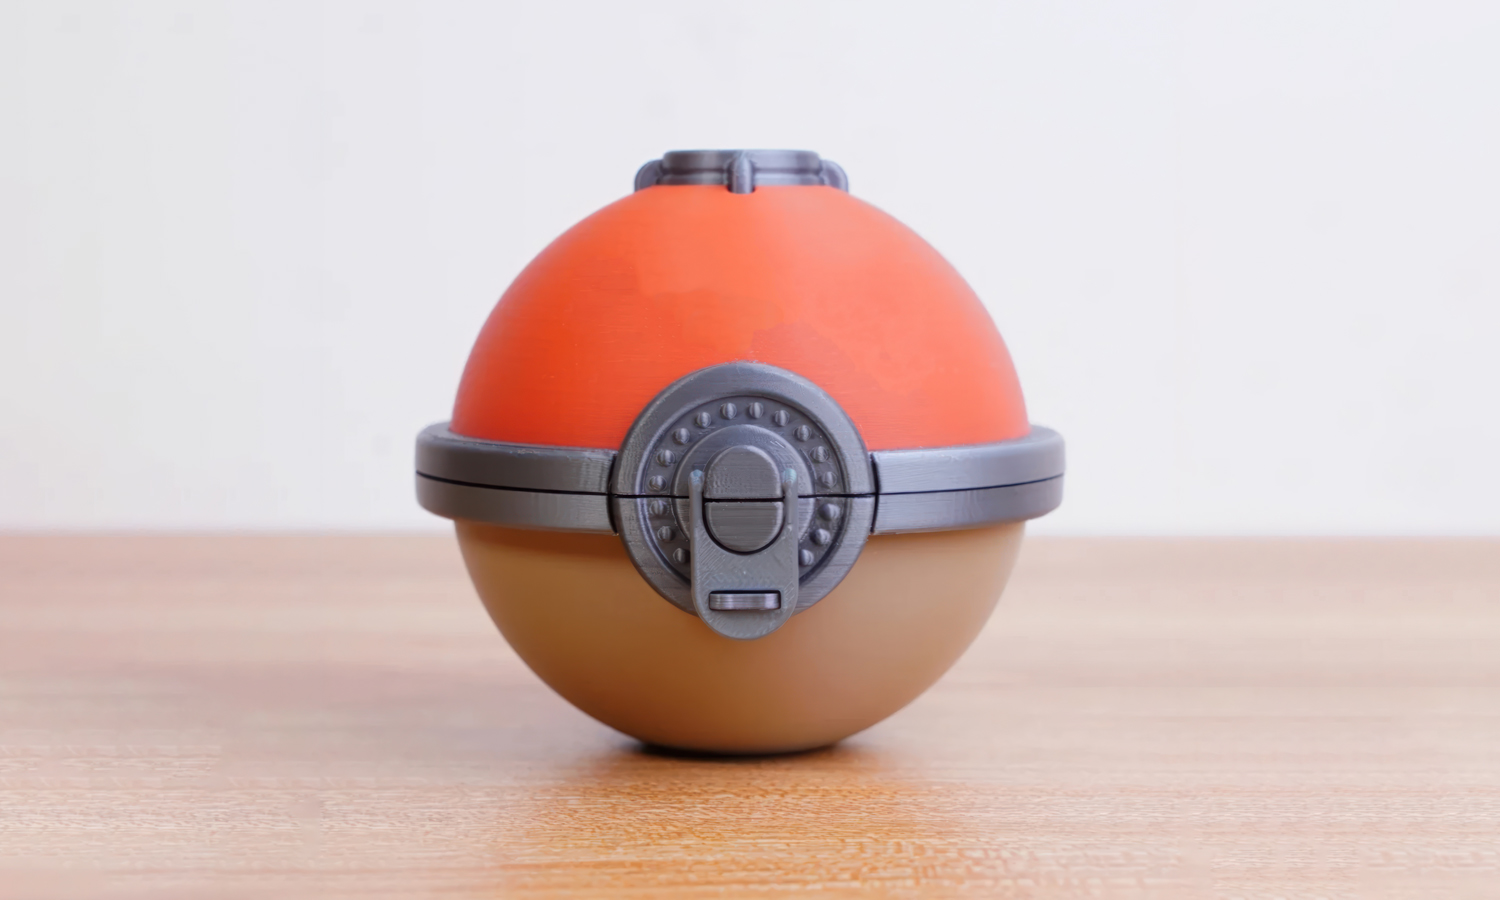
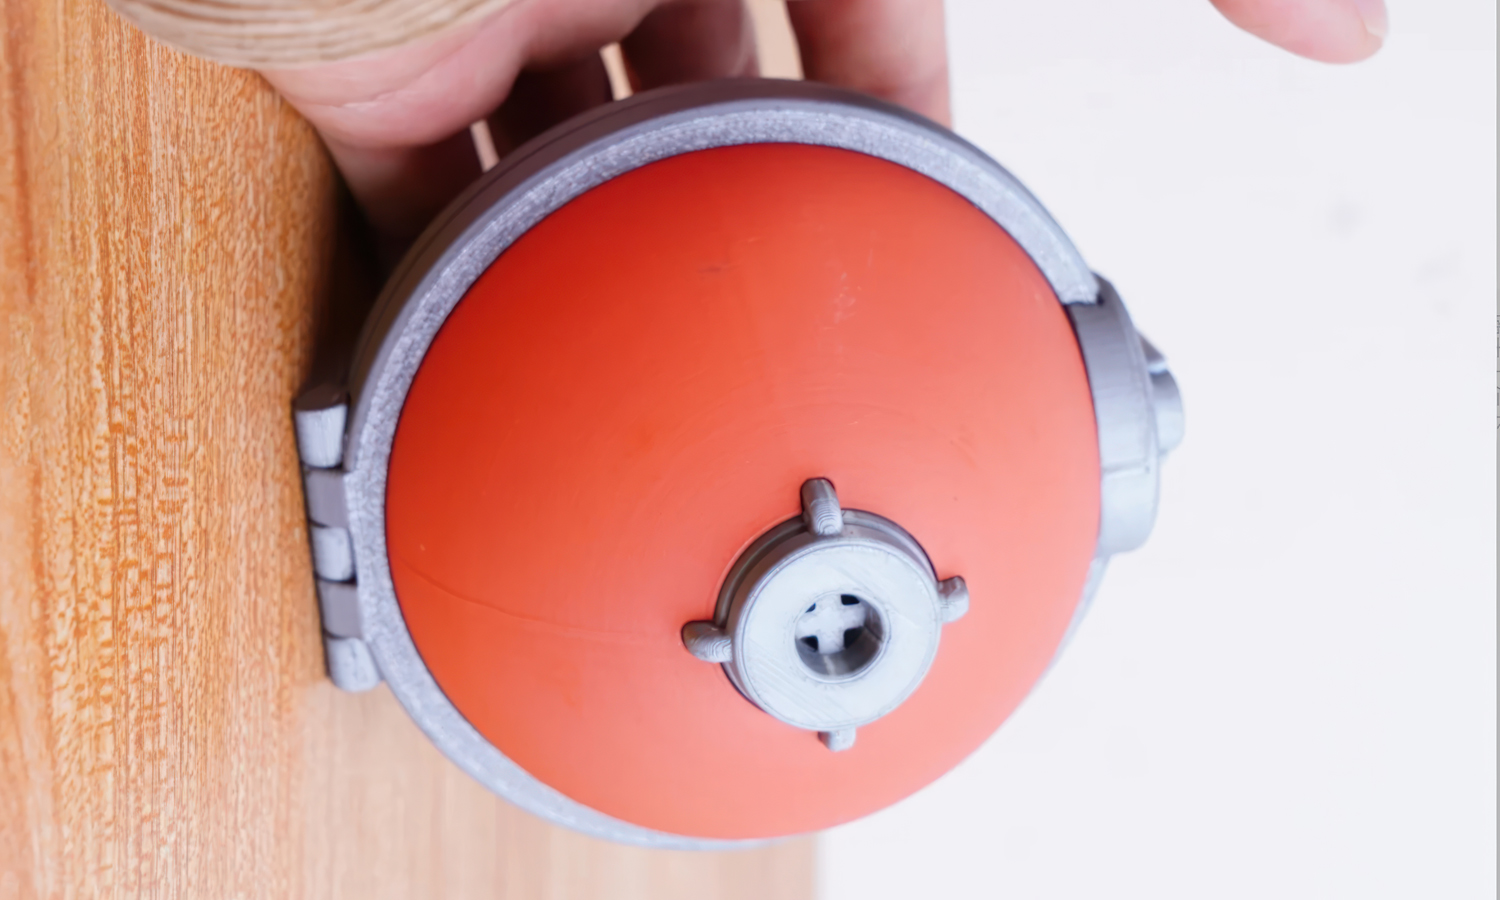
Crafted with precision using FDM 3D printing technology, this Pok├® Ball features a striking design with an orange top half, a brown bottom half, and a sleek gray band complete with the signature central button. Not only does it look incredibly cool, but it also provides a practical solution for organizing and transporting your game cartridges.
Imagine reaching for your next adventure within this iconic sphere-whether you’re diving into new worlds or revisiting old favorites, this container adds a delightful touch of Pok├®mon magic to your gaming experience. Plus, it’s lightweight and durable, making it the perfect travel companion.
Why settle for ordinary when you can have extraordinary?
FacFox 3D Printing Services
While this particular Pok├® Ball isn’t our creation, at FacFox, we specialize in turning creative visions into reality. Our advanced 3D printing technology and expert team can bring your unique designs to life with precision and quality. Whether you need custom accessories, detailed prototypes, or functional parts, FacFox has got you covered. Experience the future of manufacturing with FacFox and take your projects to new heights!
Ready to transform your ideas into tangible masterpieces? Choose FacFox for unparalleled 3D printing solutions!
Solution
- Step 1: The 3D model of the Pok├® Ball Switch Cartridge Container was designed with precise specifications to hold 16 game cartridges.
- Step 2: The design files were prepared for FDM 3D printing, ensuring correct orientation and support structures.
- Step 3: The FDM 3D printer was loaded with the required filament for the first part, starting with the orange filament.
- Step 4: The printing process was initiated, and the orange top half of the Pok├® Ball was printed layer by layer.
- Step 5: Once the orange top half was completed, the printer was paused, and the filament was changed to gray for the band.
- Step 6: The gray band was printed, again layer by layer, with careful attention to detail.
- Step 7: After completing the gray band, the printer was paused once more, and the filament was changed to brown for the bottom half.
- Step 8: The brown bottom half was printed, completing the printing process.
- Step 9: Upon completion, the printed parts were carefully removed from the printer.
- Step 10: Support structures were delicately removed to avoid damaging any intricate features.
- Step 11: The printed parts were sanded and cleaned to ensure a smooth finish and proper fit.
- Step 12: The spherical components of the Pok├® Ball were assembled, aligning the orange top half with the brown bottom half and securing them with the gray band.
