Material Resin
Quantity 1 pcs
Price Range $1-100
Lead Time 4 workdays
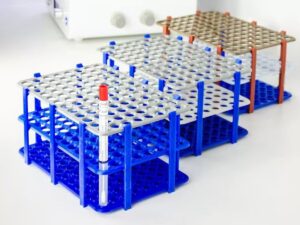
Gallery
About Project
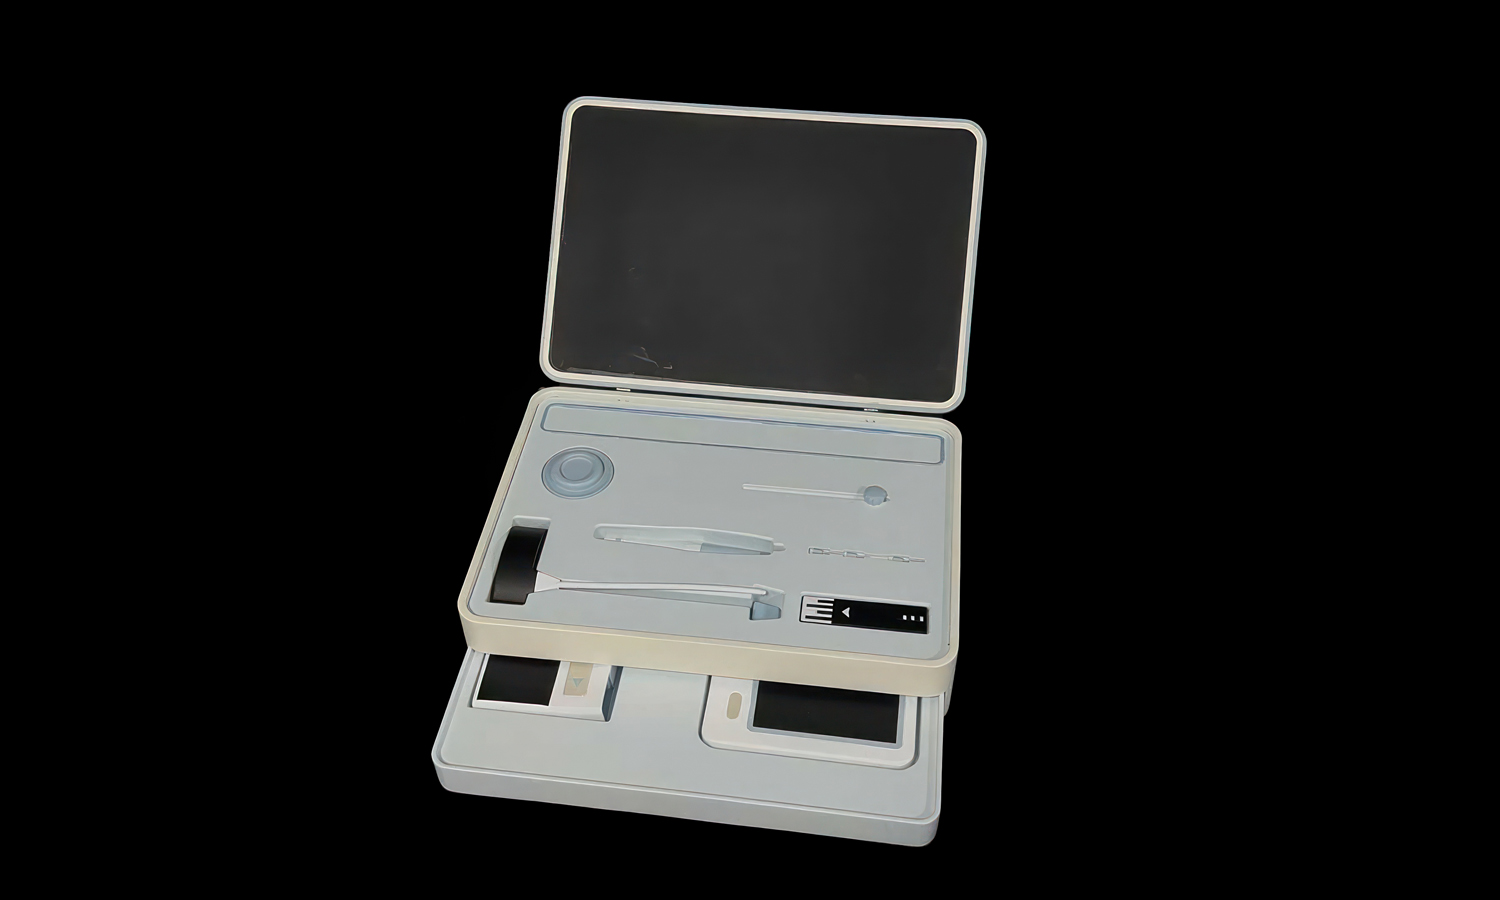
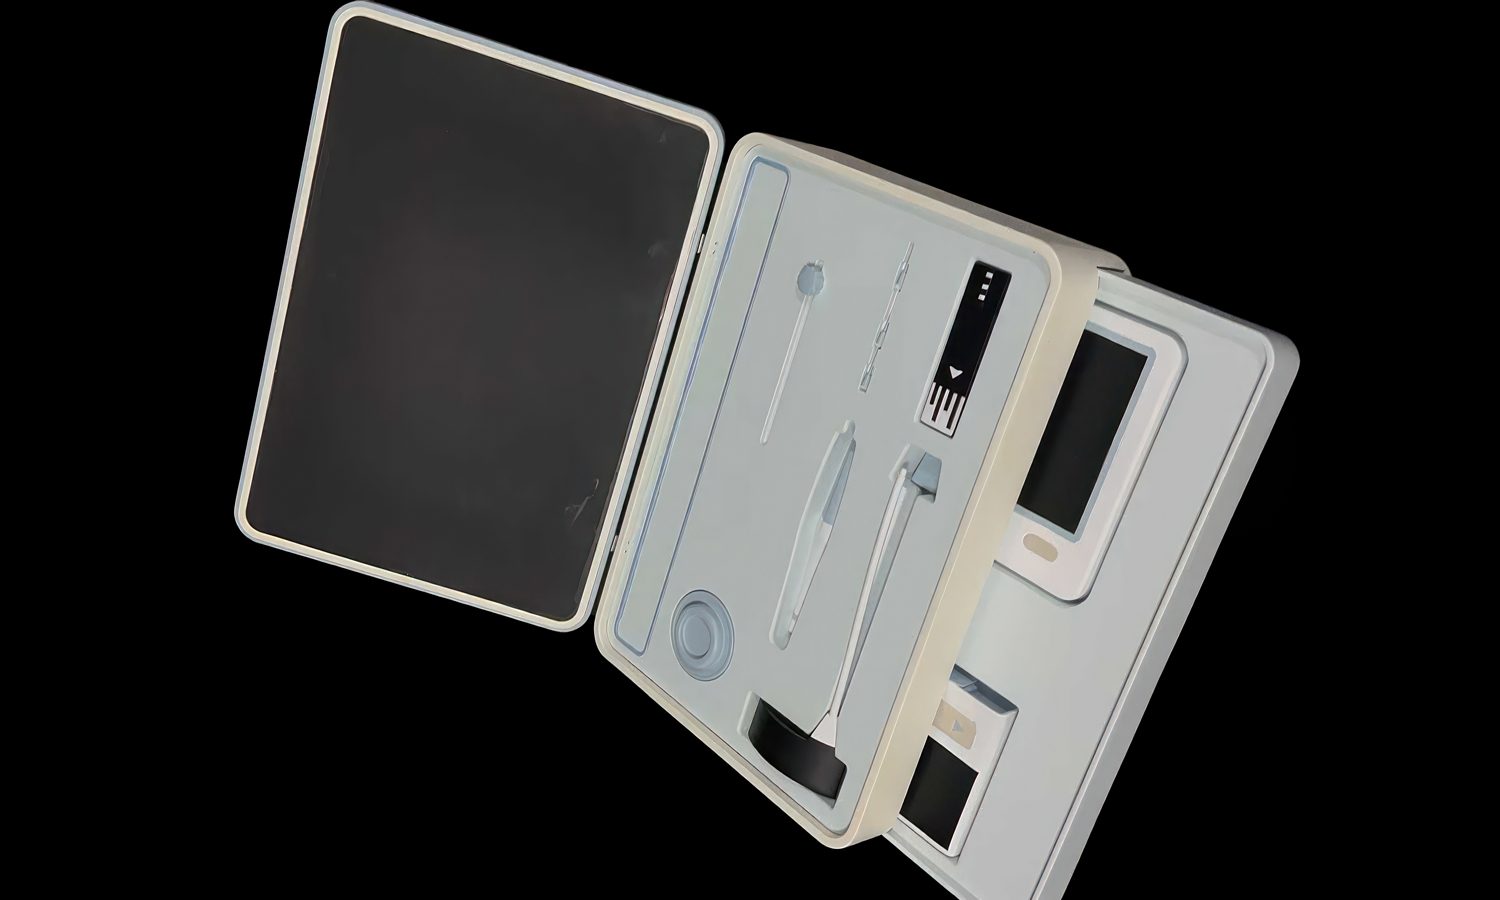
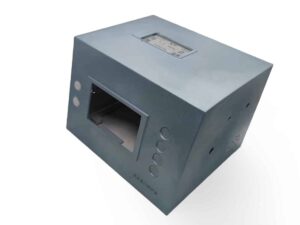
Design meets functionality in this innovative Modular Neurological Diagnostic Kit, created as a final graduation project.
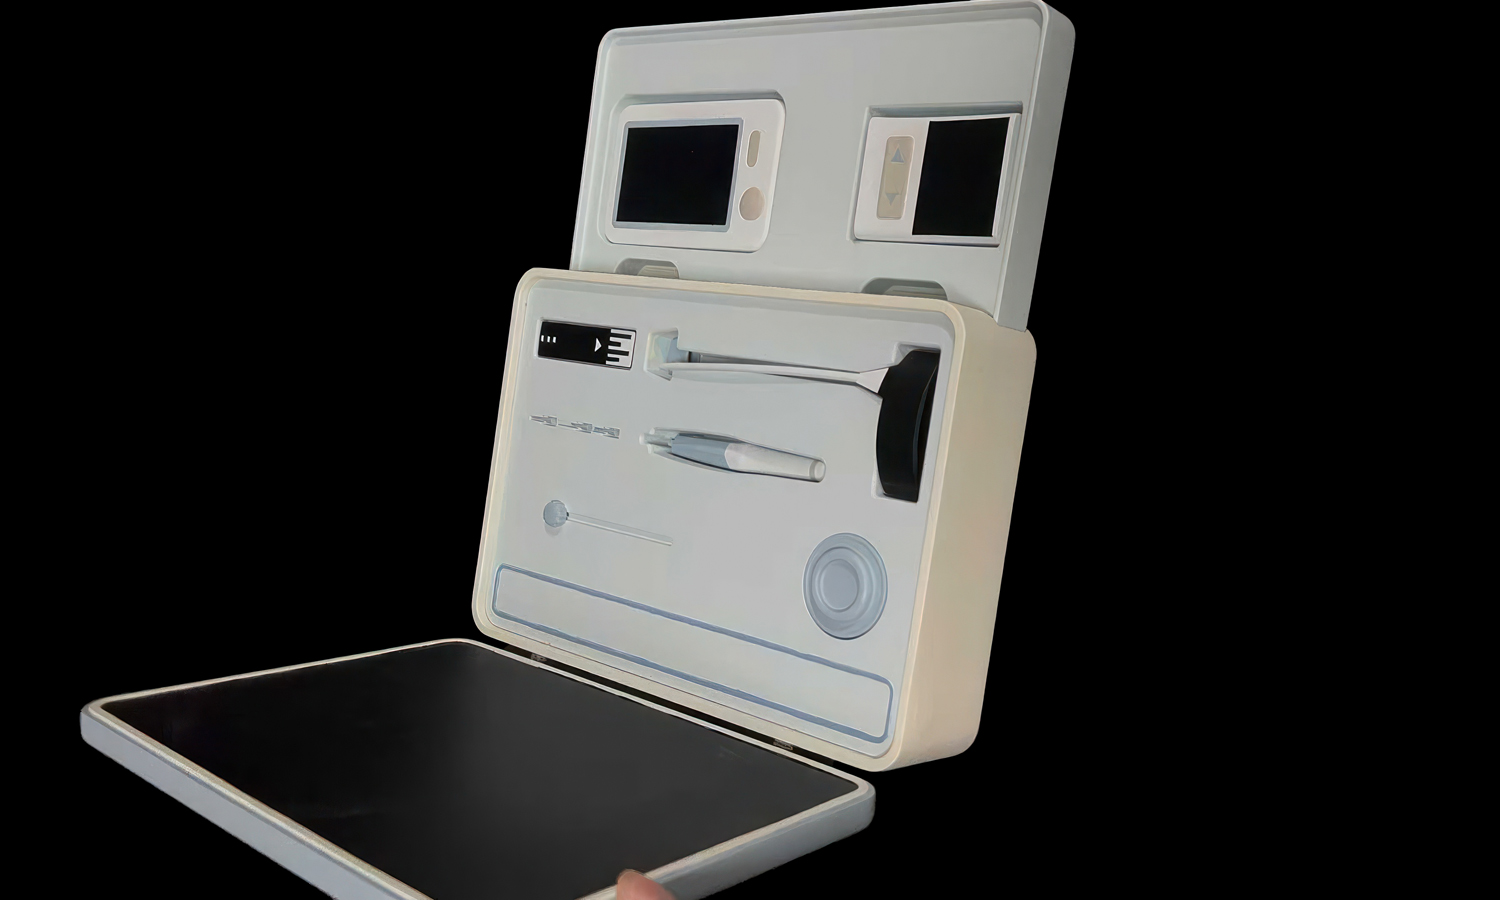
The standout feature? A unique loose-leaf internal structure. Much like a binder, this allows practitioners to “flip” through different diagnostic categories, keeping tools like reflex hammers, sensory probes, and digital monitors perfectly organized and instantly accessible.
From Concept to Reality with FacFox
Bringing a complex, multi-part design like this to life requires precision. This project showcases how professional prototyping can elevate a student concept into a shelf-ready masterpiece:
- Custom Tool Housing: Each slot is precision-molded to ensure a “perfect click” fit for the instruments.
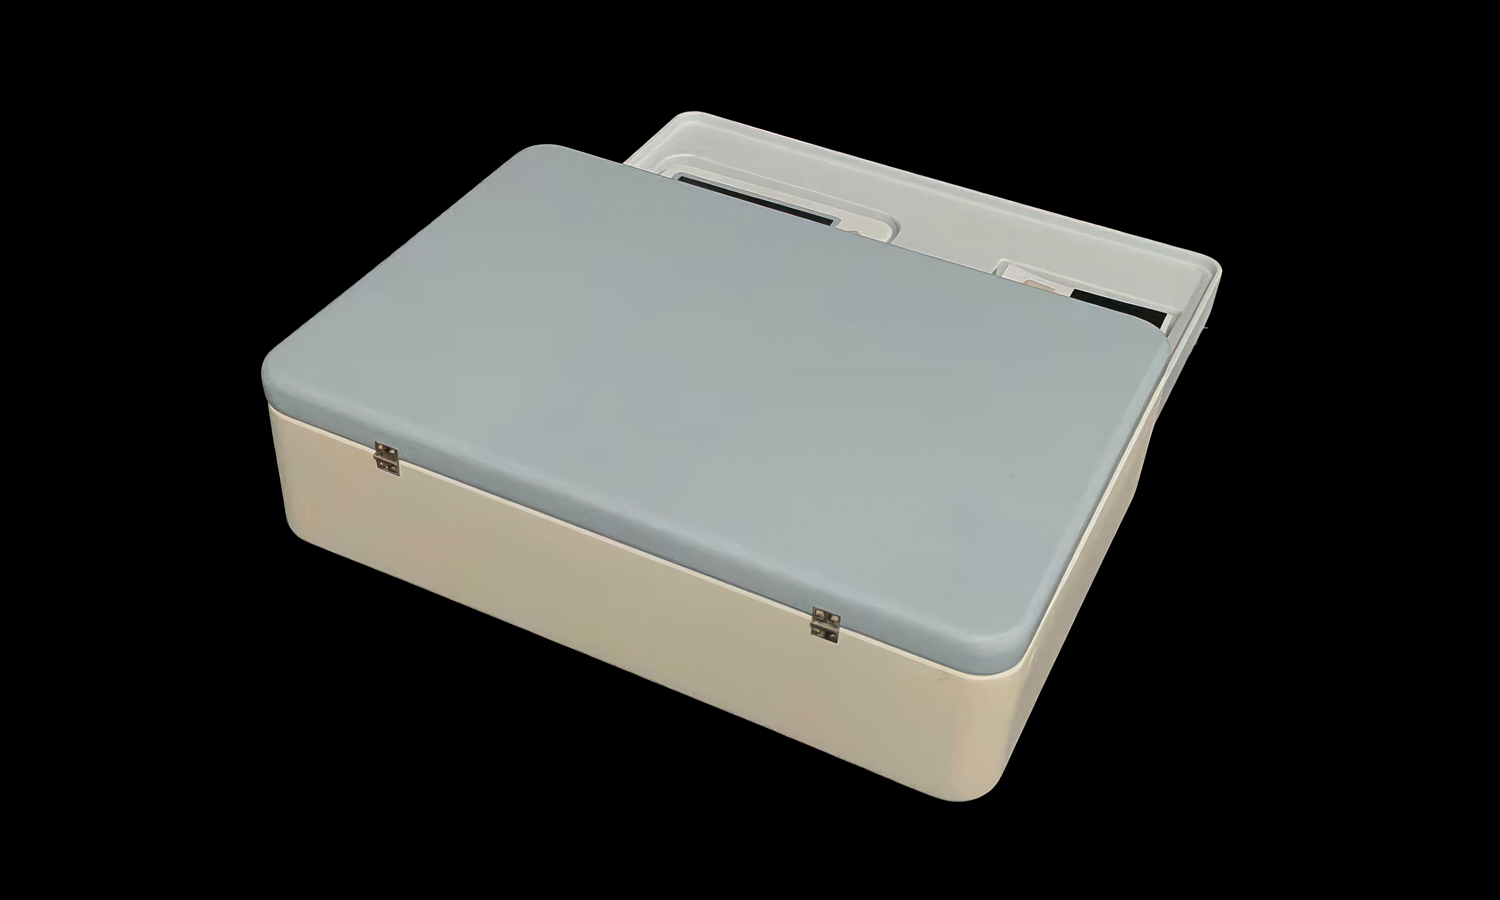
- Sleek Aesthetics: The clean, high-finish surfaces highlight the professional-grade quality of the materials used.
- Functional Prototyping: The sliding drawers and loose-leaf hinges demonstrate the durability and mechanical accuracy that FacFox provides to innovators worldwide.
Whether it’s a graduation project or the next big medical breakthrough, FacFox turns CAD designs into physical reality with industry-leading 3D printing, CNC machining, and finishing services.
Congratulations to the designer on a brilliant fusion of ergonomics and medical utility!
Solution
- Step 1: Digital CAD Models were Finalized.┬ĀThe initial concepts were translated into high-fidelity 3D CAD models. Every internal cavity for the medical tools and the tolerances for the loose-leaf hinge mechanism were calculated to ensure a seamless fit.
- Step 2: Shells were 3D Printed via SLA. The main outer case and the internal “leaves” were 3D printed using SLA (Stereolithography) technology at FacFox. A high-toughness resin was selected to provide the structural integrity needed for the sliding drawer and the flip mechanism.
- Step 3: Components were Sanded and Polished. Once the printing was complete, all support structures were removed. The surfaces were then meticulously sanded with progressively finer grits of sandpaper to eliminate layer lines and create a smooth, professional-grade finish.
- Step 4: The Loose-Leaf Hinge was Integrated. The specialized hinge system was assembled. Metal pins or high-strength resin rods were inserted through the pivot points of the internal leaves, allowing them to rotate freely without wobbling.
- Step 5: Priming and Color Coating were Applied. A high-quality primer was applied to ensure paint adhesion. Following this, the case was spray-painted in a matte “Medical White” and “Soft Grey” palette to give it a clean, sterile, and contemporary aesthetic.
- Step 6: Hardware and Electronics were Installed. The digital LCD modules were fitted into their designated slots in the sliding drawer. The metal hinges for the outer lid were fastened, and the magnetic closures were embedded into the frame for a secure snap-shut feel.
- Step 7: Final Assembly and Inspection were Conducted. The entire assembly was tested for mechanical fluidness. The medical tools were placed into their custom-molded inserts to verify that the friction-fit was sufficient to hold them in place during transit.


