Material Resin
Quantity 1 pcs
Price Range $100-1,000
Lead Time 6 workdays
Gallery
About Project
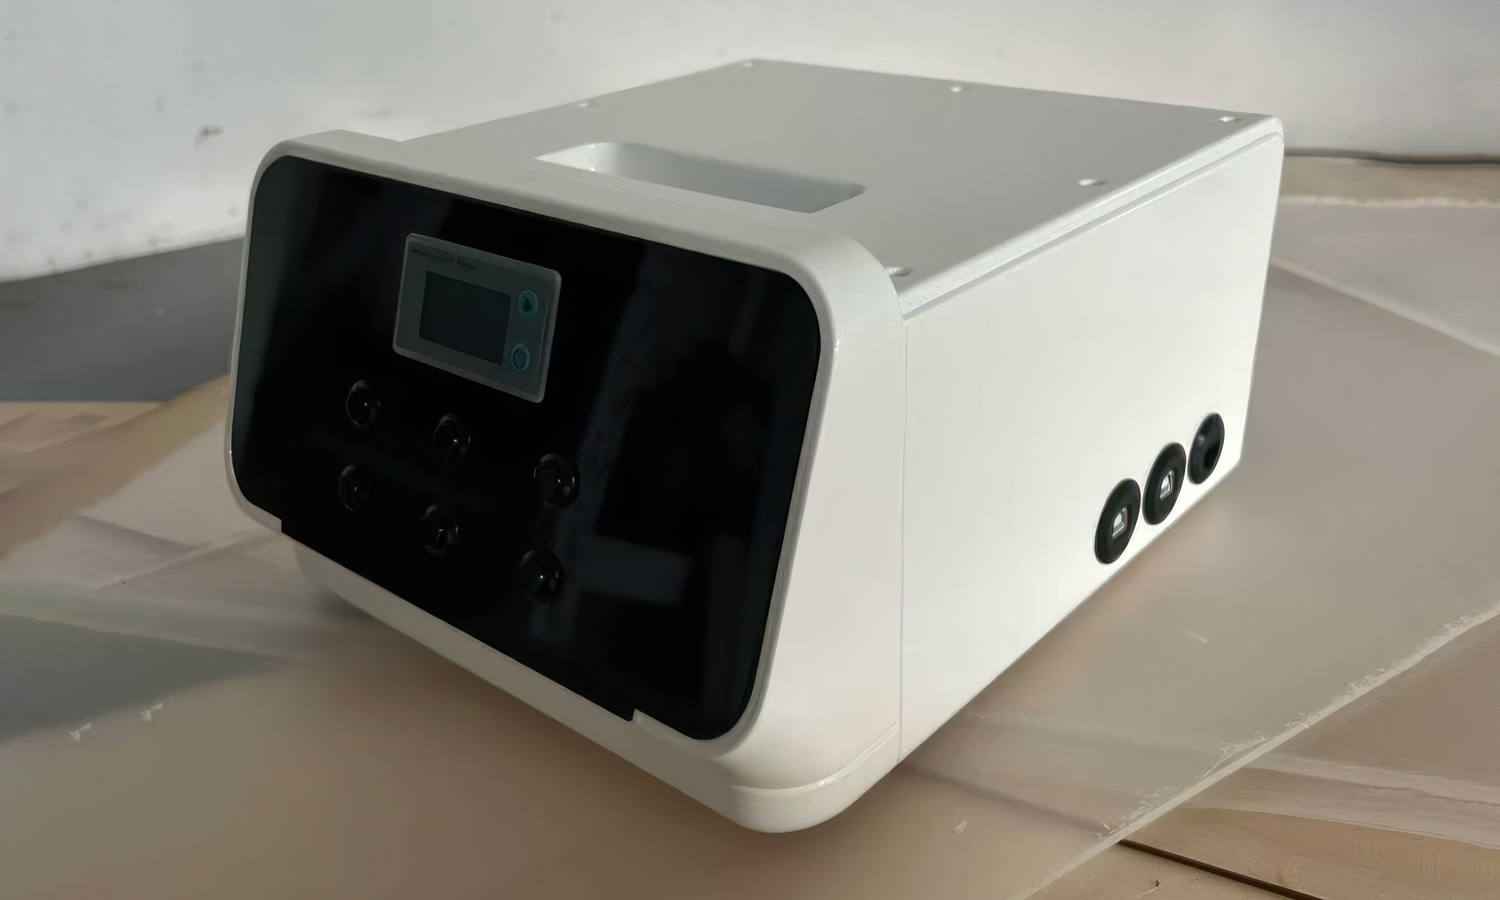
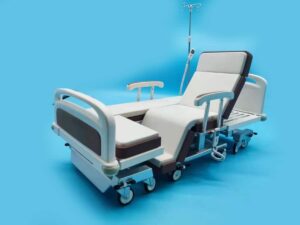
At FacFox, we take pride in being the bridge between an innovator’s vision and a tangible, high-performance product. Today, we’re highlighting a recent project for a client in the neurotechnology space: a Multi-Channel EEG Acquisition System.
Medical-grade devices require a unique balance of aesthetic polish and industrial-strength functionality. To achieve this, our team utilized a multi-stage manufacturing approach:
- SLA High-Precision Printing: The main housing was produced using SLA (Stereolithography) technology, chosen for its ability to create perfectly smooth surfaces and the tight tolerances required for internal electronic mounting.
- Professional Post-Processing: After printing, the parts underwent rigorous cleaning and UV curing, followed by professional sanding and a high-quality semi-gloss coating to give the device a “market-ready” feel.
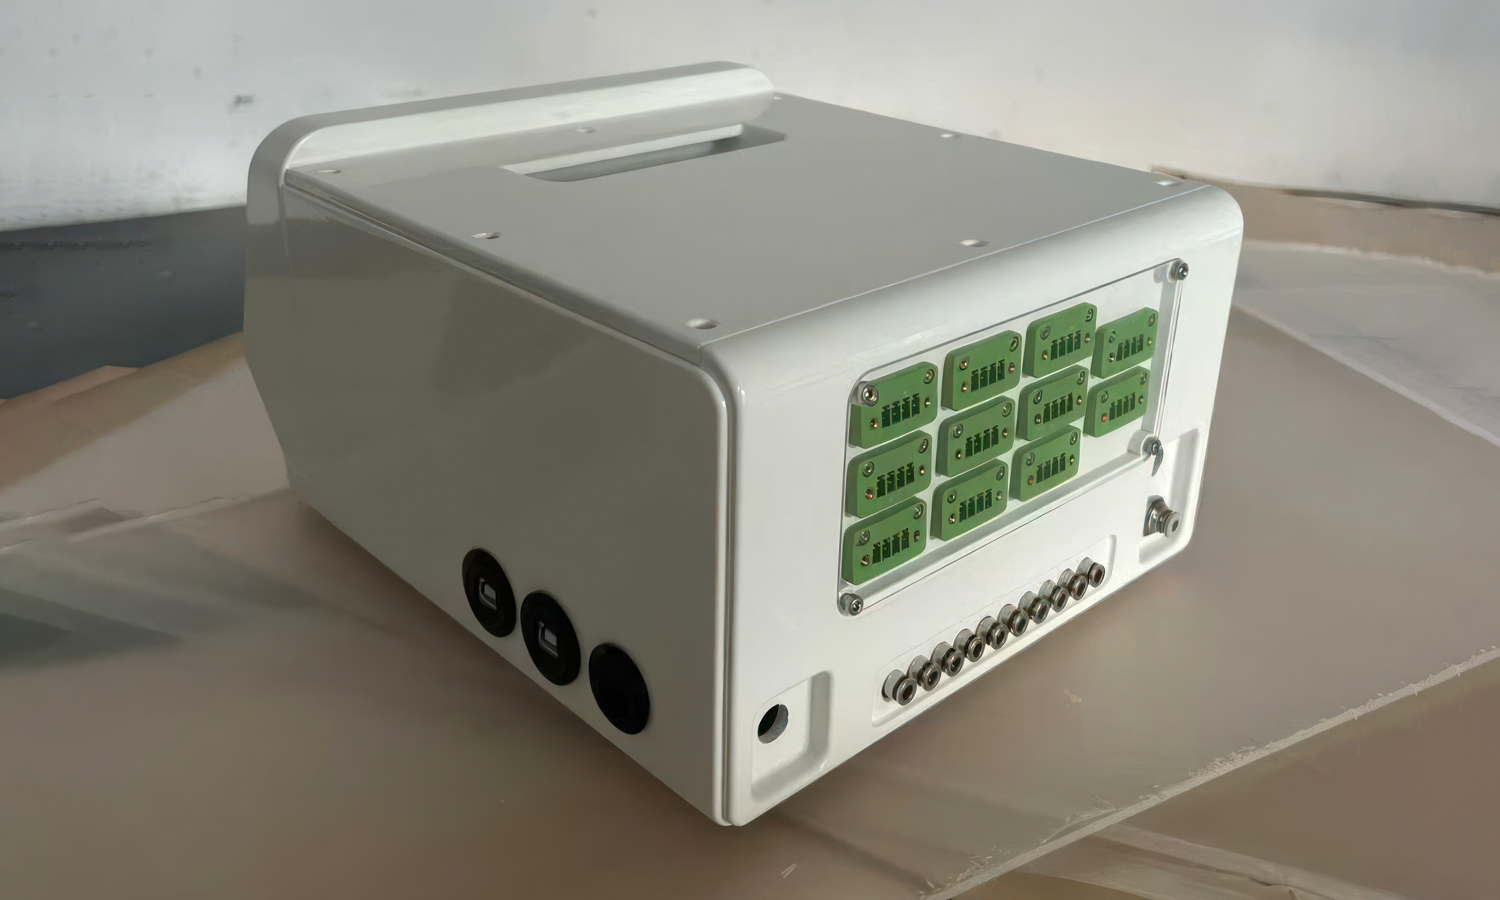
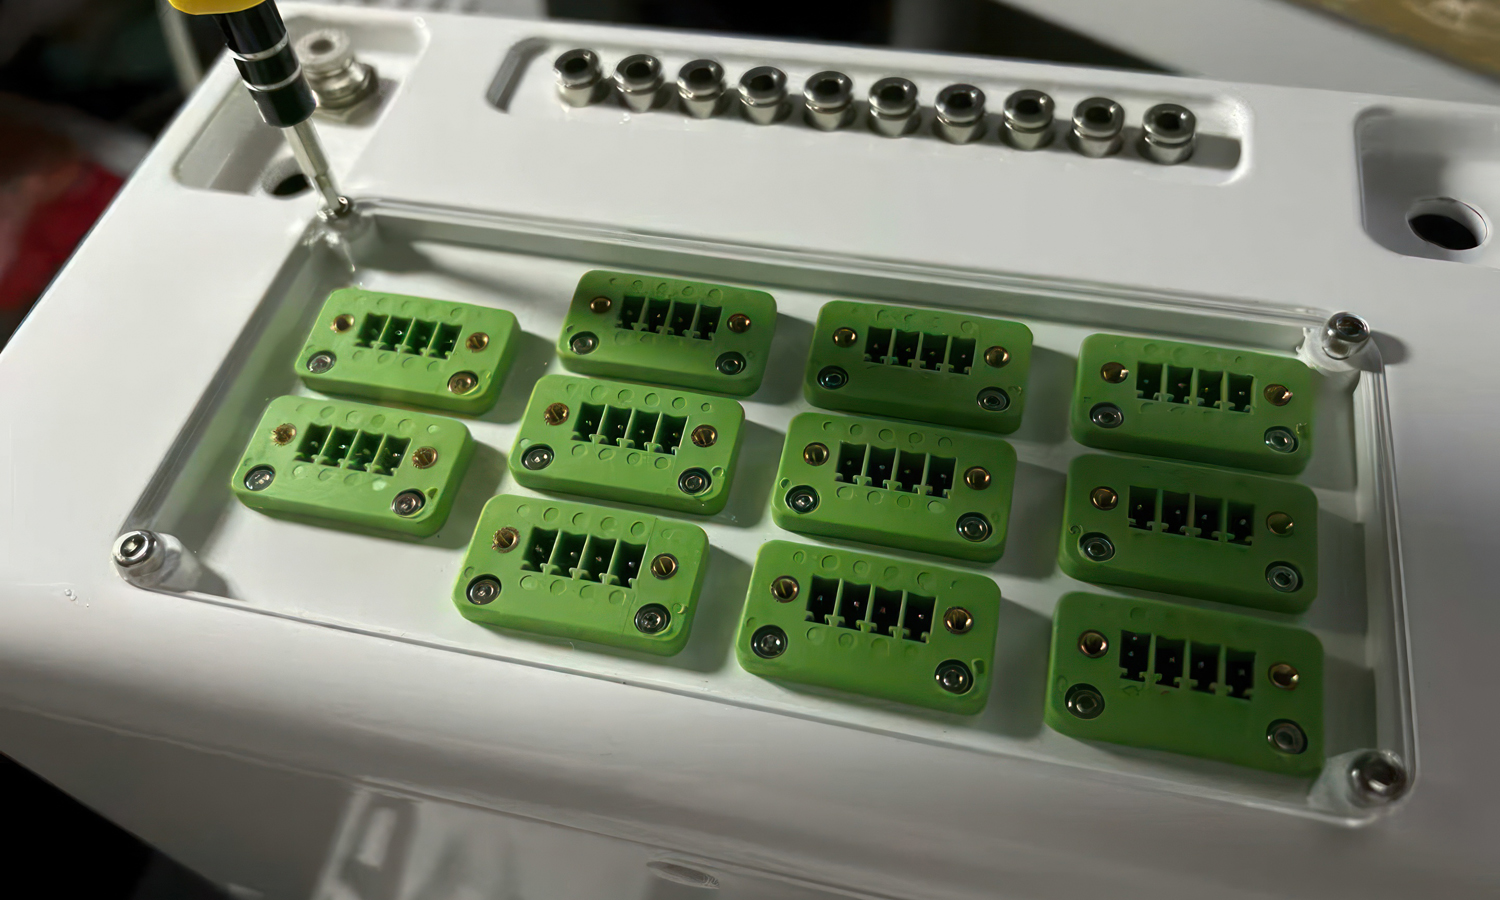
- Complex Integration: The design features recessed handles, precise cutouts for D-Sub EEG cap interfaces, and clear acrylic mounting for the rear modular terminal blocks-demonstrating how 3D printing can seamlessly integrate with traditional hardware.
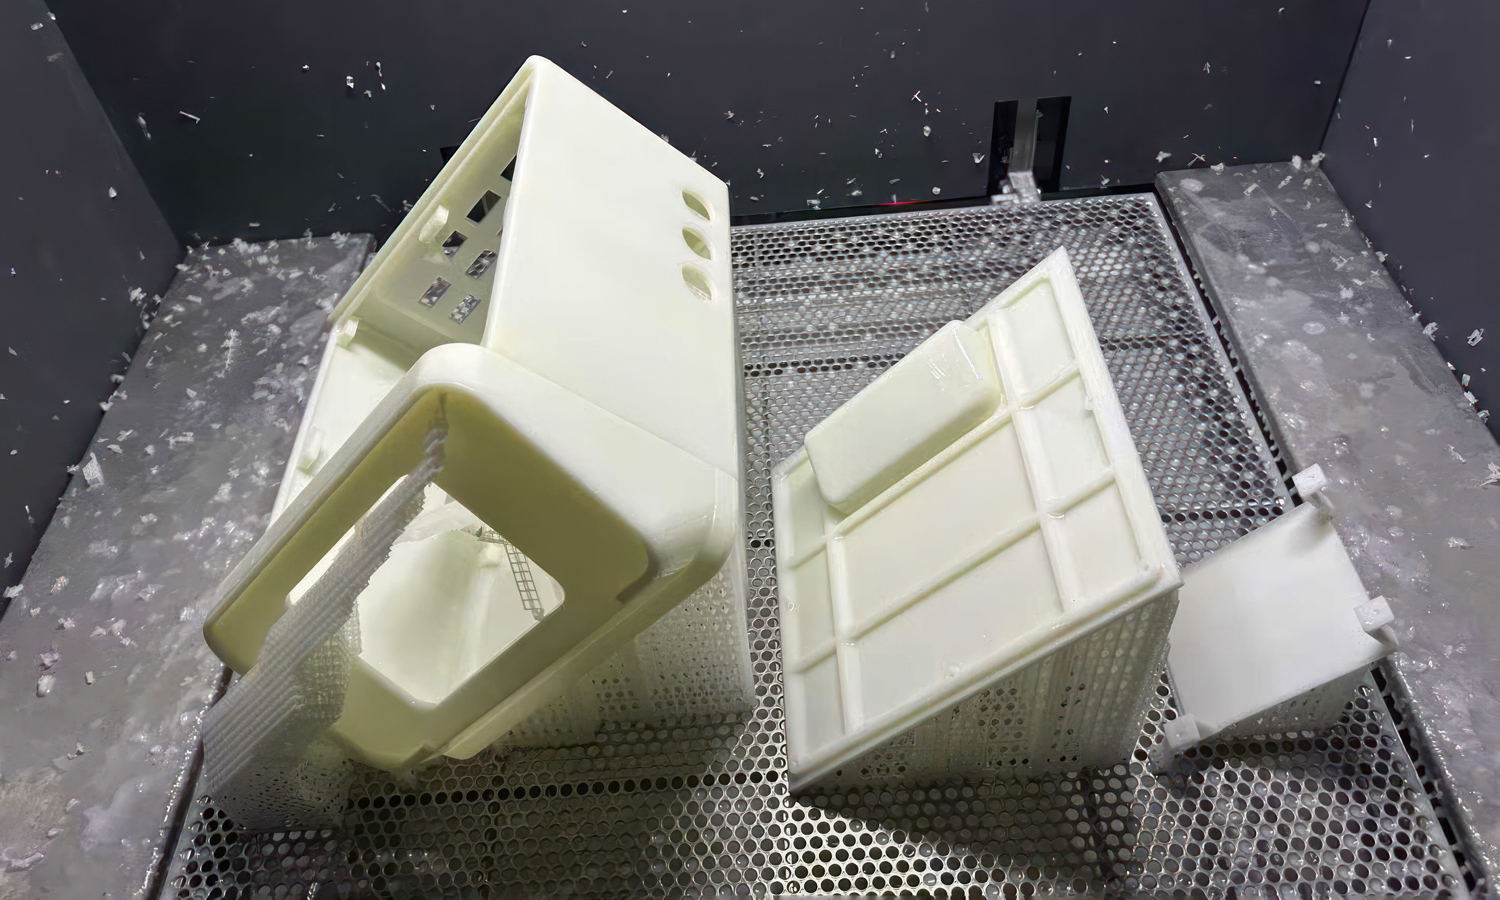
Seeing this prototype move from our wash stations to a fully assembled, functional unit is what we love most about rapid manufacturing. It’s not just about “printing a part”; it’s about accelerating the pace of medical innovation.
Looking to bring your own medical or industrial prototype to life? At FacFox, we offer a comprehensive suite of services including SLA/SLS 3D printing, CNC machining, and professional finishing to ensure your project looks and performs exactly as intended. Whether you need a single functional prototype or low-volume production, our experts are here to help you scale faster.
Visit us at FacFox.com to start your project today!
Solution
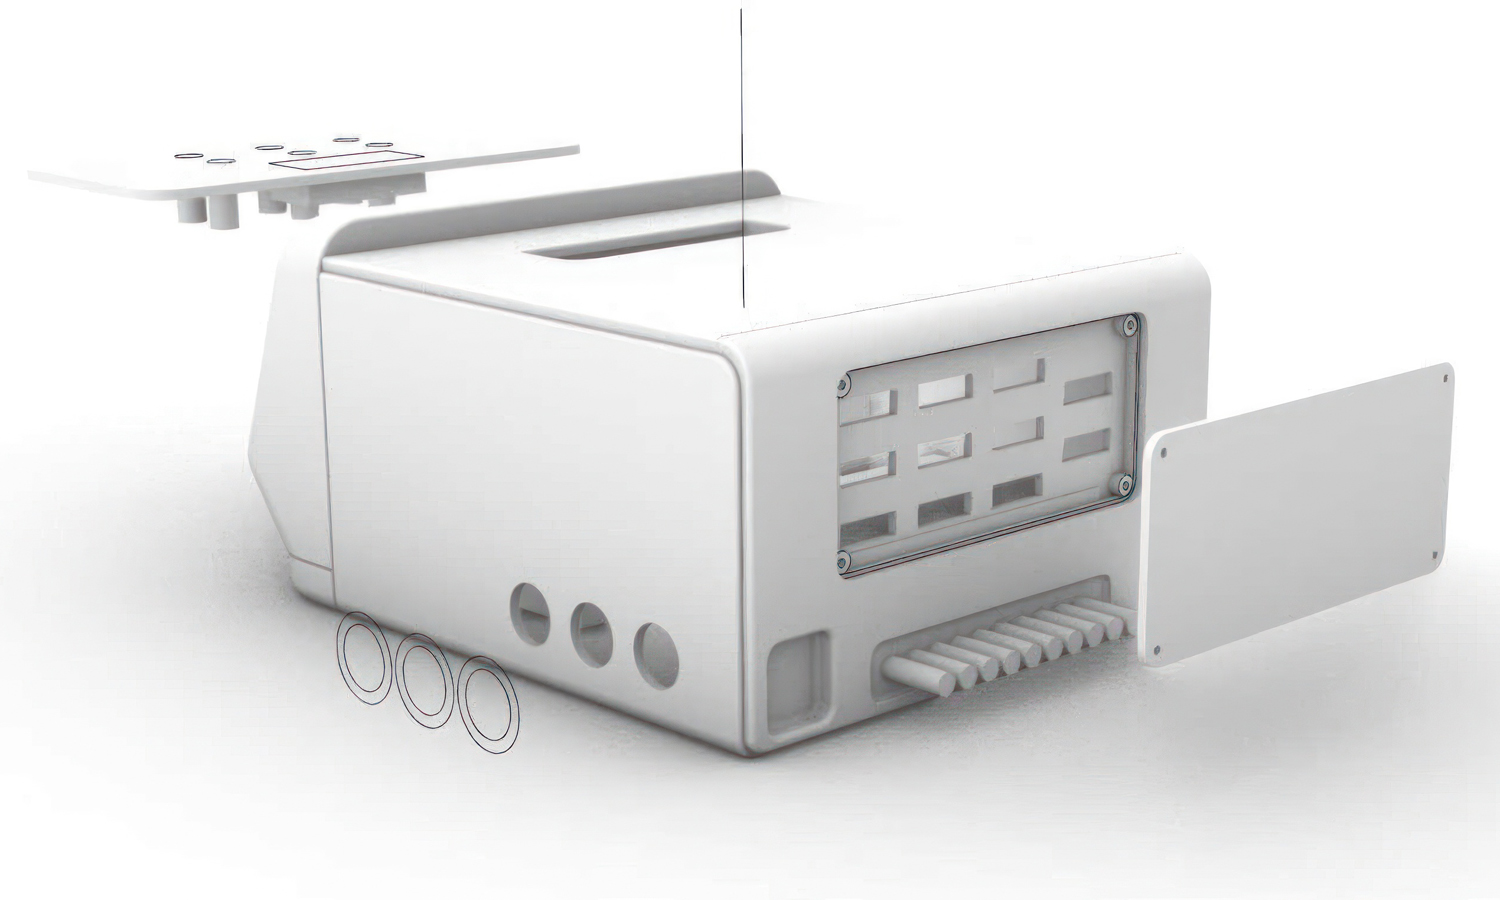
- Step 1: Digital Design and Optimization. The initial CAD models were provided by the client and were optimized for additive manufacturing. Support structures were digitally generated to ensure the stability of the overhanging features, such as the recessed top handle and the internal mounting bosses.
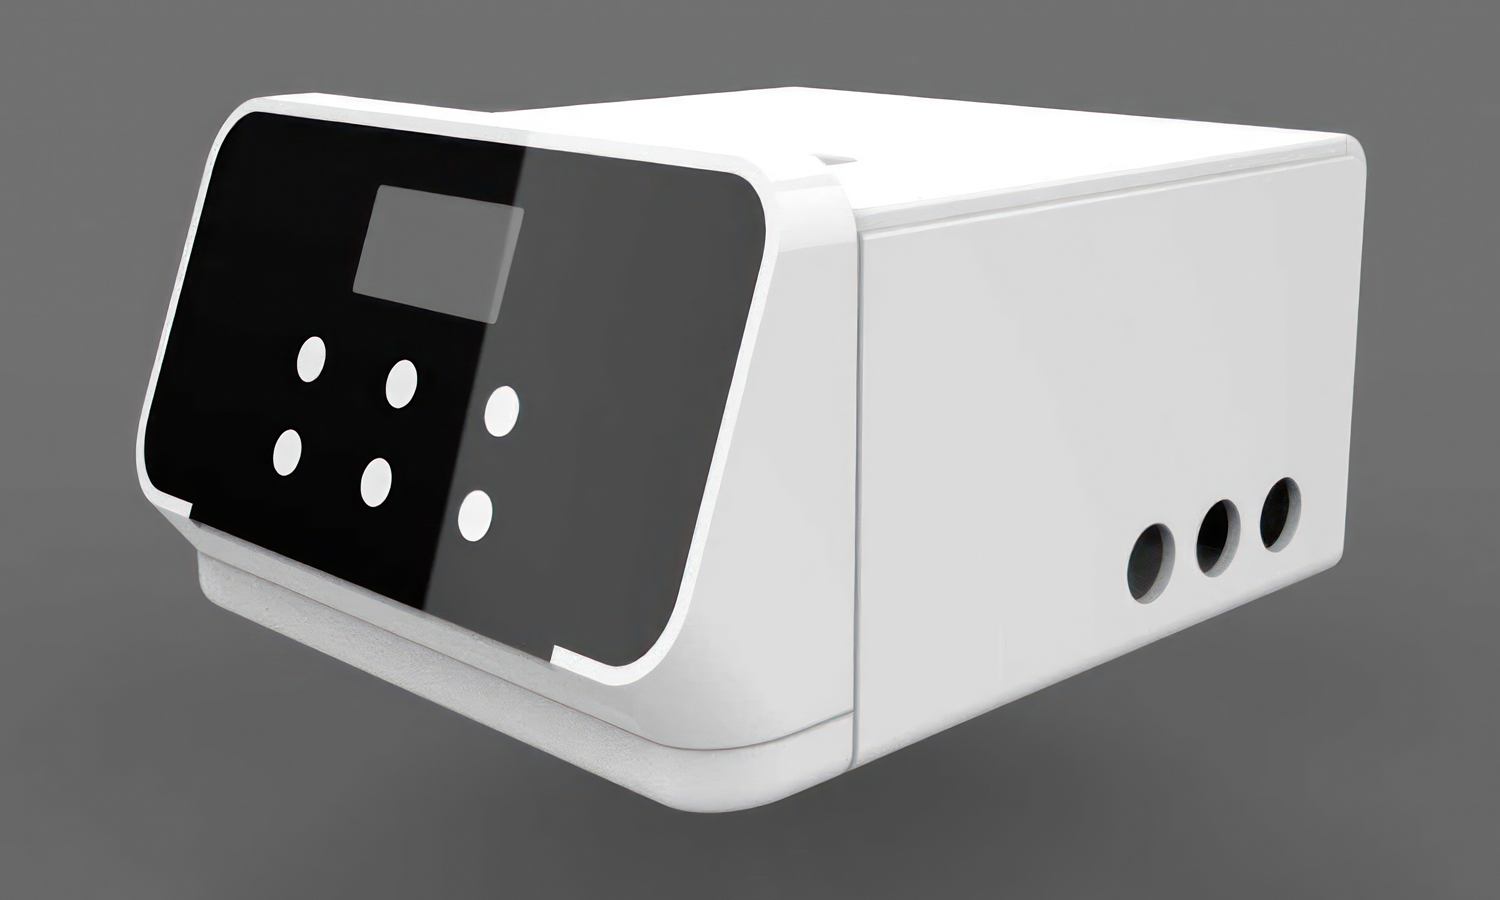
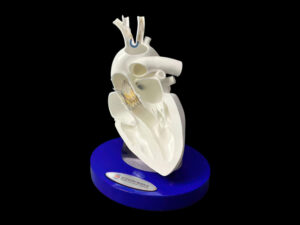
- Step 2: SLA High-Precision Printing. The enclosure components were printed using SLA (Stereolithography) technology. A high-toughness white resin was utilized to ensure the final parts possessed both the necessary impact resistance for a portable medical device and a smooth, non-porous surface finish.
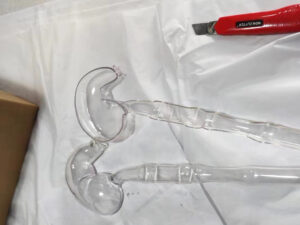
- Step 3: Solvent Cleaning and Support Removal. Once the printing cycle was completed, the parts were submerged in an automated isopropyl alcohol (IPA) wash station. Residual uncured resin was thoroughly dissolved, after which the support structures were carefully removed by hand to avoid damaging the delicate interface edges.
- Step 4: UV Curing and Stabilization. To achieve maximum mechanical strength and color stability, the resin parts were placed in a high-intensity UV curing chamber. The material properties were fully stabilized through this controlled exposure to specific light wavelengths and thermal energy.
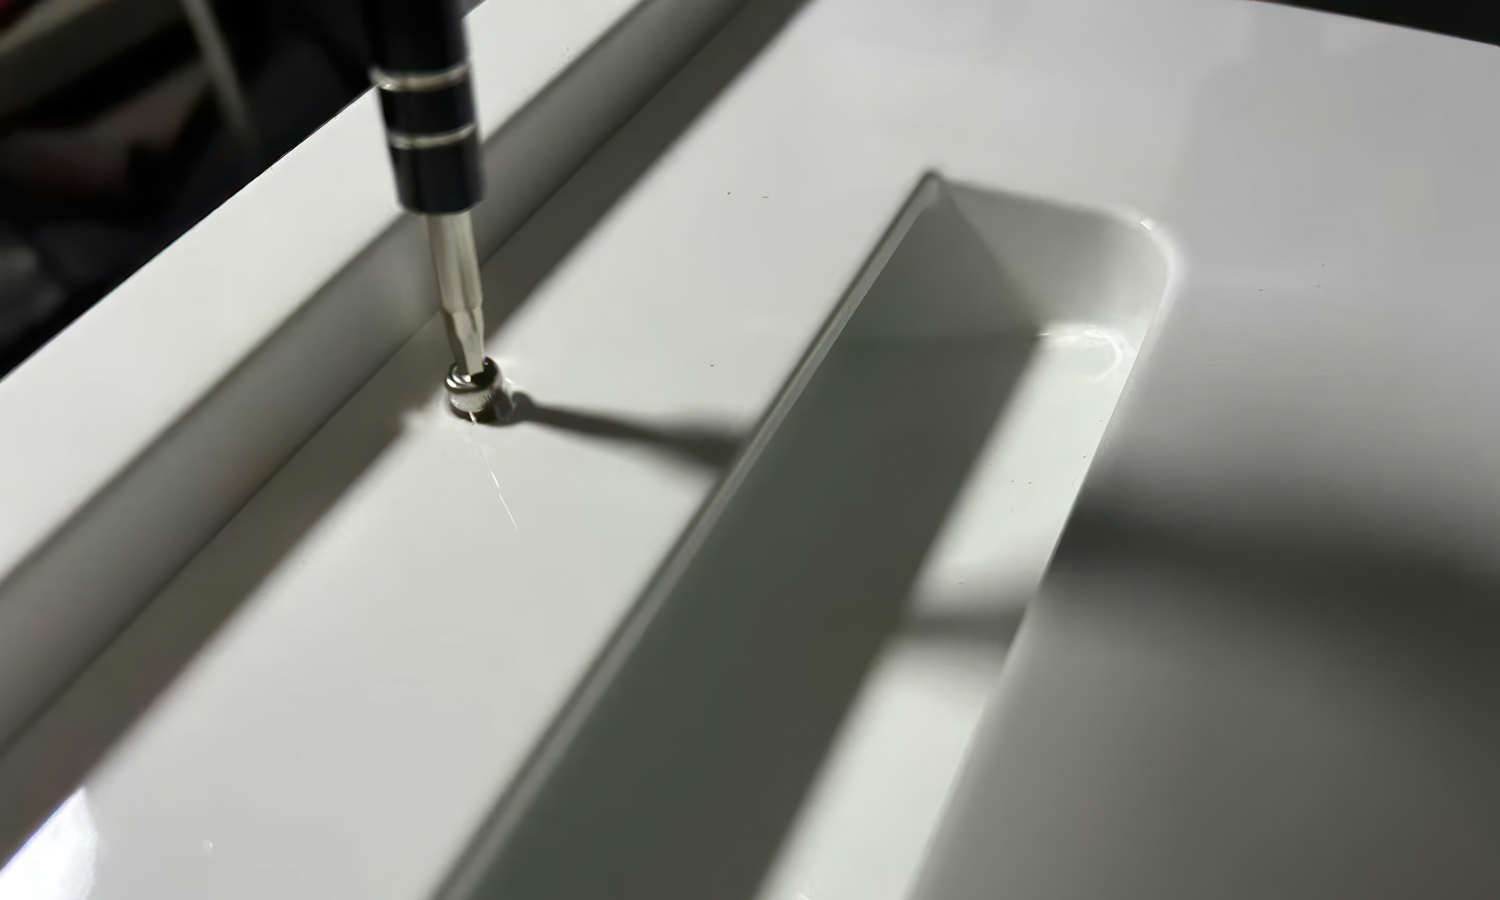
- Step 5: Surface Refinement and Coating. The exterior surfaces were meticulously sanded to eliminate any remaining layer lines or support witness marks. A professional-grade, semi-gloss protective coating was then applied in a dust-free spray booth to achieve the final medical-white aesthetic.
- Step 6: Laser Cutting of Secondary Components. The rear transparent panels and internal dividers were fabricated using precision laser cutting. These components were designed to provide visibility for internal troubleshooting while maintaining a secure seal for the rear terminal blocks.
- Step 7: Component Integration and Assembly. The electronic sub-assemblies, including the LCD screen, PCB boards, and the specialized D-Sub “EEG Cap Interface,” were integrated into the housing. All sections were secured using counter-sunk hex screws, and the modular green terminal blocks were mounted to the rear I/O plate.
- Step 8: Final Quality Inspection. The completed prototype was subjected to a final dimensional inspection and fitment test. The alignment of all ports and the structural integrity of the handle were verified before the unit was cleared for delivery.

