Material Resin, Rubber
Quantity 15 pcs
Price Range $1-100
Lead Time 4 workdays
Gallery
About Project
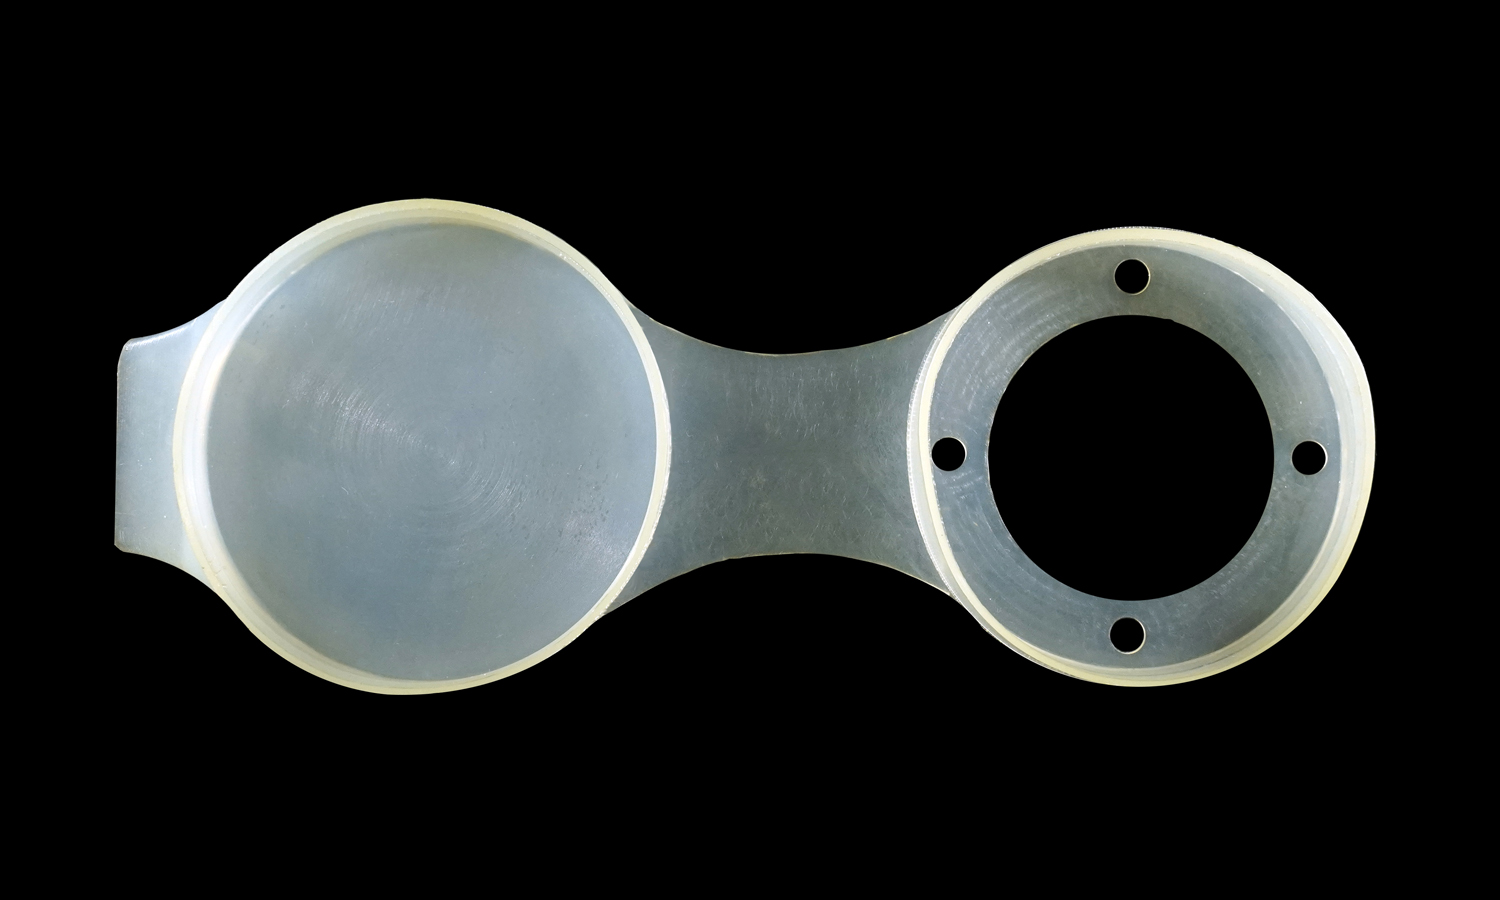
In prototype engineering, flexibility and dimensional accuracy are key to verifying mechanical fit before committing to mass production. This transparent polyurethane part was developed as a flexible coupling housing, connecting two rigid components while allowing slight movement and vibration absorption.
Function and Design
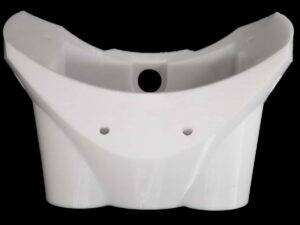
The design features two circular interfaces connected by a flexible waist.
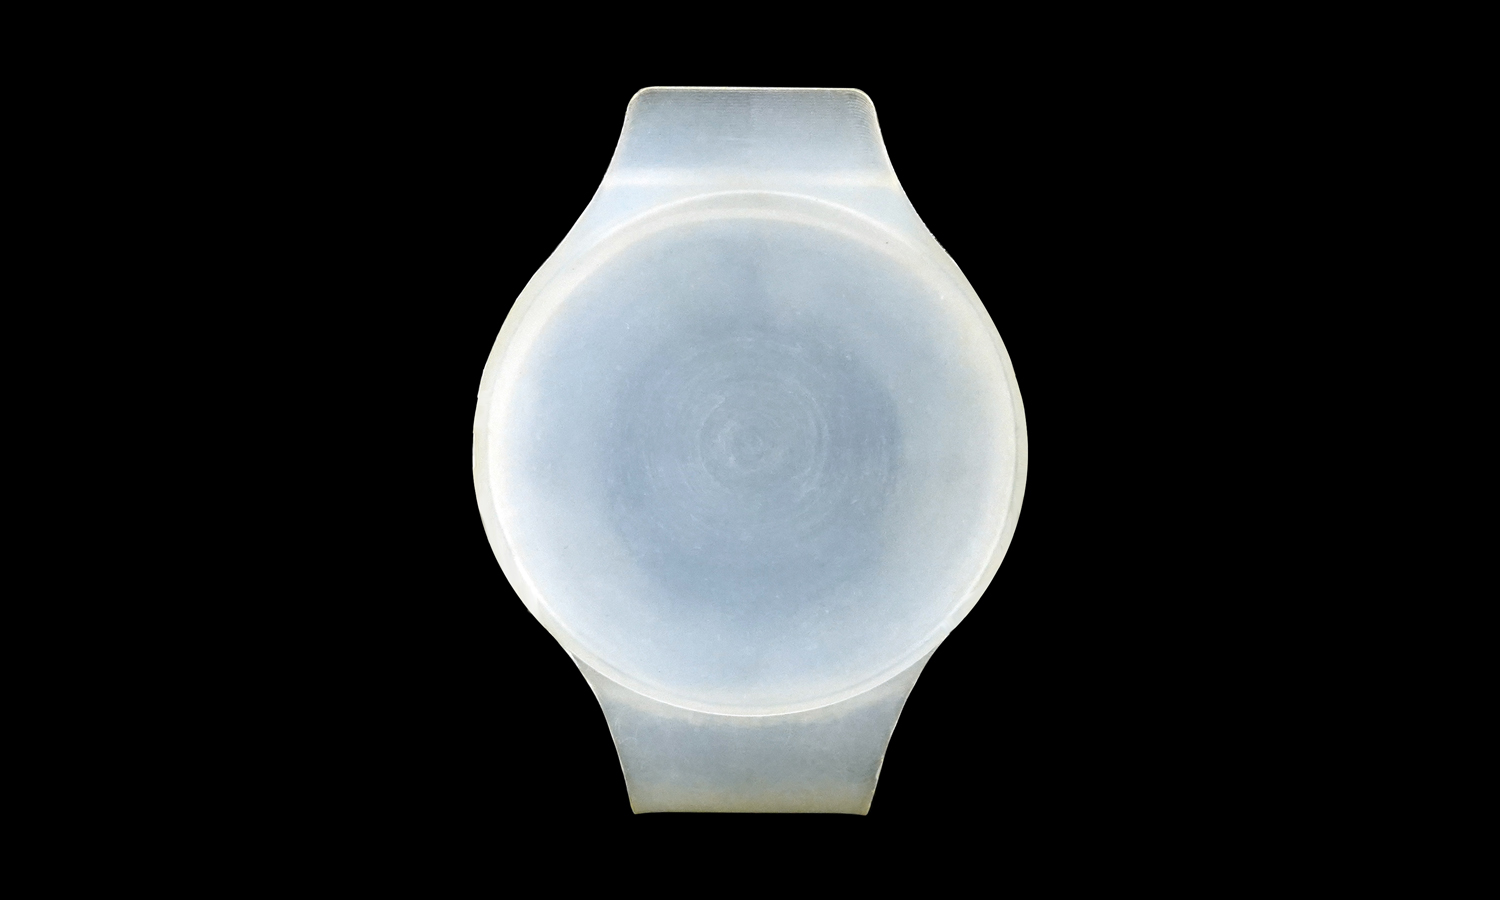
- One end includes a smooth, shallow cavity that mates with a curved part.
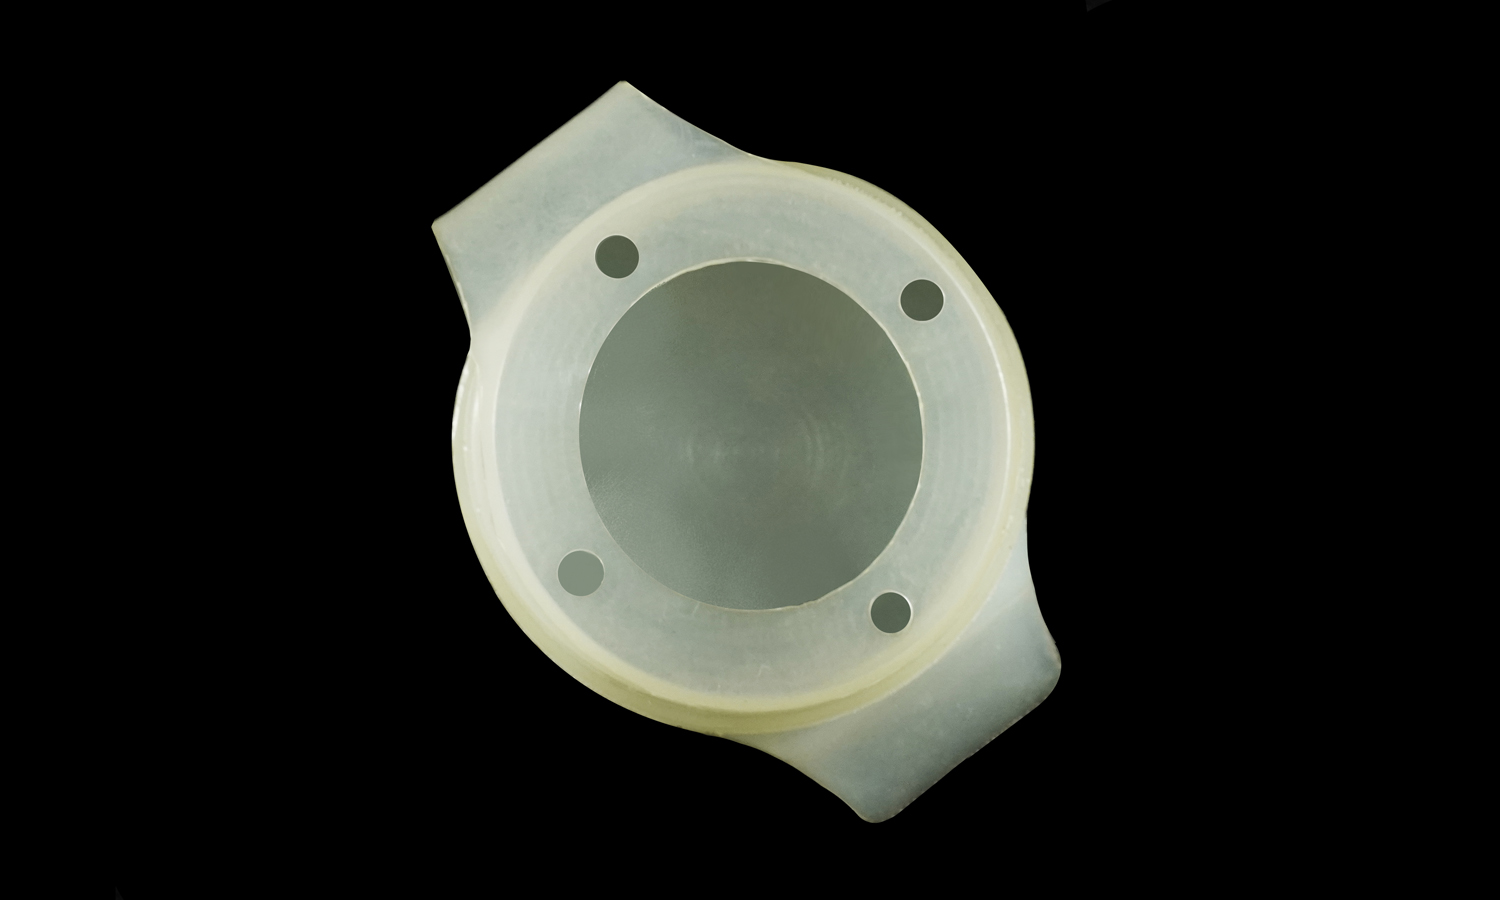
- The opposite end features a ring with four mounting holes, enabling precise fastening.
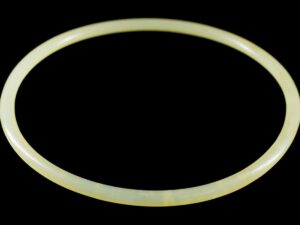
- The translucent body provides visual access during assembly alignment, useful in optical or sensor modules.
The geometry ensures torsional flexibility and vibration damping while maintaining structural integrity – ideal for testing mechanical alignment and material behavior in a real environment.
Why PU Casting?
Polyurethane casting enables rapid, low-volume production of parts with rubber-like elasticity and optical clarity – perfect for mechanical tests, ergonomic studies, and pre-production validation.Compared with direct 3D printing, PU casting yields stronger, smoother, and more consistent results suitable for handling and assembly tests.
FacFox’s PU casting service delivers high-quality flexible parts for mechanical and optical assemblies, vibration-isolating housings, and aesthetic prototypes. Whether you need soft elastomers or rigid resins, our vacuum casting technology ensures precision and consistency from the first sample to short-run production.
Solution
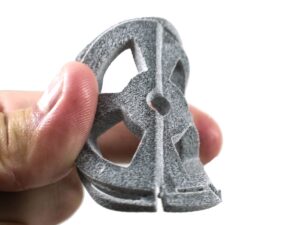
- Step 1: The master model was 3D printed using SLA technology for high detail.
- Step 2: The printed pattern was post-cured and polished to ensure smooth replication.
- Step 3: A silicone mold was created around the master.
- Step 4: Degassed polyurethane resin was poured into the mold.
- Step 5: The mold was vacuum-treated to remove trapped air.
- Step 6: The part was cured at a controlled temperature.
- Step 7: Once solidified, it was demolded and lightly trimmed.
- Step 8: Final inspection confirmed flexibility, hole accuracy, and surface clarity.

