- DLP 3D Printed Fine-detail Resin Goblin Head Sculptures
- SLA 3D Printed Resin Flowers Wall Decorations with Reinforcing Ribs
Gallery
About Project
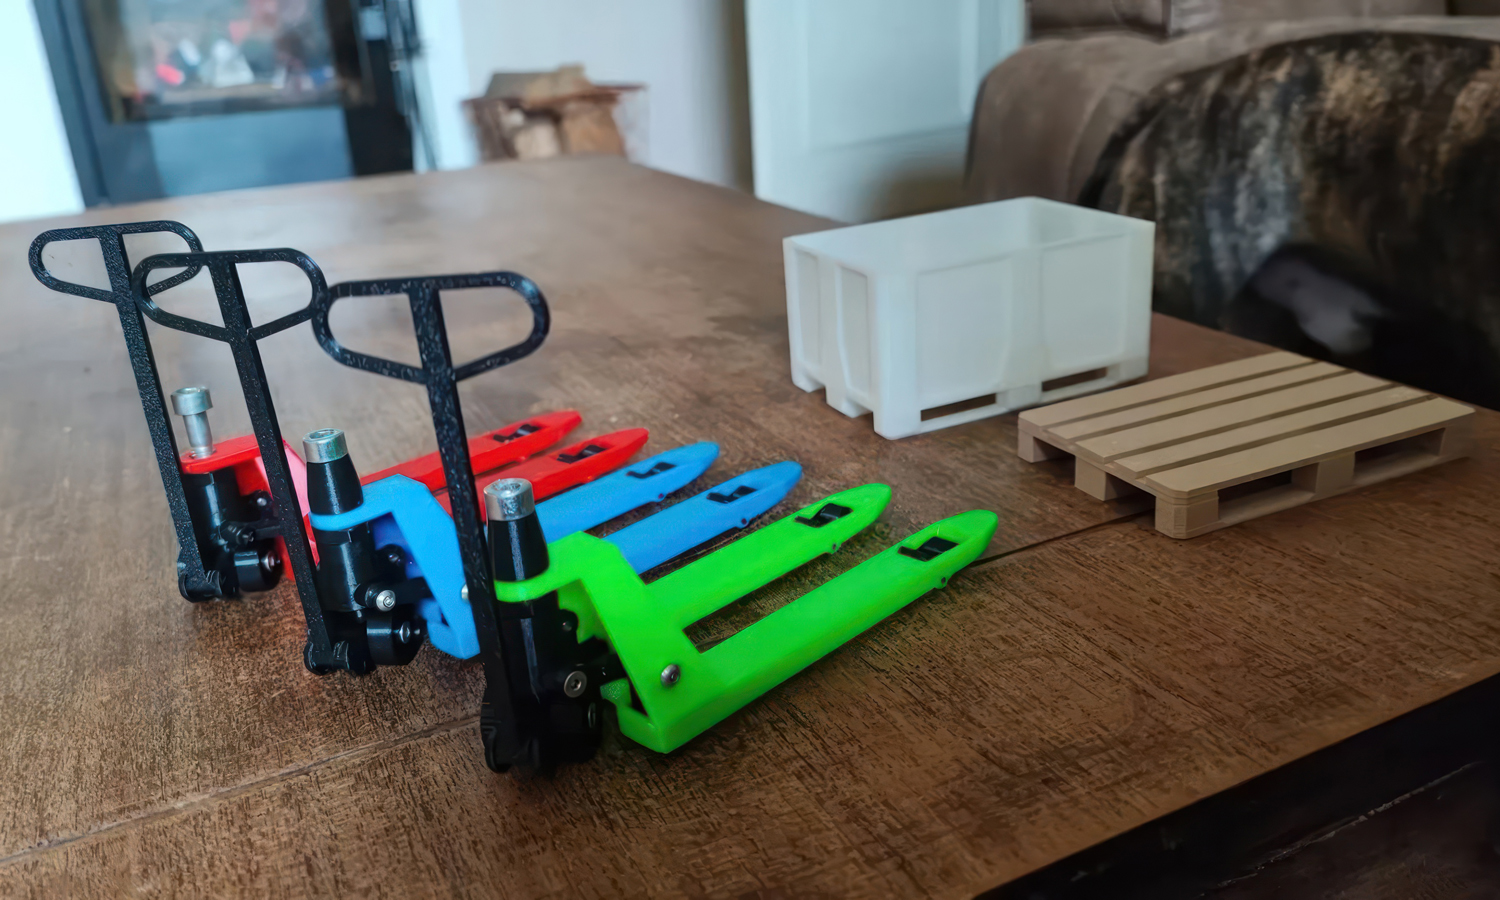
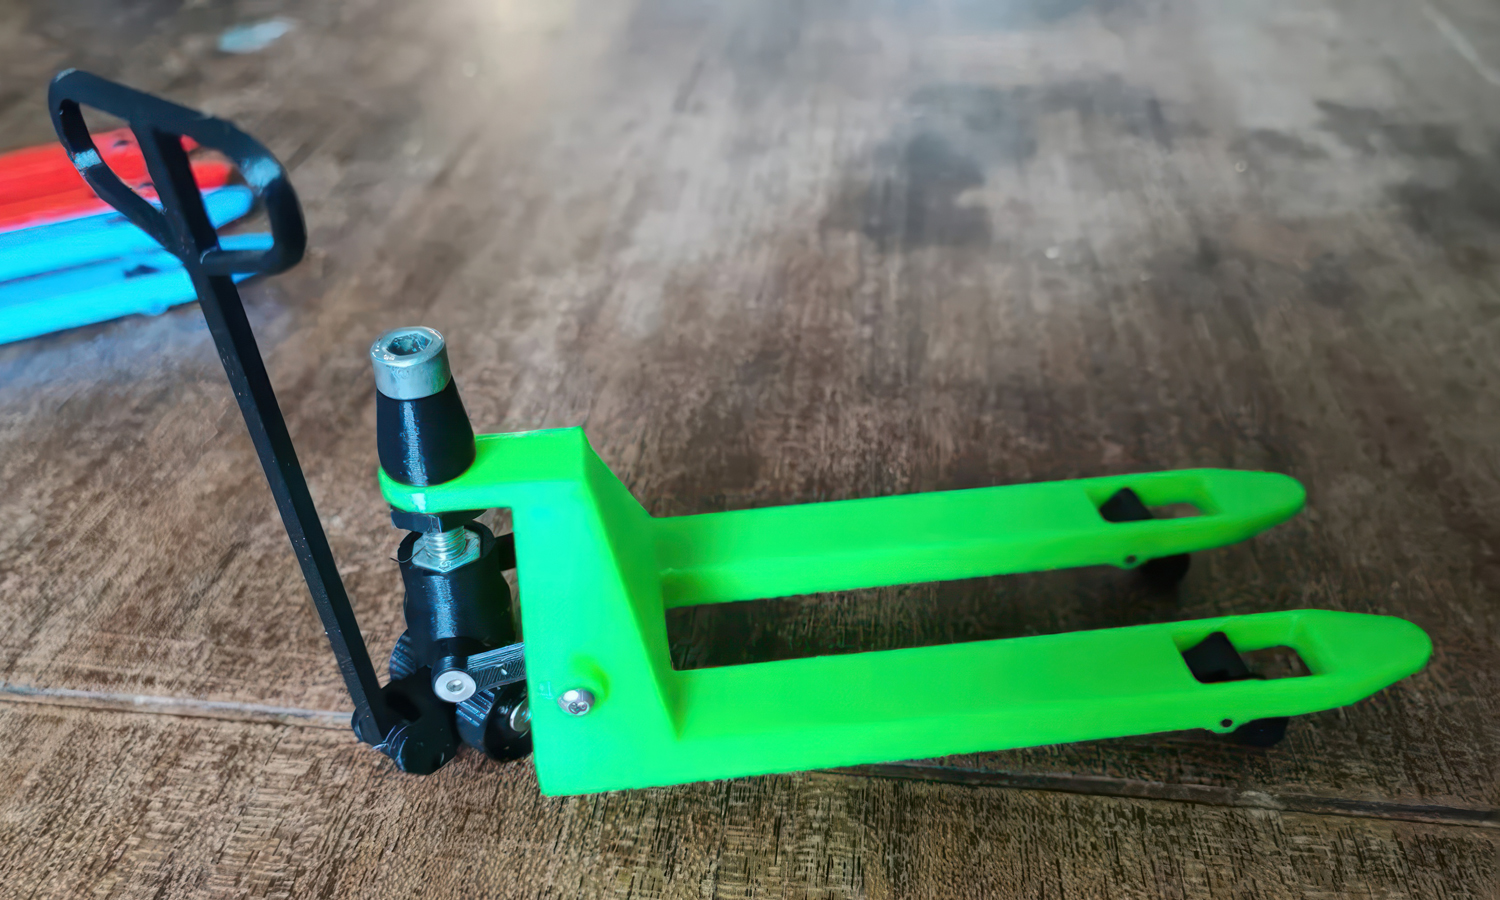
Get ready to be amazed! Our FDM 3D printed pallet jack forklift toy is no ordinary plaything. It’s a miniature marvel of engineering designed to spark imaginations and inspire creativity.
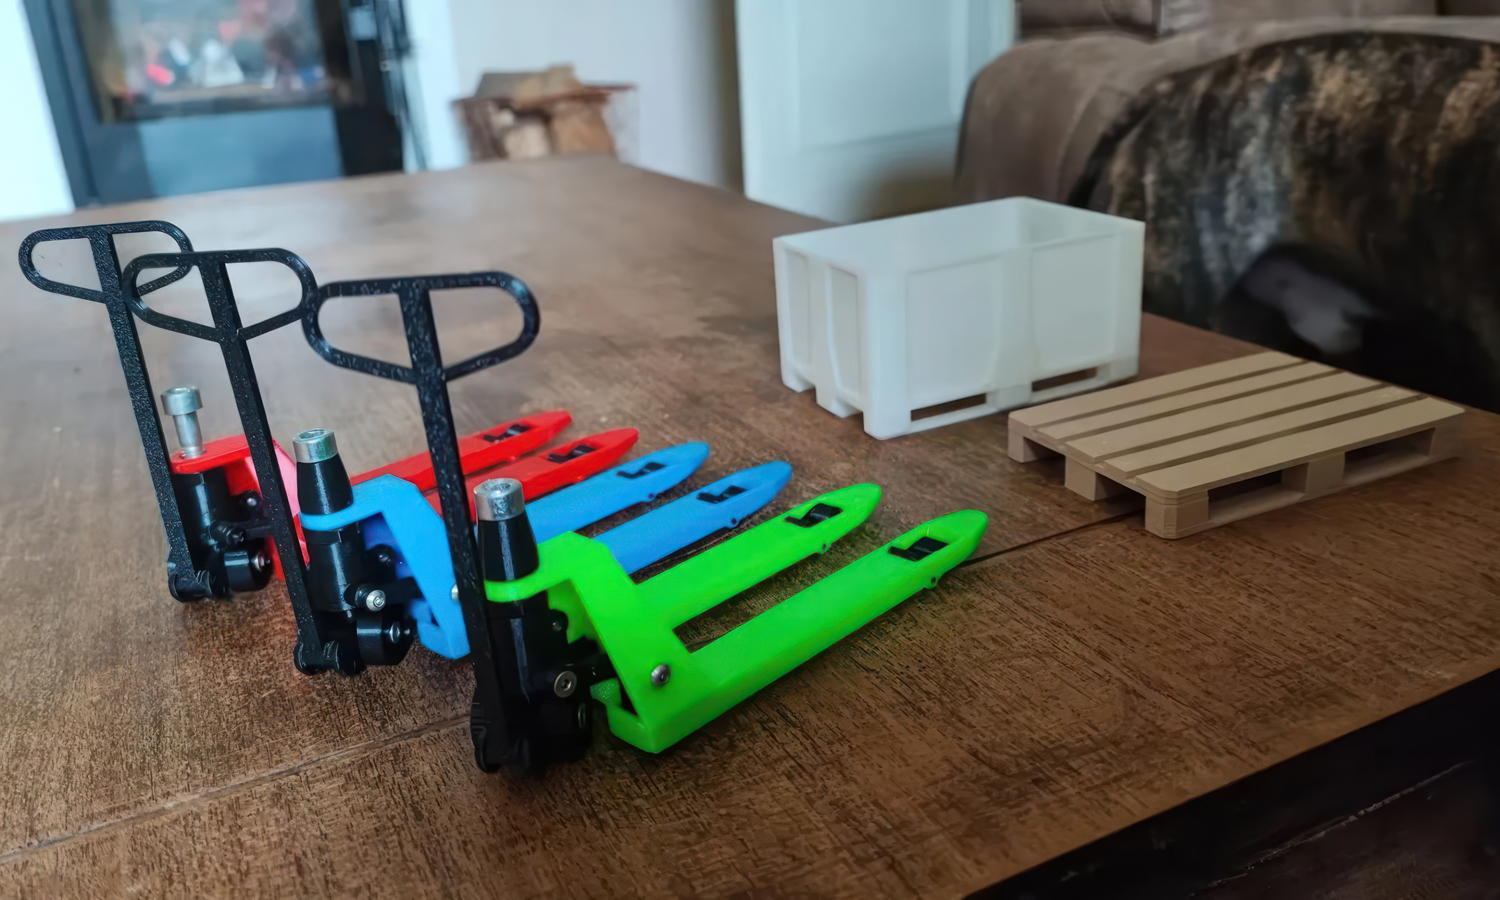
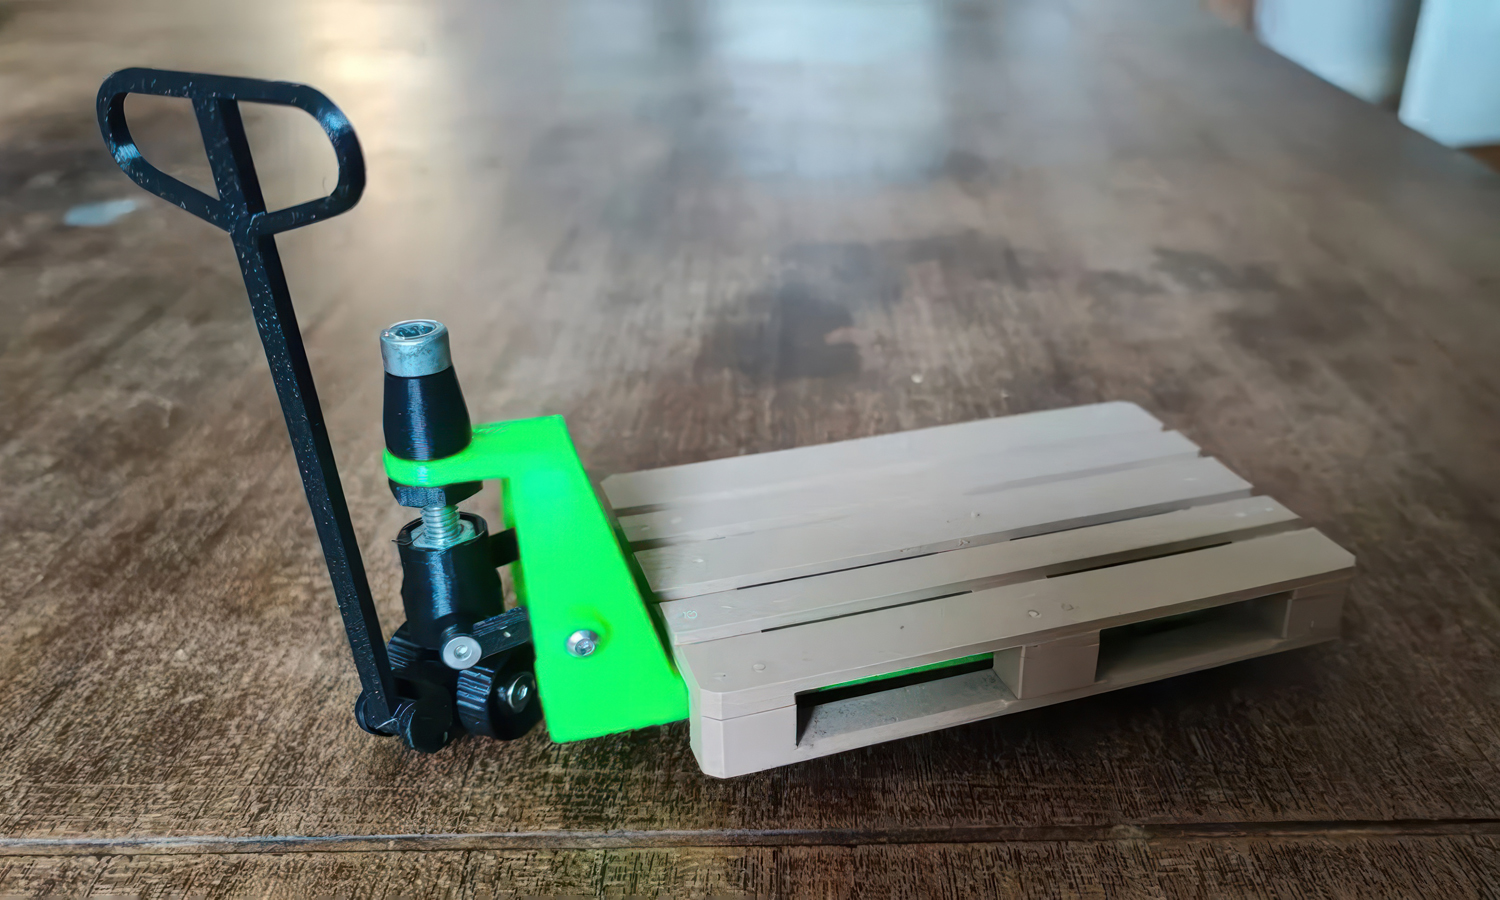
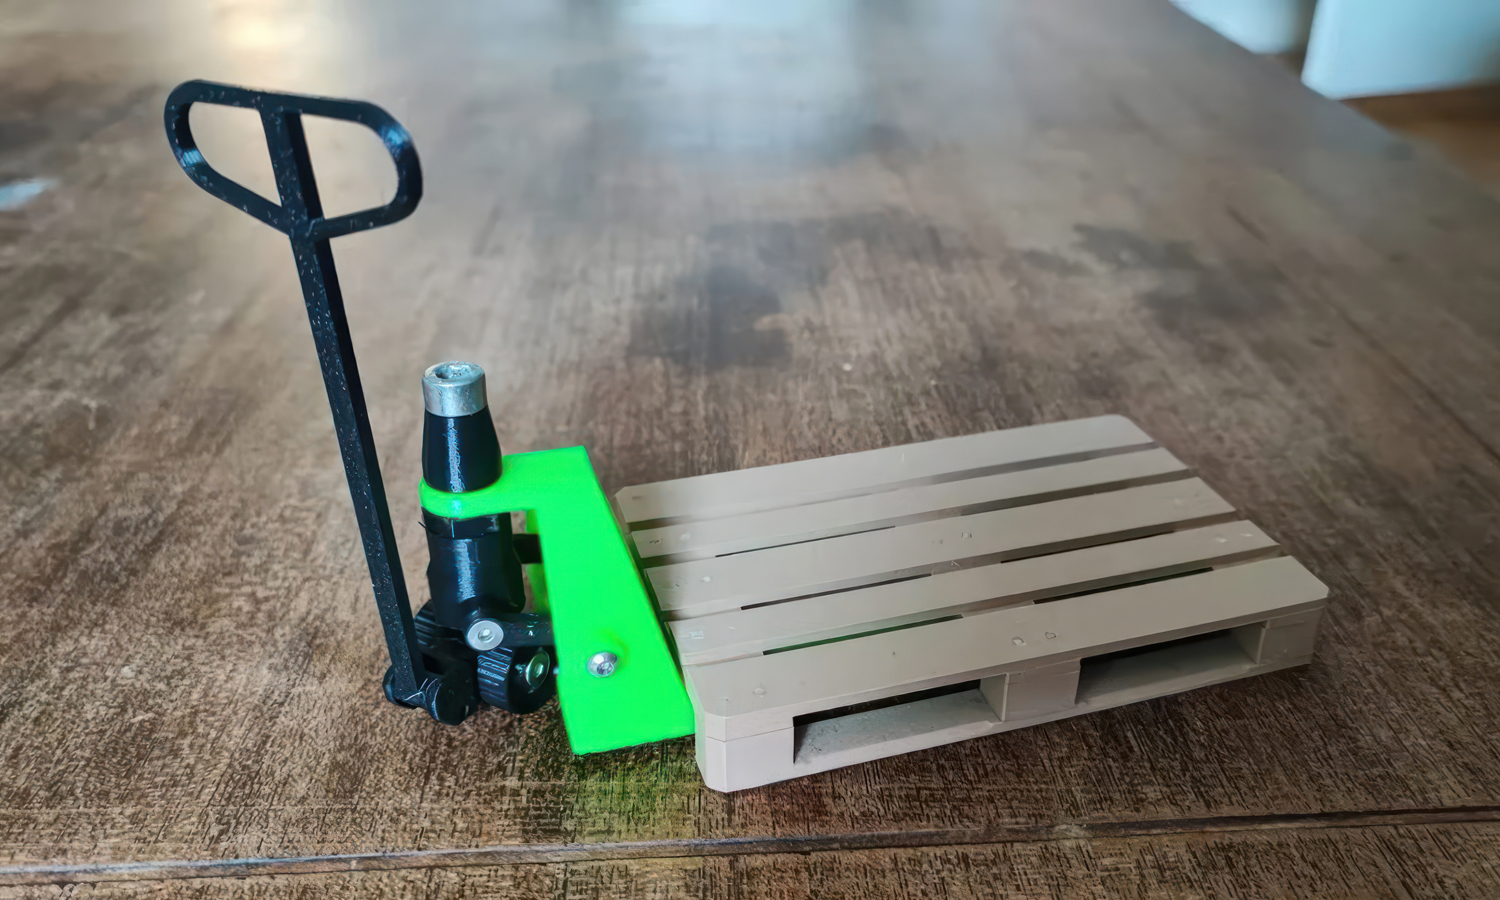
Crafted with precision, this fully functional model boasts a sturdy chassis, rolling wheels, and adjustable forks. Available in eye-catching red, green, and blue, it’s accompanied by a realistic wooden-toned pallet and a sleek white crate.
Watch as young minds transform into mini-logistics managers, loading, unloading, and transporting cargo with delight. This isn’t just a toy; it’s a hands-on learning experience that fosters problem-solving and imaginative play.
Want to bring your vision to life? FacFox offers top-tier FDM 3D printing services to turn your ideas into reality. From concept to creation, our expertise and advanced technology deliver exceptional results. Contact us today to embark on your 3D printing journey!
Solution
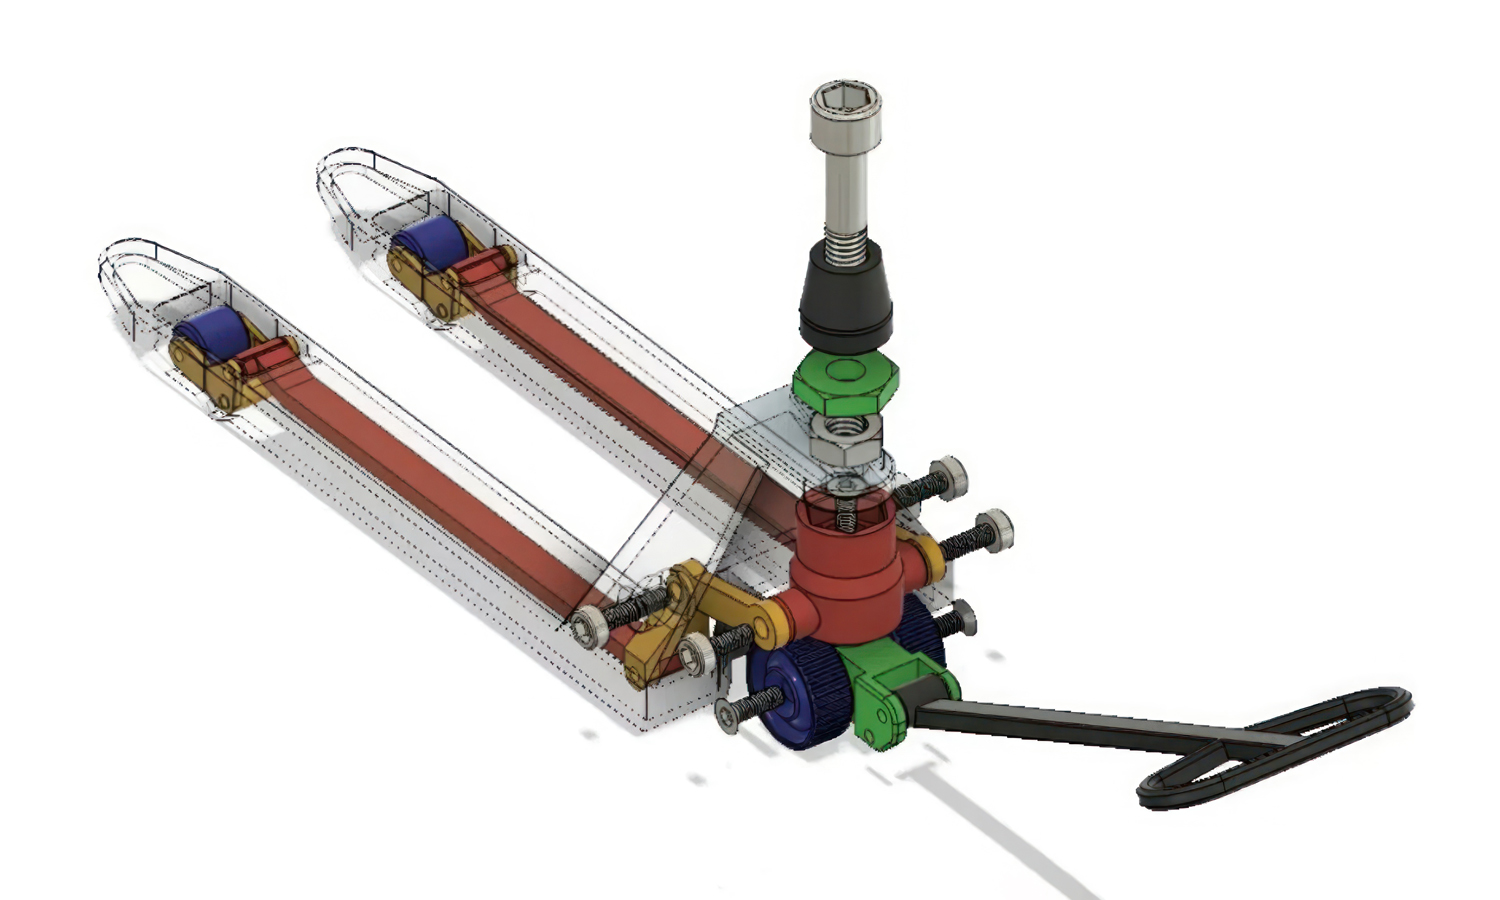
- Step 1: The 3D models of the chassis, wheels, forks, and mast were designed using CAD software.
- Step 2: The designs were imported into a 3D slicer software, where the print settings were configured.
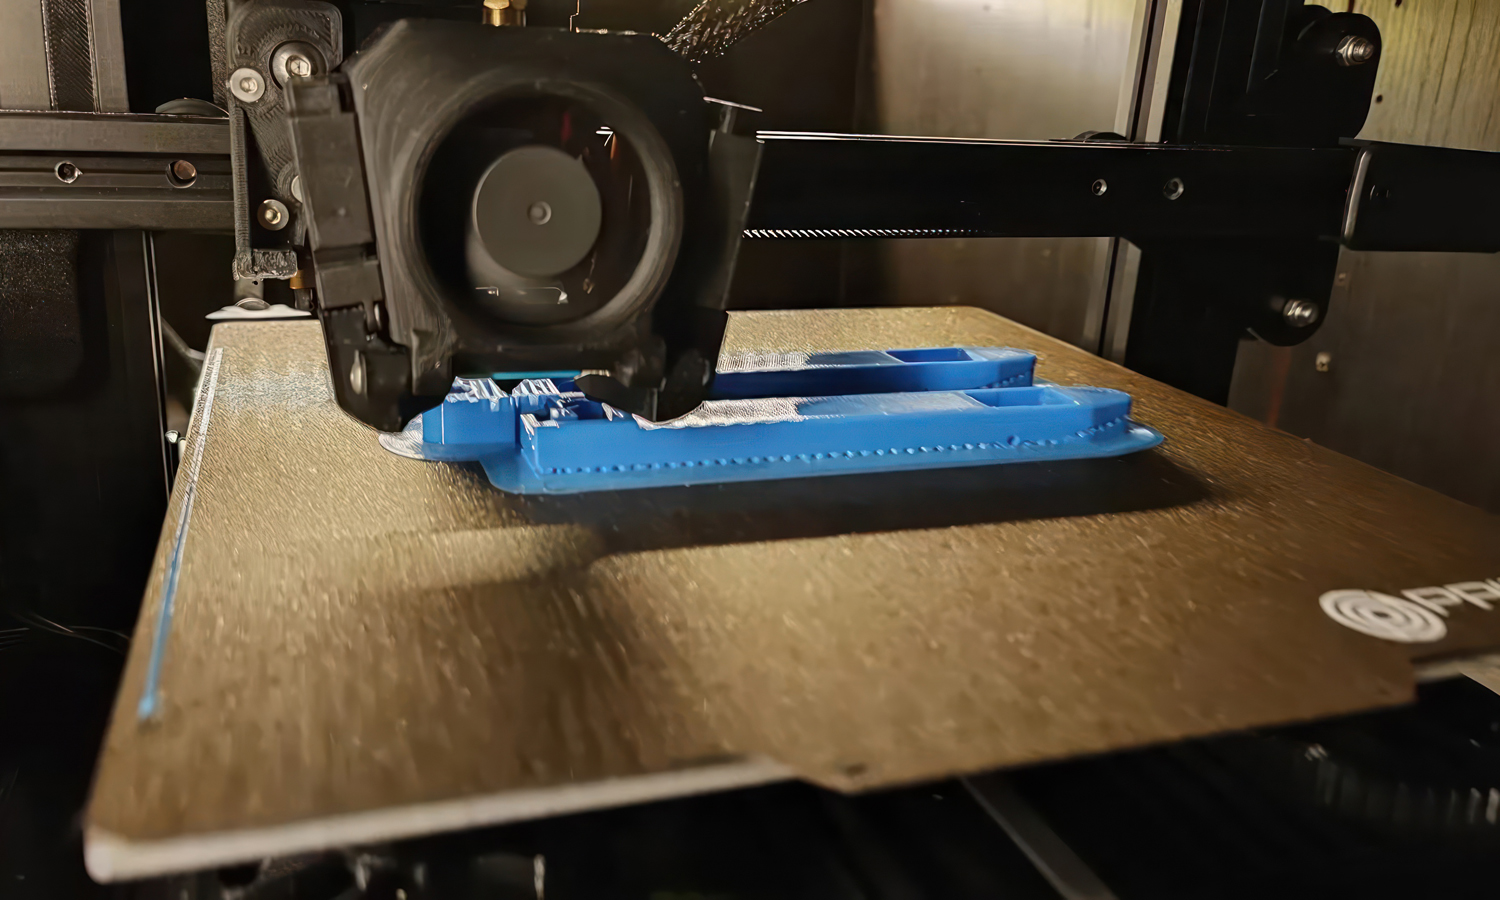
- Step 3: The chassis, wheels, forks, and mast were printed using FDM 3D printers with PLA filament.
- Step 4: The chassis was printed in three colors: red, green, and blue.
- Step 5: The wheels were printed in black PLA filament.
- Step 6: The forks and mast were printed in matching colors to the chassis.
- Step 7: A pallet was printed using wooden color PLA filament.
- Step 8: A crate was printed using white PLA filament.
- Step 9: The printed parts were removed from the print bed and cleaned of any support structures.
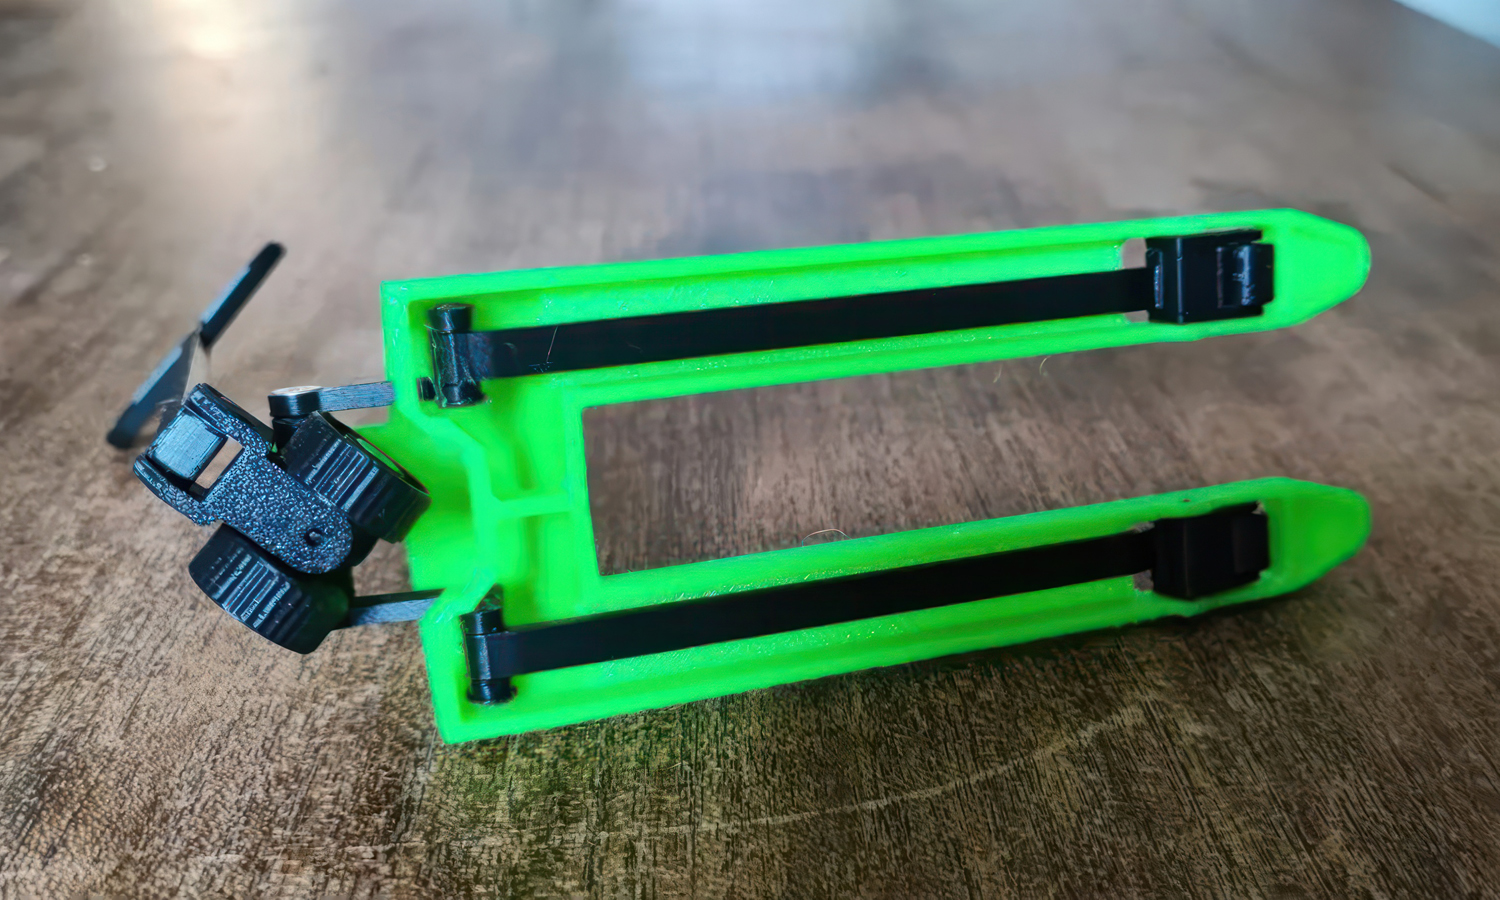
- Step 10: The chassis, wheels, forks, and mast were assembled using screws and bolts.
- Step 11: The wheels were attached to the chassis, allowing the forklift to move.
- Step 12: The forks were attached to the mast, allowing them to lift and lower.
- Step 13: The mast was attached to the chassis, completing the assembly of the forklift.
- Step 14: The pallet and crate were placed alongside the forklifts for display and play.
