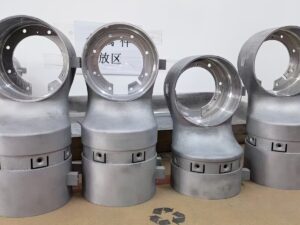
- BinderJet 3D Printed SS316L Car Exterior Handle Cover
- New Material Online: SLA High-temp Resin-220°C available!
Gallery
About Project
3D printing technology continues to advance rapidly, offering innovative solutions for various industries. One crucial aspect of 3D printing is ensuring the precision and quality of the printed parts. To assess these factors, calibration test samples are employed.
Understanding the Calibration Test Sample
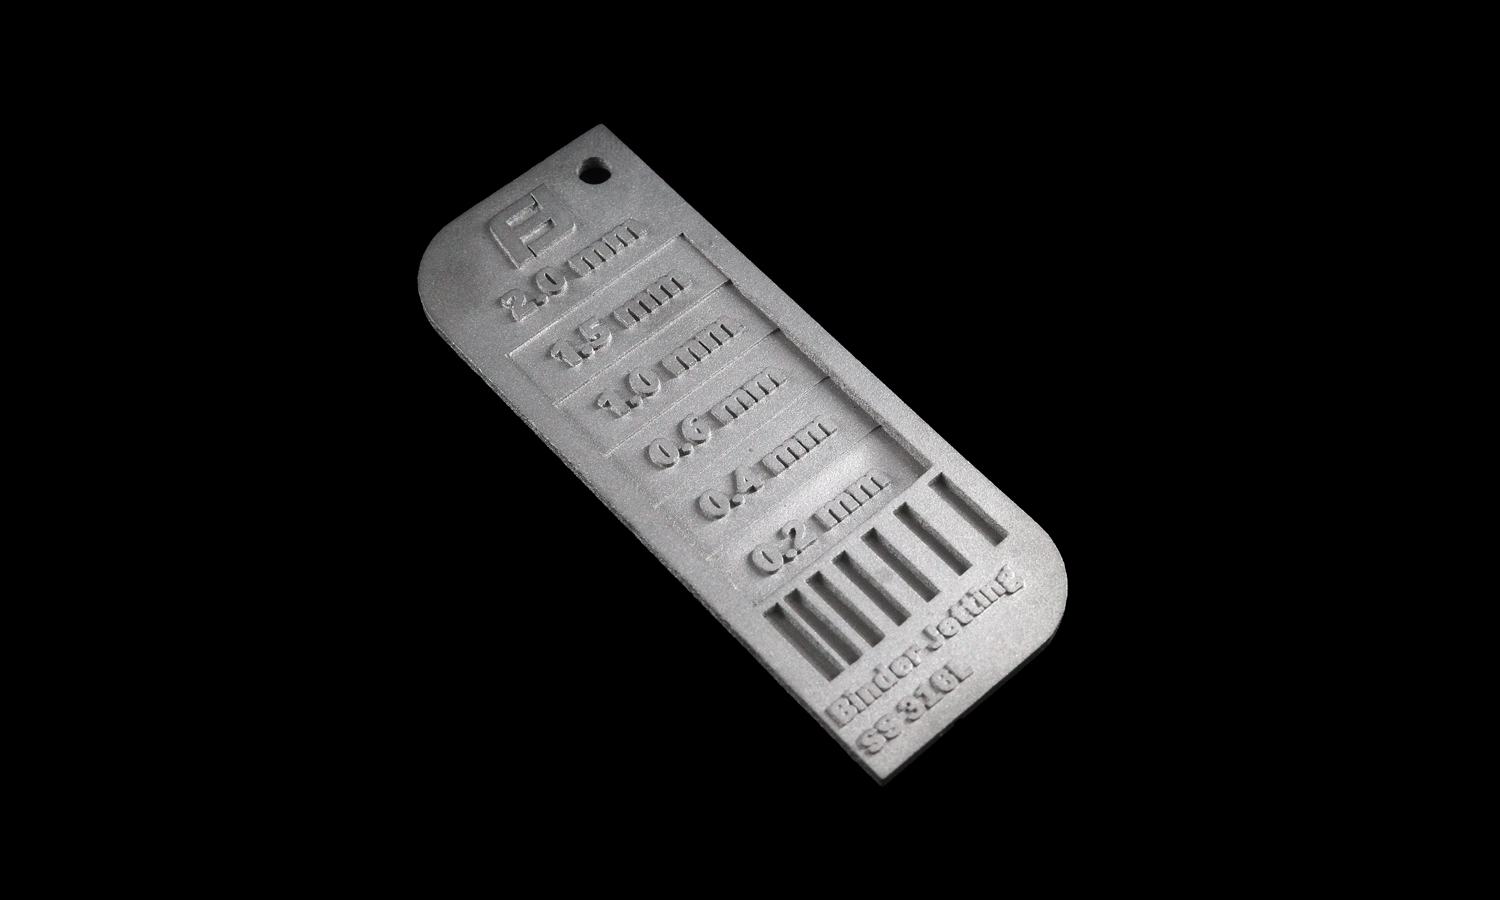
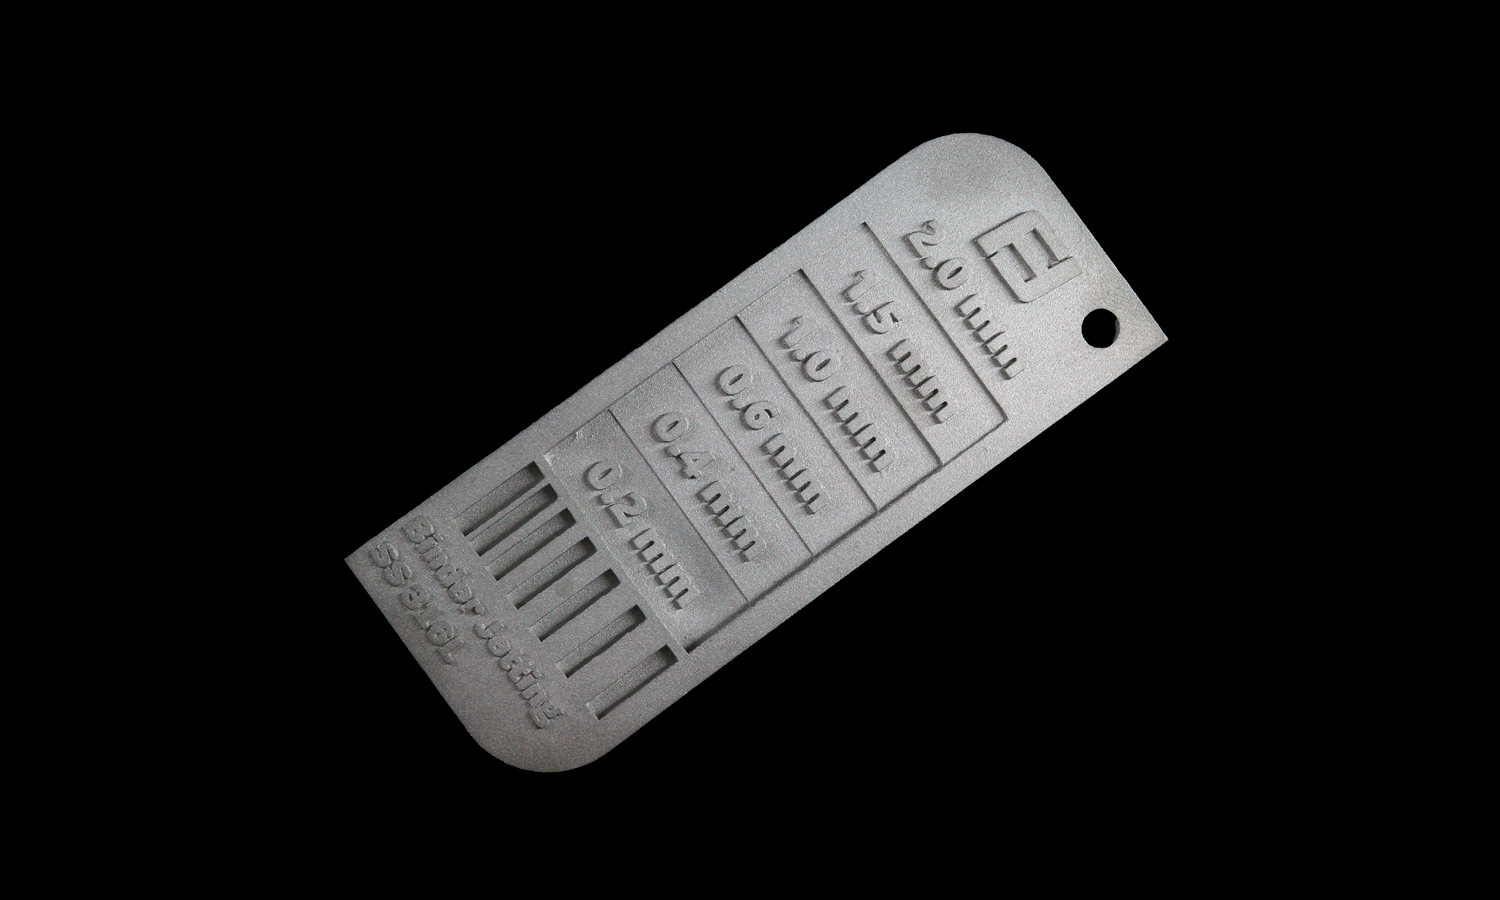
A recent BinderJet 3D printed SS316L unit test sample strip provides valuable insights into the capabilities and limitations of 3D printing technology. The sample features several rectangular sections with varying thicknesses, ranging from 2.0 mm to 0.2 mm. Additionally, it includes vertical bars of different widths to evaluate the printer’s ability to handle small gaps and fine details.
Analyzing the Print Quality
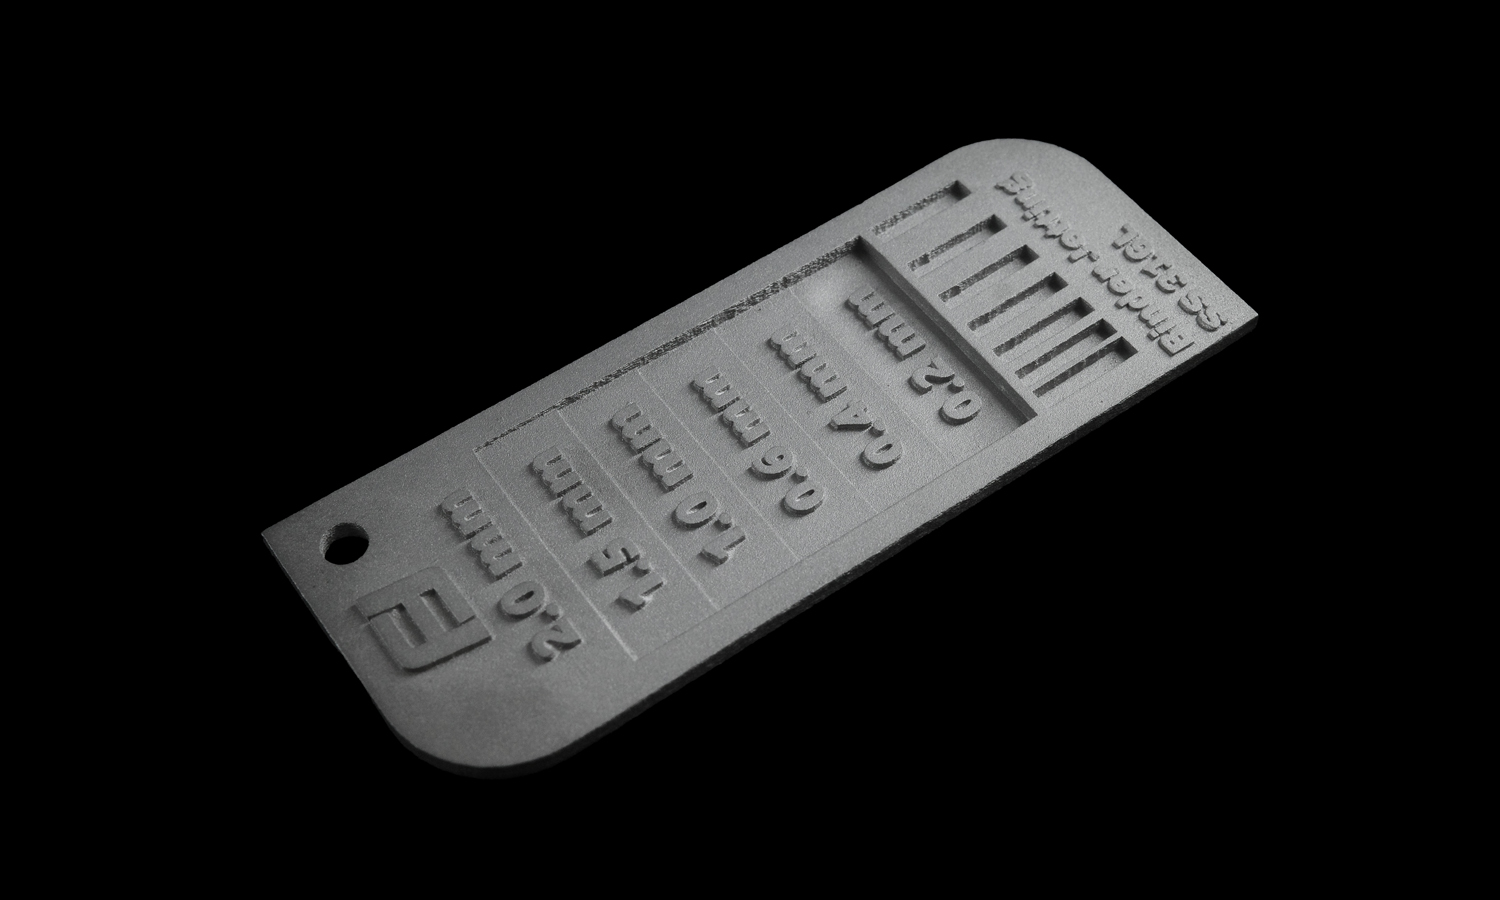
The sample demonstrates the printer’s impressive ability to reproduce intricate features, as evidenced by the clear printing of the thin vertical bars and small text. However, some imperfections are noticeable in the 0.4 mm and 0.2 mm thickness sections, such as pits and spots. The 0.2 mm section also exhibits slight backward swelling.
Improving Print Quality and Design Considerations
To address these issues and achieve a smoother surface finish, post-processing techniques like CNC machining or electroplating can be employed. However, it is recommended to increase the minimum wall thickness to at least 0.4 mm to enhance part strength and durability.
By carefully considering these factors and leveraging advanced 3D printing technologies, it is possible to produce high-quality, precision parts that meet the demands of various applications.
Need High-Quality 3D Printed Parts?
FacFox offers state-of-the-art BinderJet 3D printing services for a wide range of materials, including SS316L. Our experienced team can help you design and produce high-quality parts that meet your specific requirements. Contact us today to learn more about our capabilities and how we can assist you with your next project.
Solution
- Step 1: Designing the Sample. The calibration test sample was designed to include several rectangular sections with varying thicknesses (2.0 mm, 1.5 mm, 1.0 mm, 0.6 mm, 0.4 mm, and 0.2 mm). Vertical bars of different widths were incorporated at the bottom left to evaluate the printer’s ability to handle small gaps and fine details.
- Step 2: Preparation of the Binder Jet 3D Printer. The SS316L metal powder was loaded into the printer. The printer settings were calibrated to ensure precise layer deposition.
- Step 3: Printing the Sample. The printer was started, and the binder was selectively deposited onto the metal powder layer-by-layer to build up the sample’s structure. The process was repeated until the entire sample, including the fine vertical bars and small text, was completed.
- Step 4: Post-Printing Processes. The printed sample was removed from the printer. Excess powder was brushed off or blown away to reveal the printed sample.
- Step 5: Sintering. The sample was placed in a furnace and sintered at high temperatures to fuse the metal particles together, enhancing strength and durability.
- Step 6: Inspection and Analysis. The sample was inspected, revealing clear printing of fine details such as the thin vertical bars and small text. However, pits and spots were observed on the 0.4 mm and 0.2 mm thickness sections. The 0.2 mm thickness section was noted to have swollen backward.
