- BinderJet 3D Printed SS316L Stylish Earpod Enclosure
- BinderJet 3D Printed SS316L Smart Watch Housing Prototype
Gallery
About Project
In the realm of engineering and manufacturing, the ability to quickly prototype complex components is invaluable. BinderJet 3D printing has emerged as a powerful tool to bring innovative designs to life, even for intricate parts like bypass valves.
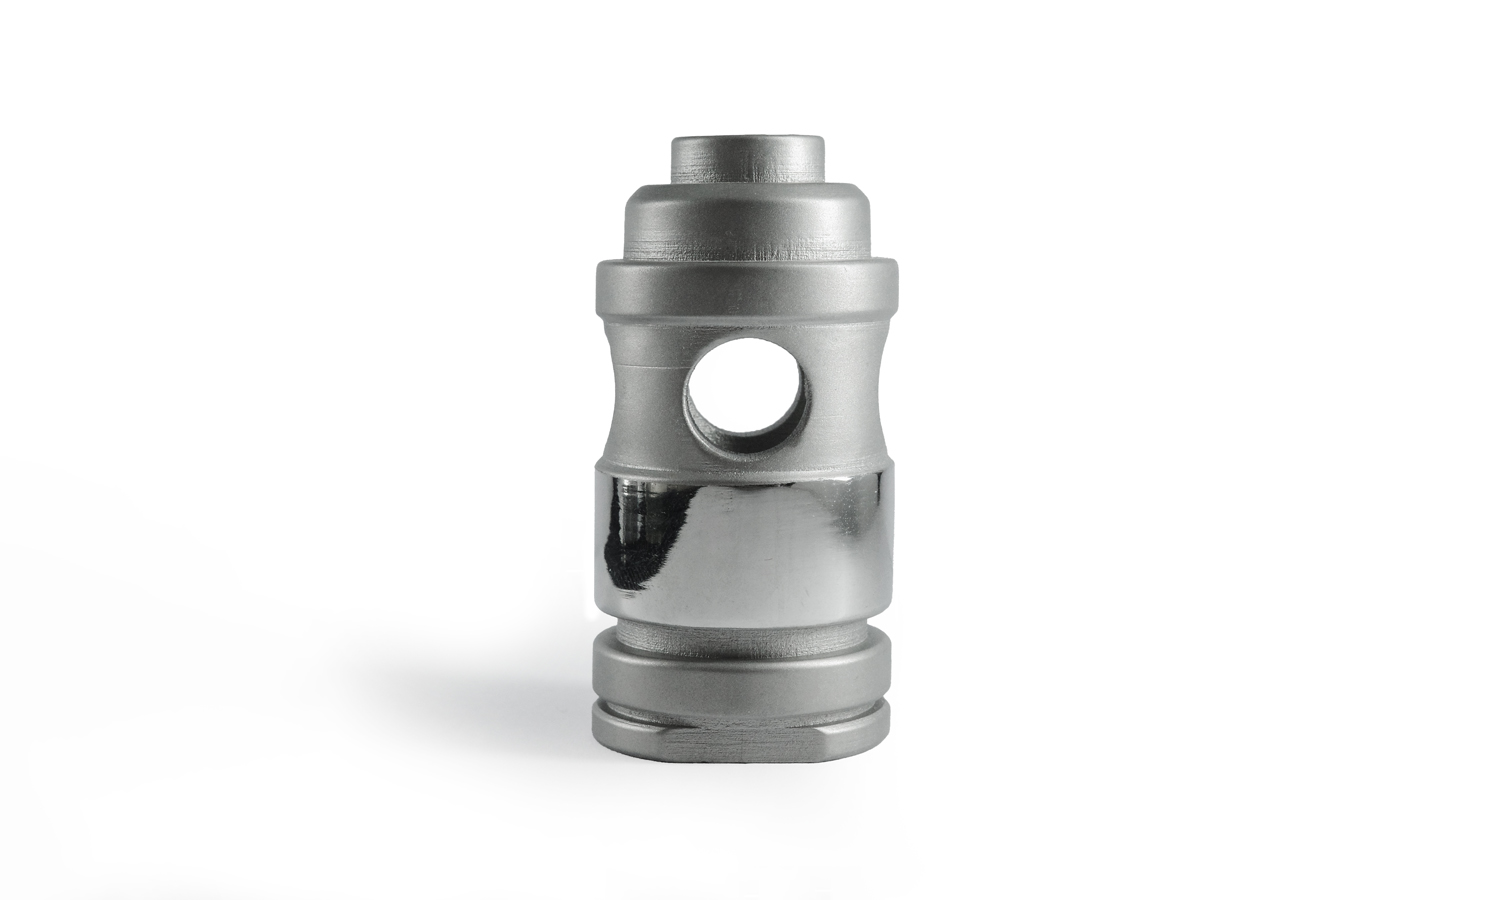
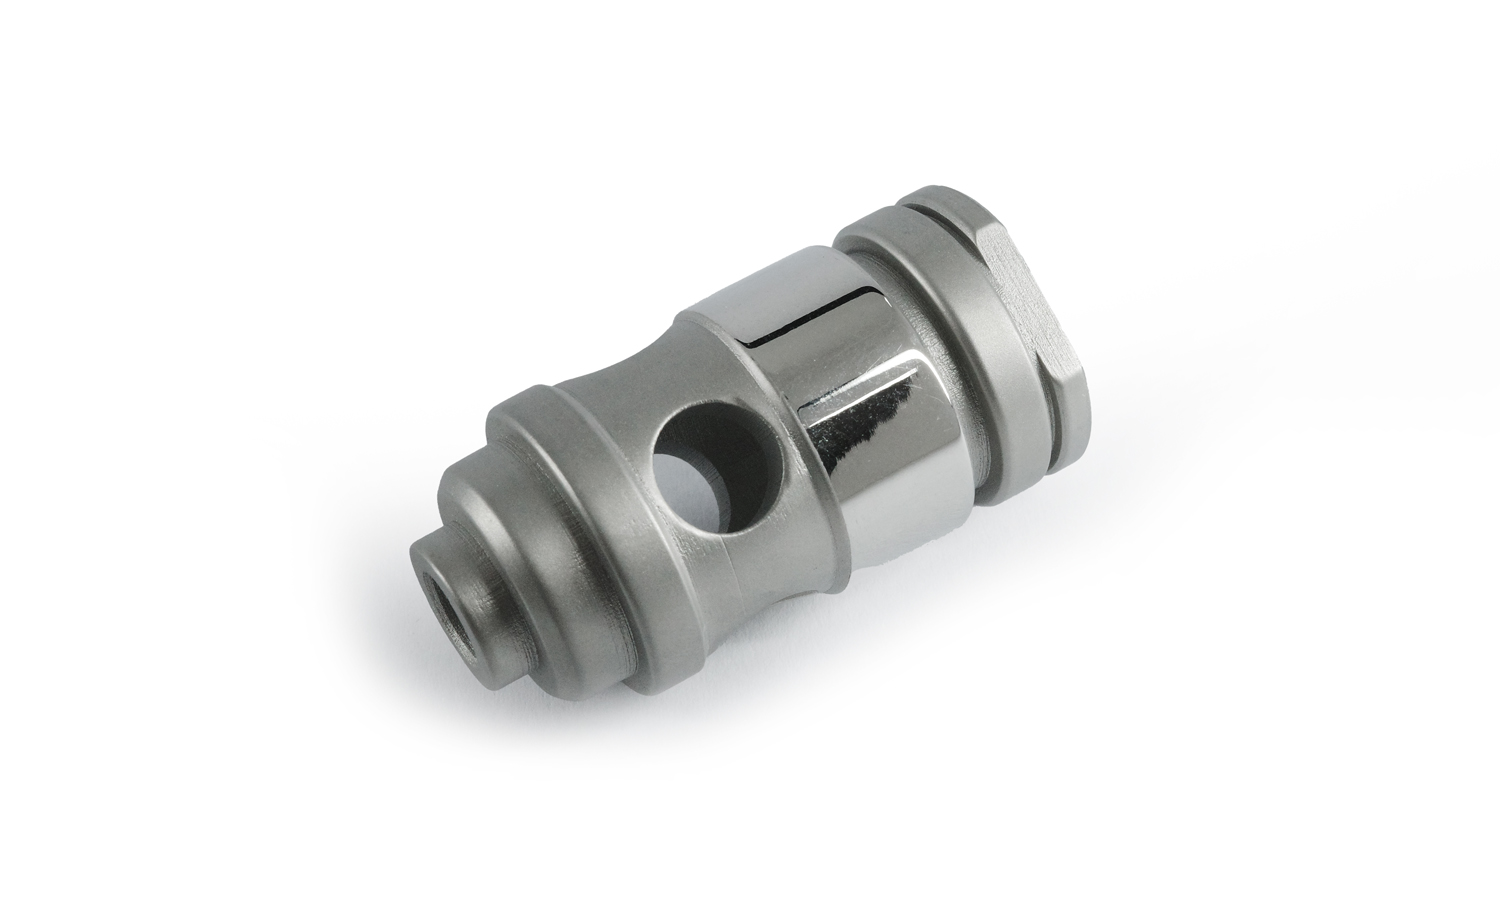
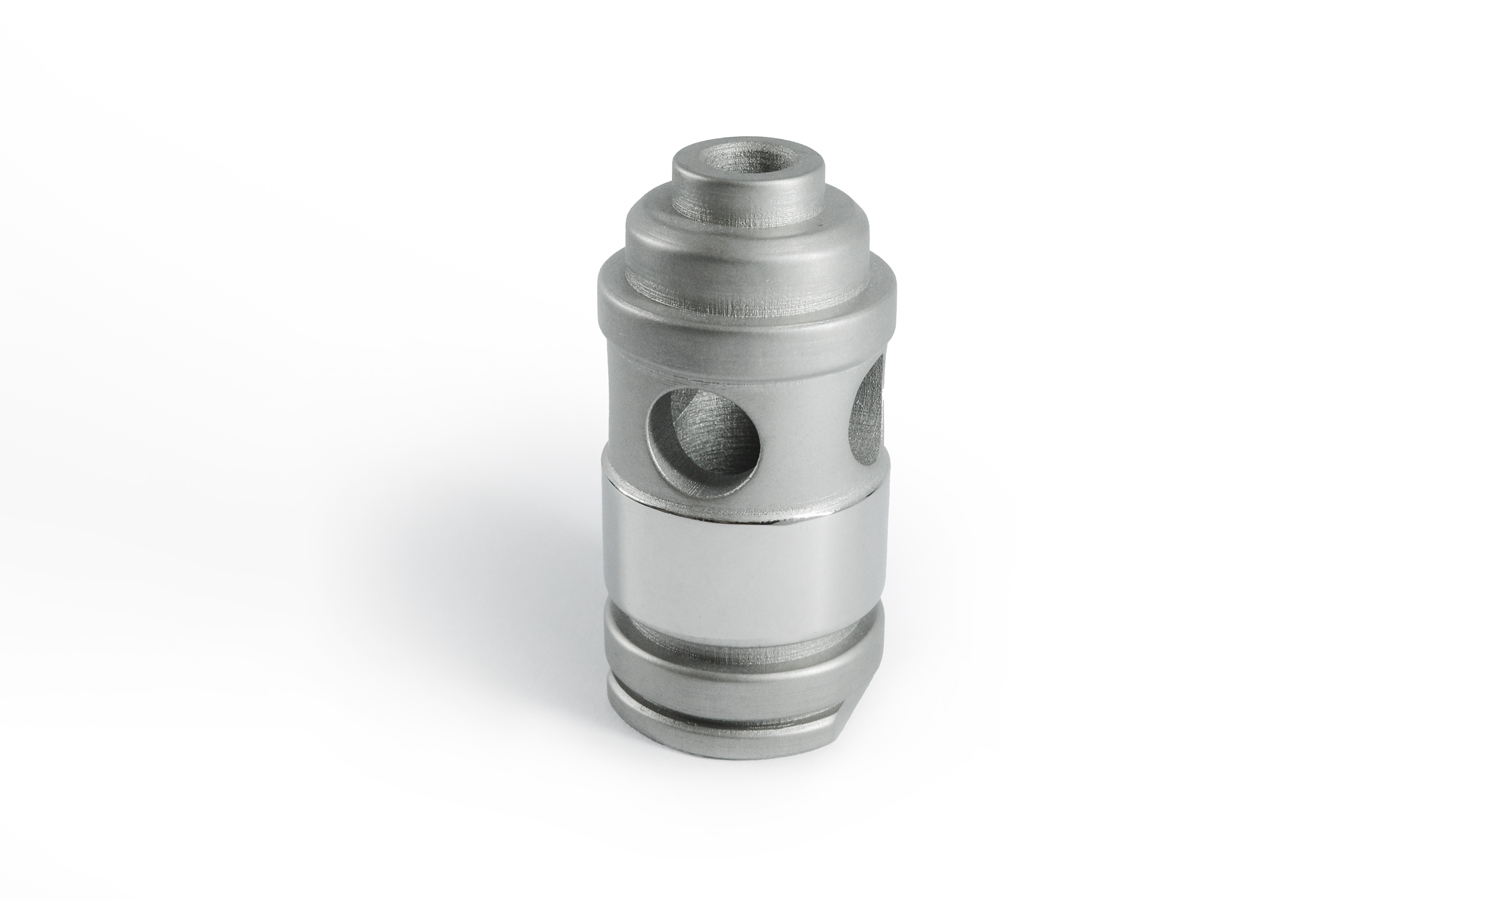
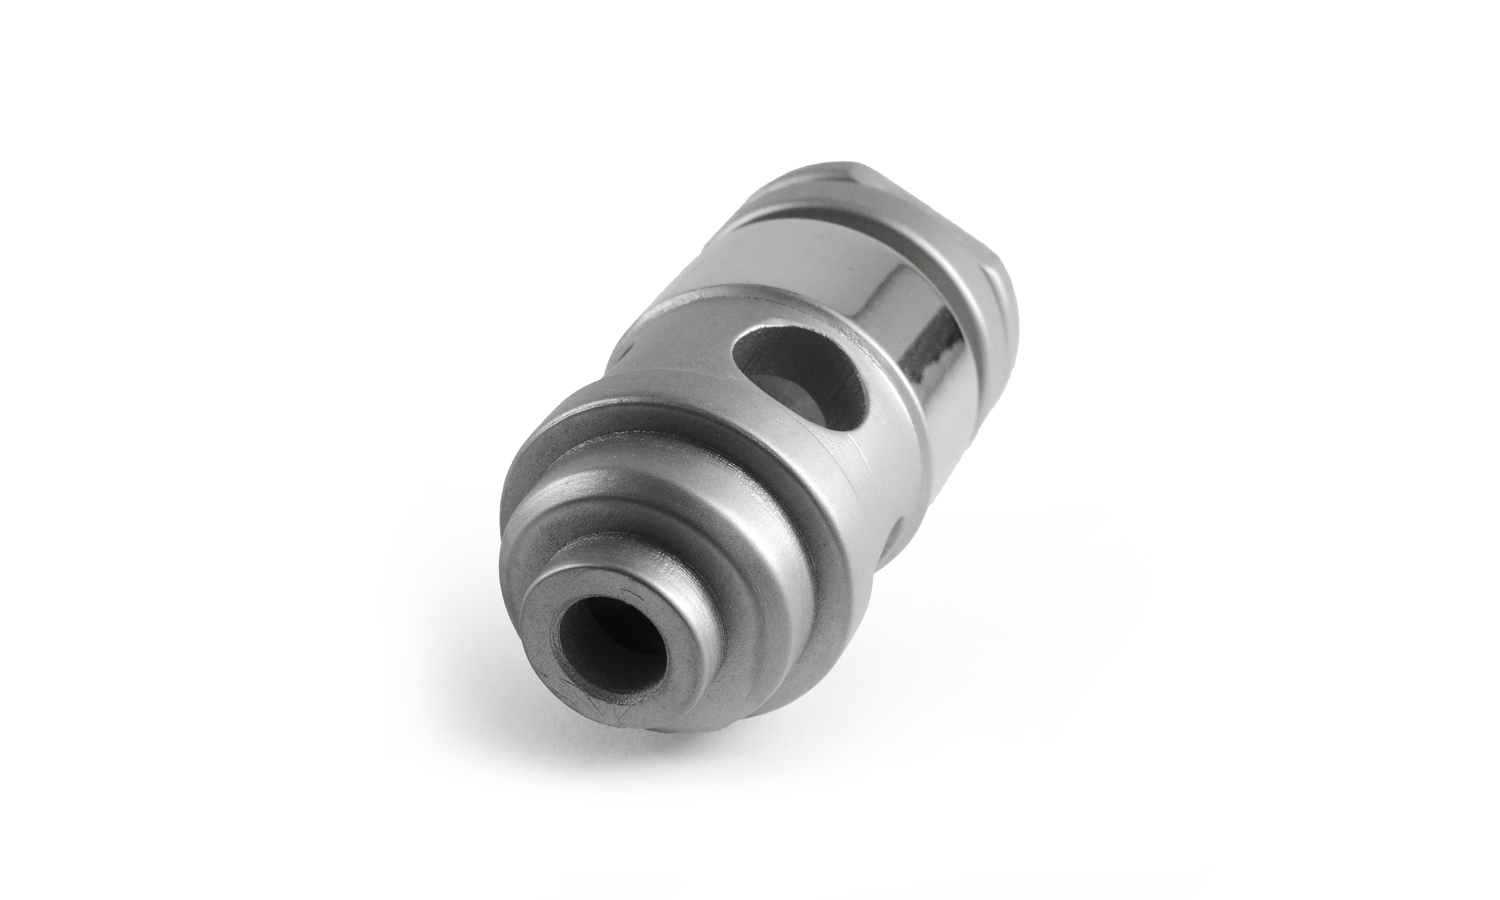
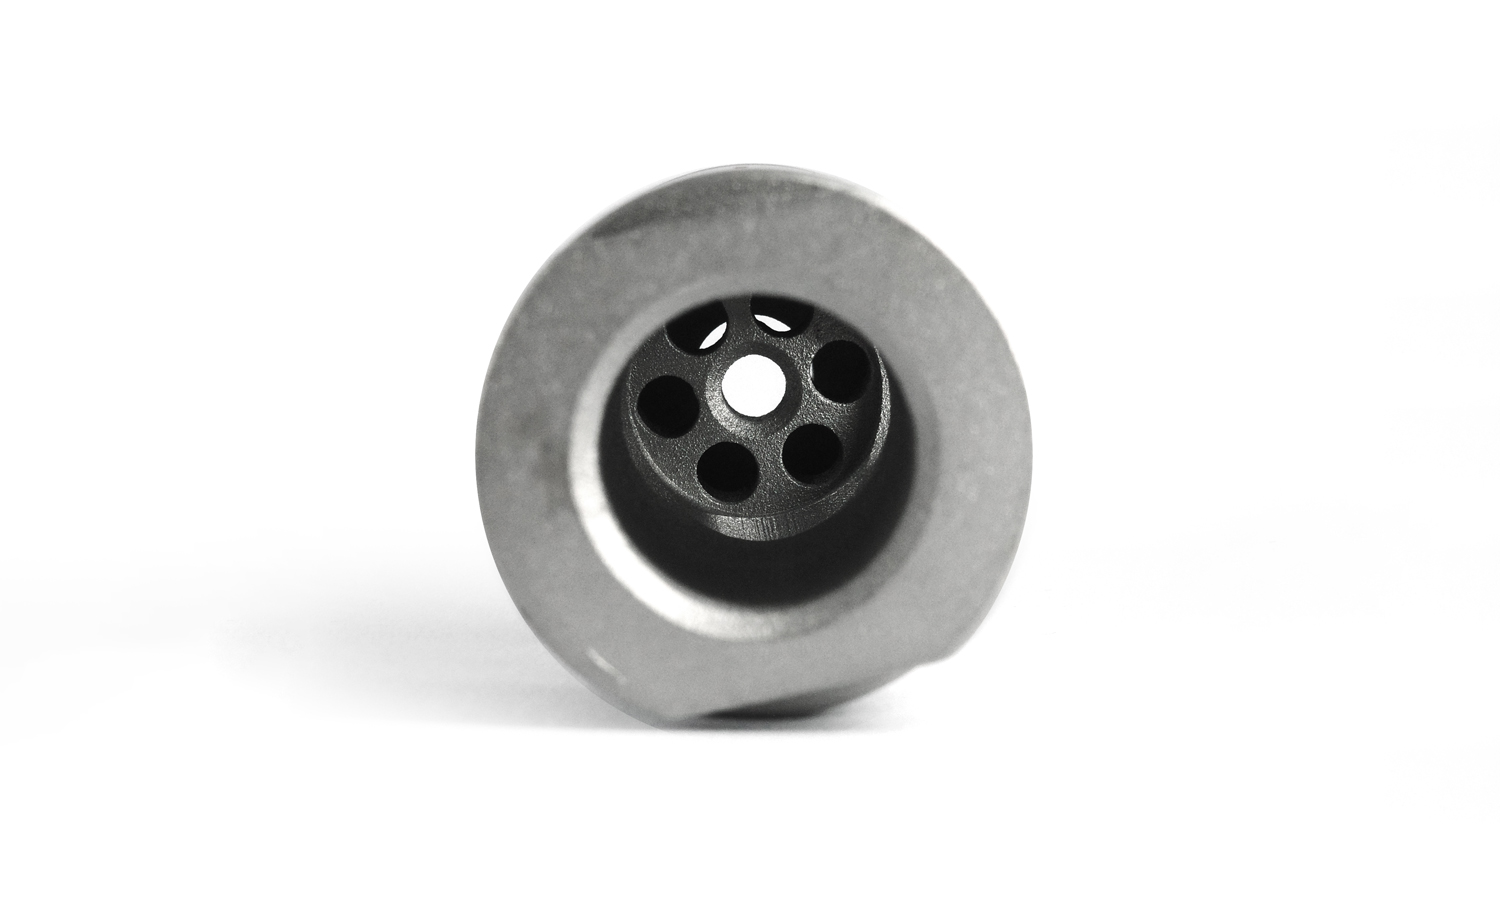
This SS316L bypass valve prototype, meticulously 3D printed using BinderJet technology, showcases the versatility and precision of this manufacturing process. The cylindrical component, featuring a through-hole and four additional holes on the upper section, exemplifies the intricate details that can be achieved with additive manufacturing.
The bottom view reveals that inside there is a disk with six evenly spaced holes surrounding a central aperture, further highlighting the complexity of the design.
Key Benefits of BinderJet 3D Printing for Valve Prototypes
- Rapid Prototyping: Accelerate the design-to-production cycle.
- Complex Geometries: Realize intricate designs that may be difficult or impossible with traditional manufacturing methods.
- Material Strength: SS316L offers excellent corrosion resistance and mechanical properties.
- Reduced Lead Times: Streamline the prototyping process and expedite product development.
FacFox: Your Partner in Metal 3D Printing
FacFox is committed to providing cutting-edge 3D printing solutions, including BinderJet technology. Our state-of-the-art facilities and experienced team enable us to deliver high-quality metal 3D printed parts, such as this bypass valve prototype.
Contact us today to explore how BinderJet 3D printing can revolutionize your next project.
Solution
- Step 1: 3D Model Creation. A detailed 3D model of the bypass valve was designed using computer-aided design (CAD) software.
- Step 2: 3D Model Slicing. The 3D model was sliced into thin, horizontal layers.
- Step 3: Powder Bed Preparation. A layer of fine stainless steel 316L powder was spread evenly across the build platform.
- Step 4: Binder Jetting. A binder solution was selectively jetted onto the powder layer, binding the powder particles together to form the desired shape.
- Step 5: Debinding. The printed part was removed from the build platform and subjected to a debinding process to remove the binder.
- Step 6: Sintering. The debinded part was sintered in a high-temperature furnace to fuse the metal powder particles together, creating a solid, dense part.
- Step 7: Post-Processing. Some parts of the sintered component underwent hand-polishing to achieve the final desired dimensions and surface finish.
- Step 8: Quality Inspection. The completed part was inspected to ensure it met the required quality standards and specifications.
