Material Resin
Quantity 50 pcs
Price Range $100-1,000
Lead Time 3 workdays
Gallery
About Project
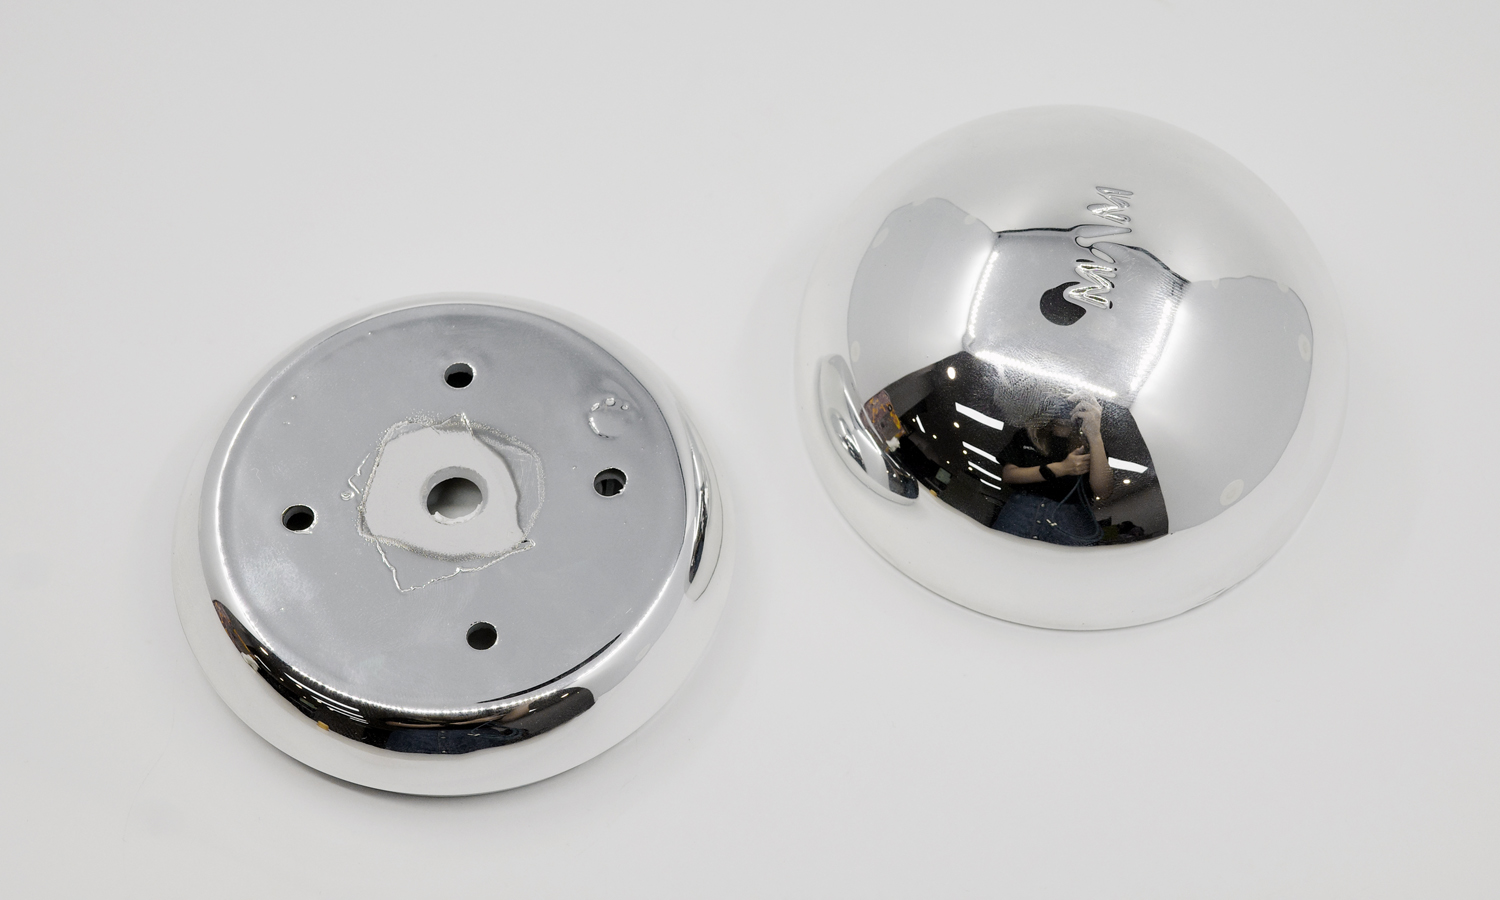
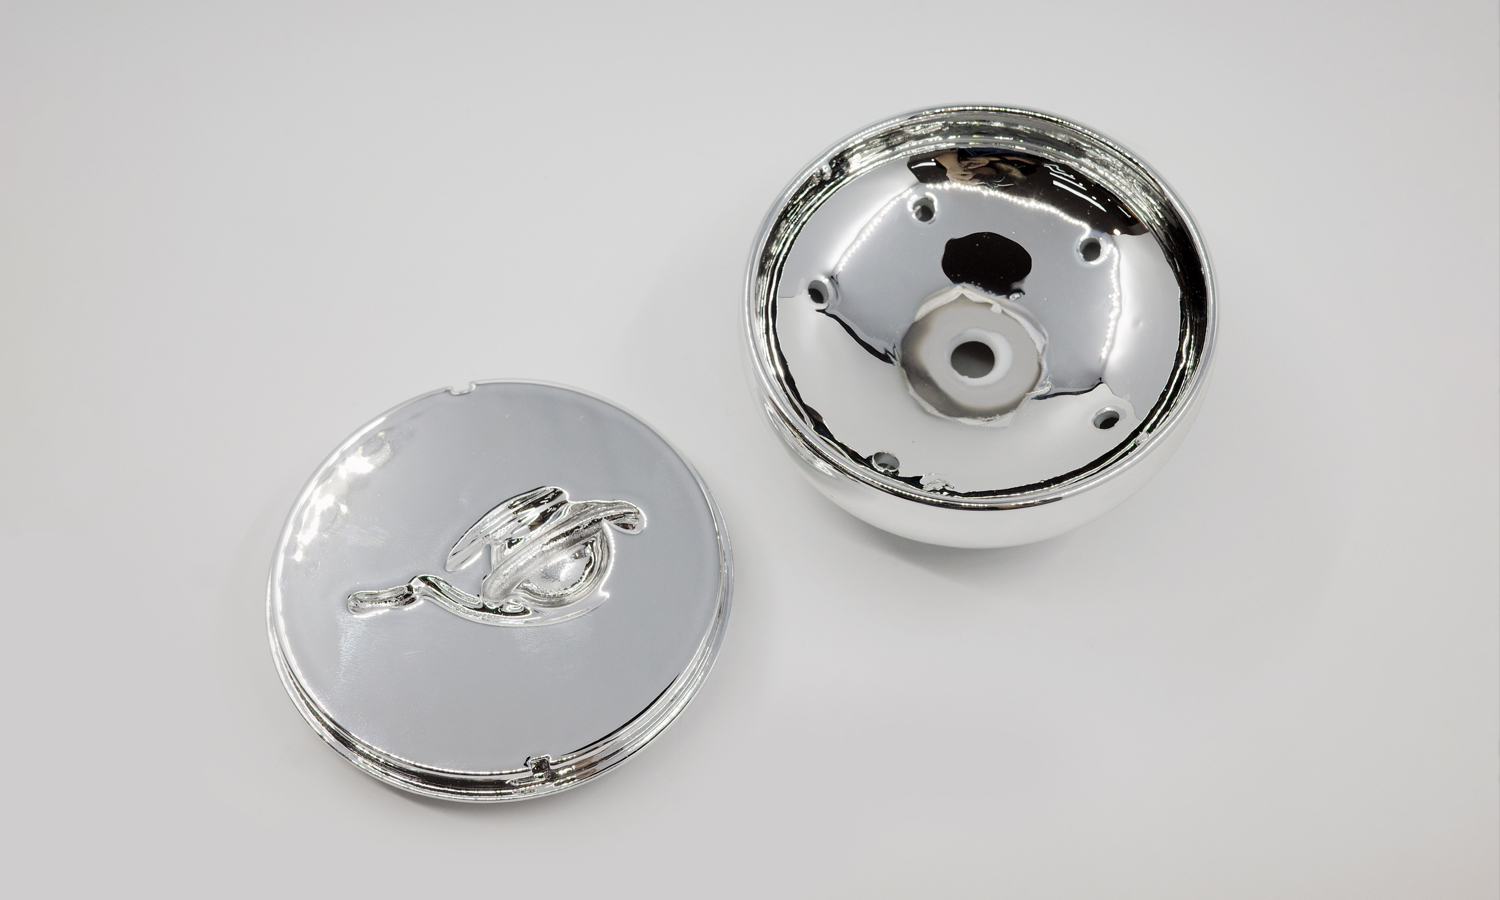
This project features a resin 3D printed jewelry box with silver vacuum metallizing, made for actual product packaging after quality control. The box was split into an upper cover and lower base, with a custom recessed area shaped for the client’s jewelry. For this kind of special jewelry form, 3D printing the negative cavity was more flexible and economical than making a conventional mold.
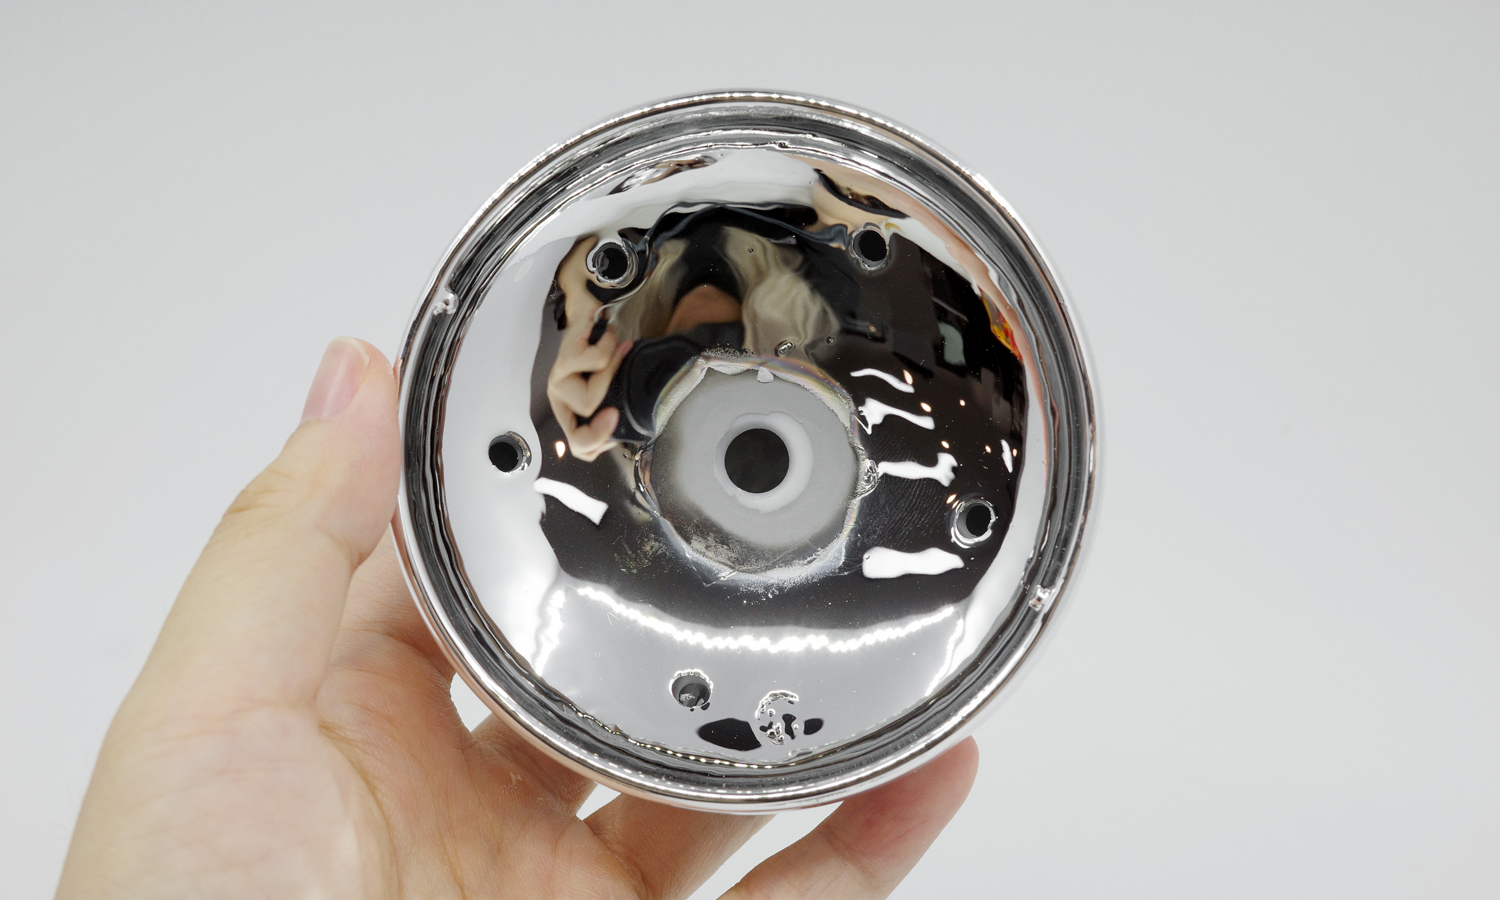
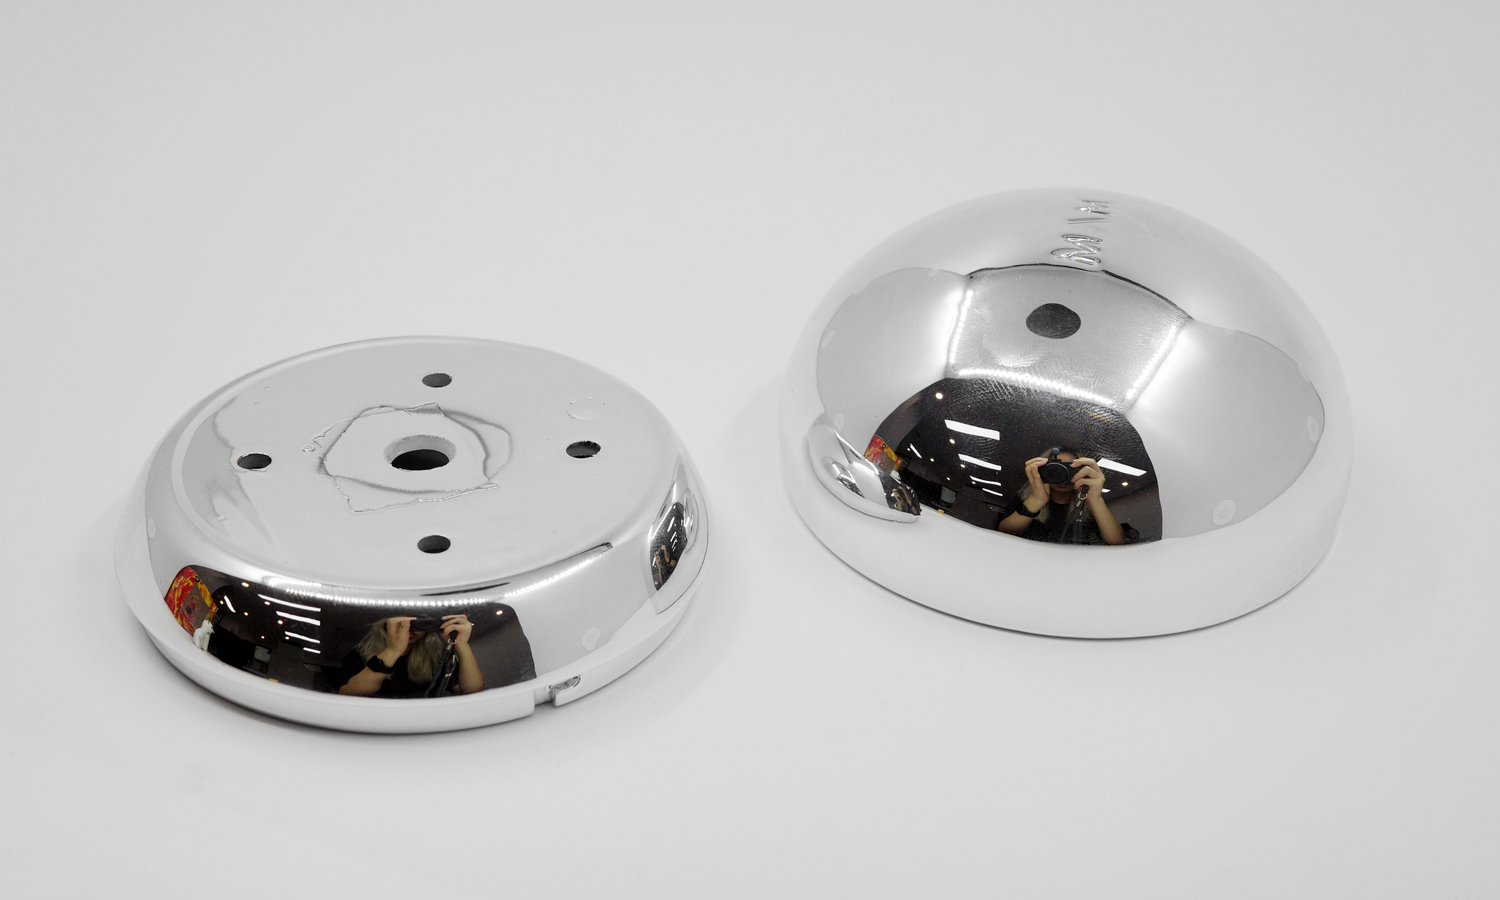
The parts shown here are QC rejects. After vacuum metallizing, the upper and lower pieces could not close because the fit became too tight. The box also includes one large hole and four smaller holes on the back of the lid and bottom of the base. These openings helped reduce resin weight, supported hollow printing, and allowed trapped air or vapor to escape during vacuum processing. The uncoated areas around the holes came from fixturing and masking during metallizing; the customer could cover these non-cosmetic areas with velvet lining. The qualified boxes were used for the final jewelry packaging.
Challenge
The challenge was to make a custom jewelry box with a highly reflective silver appearance and a fitted inner cavity for an unusually shaped jewelry piece. Unlike a standard flat insert, this box needed a recessed negative shape to hold the jewelry in place. Resin 3D printing made this more cost-effective than opening a mold, especially for a custom packaging project with a special internal geometry.
Another challenge was the fit between the upper and lower parts after vacuum metallizing. The box was designed as two separate pieces, and the coating process added surface buildup and process variation. The parts shown in the photos are quality-control rejects: after the silver vacuum coating, the upper and lower covers could not close properly. This made the case a useful reminder that coated assemblies need tolerance allowance, fixture planning, and post-coating fit inspection.
Solution
- Step 1: The jewelry box structure was reviewed, including the upper cover, lower base, custom recessed jewelry cavity, closing fit, and non-cosmetic bottom surfaces.
- Step 2: The box was prepared for resin 3D printing as two separate parts. The recessed area was shaped to match the special jewelry form, avoiding the cost of tooling for a custom insert.
- Step 3: Hollowing and hole placement were considered to reduce resin usage and weight. One large hole and four smaller holes were placed on hidden surfaces of the lid and base.
- Step 4: The openings also helped prevent trapped air or vapor from remaining inside enclosed cavities during vacuum processing, which is important because vacuum metallizing depends on clean, vacuum-compatible parts.
- Step 5: The printed resin parts were finished with silver vacuum metallizing to create a mirror-like decorative surface.
- Step 6: During metallizing, the parts had to be fixed on tooling. Fixture contact and masking areas near the holes remained uncoated, which is expected on non-cosmetic surfaces.
- Step 7: The parts shown in the photos failed QC because the upper and lower covers could not close after coating. The fit issue indicated that more coating allowance was needed for the assembly interface.
- Step 8: For the accepted production pieces, the customer could apply velvet lining to the bottom areas to hide holes, fixture marks, and uncoated regions while improving the jewelry presentation.