Material Resin
Quantity 1 pcs
Price Range $100-1,000
Lead Time 8 workdays
Gallery

About Project
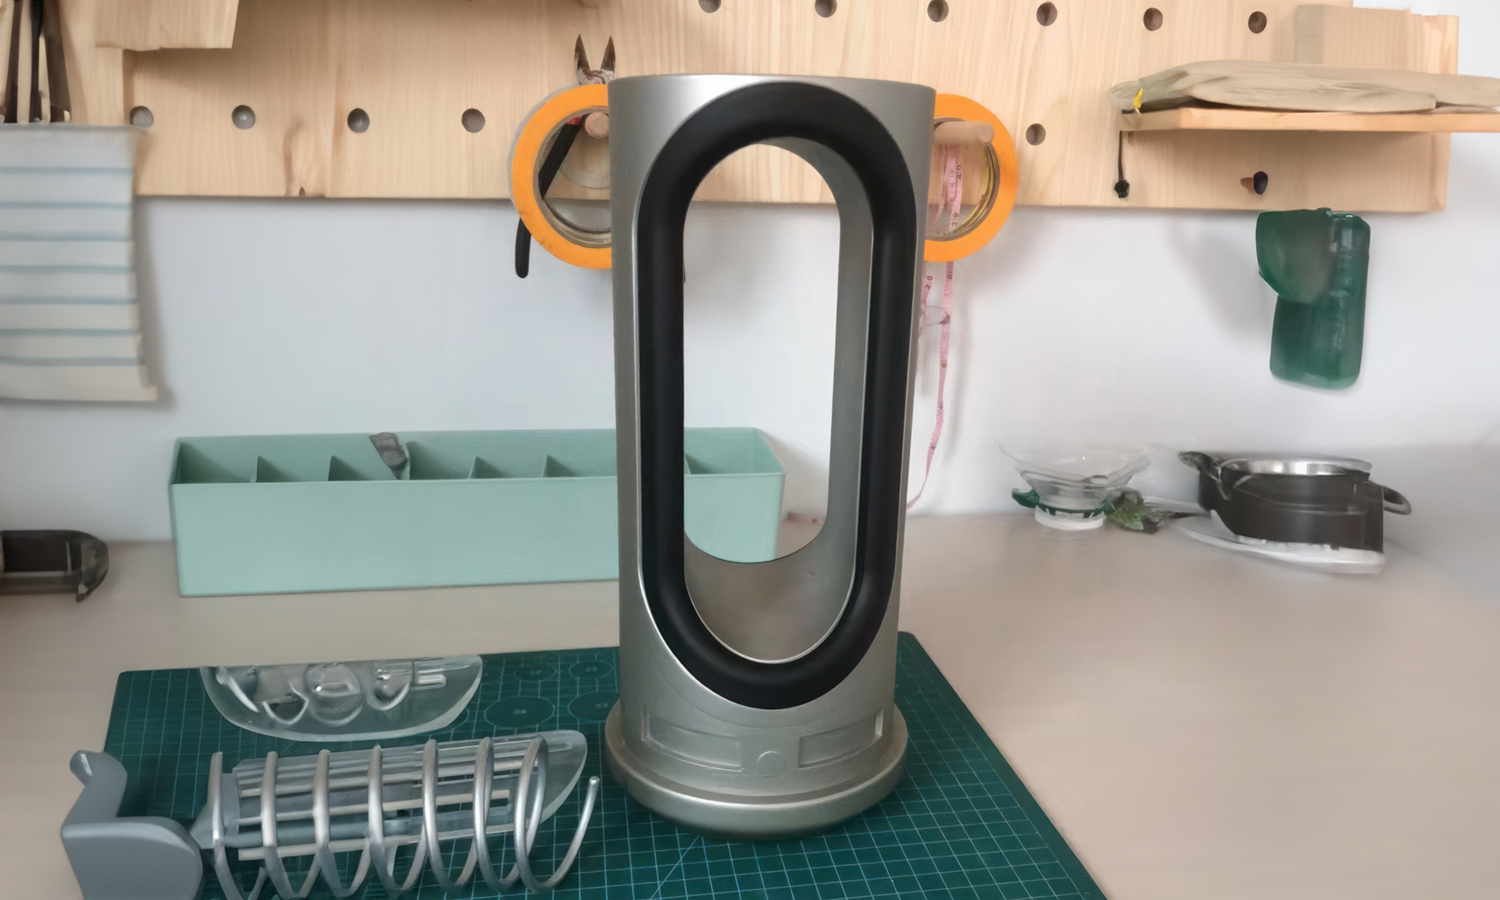
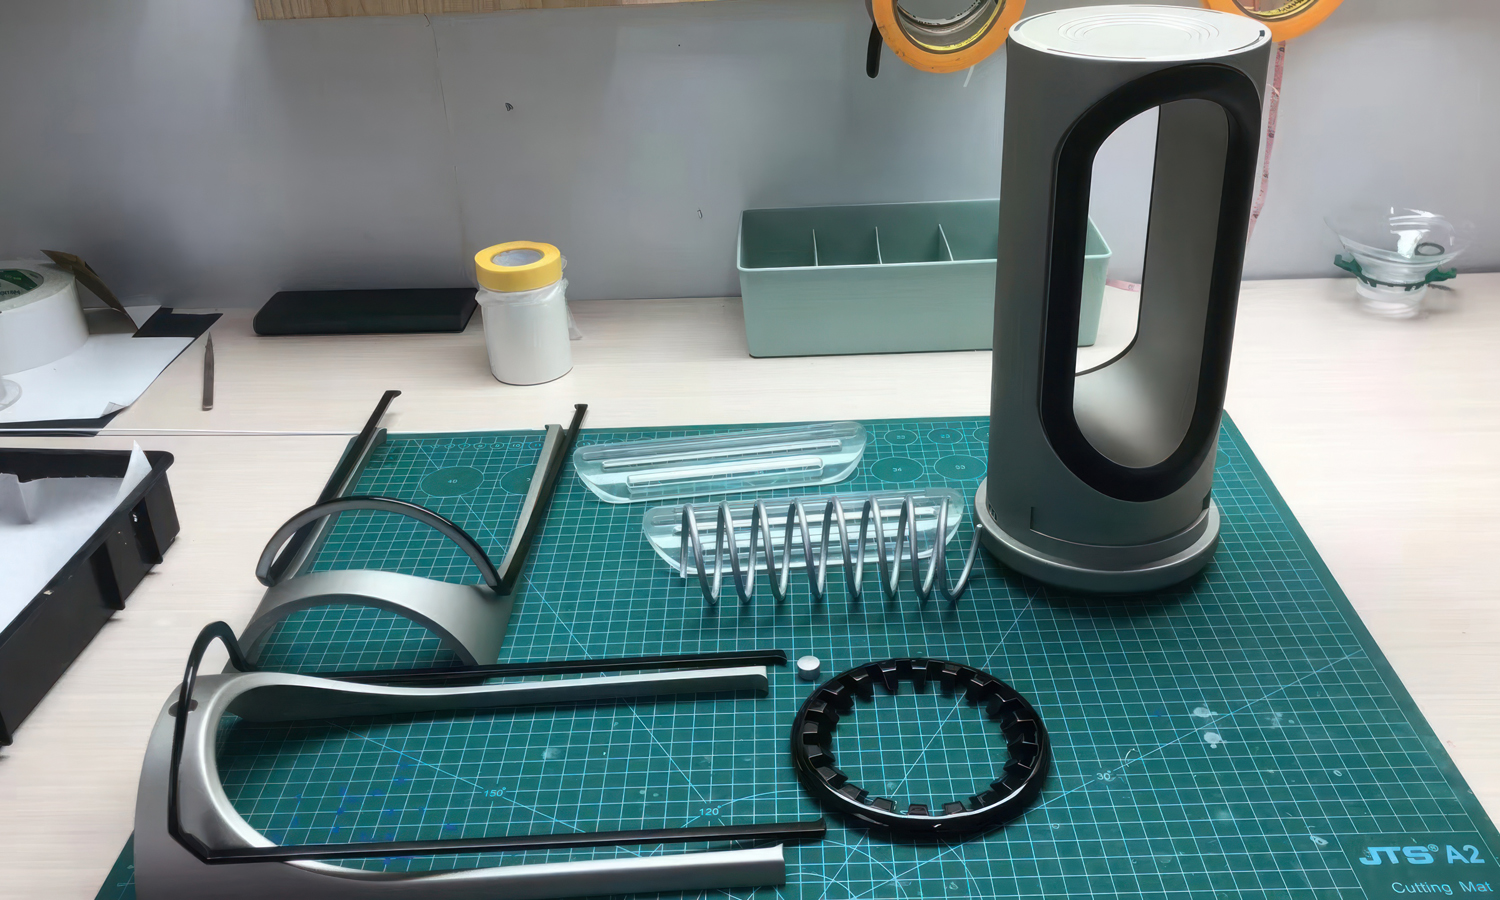
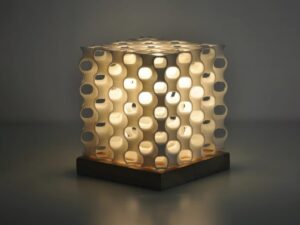
Feast your eyes on this innovative SLA 3D printed electric heater prototype, a marvel of precision and functionality!
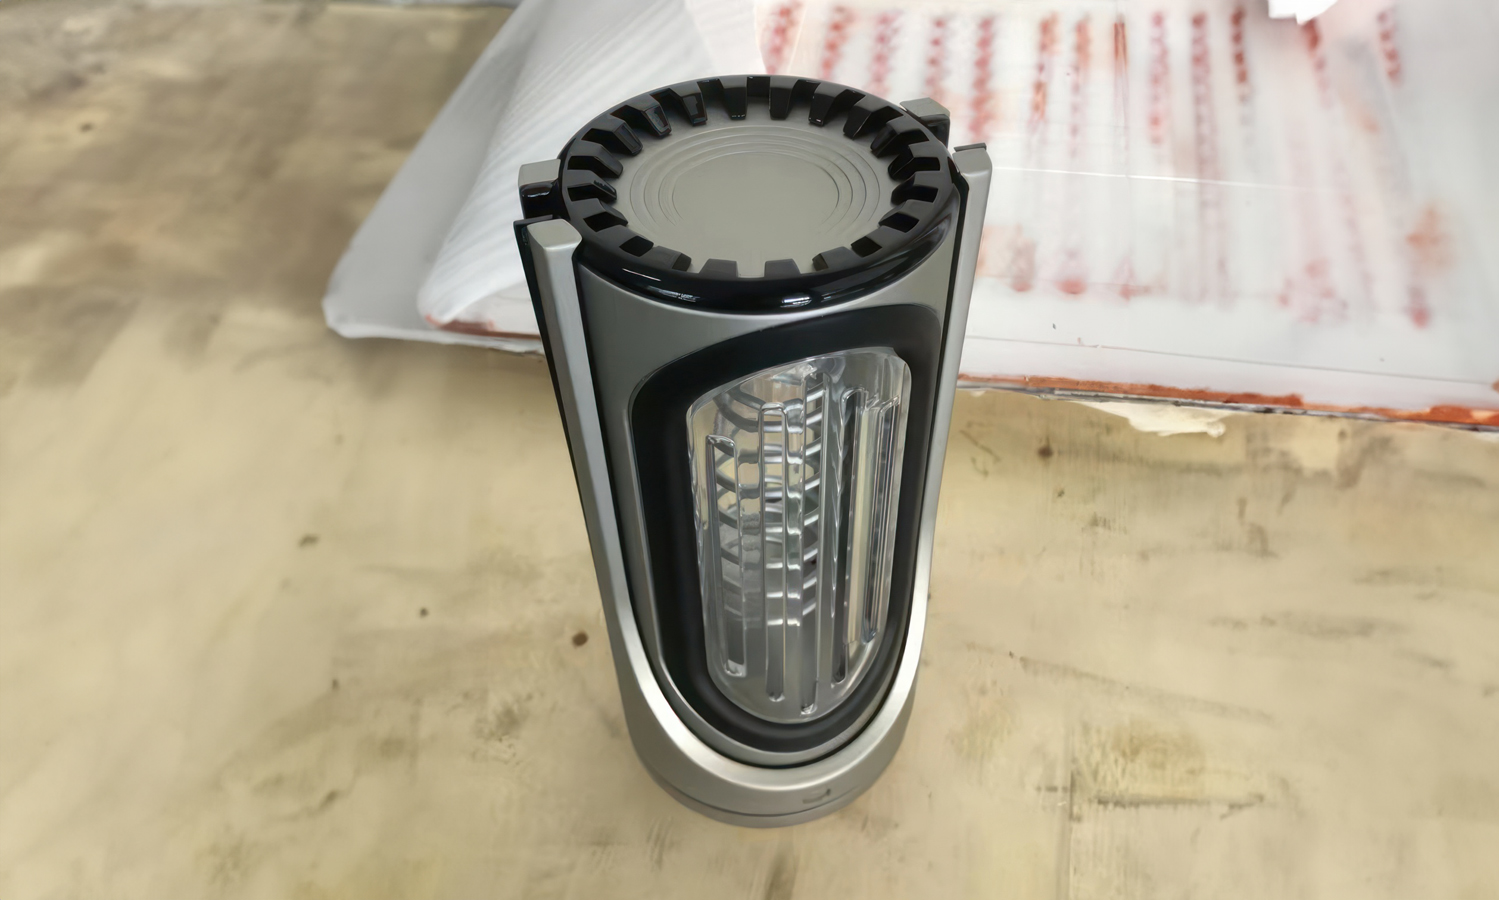
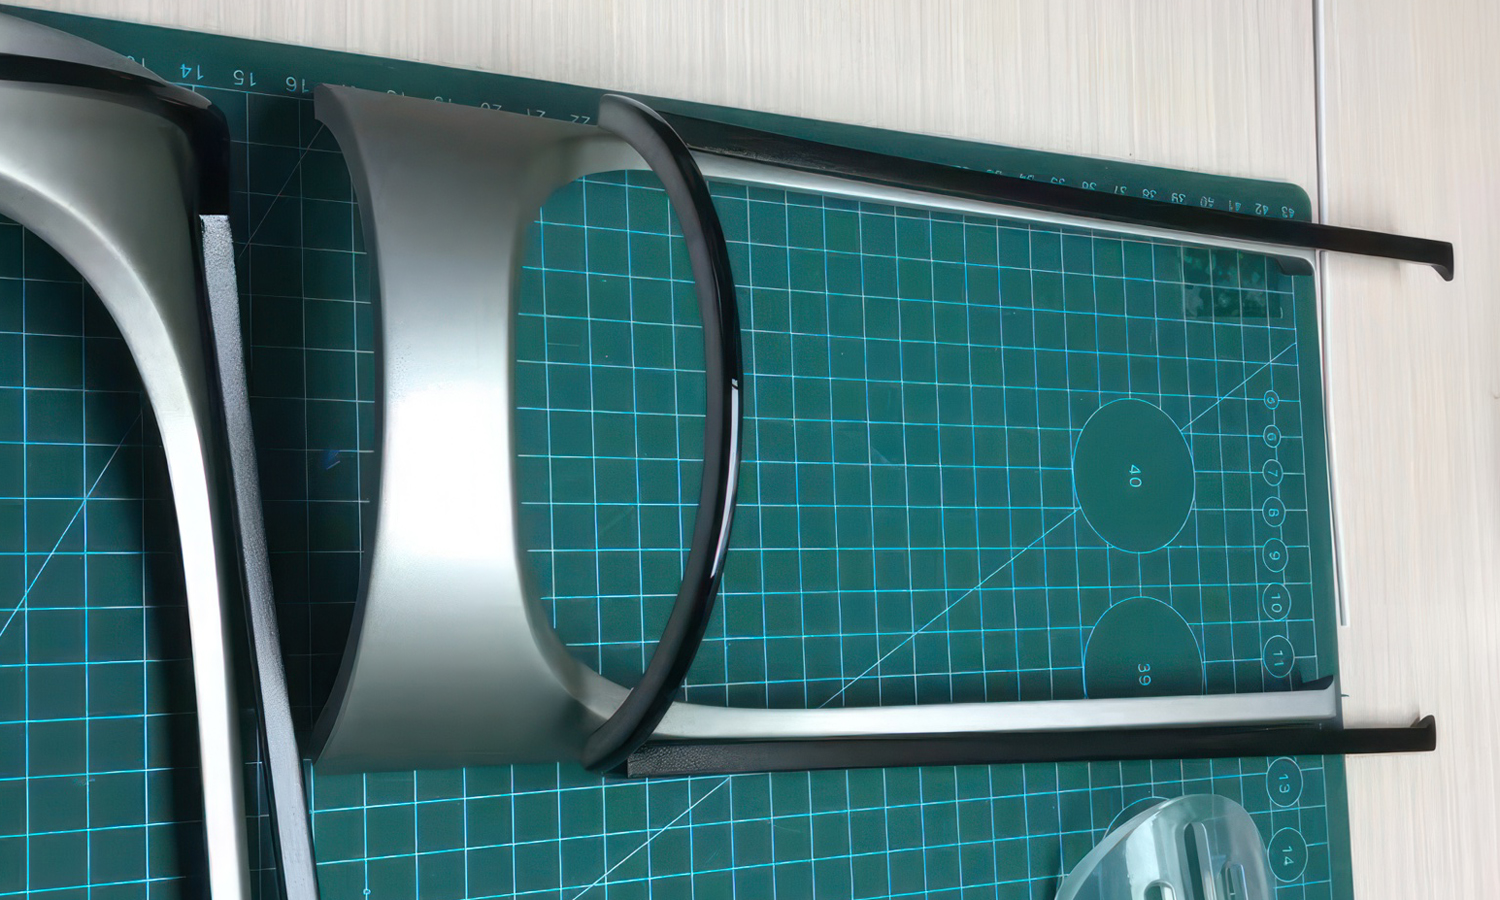
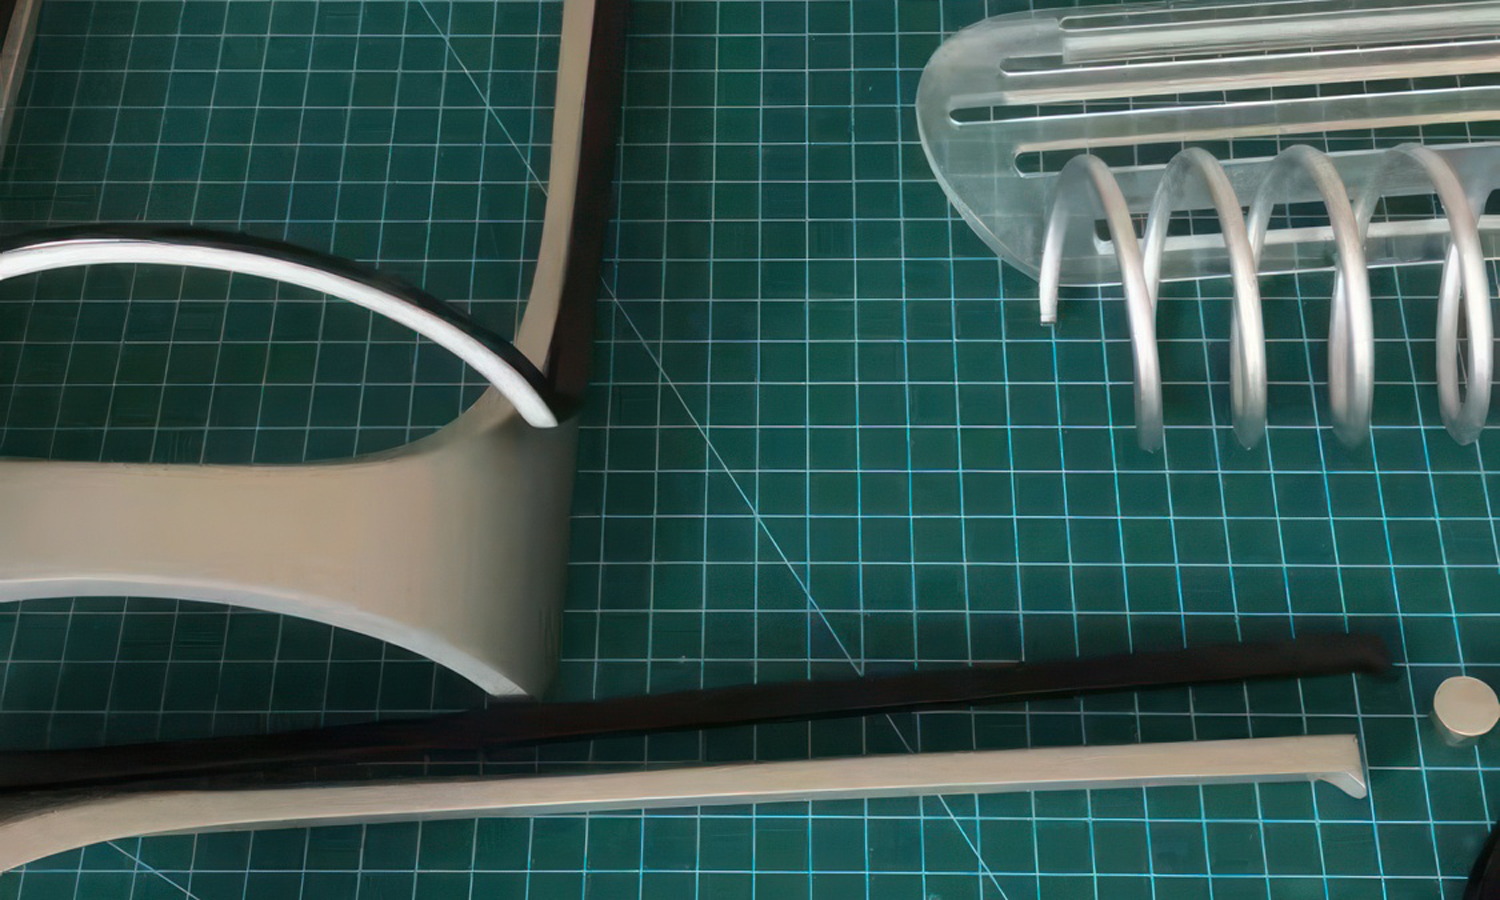
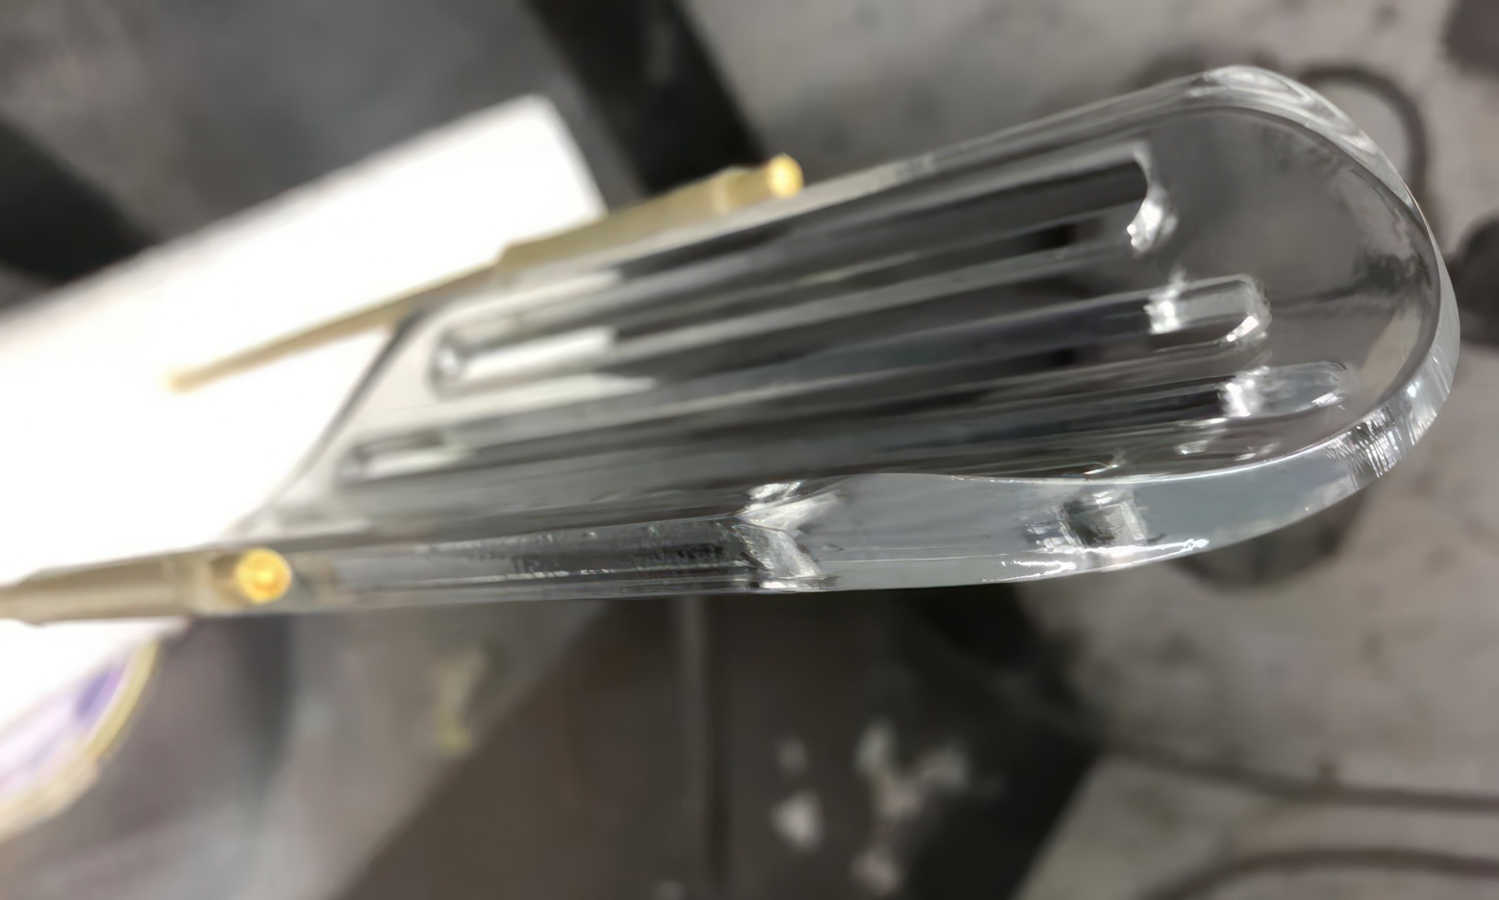
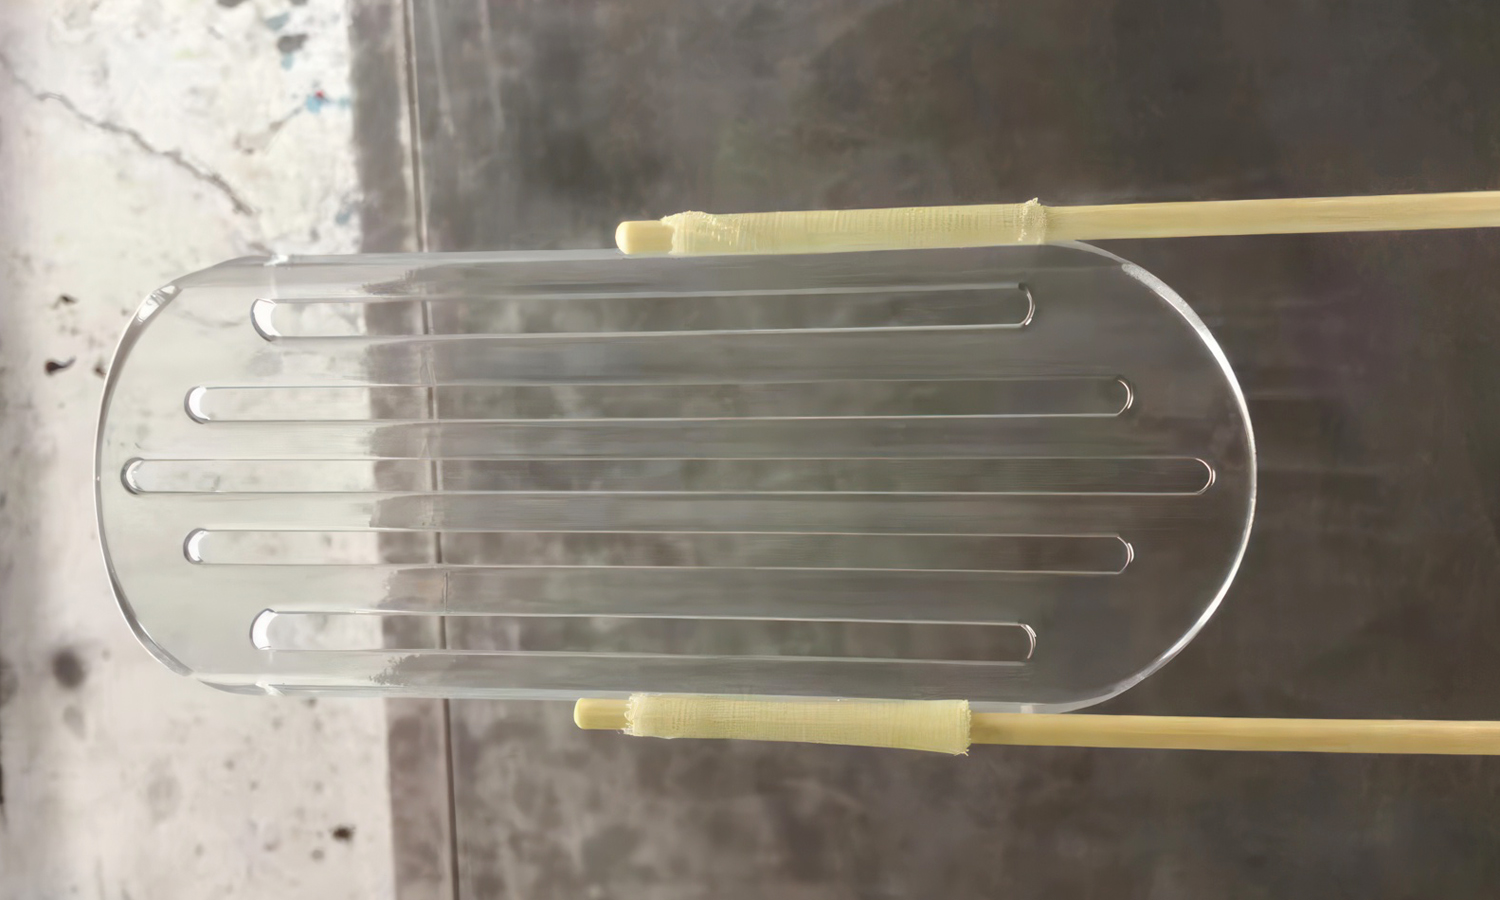
– Complex, Intricate Design: The intricate design features a large heated spiral, a sleek silver and black bladeless fan-like enclosure with two large oval hollows, and custom clear resin windows with slots.
– Functional and Aesthetic: The top sports a gas burner-like structure, ideal for resting a teapot. This design balances function with striking visual appeal.
– FacFox’s Expertise: This complex prototype couldn’t have come to life without FacFox’s superior 3D printing capabilities. We specialize in intricate, multi-part assemblies, making us the perfect partner for bringing your ideas to life.
Why Choose FacFox?
– Precision for Performance: Our SLA printers deliver exceptional accuracy, ensuring your prototype functions as intended.
– Assembly Specialists: We meticulously assemble your prototype, guaranteeing it showcases the full potential of your design.
– Streamlined Process: From design to final product, we streamline your prototyping journey.
Ready to level up your prototyping?
Contact FacFox today and turn your vision into a tangible reality!
Solution
- Step 1: Design Phase. The prototype was designed using CAD software, where each part was meticulously crafted to represent the actual structure of the product.
- Step 2: Preparation. The SLA 3D printer was prepared by ensuring the resin tank was filled with the photopolymer resin. The build platform was calibrated to the correct height above the resin tank.
- Step 3: Printing Process.┬ĀThe printing process was initiated by exposing the liquid resin to a UV laser. The laser was guided by the printerŌĆÖs software to cure the resin layer by layer. The build platform was lowered incrementally as each layer solidified.
- Step 4: Complex Structures.┬ĀFor the intricate parts like the spiral and the gas burner-like structure, supports were generated in the software and printed along with the prototype to maintain structural integrity during the printing process.
- Step 5: Post-Processing.┬ĀOnce the printing was completed, the prototype was carefully removed from the build platform. The supports were then removed, and the prototype was washed in isopropyl alcohol to clean off any uncured resin.
- Step 6: Curing.┬ĀThe prototype was placed in a UV curing chamber to ensure that any remaining resin reached its final strength and stability.
- Step 7: Finishing Touches. The prototype was sanded to smooth out any imperfections and painted to match the desired silver and black color scheme. The clear parts were coated with clear acrylic oil to be transparent.
- Step 8: Assembly.┬ĀThe various parts of the prototype were assembled to form the complete structure. The clear resin windows were fitted into the slots, and the spiral was positioned centrally to allow for heating.


