SLA 3D Printed Cabinet Prototype with Audio and Wireless Charger Functions
Posted on 2022-07-11 in Furniture ┬Ę Õ«ČÕģĘ
Process 3D Print, Support Removal, Post Curing, Polish, Paint, Glueing
Material Resin
Quantity 1 pcs
Price Range $100-1,000
Lead Time 4 workdays
Material Resin
Quantity 1 pcs
Price Range $100-1,000
Lead Time 4 workdays
Gallery

About Project
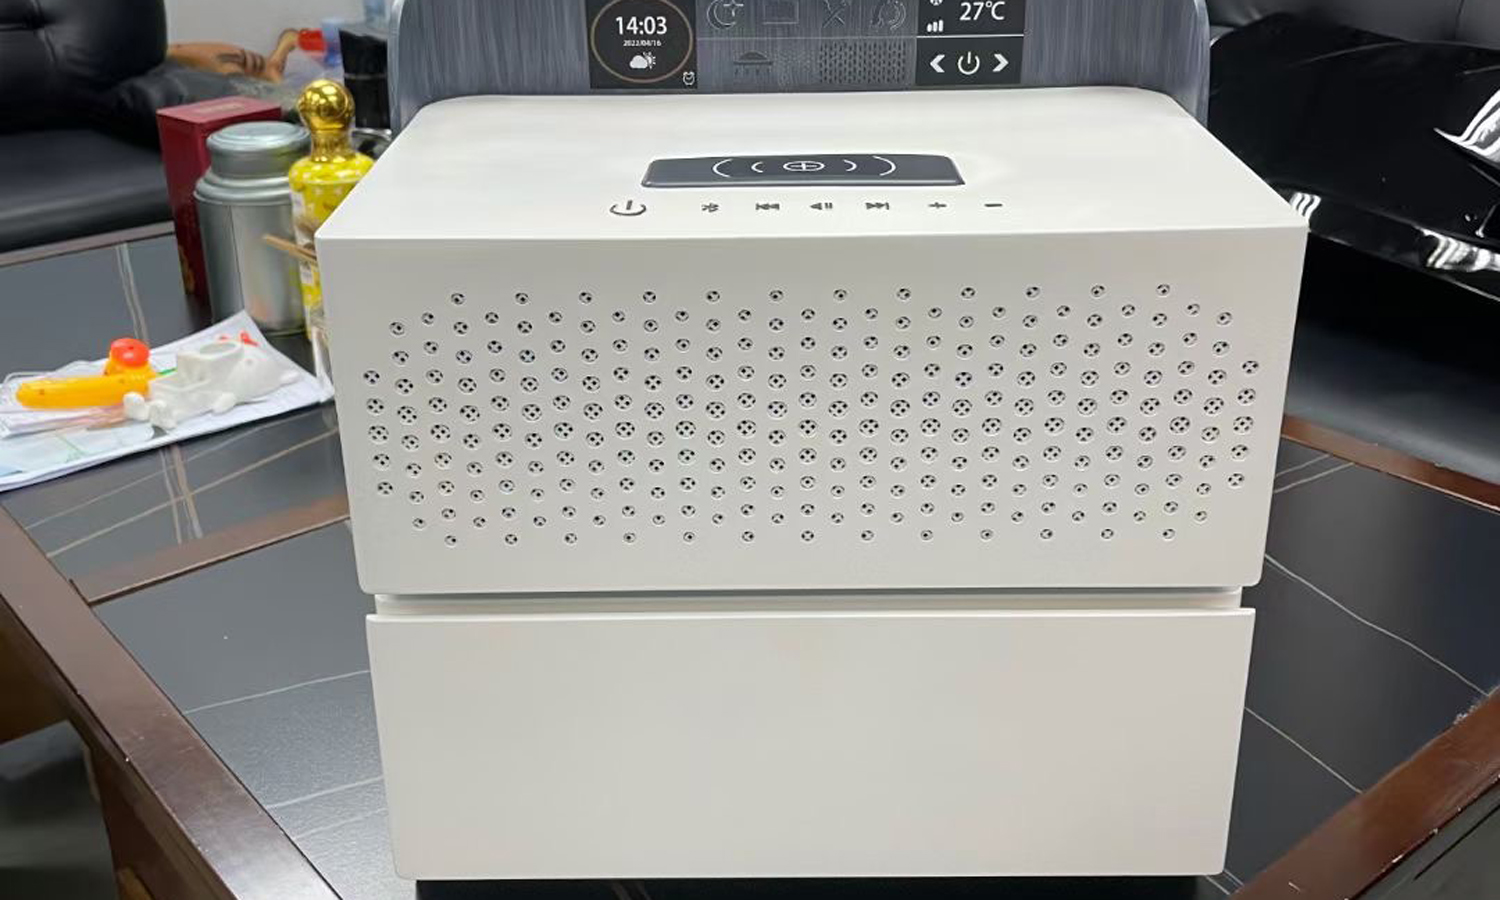
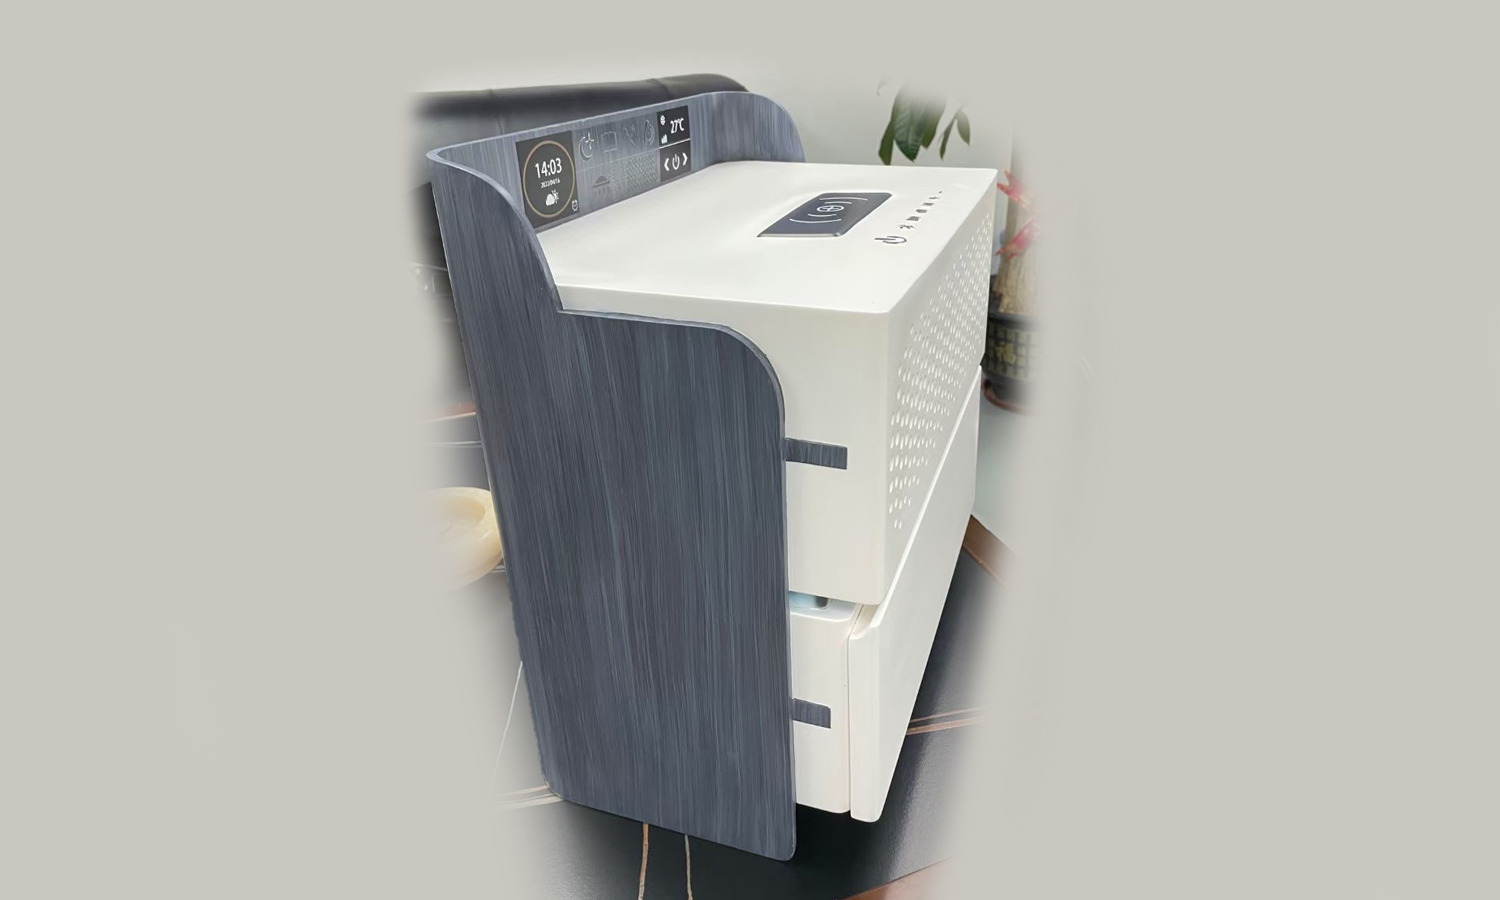
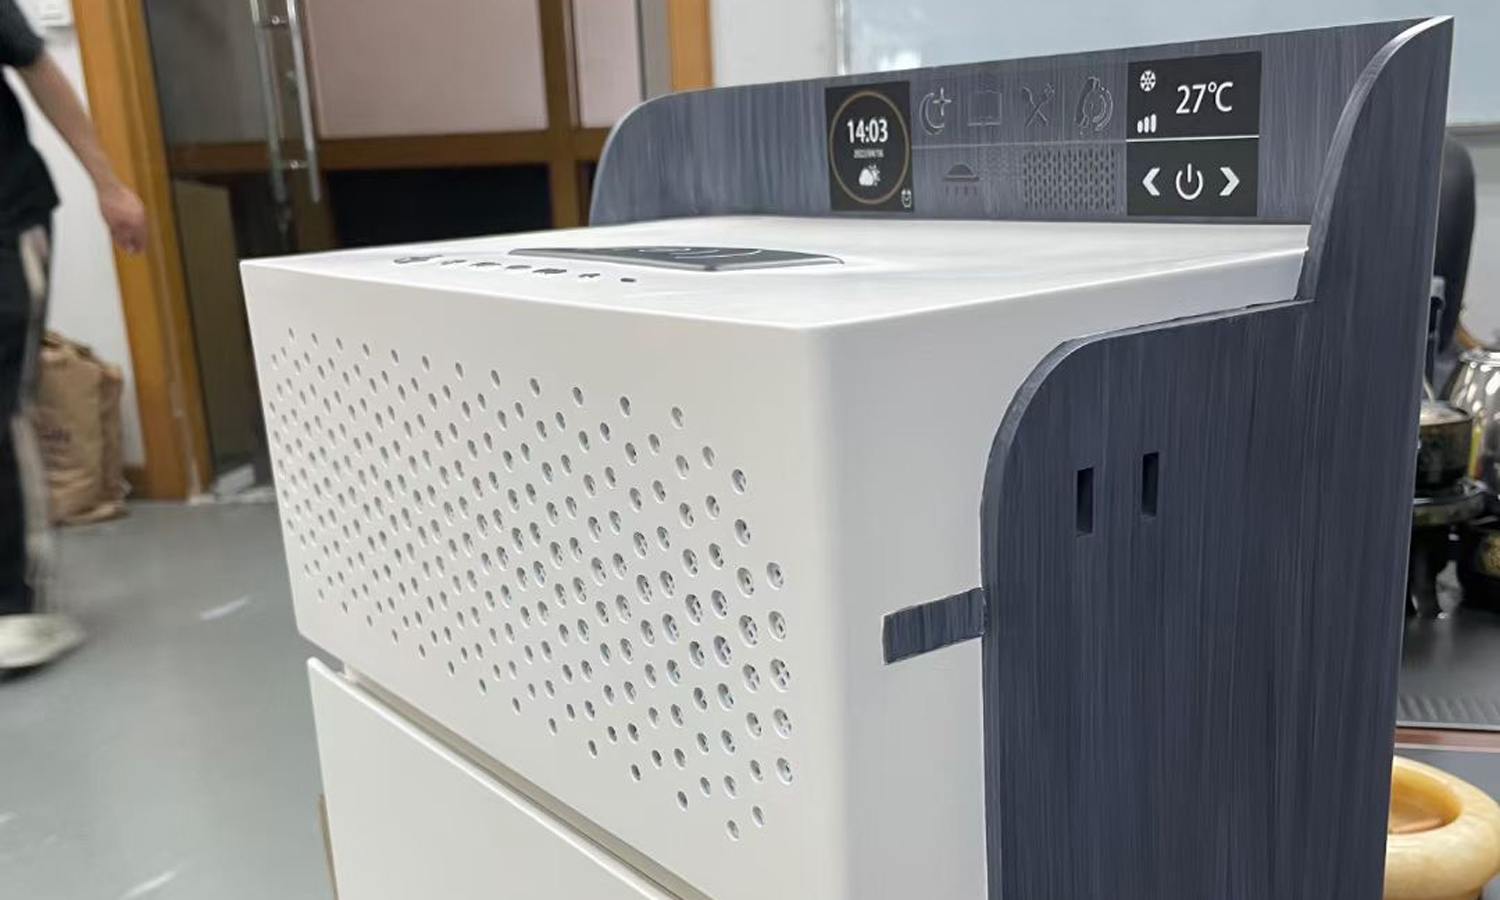
This smart cabinet is designed for people who work from home. On the top, there are screens and buttons for the smart assistant, and you can place your phone on it to charge it. The upper case is a speaker and the lower case is a drawer.
Solution
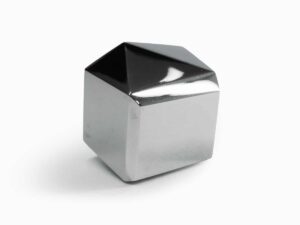
- Step 1: The client builds the model in CAD, and exports the STL files for printing. Our engineers help them examine the model and suggest printing it with SLA technology. The round hollows on the speaker need to be large enough for printing.
- Step 2: As it’s a display model and the client has a tight budget, we split the model into a drawer, a speaker, and a frame. Simple sliding rails are added to the drawer.
- Step 3: We arrange all the parts in software and add necessary supports. Then 3D print them with SLA Generic Resin. The layer thickness we set is 0.05mm and we control the tolerance within ┬▒0.1 mm.
- Step 4: When printing is completed, rinse the models with IPA and post-cure them with UV. Cut off all the supports and marks with scissors and graters, then polish with sandpaper.
- Step 5: Spray with putties, paint the parts with airbrushes and wool brushes. Screenprint the LCD screen and buttons, and put stickers on the panel. Attach a piece of plastic mesh to the speaker.
- Step 6: Finally, assemble all the parts together and fix them with superglue.


