
Material Plastic
Quantity 45 pcs
Price Range $100-1,000
Lead Time 5 workdays
Gallery
About Project
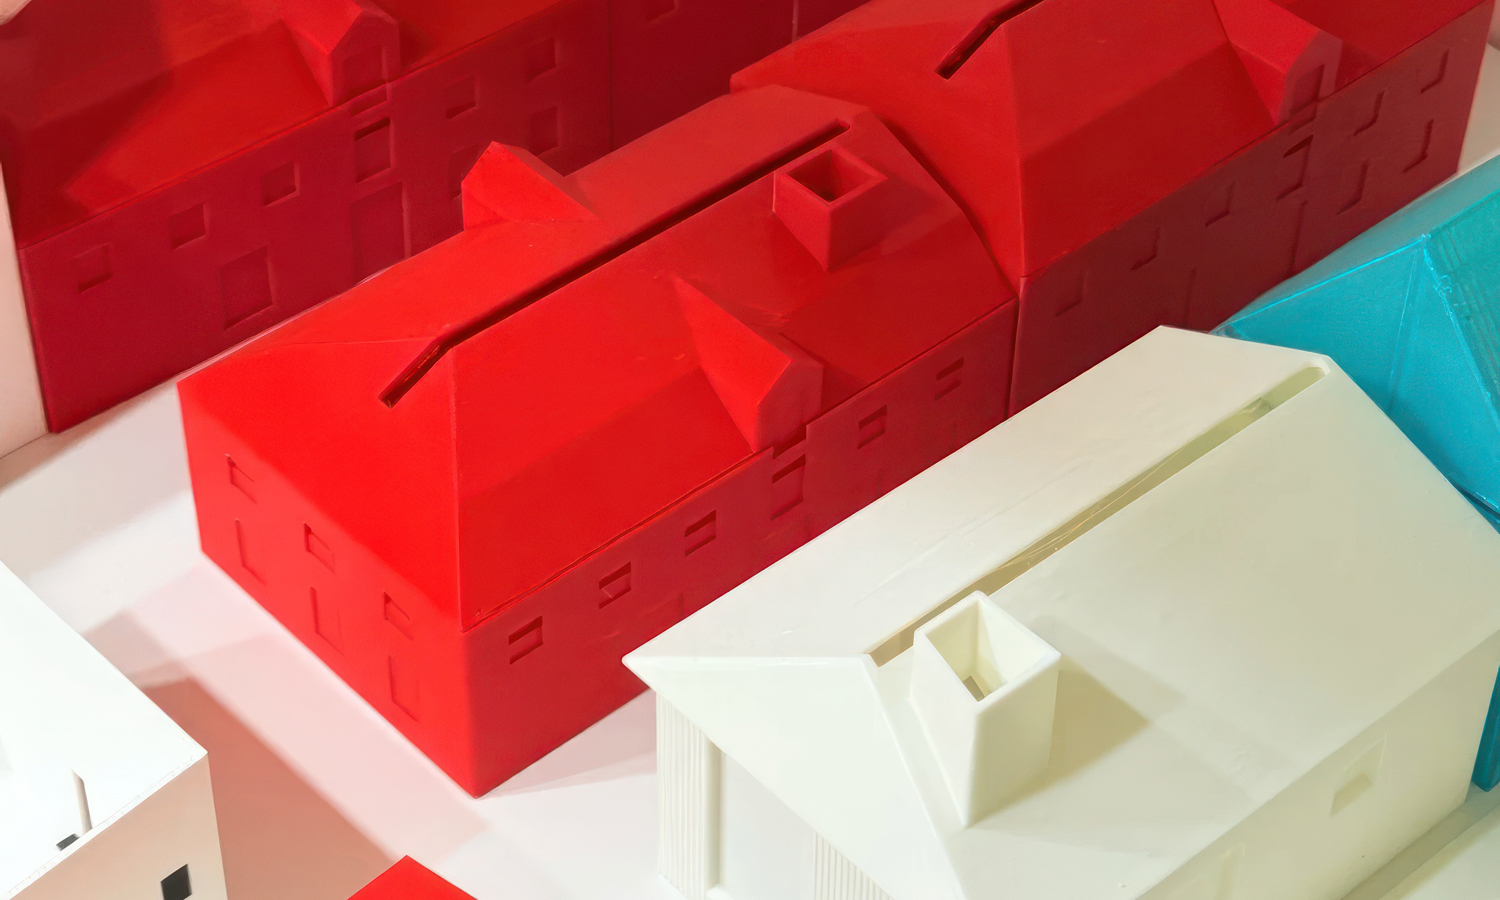
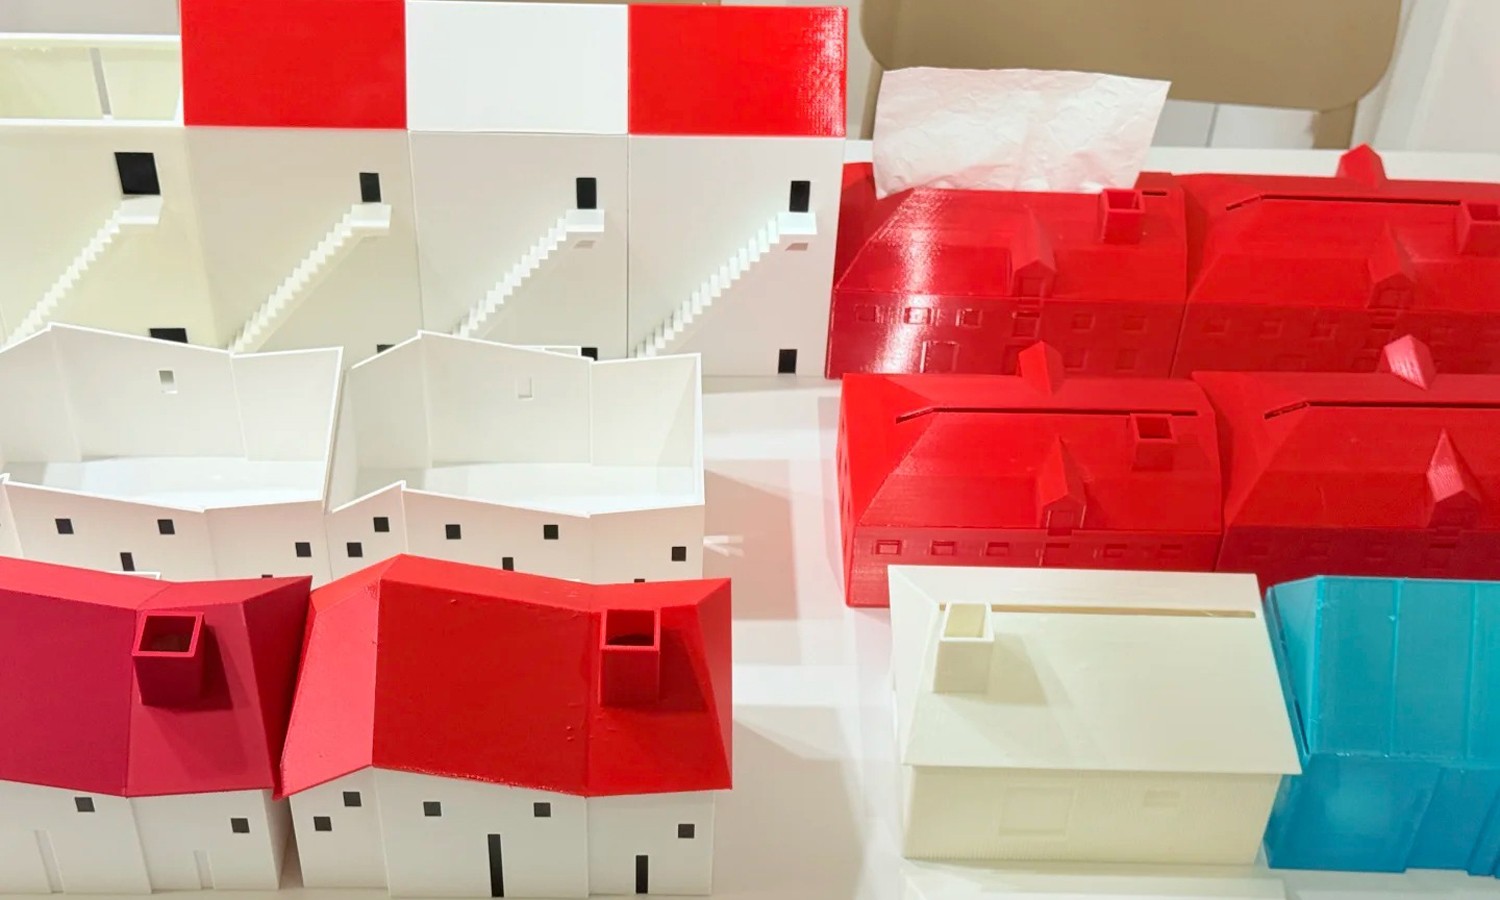
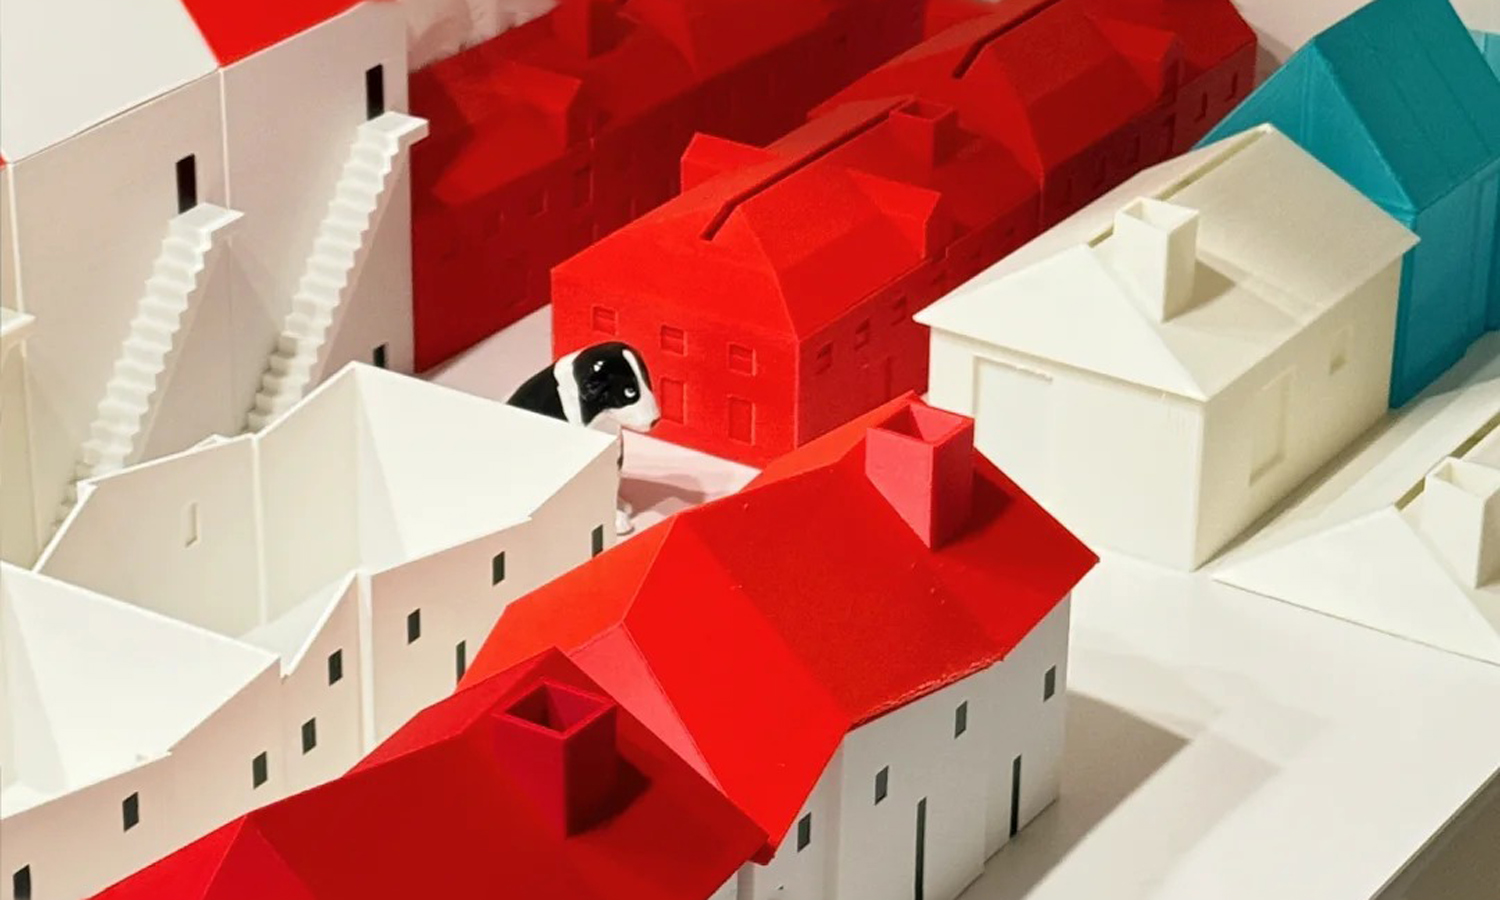
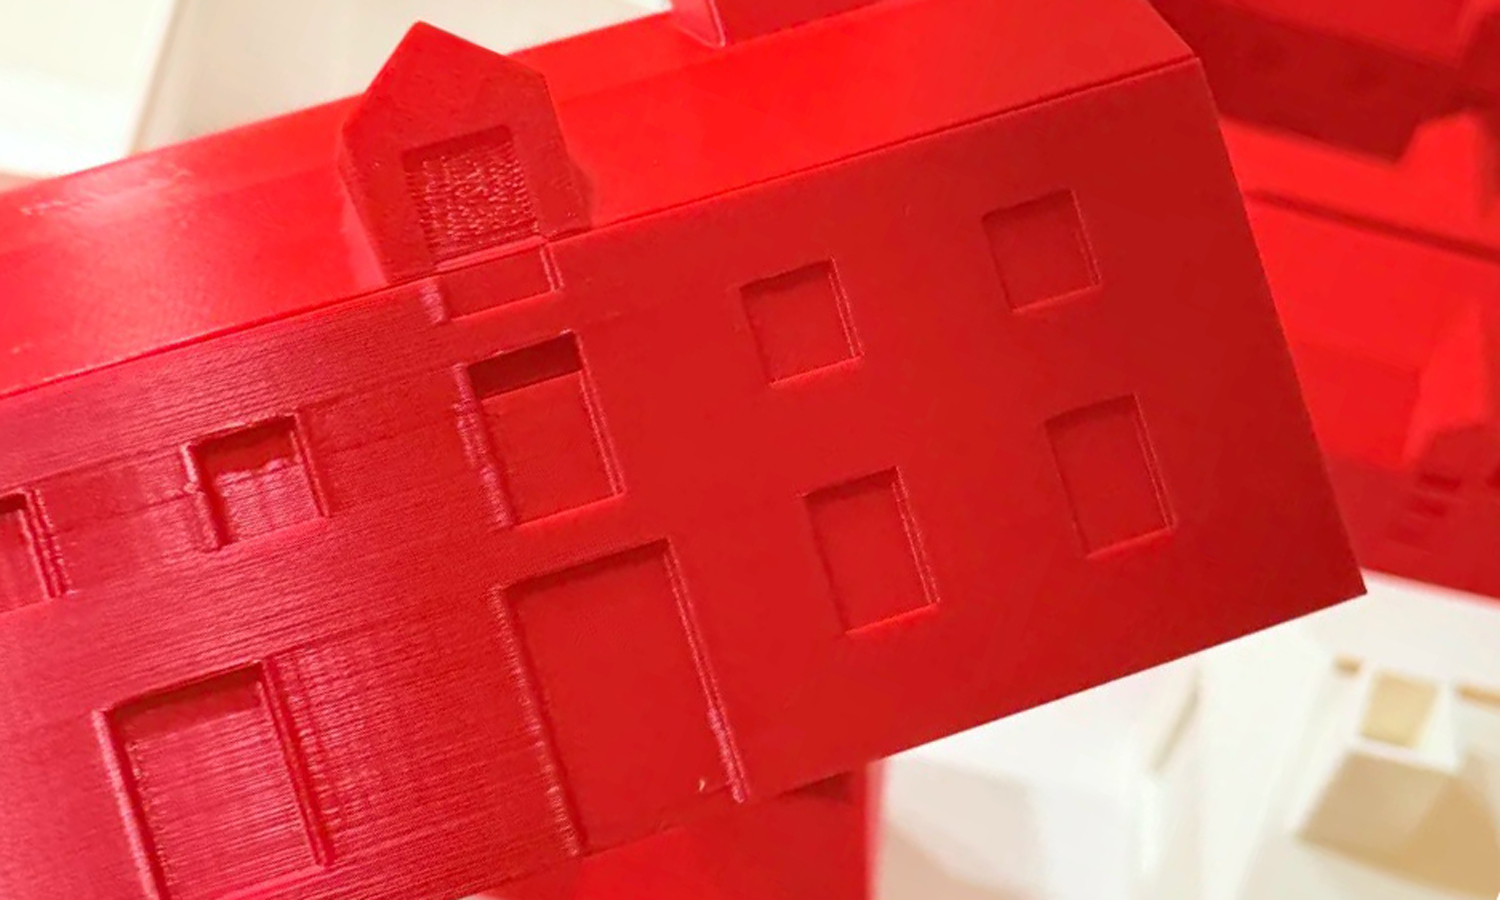
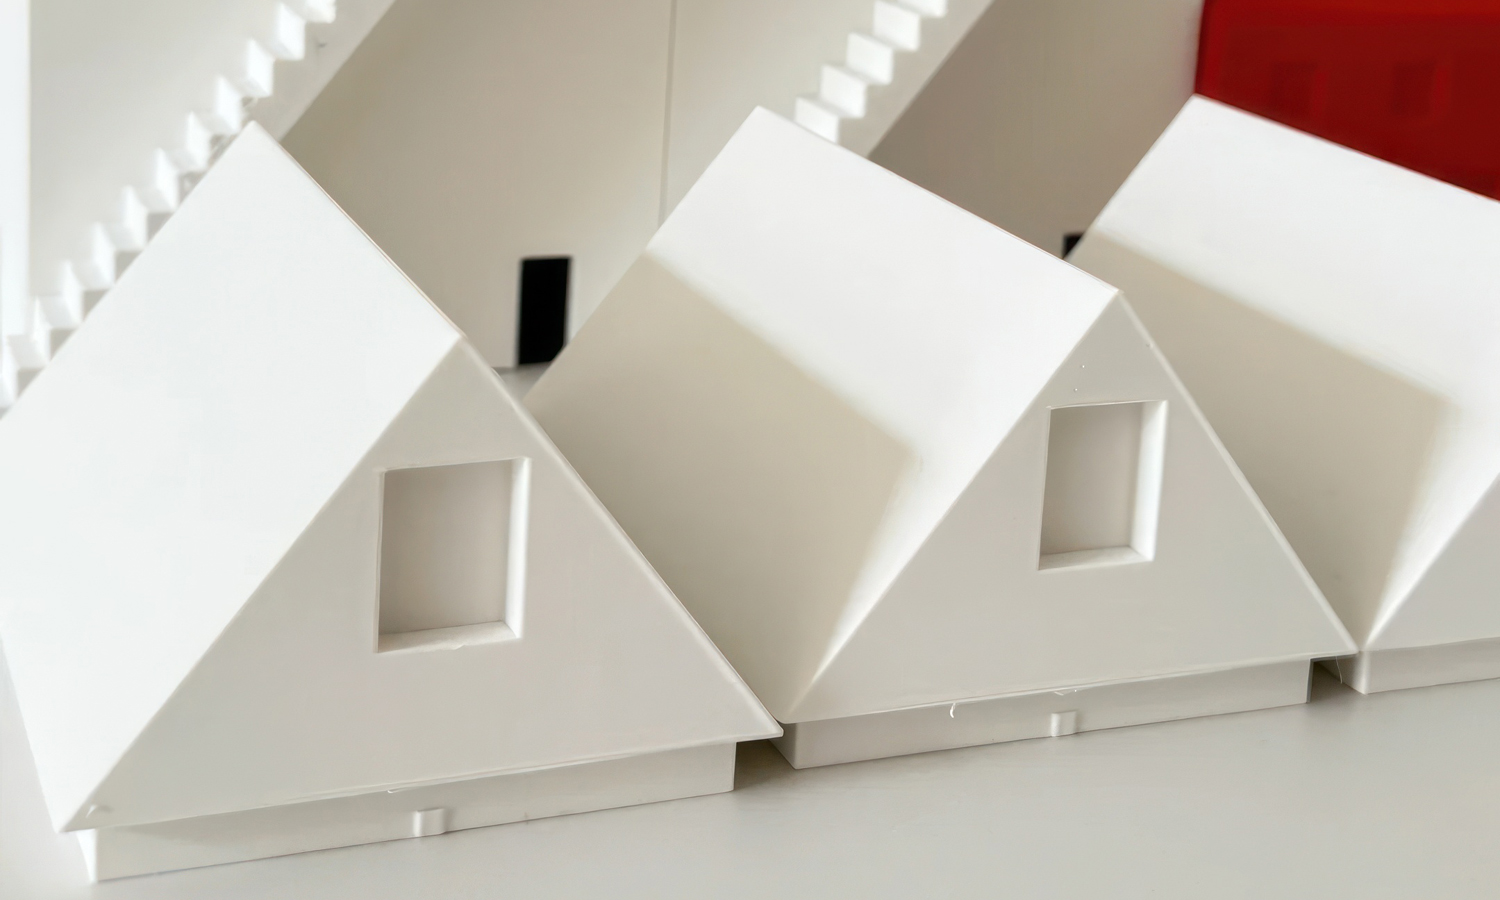
What started as a simple test print has blossomed into a miniature town full of charm and character. Designed and hand-crafted by @Lexii, the Red Roof Town series transforms everyday tissue boxes into whimsical architectural models – featuring slanted red roofs, stairwells, chimneys, and minimalist fa├¦ades that resemble a European village scene.
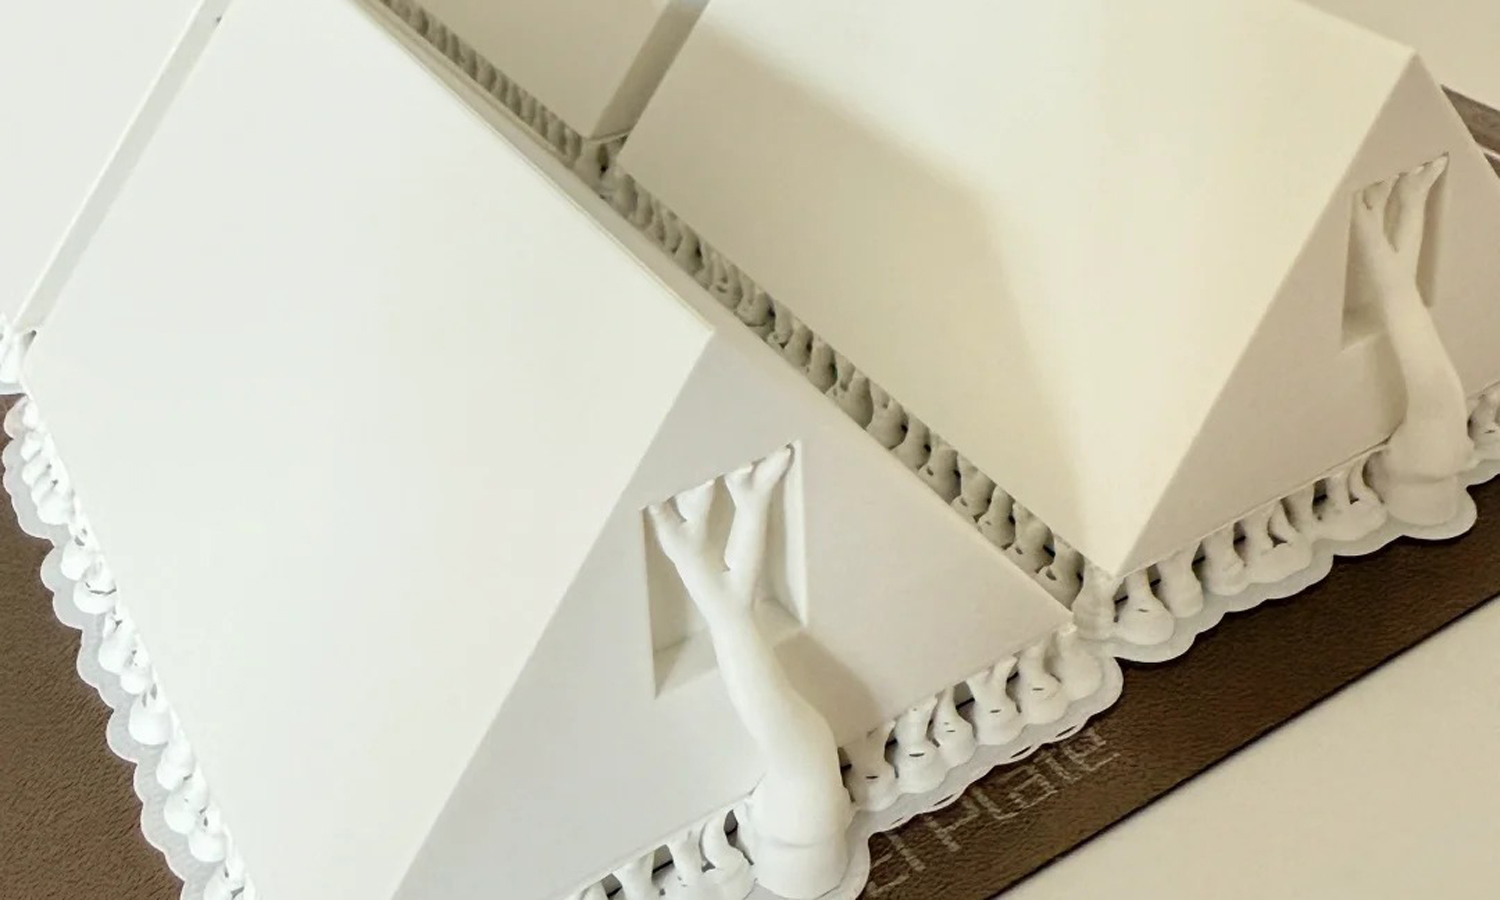
To perfect these tiny houses, Lexii went through numerous rounds of experimentation. From tweaking model proportions to adjusting print parameters and material types, she explored the full potential of FDM 3D printing. The final results are a stunning testament to how far affordable desktop FDM printers have come – producing crisp details, clean lines, and vibrant surfaces without the need for molding or post-processing.
Instead of relying on mass production, Lexii has embraced the flexibility of on-demand 3D printing. Each piece is printed directly after purchase, ensuring customization and eliminating waste.
At FacFox, we champion creators like Lexii by offering reliable and high-quality FDM 3D printing services for prototypes, art pieces, home decor, and functional designs. Whether you’re an artist testing concepts or a brand exploring short-run production, our team is here to bring your ideas to life – one layer at a time.
Solution
- Step 1: A series of 3D models resembling miniature houses were designed using CAD software, incorporating features like pitched roofs, staircases, and chimneys.
- Step 2: Multiple versions of the models were prepared and sliced with varying print parameters to test scale, surface quality, and material compatibility.
- Step 3: The sliced files were sent to an FDM 3D printer. PLA filament in red and white colors was selected to highlight the architectural contrast.
- Step 4: Each model was printed layer by layer. Print settings such as nozzle temperature, speed, and infill density were carefully adjusted and optimized during test rounds.
- Step 5: After printing, the parts were removed from the build plate and cleaned to eliminate any support marks or stringing artifacts.
- Step 6: The printed components were assembled and fitted to function as tissue dispensers. The roofs were designed to lift or slot open for easy tissue refills.
- Step 7: Final adjustments were made to ensure structural integrity, clean openings, and consistent aesthetic quality before each piece was considered complete and ready to ship.


