Gallery
About Project
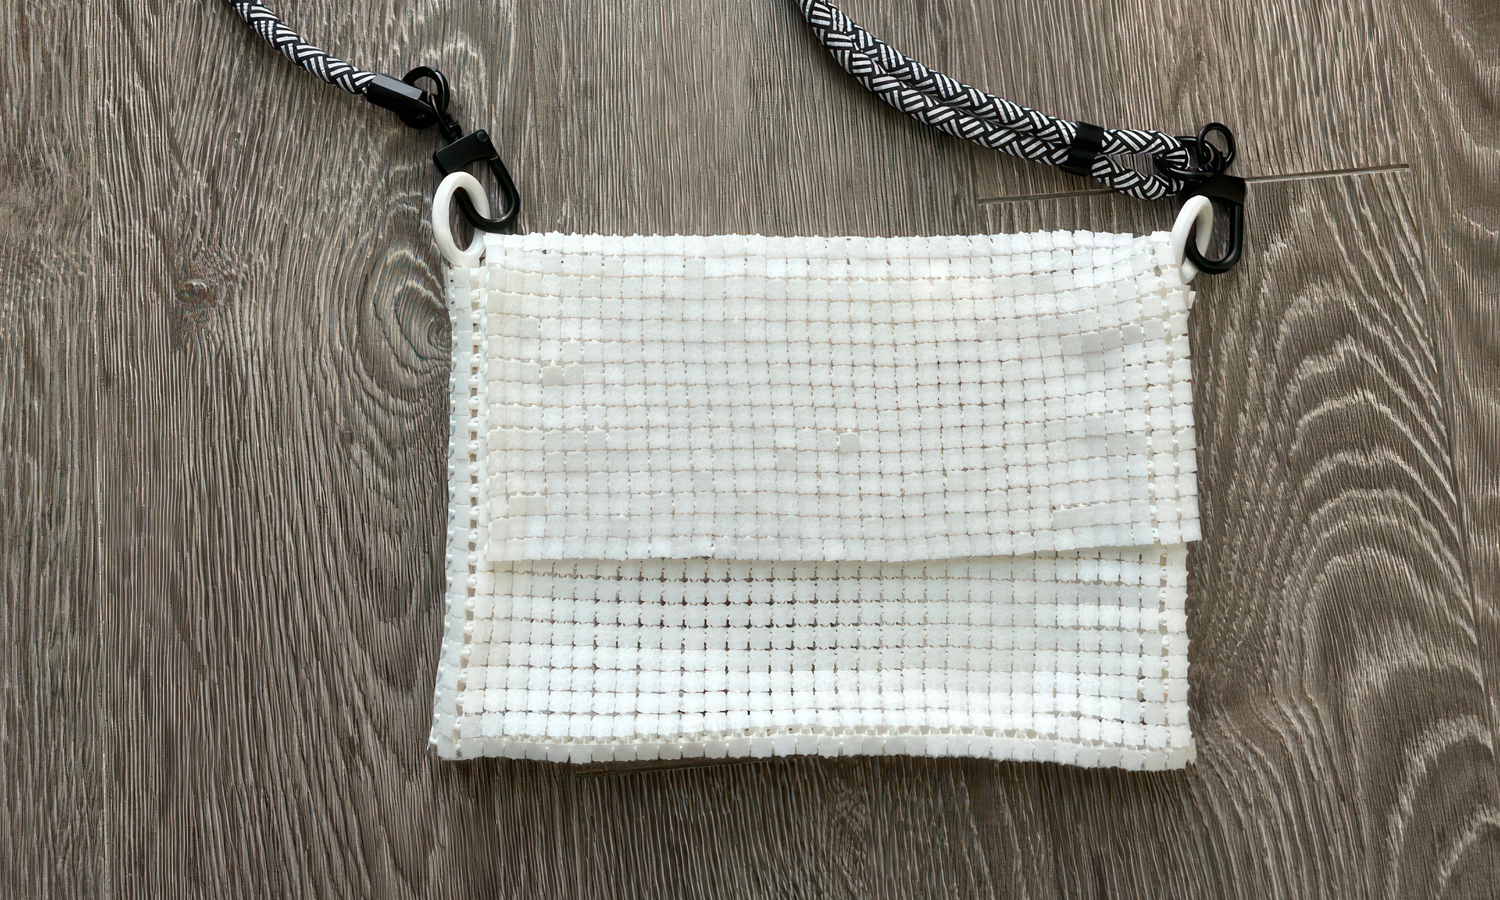
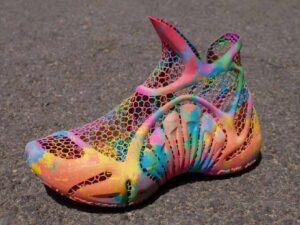
Who says 3D printing is just for rigid, mechanical parts? This stylish crossbody bag, shared by a maker on Maker World, turns PLA filament into a lightweight, mesh-textured accessory. The body is printed with a lattice design that mimics woven fabric, giving it both breathability and a distinctive aesthetic. Paired with a fabric strap and clip hooks, it’s ready for everyday light use – just avoid overloading it with heavy items.
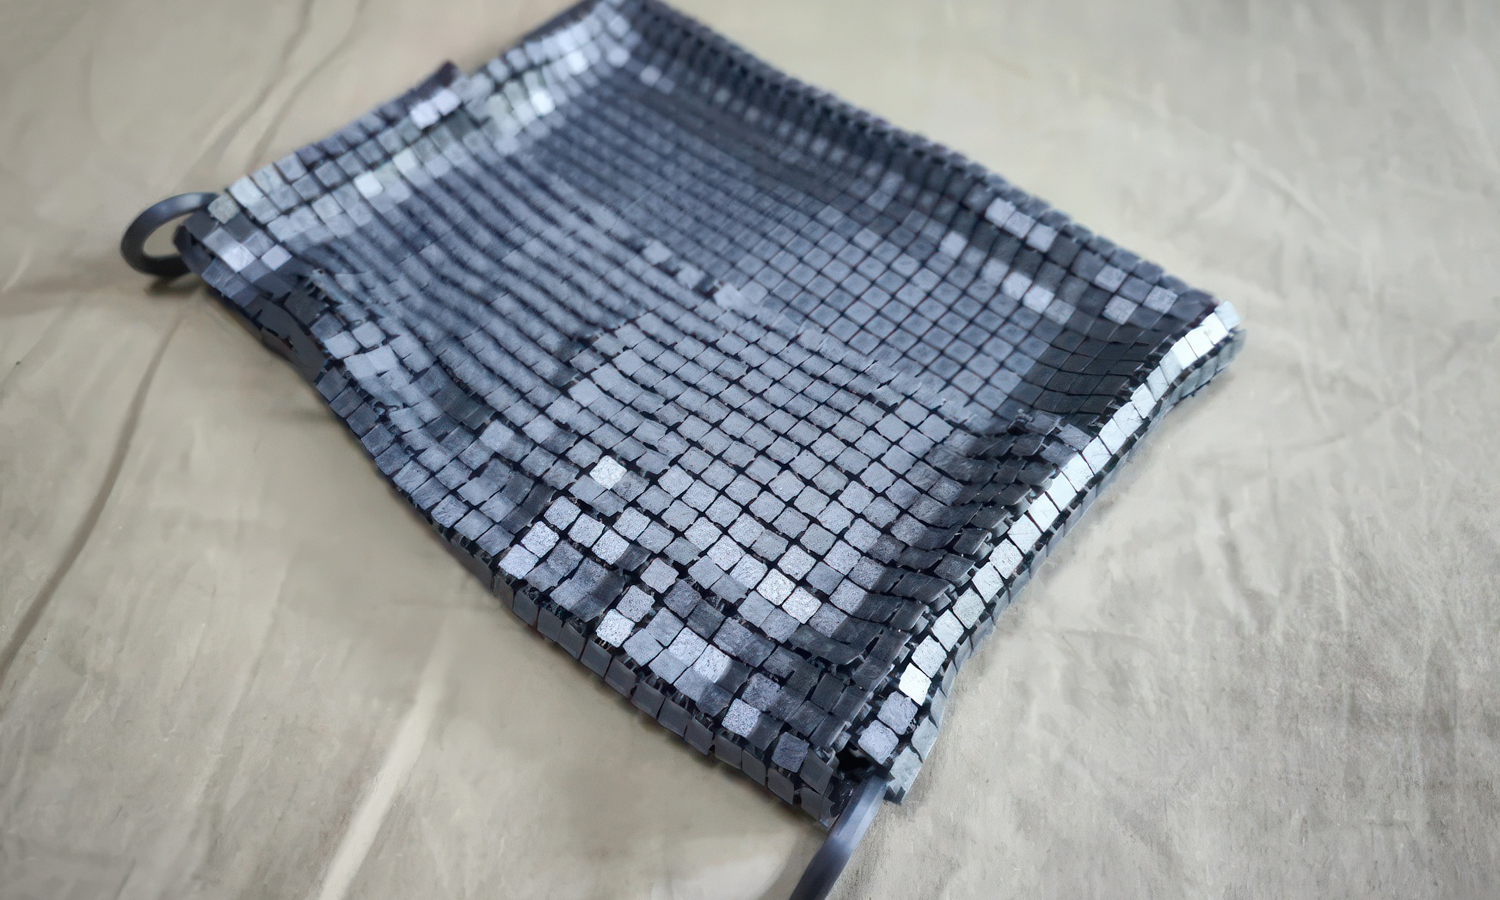
While the original creator used PLA Basic, other makers have tested PETG or PLA+ for added flexibility and strength. One tip from the community: lowering the layer height to 0.16 mm from the original 0.28 mm produces a smoother surface that feels more like fabric, though it doubles the printing time. Some also noted that reinforcing connection points could improve durability for longer-term wear.
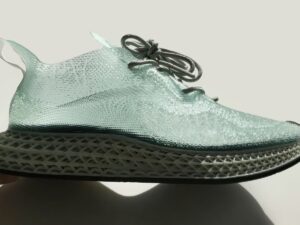
Even though this particular bag wasn’t produced by FacFox, it’s a perfect example of how 3D printing can blend style and function. From custom accessories to experimental fashion pieces, our on-demand manufacturing services can help you turn a digital model into a tangible product – whether it’s a single prototype or a small production run.
Got an idea? With FacFox, you can create it. We support a wide range of filaments, colors, and printing techniques to bring your designs to life. Whether you’re a fashion innovator or a hobbyist maker, we’re here to help you transform inspiration into reality.
Solution
- Step 1: The 3D model of the bag body was downloaded from Maker World and prepared in slicing software.
- Step 2: The slicing settings were configured, including a layer height of 0.28 mm (or optionally 0.16 mm for a smoother texture), suitable infill, and supports disabled to preserve the mesh pattern.
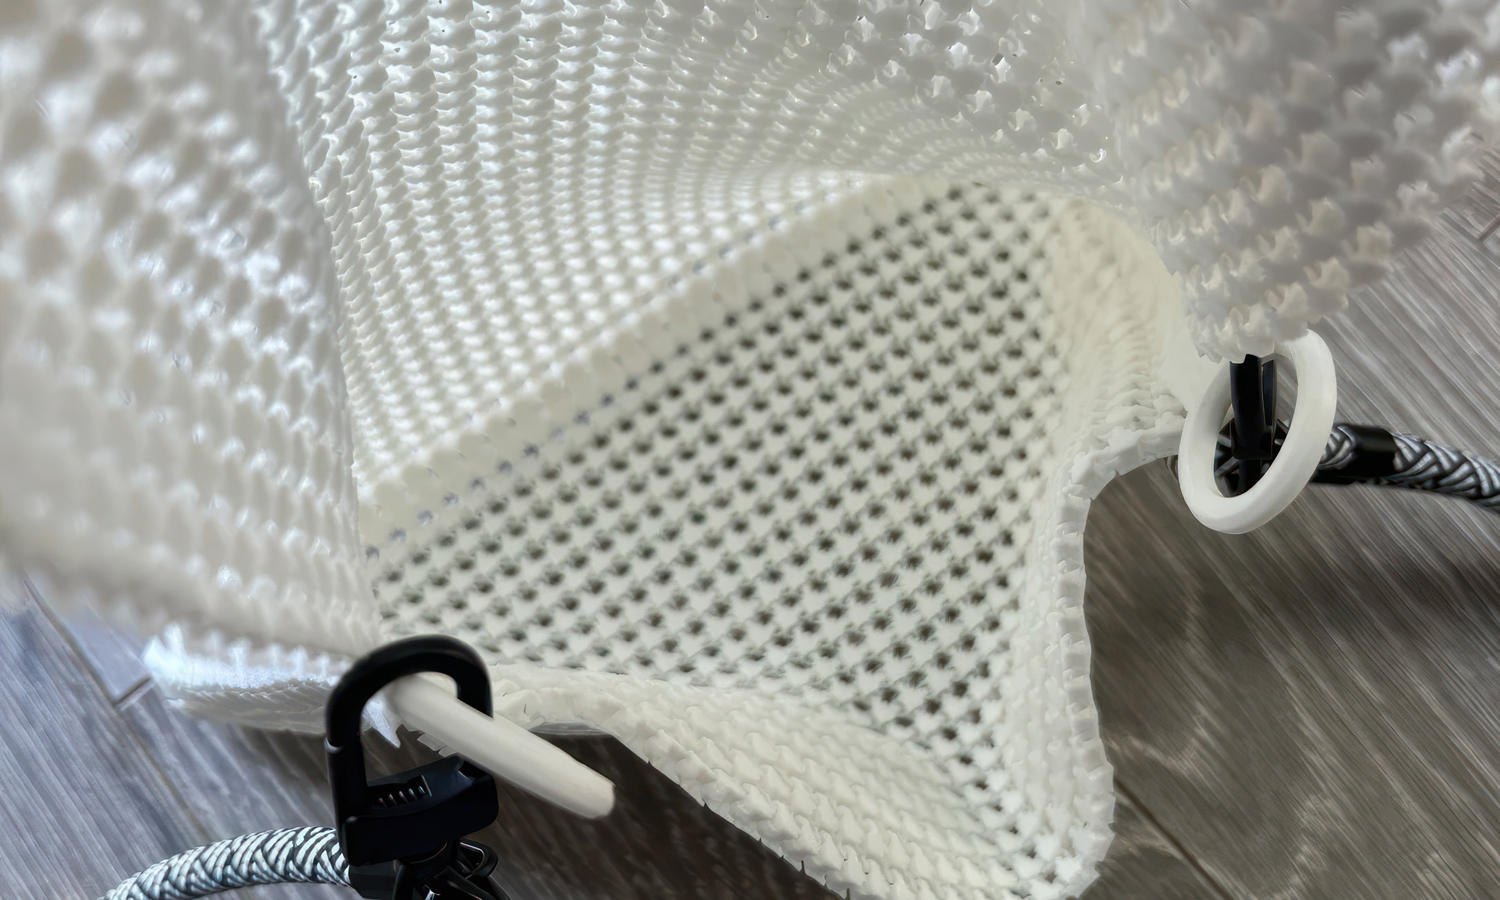
- Step 3: PLA Basic filament was loaded into an FDM 3D printer, and the bag body was printed in one piece with the lattice structure forming its texture.
- Step 4: After printing, the bag body was carefully removed from the build plate and any stray filament strings were trimmed away.
- Step 5: A woven fabric strap was prepared, and clip hooks were attached to each end of the strap for easy connection.
- Step 6: The strap hooks were secured into the printed rings on both sides of the bag, completing the assembly.
- Step 7: The finished bag was inspected for any sharp edges, and minor adjustments were made to ensure comfortable use.


