Gallery
About Project
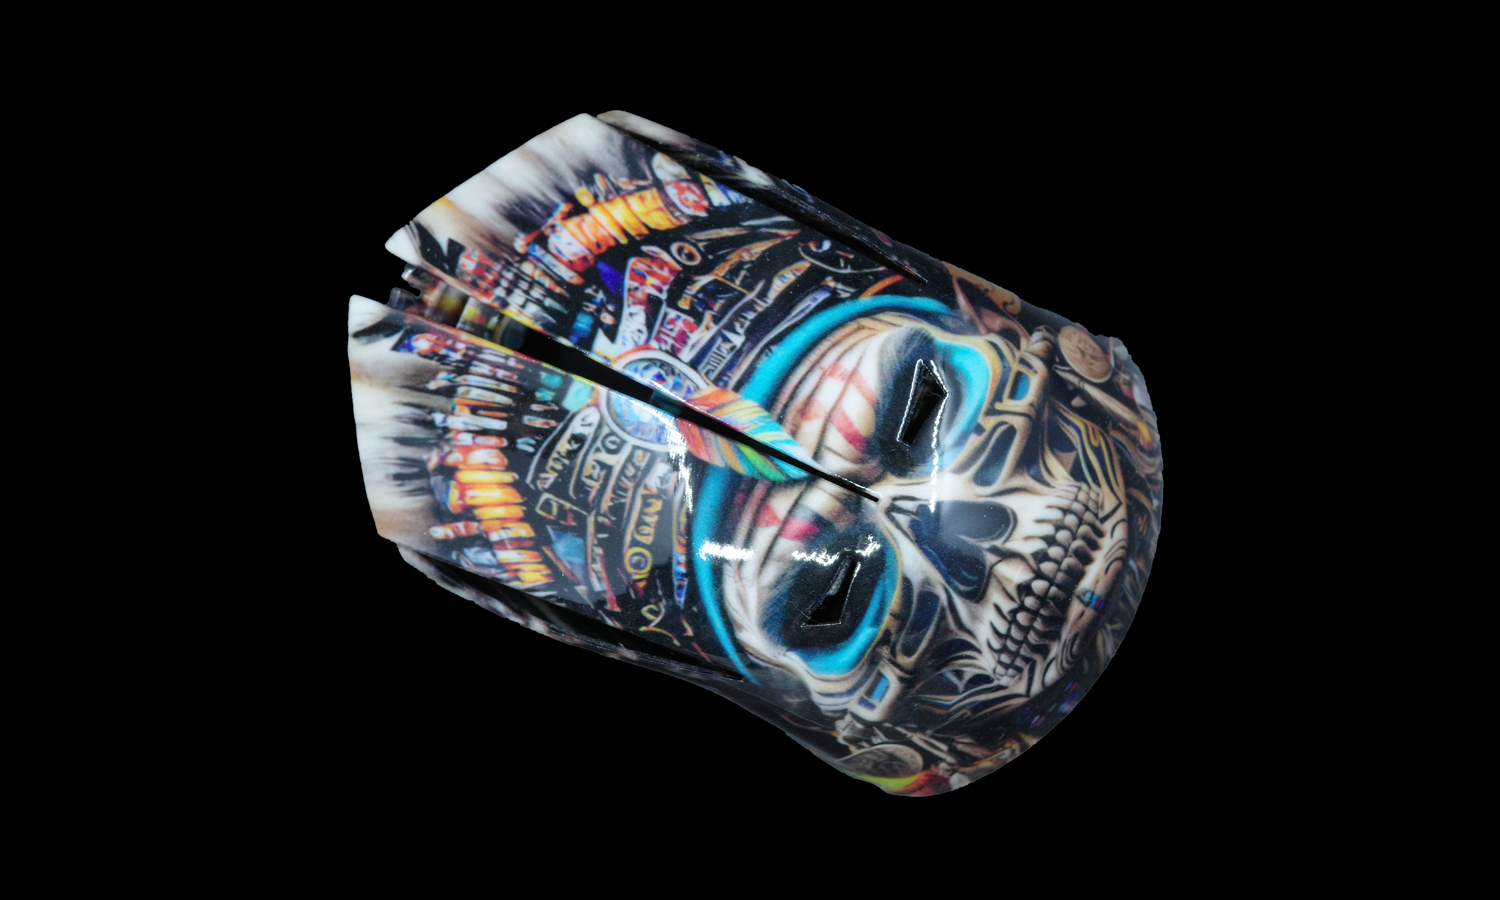
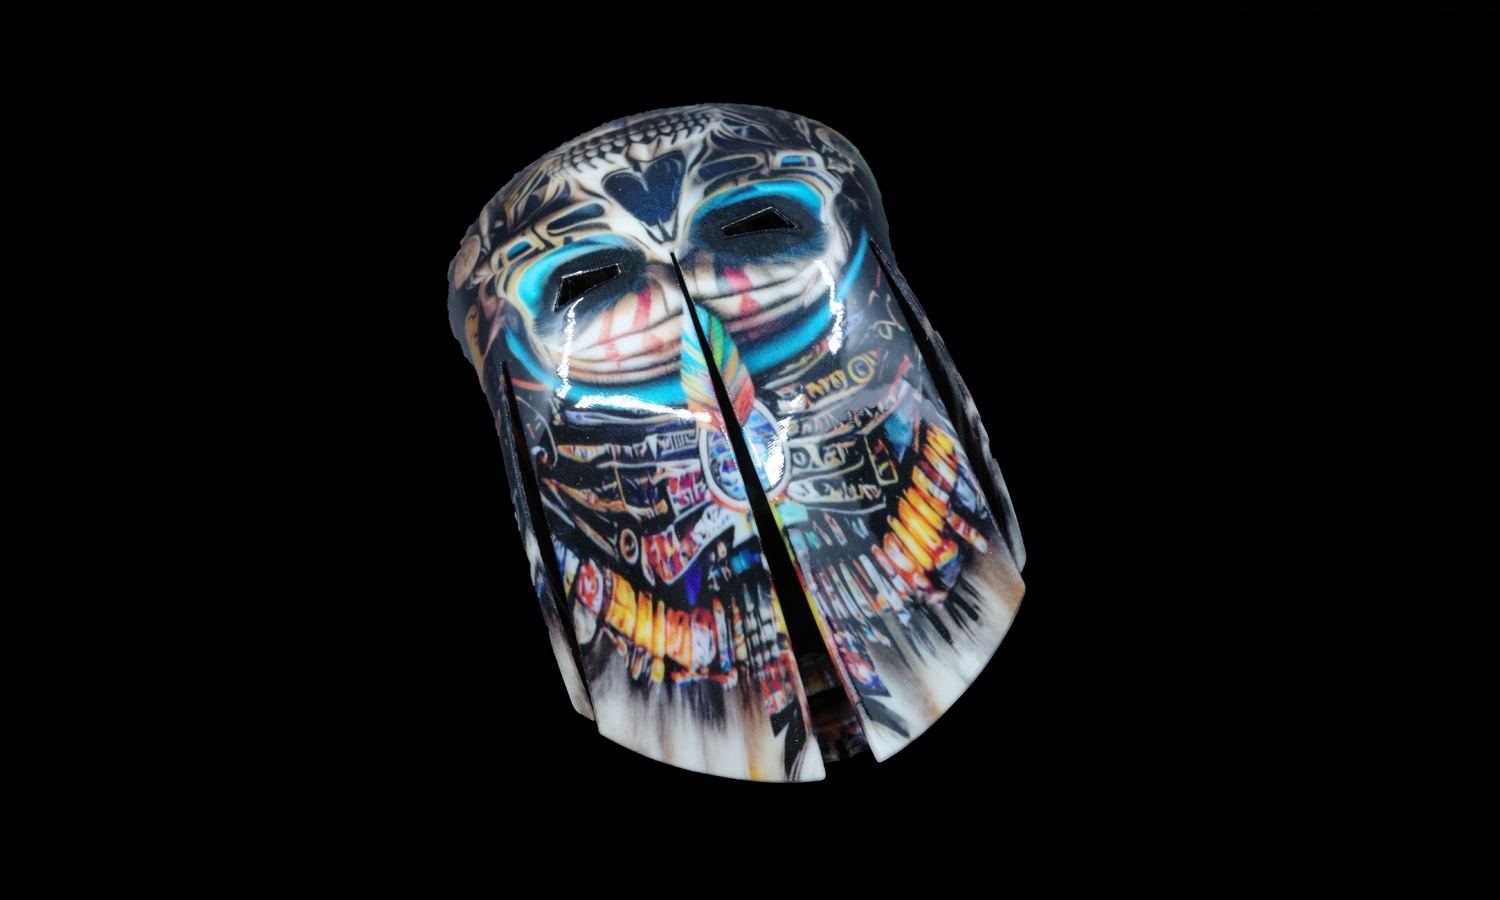
At FacFox, we're constantly pushing the boundaries of what's possible with 3D printing, and sometimes, even “failed” prints offer valuable insights and demonstrate incredible potential. Today, we're showcasing a truly unique piece: a full-color 3D-printed mouse shell featuring an intricate Indian Chief Skull design, produced using our Mimaki 3D printing service.
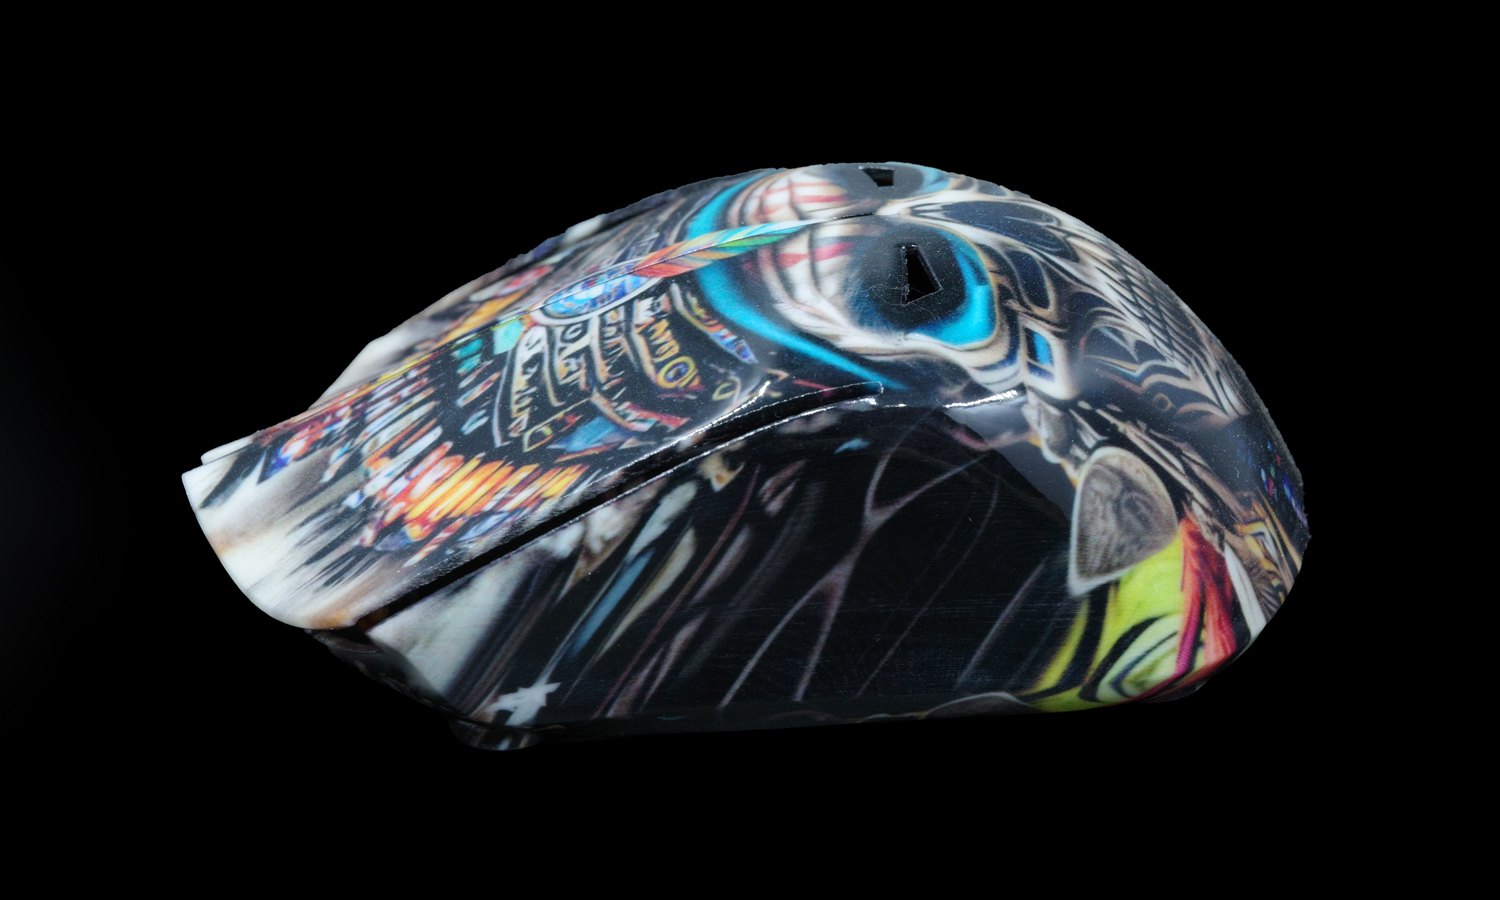
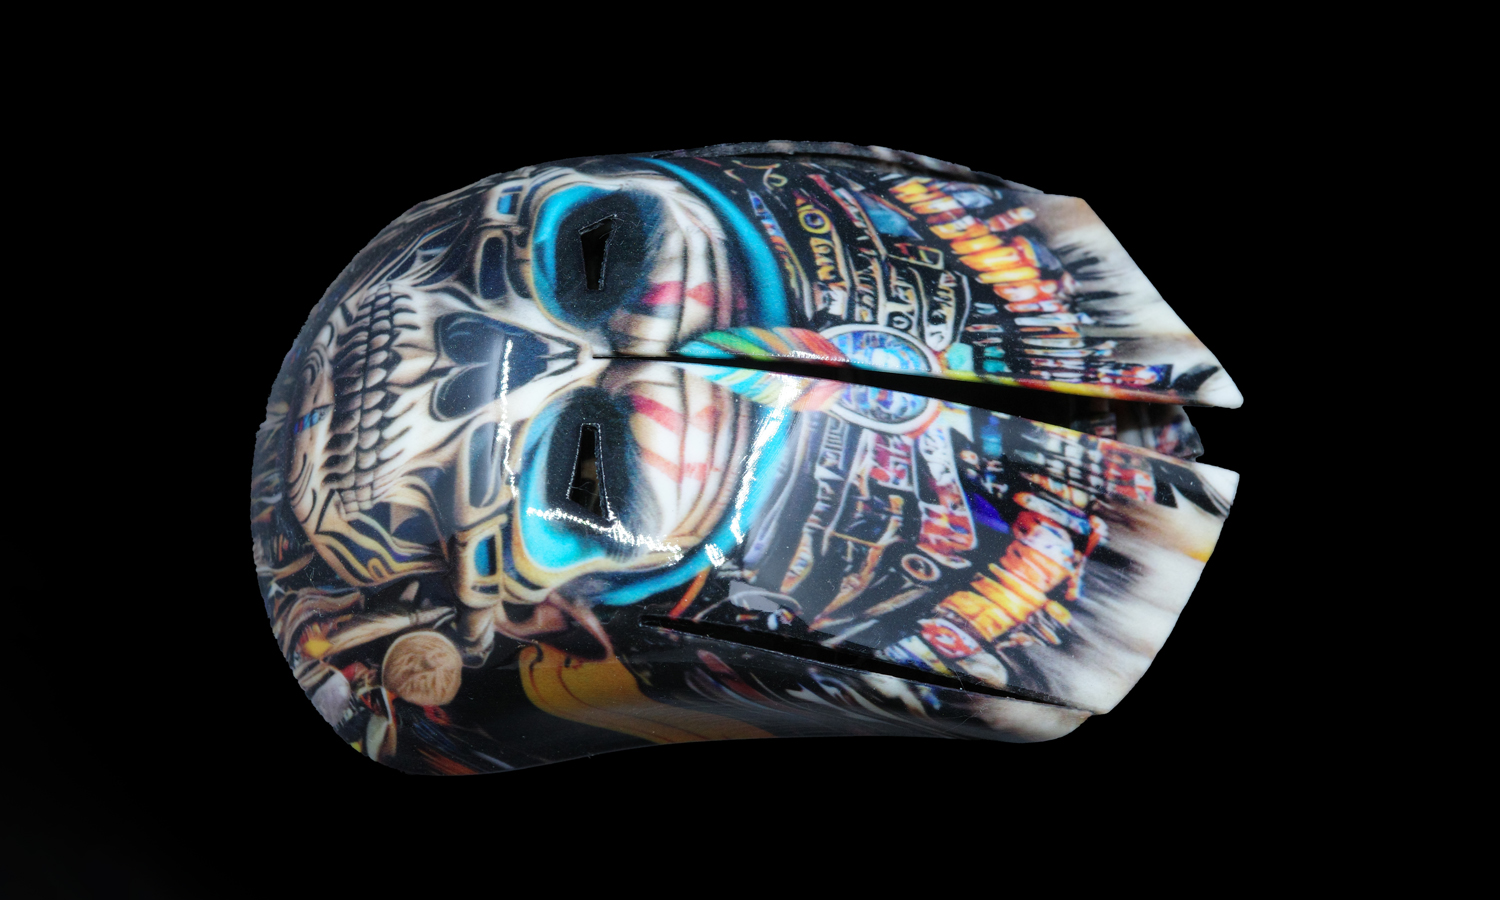
This custom mouse shell is a visual feast, boasting a vibrant and detailed aesthetic inspired by traditional Native American artistry. The design intricately weaves elements of an Indian chief's headdress with a striking skull motif, creating a bold and captivating look. The rich spectrum of colors, including deep blues, fiery oranges, and earthy reds, brings the tribal patterns to life, making this more than just a mouse cover – it's a miniature work of art. The skeletal features of the skull, from its hollow eye sockets to its defined teeth, are rendered with impressive precision, showcasing Mimaki's ability to capture fine details.
The Magic of Mimaki Full-Color 3D Printing
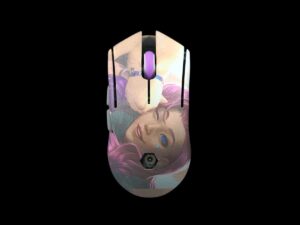
The stunning visual quality of this mouse shell is a testament to the capabilities of Mimaki's industrial-grade 3D printing technology. Unlike many other 3D printing methods, Mimaki employs a unique inkjet process that deposits successive layers of UV-curable ink, allowing for a vast color gamut and the creation of highly realistic, photo-quality prints. This technique enables the production of parts with complex geometries and intricate textures, all while delivering exceptional color vibrancy and accuracy directly from your digital design. Mimaki printers are renowned for their ability to reproduce gradients and subtle color variations, which is clearly evident in the detailed shading and transitions seen on this mouse shell.
A Learning Experience: Display vs. End-Use
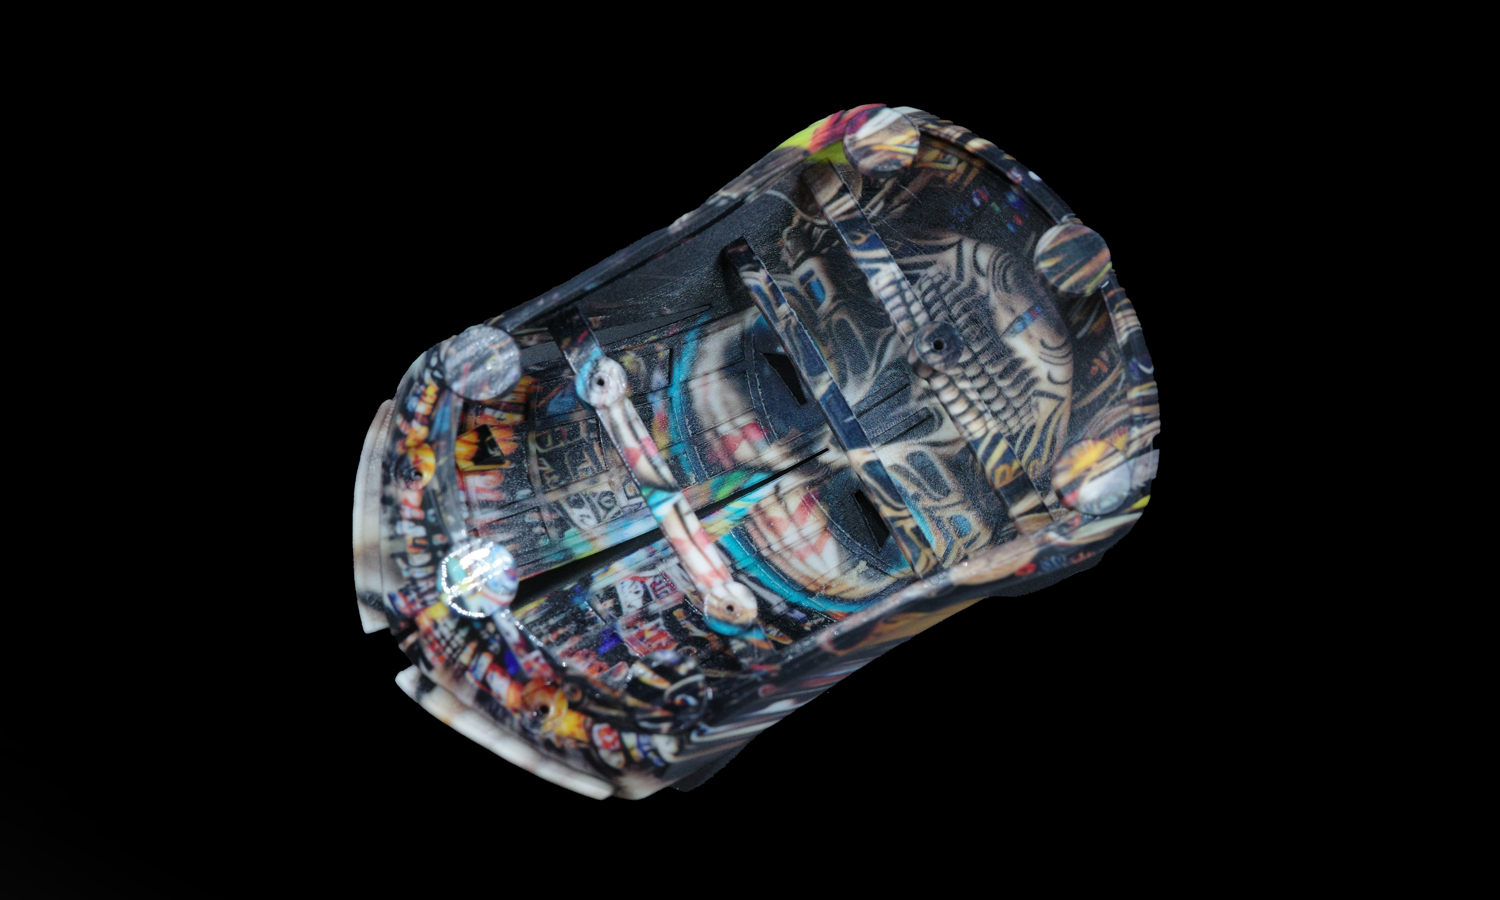
While visually impressive, this Indian Chief Skull mouse shell serves as a valuable learning example regarding material suitability. The Mimaki printing process utilizes a resin that, while excellent for achieving vibrant colors and fine details, tends to be softer in nature. For an end-use part like a mouse enclosure, which requires rigidity and durability for daily handling, this particular material proves to be a bit too pliable. This experience highlights that Mimaki technology truly excels in producing stunning display models, prototypes, and artistic pieces where visual fidelity and full-color representation are paramount. For functional, high-stress end-use components, other 3D printing technologies might be more appropriate.
Bring Your Visions to Life with FacFox
Are you looking to create highly detailed, full-color prototypes, artistic models, or captivating display pieces? FacFox is your go-to partner for professional Mimaki 3D printing services. Our expertise ensures that your designs are brought to life with unparalleled color accuracy and intricate detail. Whether you have a complex artistic vision or need a vibrant prototype, FacFox can help you achieve your goals. While Mimaki may not be ideal for every application, its unique capabilities for visual impact are undeniable. Contact FacFox today to discuss your next project and discover the amazing possibilities of full-color 3D printing!
Solution
- Step 1: Design Files Received and Prepared The design files for the Indian Chief Skull mouse shell, provided by a talented client designer, were received. These files, specifically an OBJ (.obj) model accompanied by an MTL (material) file and corresponding texture files, were prepared for the Mimaki 3D printing process.
- Step 2: Mimaki 3D Printer Setup The Mimaki full-color 3D printer was prepared. This involved loading the appropriate UV-curable inks and ensuring the print bed was clean and properly calibrated.
- Step 3: Print Job Initiated The prepared 3D model and texture data were sent to the Mimaki printer, and the printing process was initiated. Layers of UV-curable ink were precisely jetted onto the build platform and immediately cured by UV lamps. This process was repeated layer by layer, building the mouse shell from the bottom up and simultaneously applying the full-color design.
- Step 4: Part Cured and Cleaned Once the printing was complete, the newly printed mouse shell was removed from the printer. Any excess uncured resin was carefully cleaned from the surface of the part.
- Step 5: Post-Curing Performed The 3D printed mouse shell was then placed in a UV curing chamber for a final post-curing process. This ensured that the resin was fully hardened and strengthened, optimizing the part’s integrity.
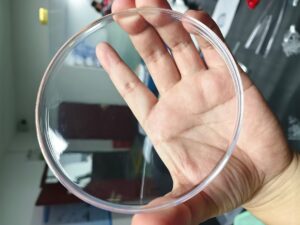
- Step 6: Clear Acrylic Oil Coating Applied Finally, a clear acrylic oil coating was carefully applied to the surface of the printed mouse shell. This coating provided a protective layer and imparted a desirable glossy finish to the vibrant full-color design.

