Low-volume Production of Transparent PVC Enclosure with Injection Molding
Posted on 2020-08-10 in Electronics В· з”өеӯҗ
Process CNC, Injection Molding, Polish
Material Plastic
Quantity 120 pcs
Price Range $1,000-5,000
Lead Time 20 workdays
Material Plastic
Quantity 120 pcs
Price Range $1,000-5,000
Lead Time 20 workdays
Gallery
About Project
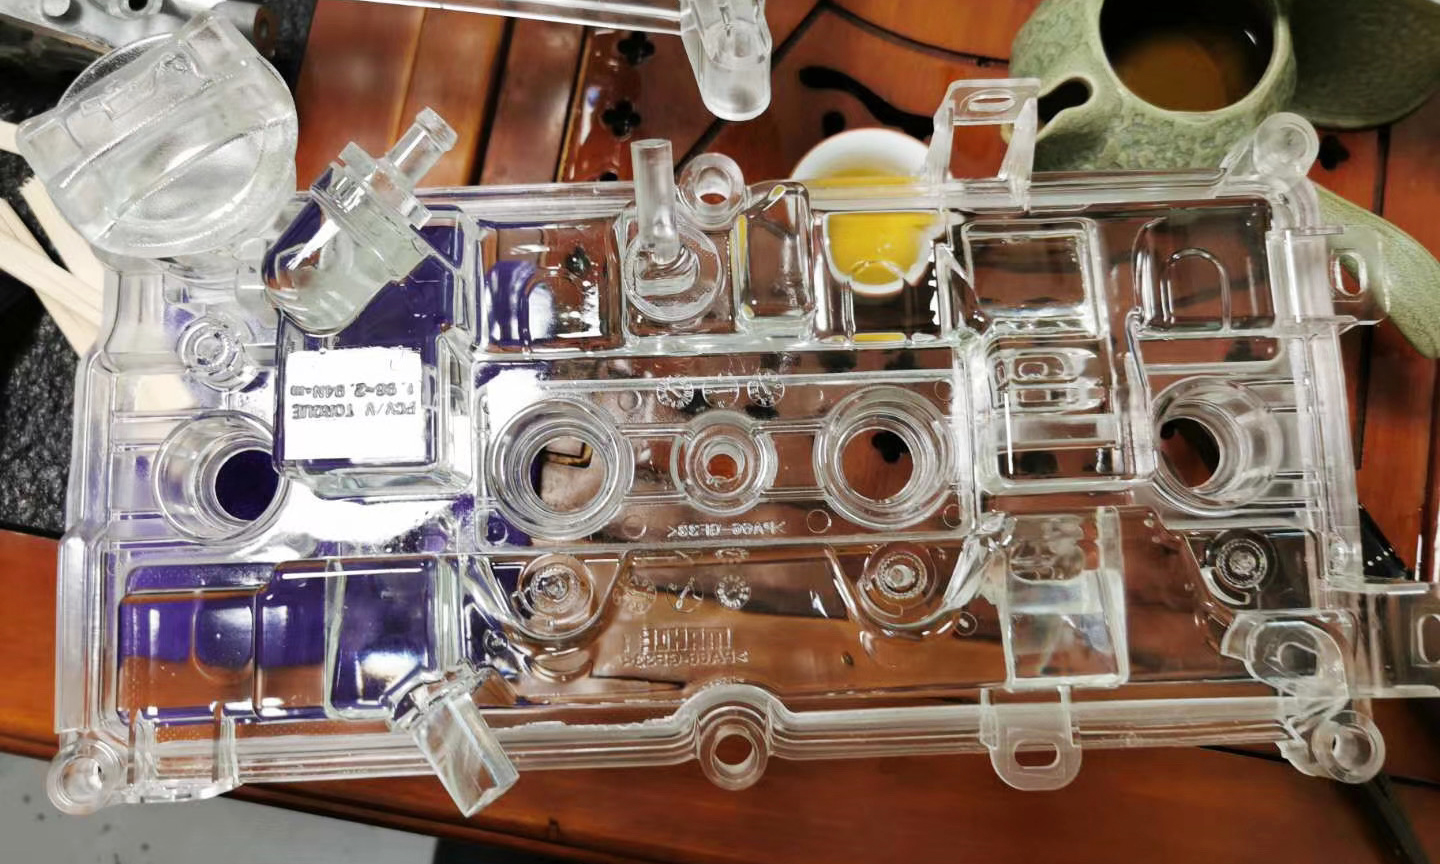
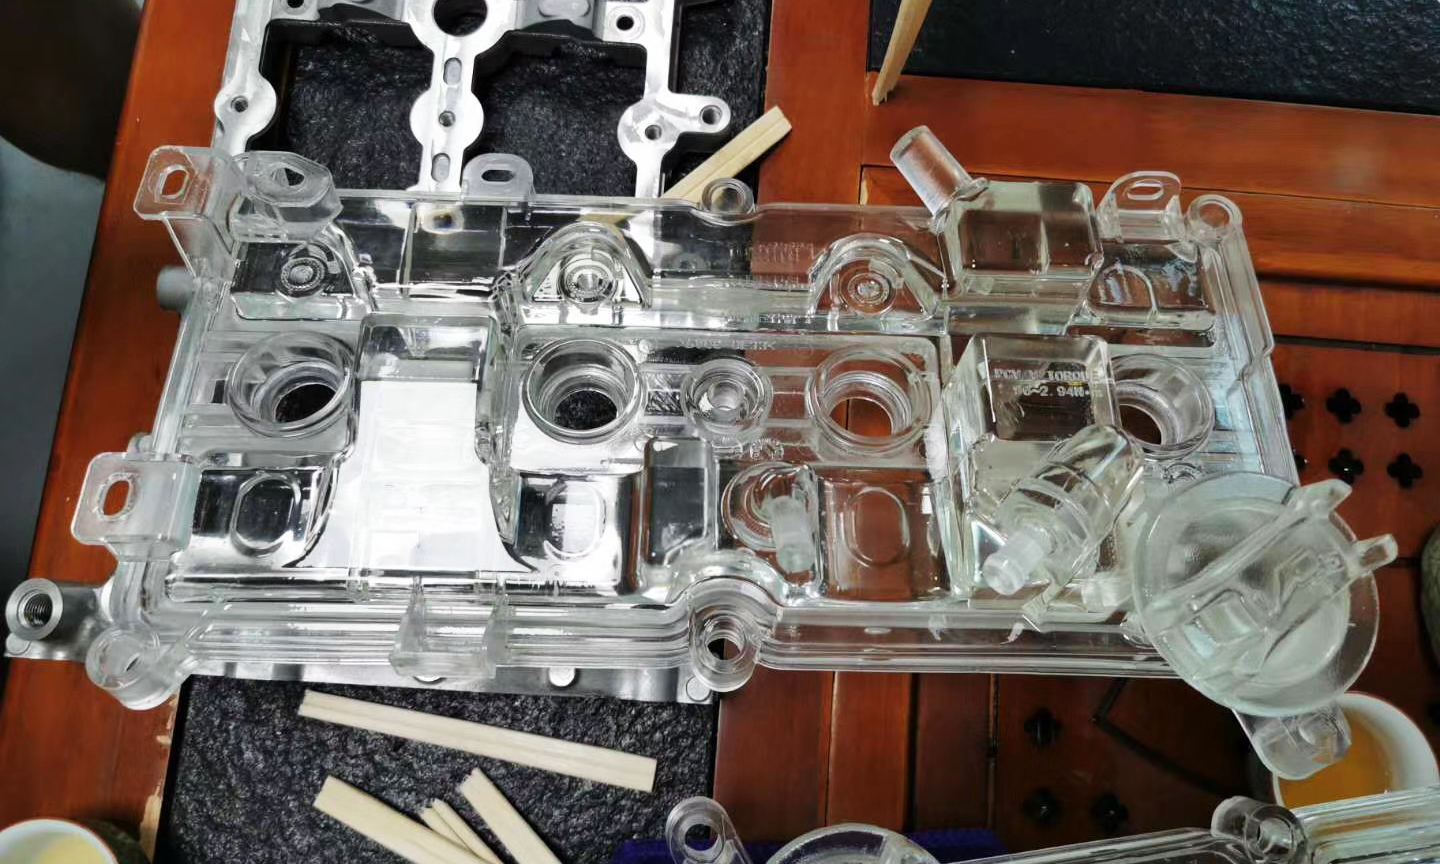
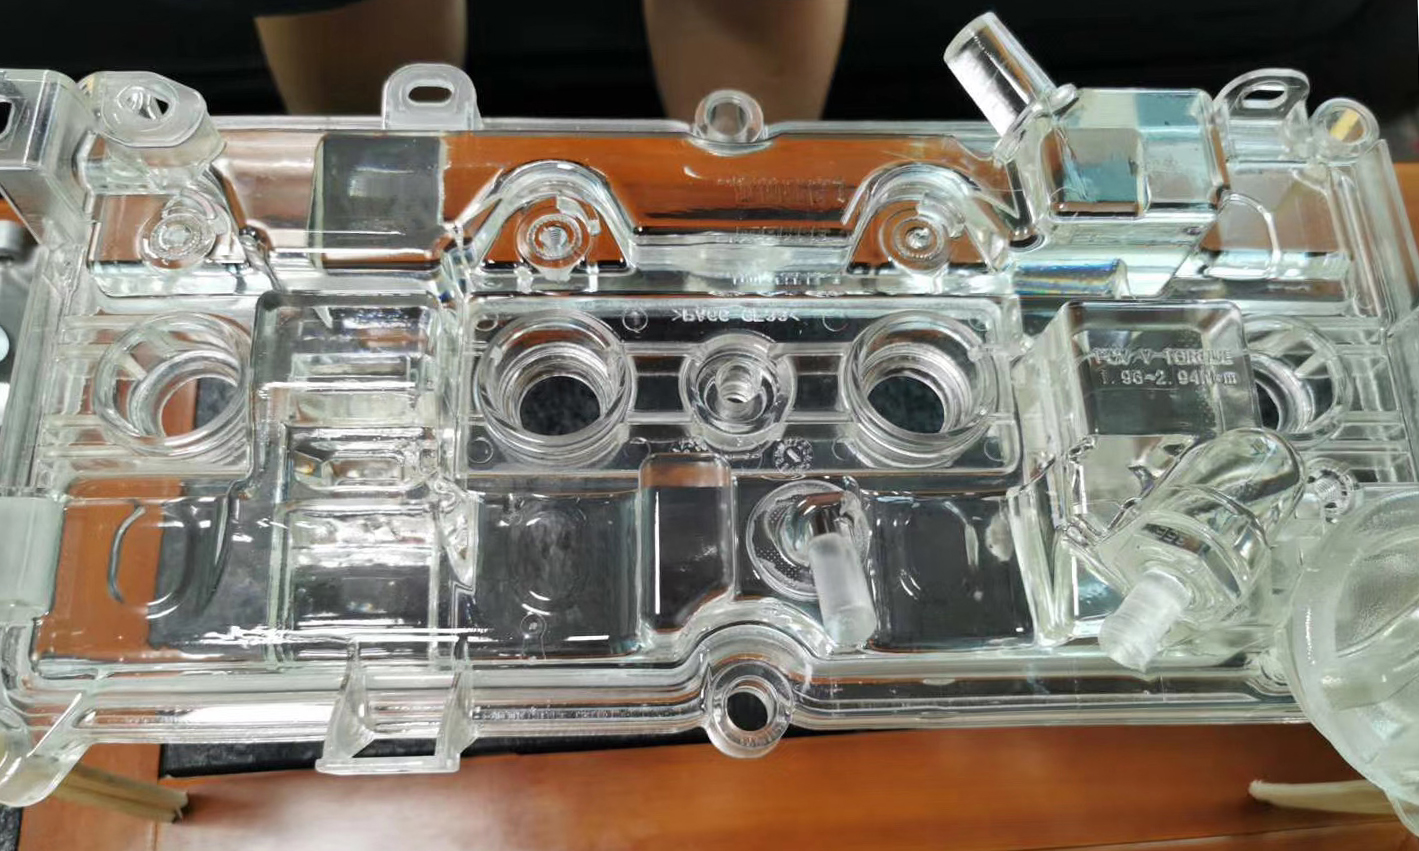
In this case, our client who is a leader in developing high-end electronics, has cooperated with us to produce 120 pieces of enclosures made with PVC.
LetвҖҷs take a look at how we worked closely together to turn their CAD design into a plastic injection mold tool and then a finished part that exceeded their expectations.
Solution
- Step 1: After knowing all the critical tolerances or other dimensions that could not be modified, our first priority to address is to carefully review the CAD model and identify areas of the CAD model that could cause molding defects. Believed in our experience in injection molding, our client took our suggestions and made some minor improvements on draft angles, wall thickness, etc.
- Step 2: When designing the mold for injection molded parts, the first step was laying out the circuit for the cooling channels. Coolant circuits are built into both the core and cavity halves of the mold, and then connected to a pump and reservoir on the plastic injection molding machine where the flow rate and temperature are controlled.
- Step 3: The next points in mold creation are the ejector pins arrangement, gate location, and slider. We had to be careful to place the pins in a balanced arrangement to ensure even distribution of force to avoid damaging the part of the pins themselves. The placement of the gate needs to be taken into consideration to achieve an evenly surface and short cycle time.
- Step 4: Make the mold tooling through the 5-axis CNC milling machine with P-20 Steel. The examination and polishing process of the steel molds are indispensable.
- Step 5: The PVC fluid is fed through a hopper into a heating barrel. Once the mold is filled, the screw will remain in place to apply appropriate pressure for the duration of predetermined cooling time. Upon reaching the point, the screw is withdrawn, the mold opened, and the part ejected. The gate is then removed. This cycle repeats over and over and produce all 120 pieces of the enclosure.
