Gallery
About Project
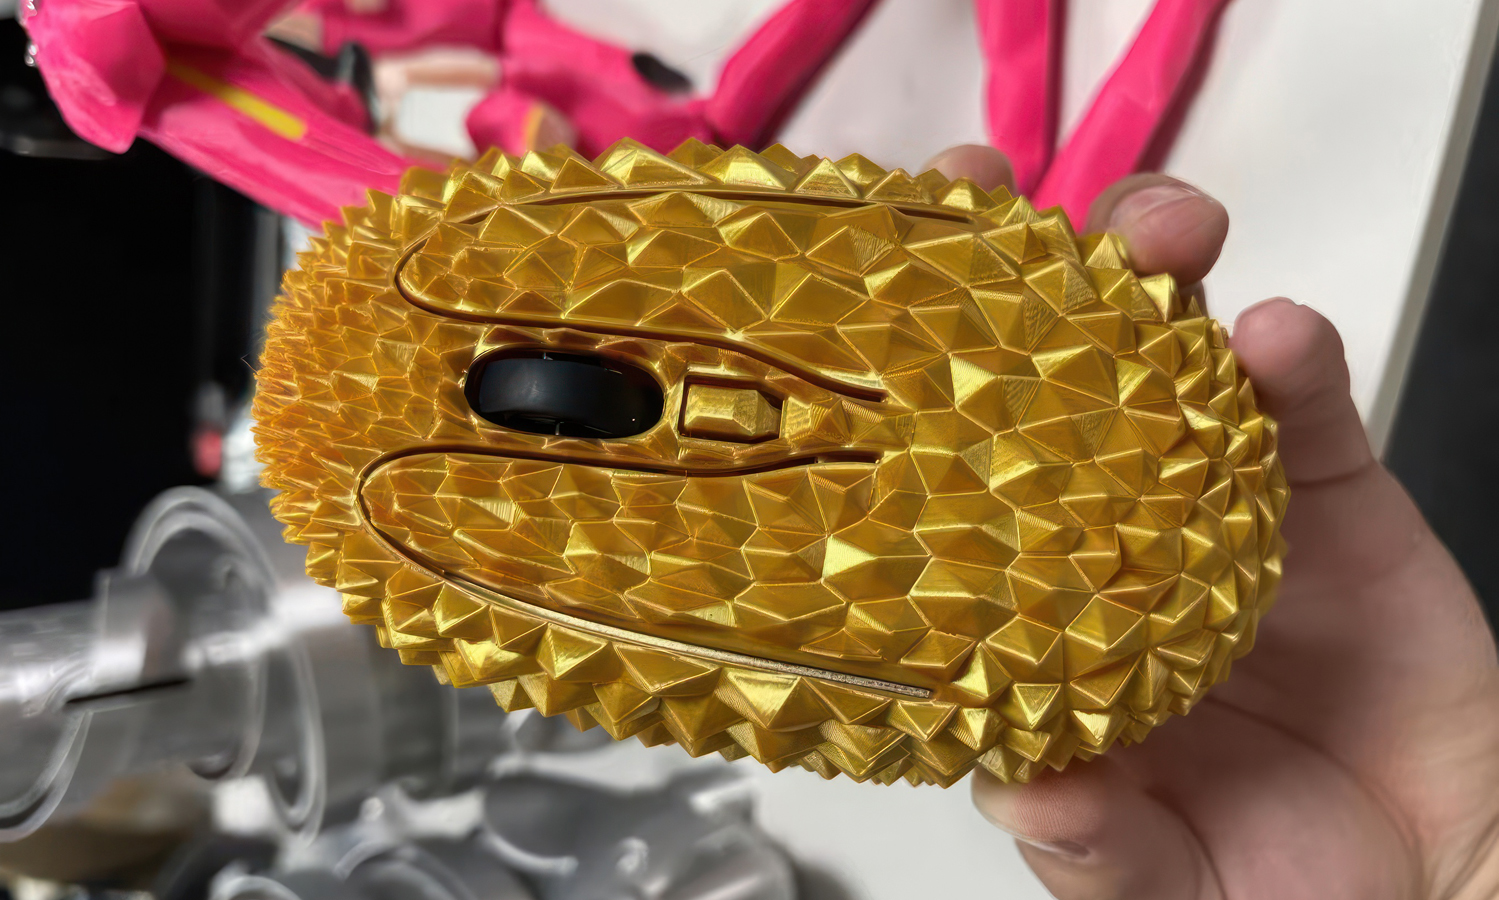
Are you tired of the same old, boring computer mice? Look no further than our FDM 3D Printed Glossy PLA Creative Durian Mouse! This unique and eye-catching mouse features a striking design with a textured, geometric surface.
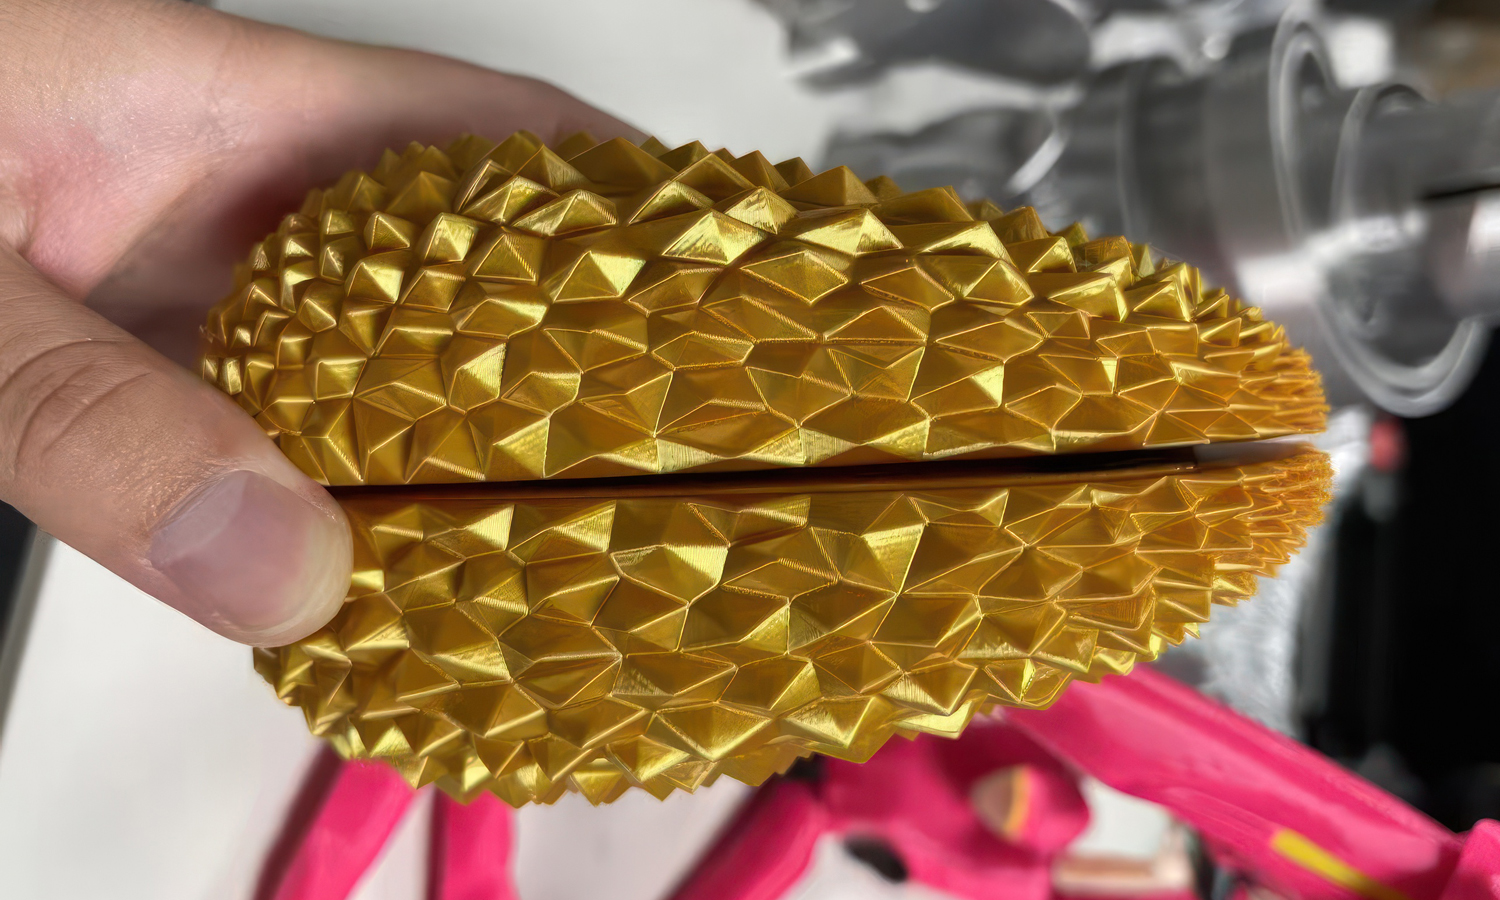
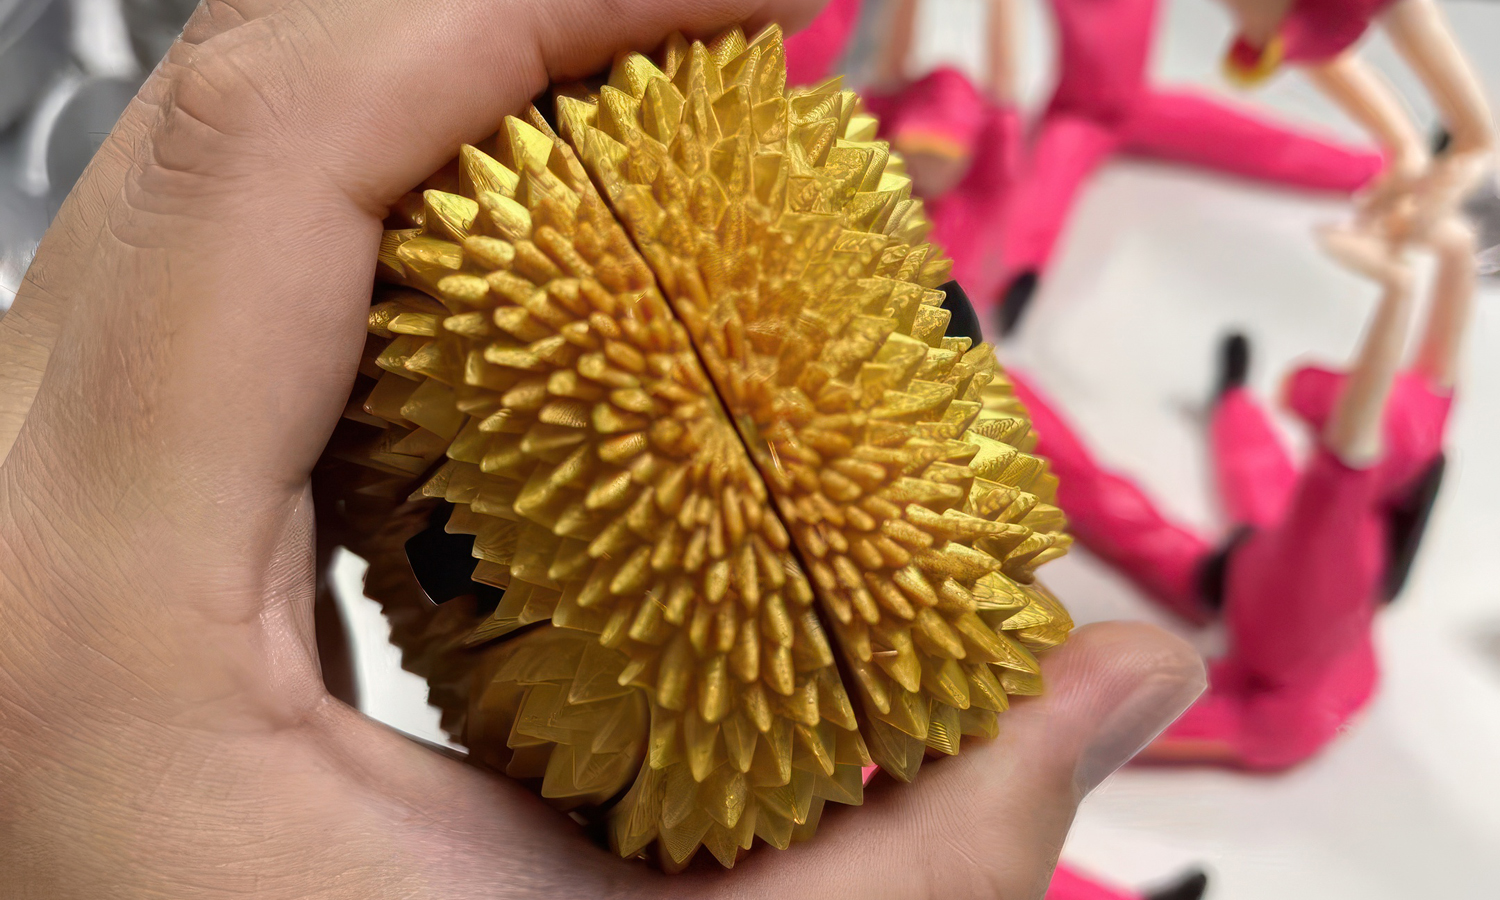
The durian-inspired design is covered in raised, triangular facets, giving it a spiky appearance. This not only adds a touch of personality to your workspace but also enhances the tactile experience. Despite its intricate surface, the mouse retains standard components like the left and right click buttons and a scroll wheel, all seamlessly integrated into the geometric pattern.
A Tricky Gift with a Surprising Touch
The Durian Mouse is designed to be a tricky gift, but it’s actually a delightful surprise. The textured surface provides a unique and satisfying feel, almost like an acupressure mat for your hand. The glossy golden PLA filament used for its construction adds a touch of luxury and sophistication.
Experience the Future of 3D Printing with FacFox
Ready to bring your own unique design to life? FacFox offers top-notch 3D printing services that can turn your ideas into tangible objects. Our FDM 3D printers are capable of producing high-quality prints with intricate details, like the Durian Mouse. Contact us today to discuss your project and discover the possibilities of 3D printing.
Solution
- Step 1: Design Creation.┬ĀThe 3D model of the mouse was designed using CAD software. The design featured a striking, textured, geometric surface with raised, triangular facets covering the entire body.
- Step 2: Material Selection.┬ĀA glossy golden PLA filament was chosen for its luxuriant appearance and durability.
- Step 3: Printer Preparation.┬ĀThe FDM 3D printer was prepared by loading the glossy golden PLA filament into the extruder.
- Step 4: Model Slicing.┬ĀThe 3D model was sliced into layers using slicing software, which generated the G-code needed for the printer.
- Step 5: Printing Process.┬ĀThe printing process was initiated. The printer’s nozzle heated the PLA filament and extruded it layer by layer to build the mouse. The intricate geometric pattern was carefully printed to ensure the raised, triangular facets were accurately formed.
- Step 6: Cooling and Solidification.┬ĀAfter printing, the mouse was allowed to cool and solidify to ensure the structure was stable and the details were preserved.
- Step 7: Support Removal.┬ĀAny support structures used during printing were carefully removed to reveal the final shape of the mouse.
- Step 8: Surface Finishing.┬ĀThe surface of the mouse was polished to enhance its glossy appearance and to smooth out any minor imperfections.
- Step 9: Component Integration.┬ĀThe standard components, including the left and right click buttons and the scroll wheel, were integrated into the mouse. These components were seamlessly fitted into the geometric pattern.
- Step 10: Quality Inspection.┬ĀThe finished mouse was inspected for quality to ensure all design specifications were met and the tactile experience was as intended.

