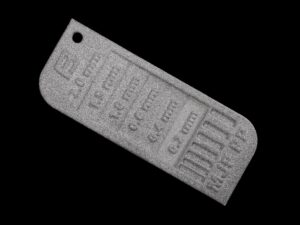
- FDM 3D Printed UV Color Changing PLA Roast Duck Keychain
- FDM 3D Printed Pok├® Ball Switch Cartridge Container
Material Plastic
Quantity 1 pcs
Price Range $1-100
Lead Time 3 workdays
Gallery
About Project
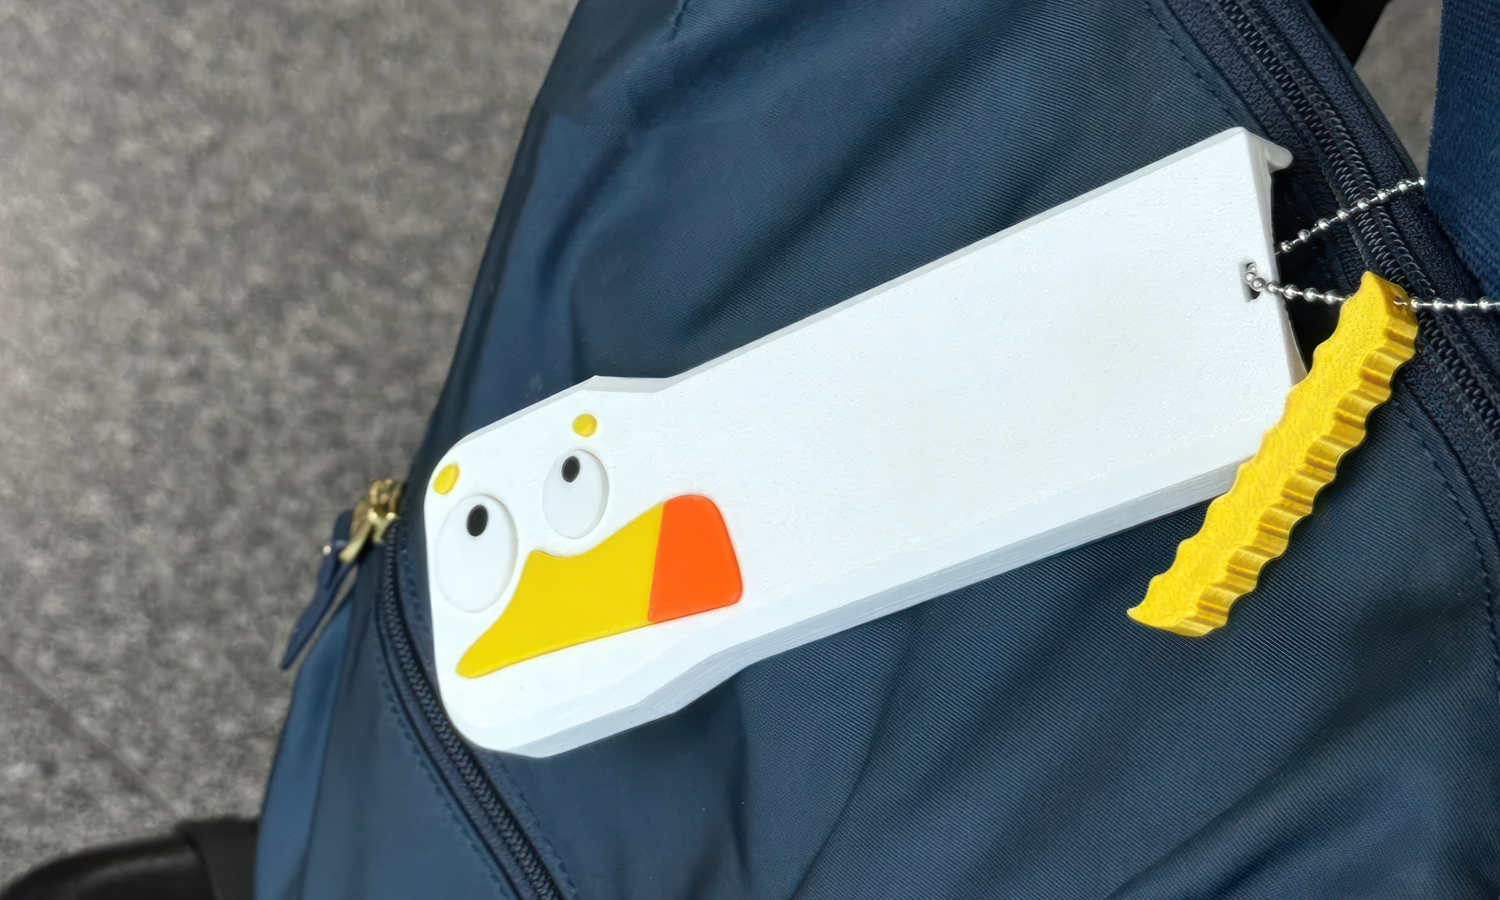
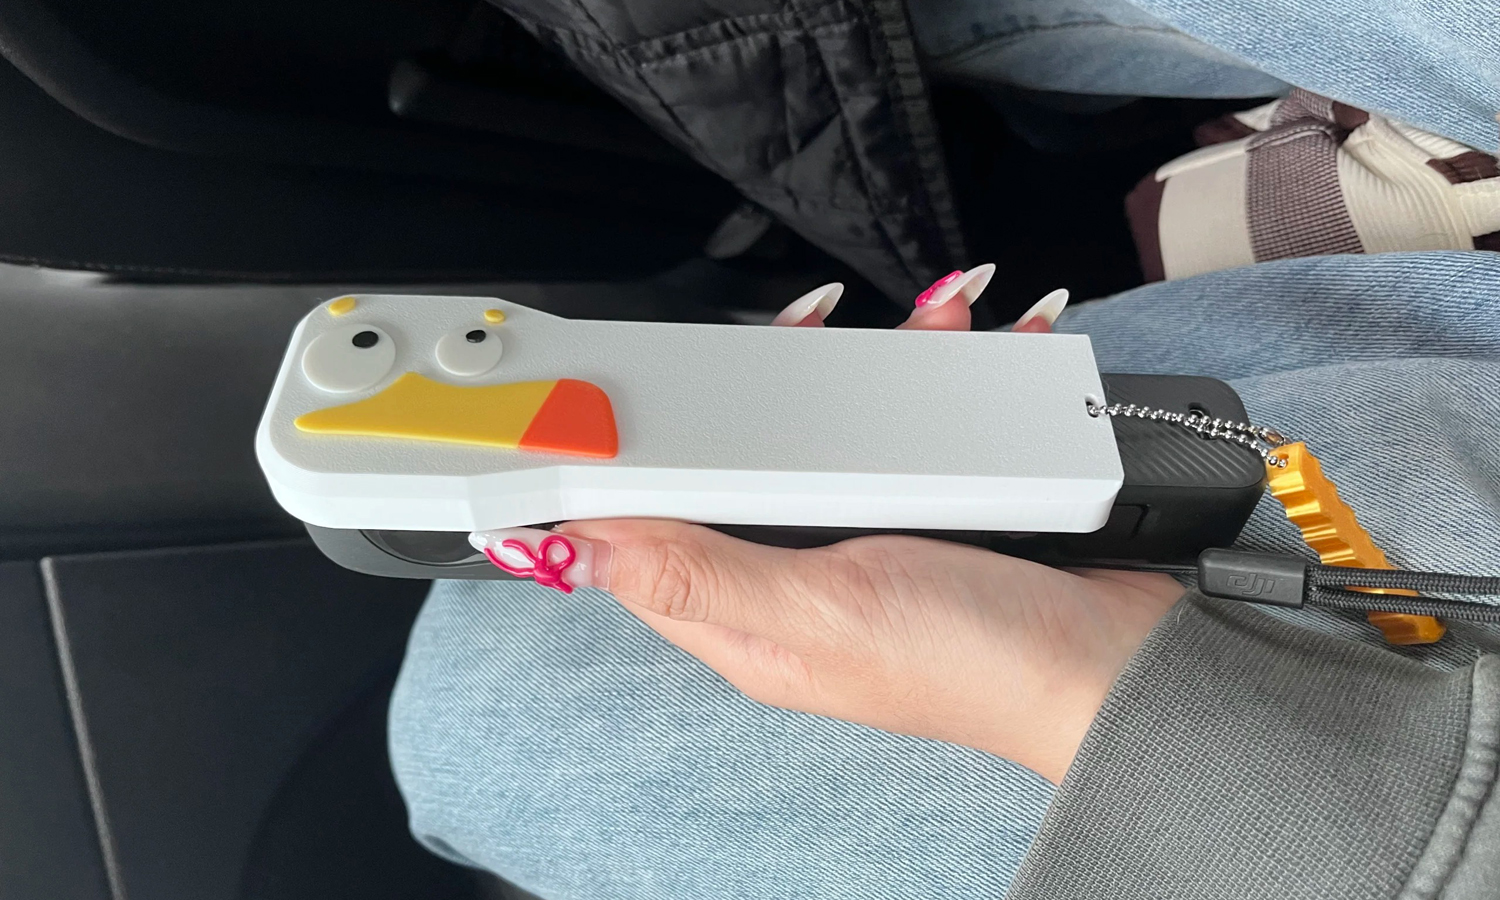
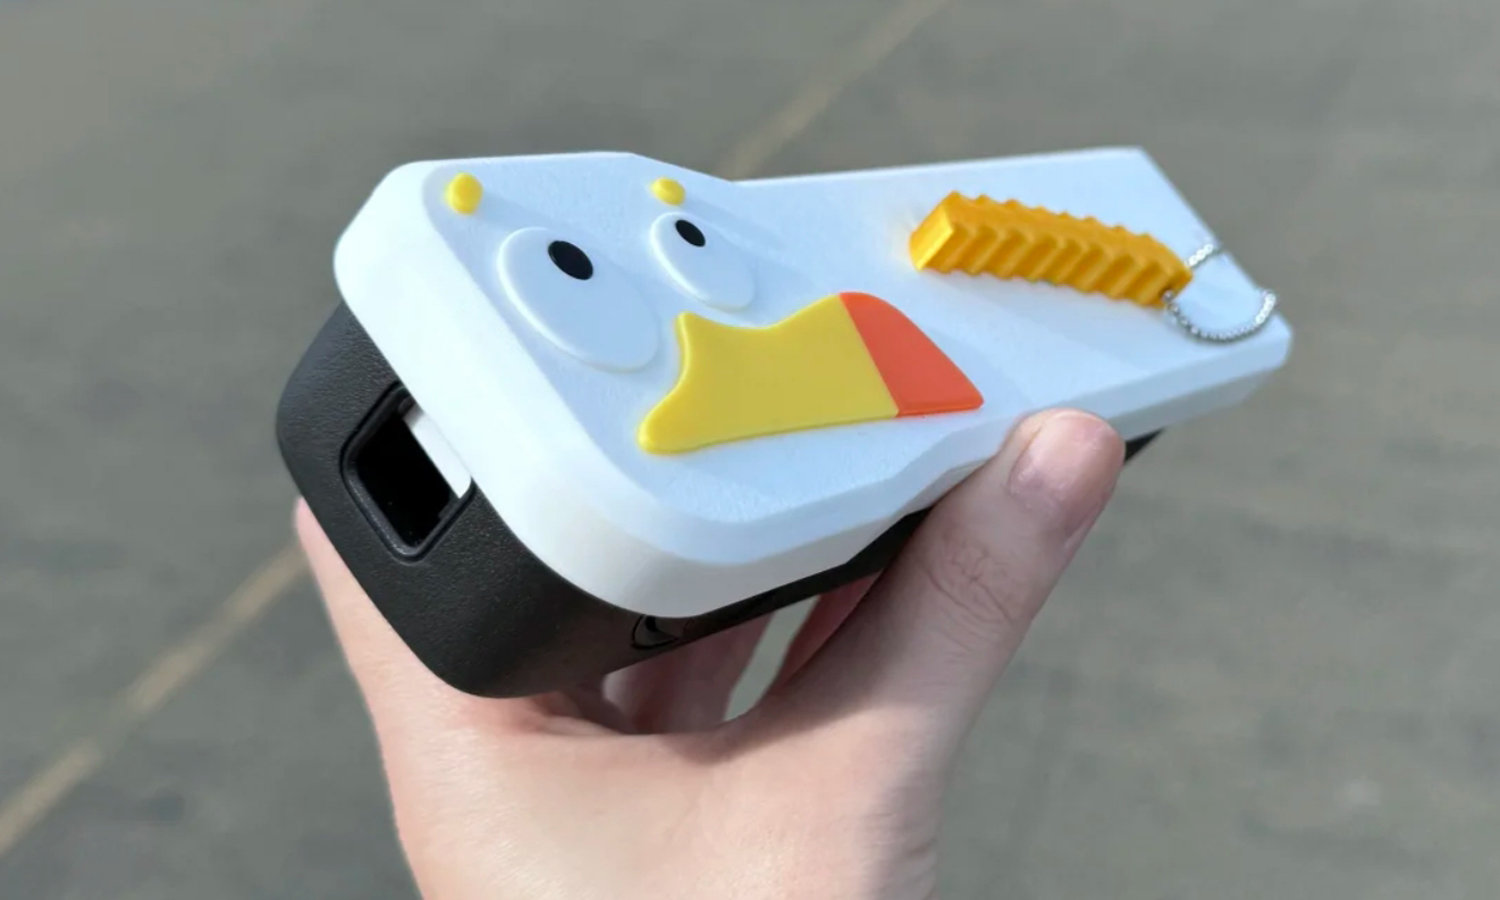
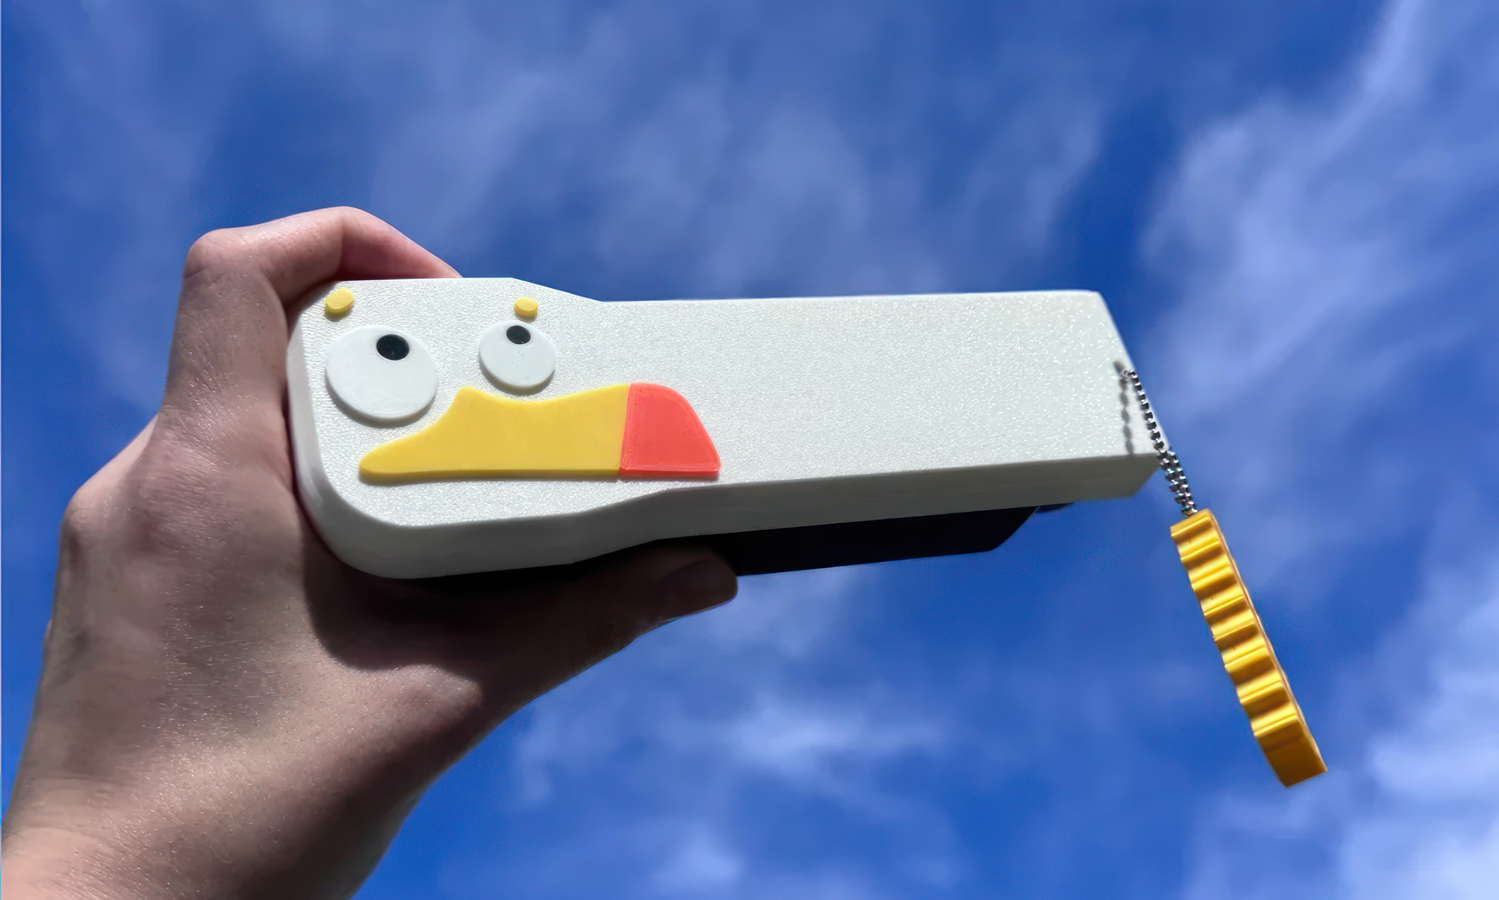
Introducing the quirky and practical FDM 3D Printed Funny Seagull DJI Pocket 3 Case! This delightful seagull-inspired case features a charming white body with a vibrant yellow and red beak, complemented by two large, round eyes with black pupils. To top it off, there’s a small yellow “french fry” on the seagull’s head, symbolizing its favorite treat.
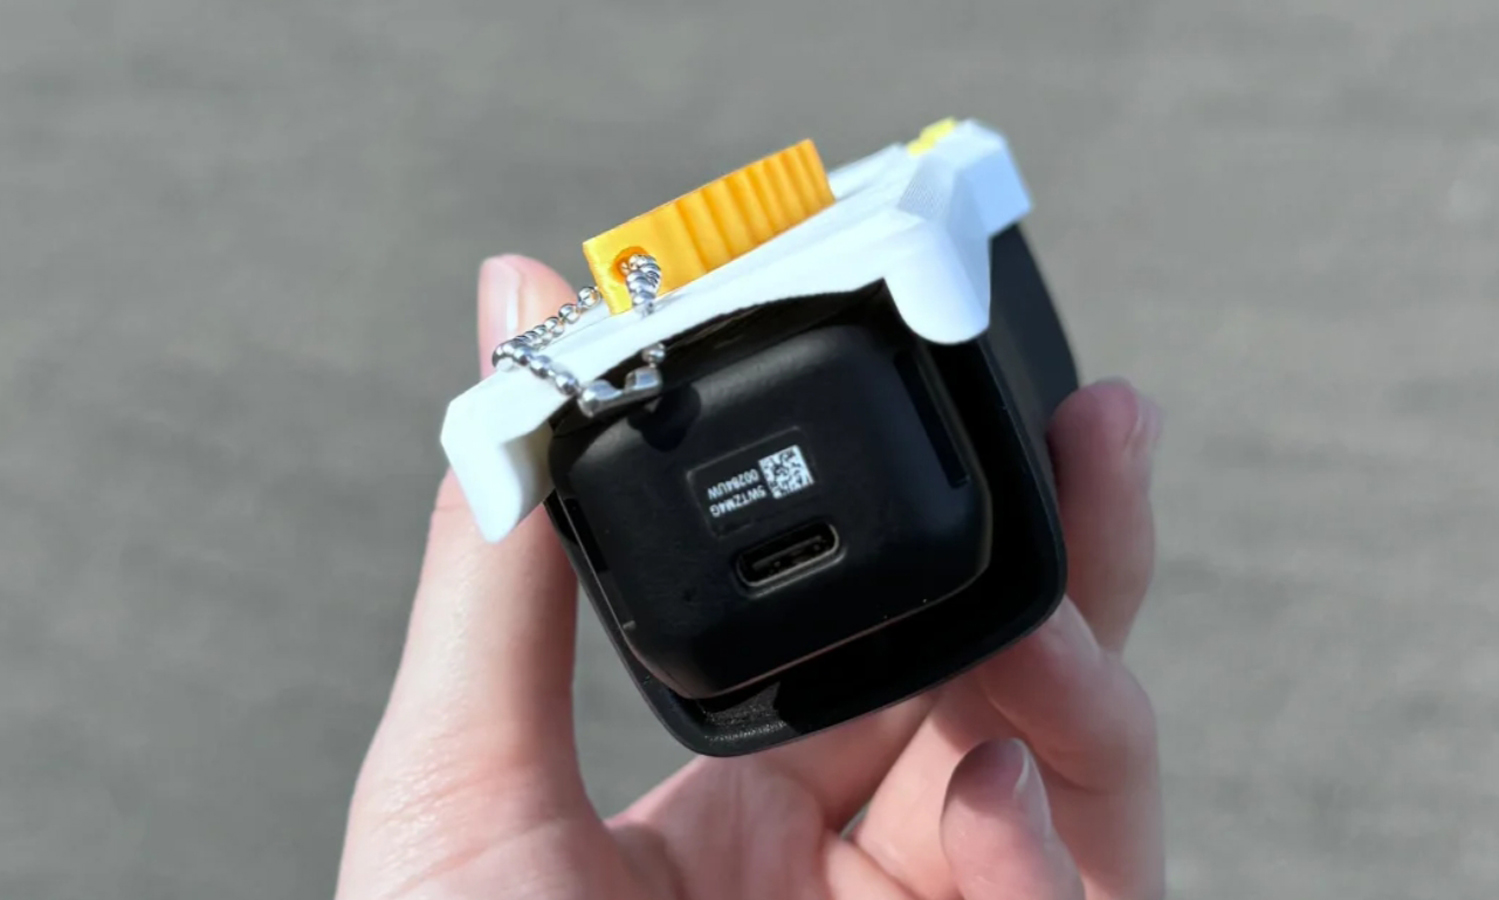
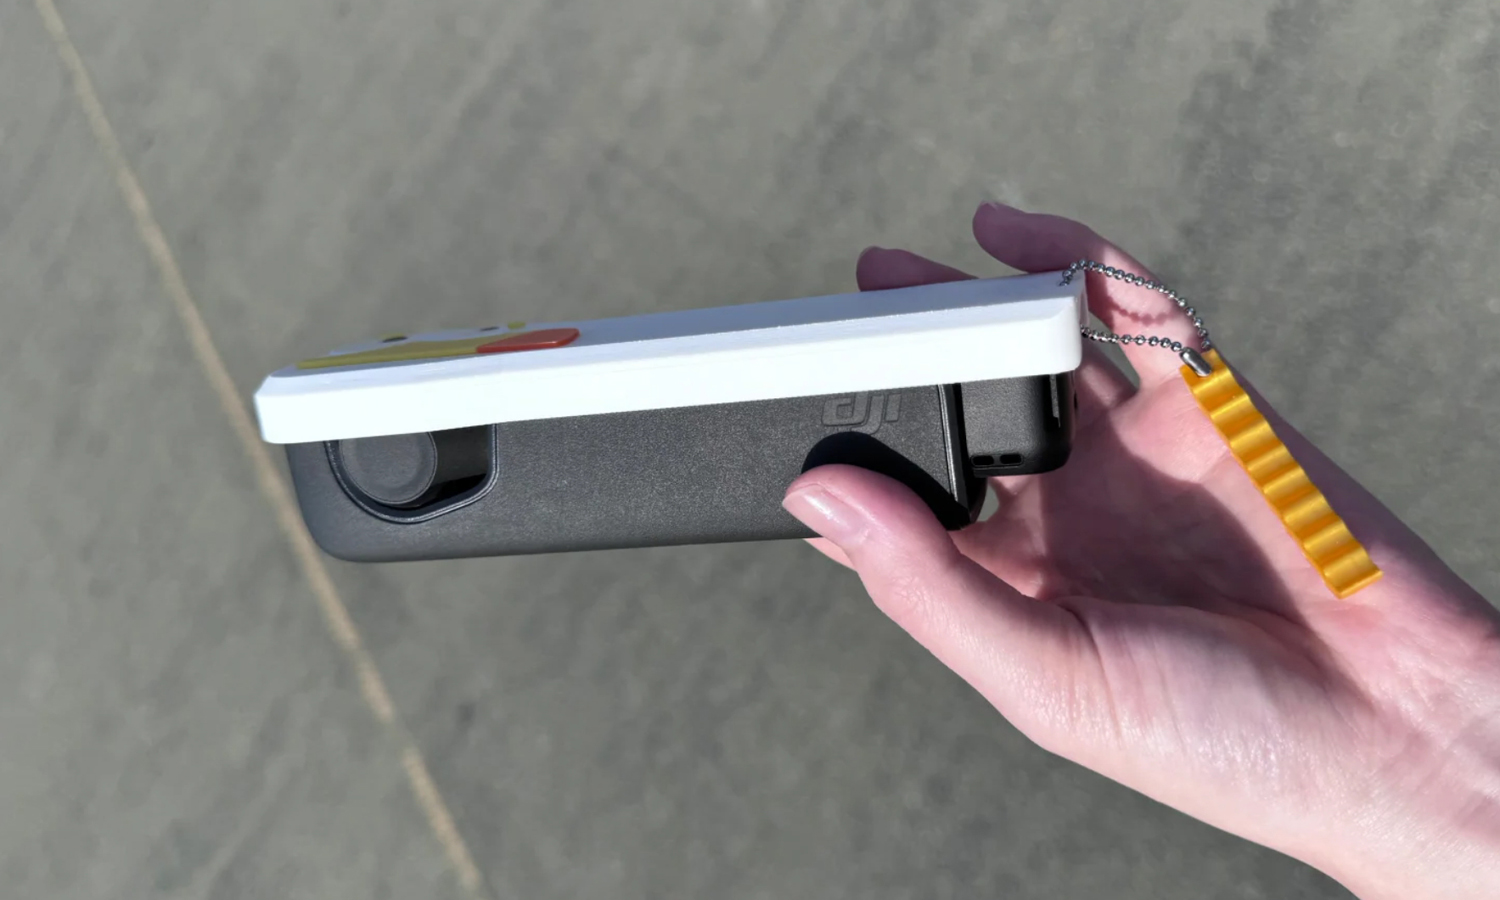
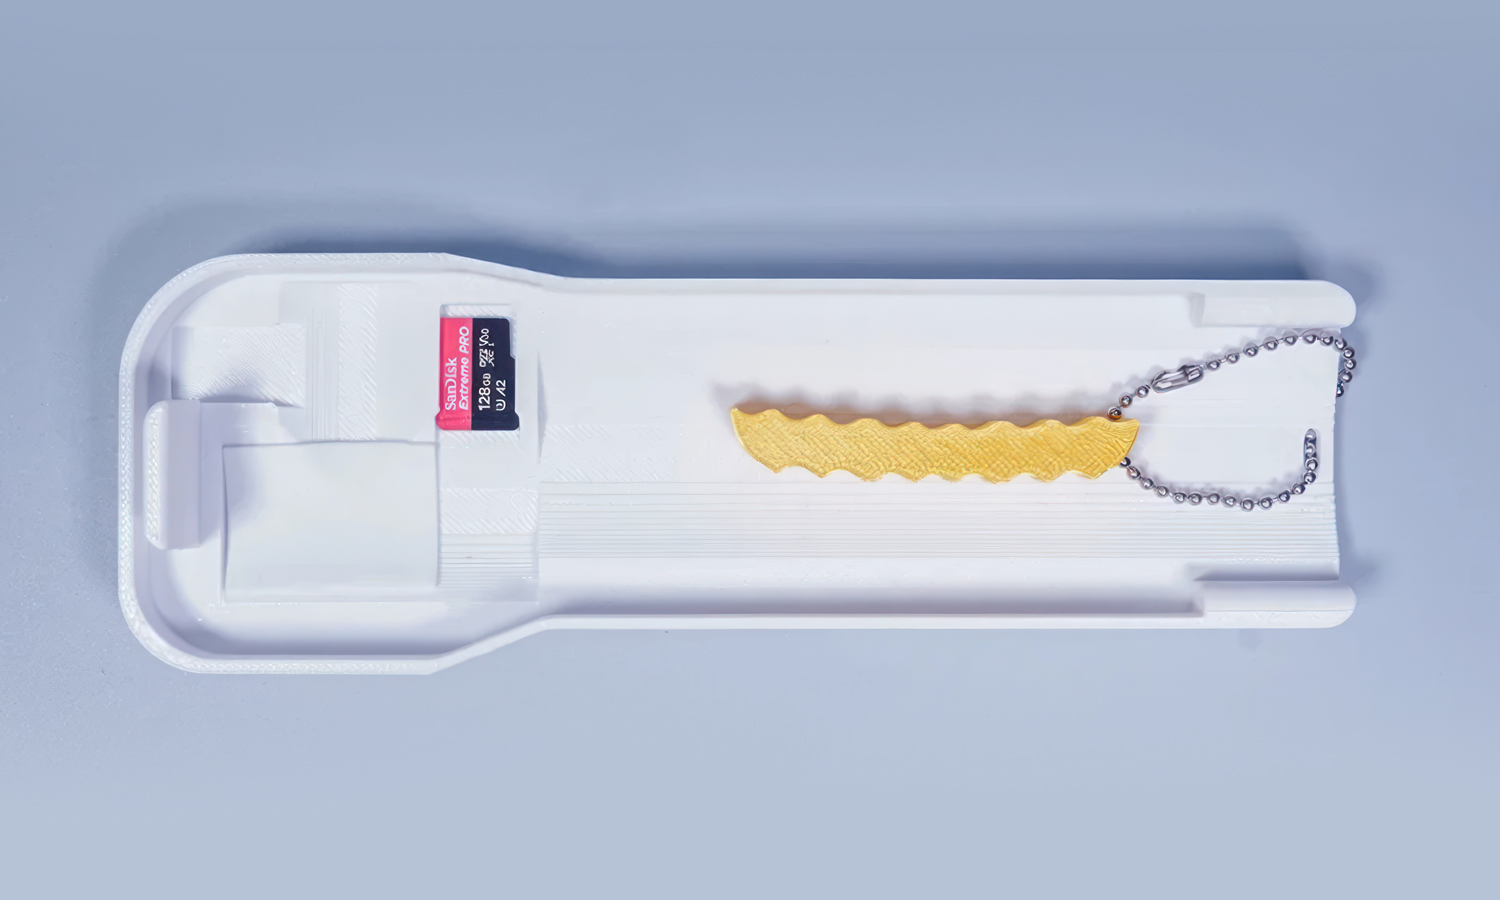
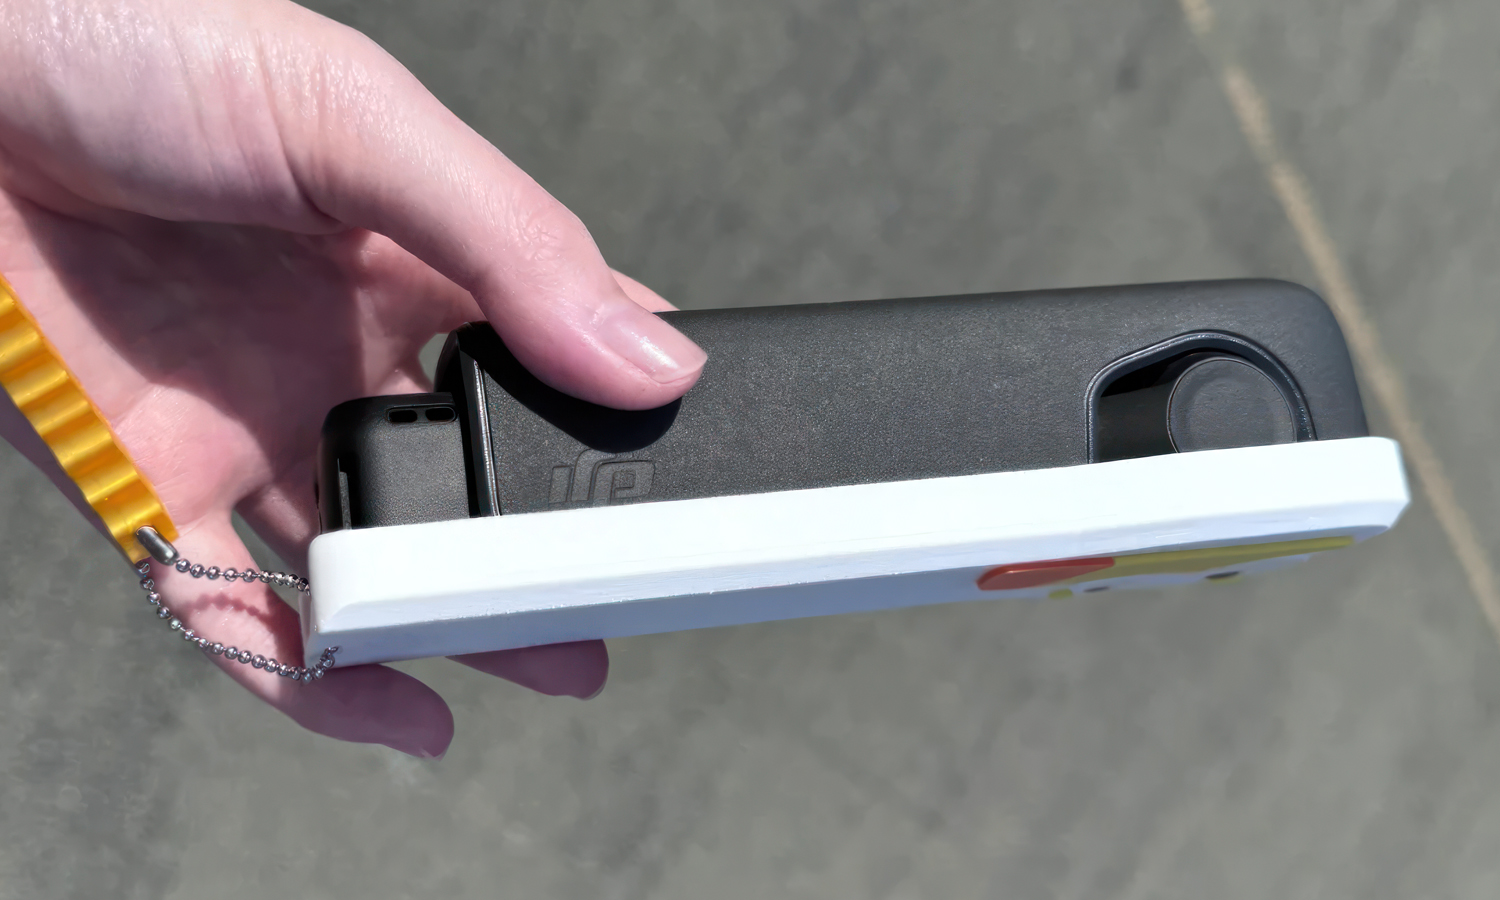
Designed with both fun and functionality in mind, this case is meticulously crafted to protect the lens of your DJI Pocket 3 from scratches. After several iterations, the designer achieved the perfect fit for the Pocket 3. The interior boasts a soft pad to cushion the lens, ensuring it remains pristine. Plus, there’s a cleverly designed groove to hold your SD card securely.
But that’s not all! The case includes a handy sling, allowing you to hang it on your bag for easy access and portability. Whether you’re capturing stunning footage on the go or storing your gear safely, this case brings a touch of whimsy to your photography gear.
FacFox 3D Printing Services
While this seagull case isn’t our creation, at FacFox, we specialize in turning your creative ideas into reality. Our state-of-the-art 3D printing technology and expert team ensure that your designs come to life with precision and quality. Whether you need unique cases, detailed prototypes, or custom parts, FacFox is your go-to partner. Experience the future of manufacturing with FacFox and elevate your projects to new heights!
Ready to make your designs a reality? Choose FacFox for unparalleled 3D printing solutions!
Solution
- Step 1: The 3D model of the Funny Seagull DJI Pocket 3 Case was designed with precise dimensions to fit the DJI Pocket 3 perfectly.
- Step 2: The design files were prepared for FDM (Fused Deposition Modeling) 3D printing, ensuring correct orientation and support structures were in place.
- Step 3: The FDM 3D printer was loaded with the required filament colors.
- Step 4: The printing process was initiated, and the model was printed layer by layer, with filament colors being changed as needed for different parts.
- Step 5: Upon completion, the printed parts were carefully removed from the printer.
- Step 6: Support structures were delicately removed to avoid damaging any intricate features.
- Step 7: The printed parts were sanded and cleaned to ensure a smooth finish and proper fit.
- Step 8: A soft pad was attached to the inner side of the case to protect the lens.
- Step 9: The groove for holding the SD card was carefully checked to ensure it was functional and secure.
