- DMLS 3D Printed Titanium Animal Skull Model
- SLS 3D Printed TPU Squeezable Hollowed Flower Dyed Black
Material Resin
Quantity 1 pcs
Price Range $1-100
Lead Time 1 workdays
Gallery
About Project
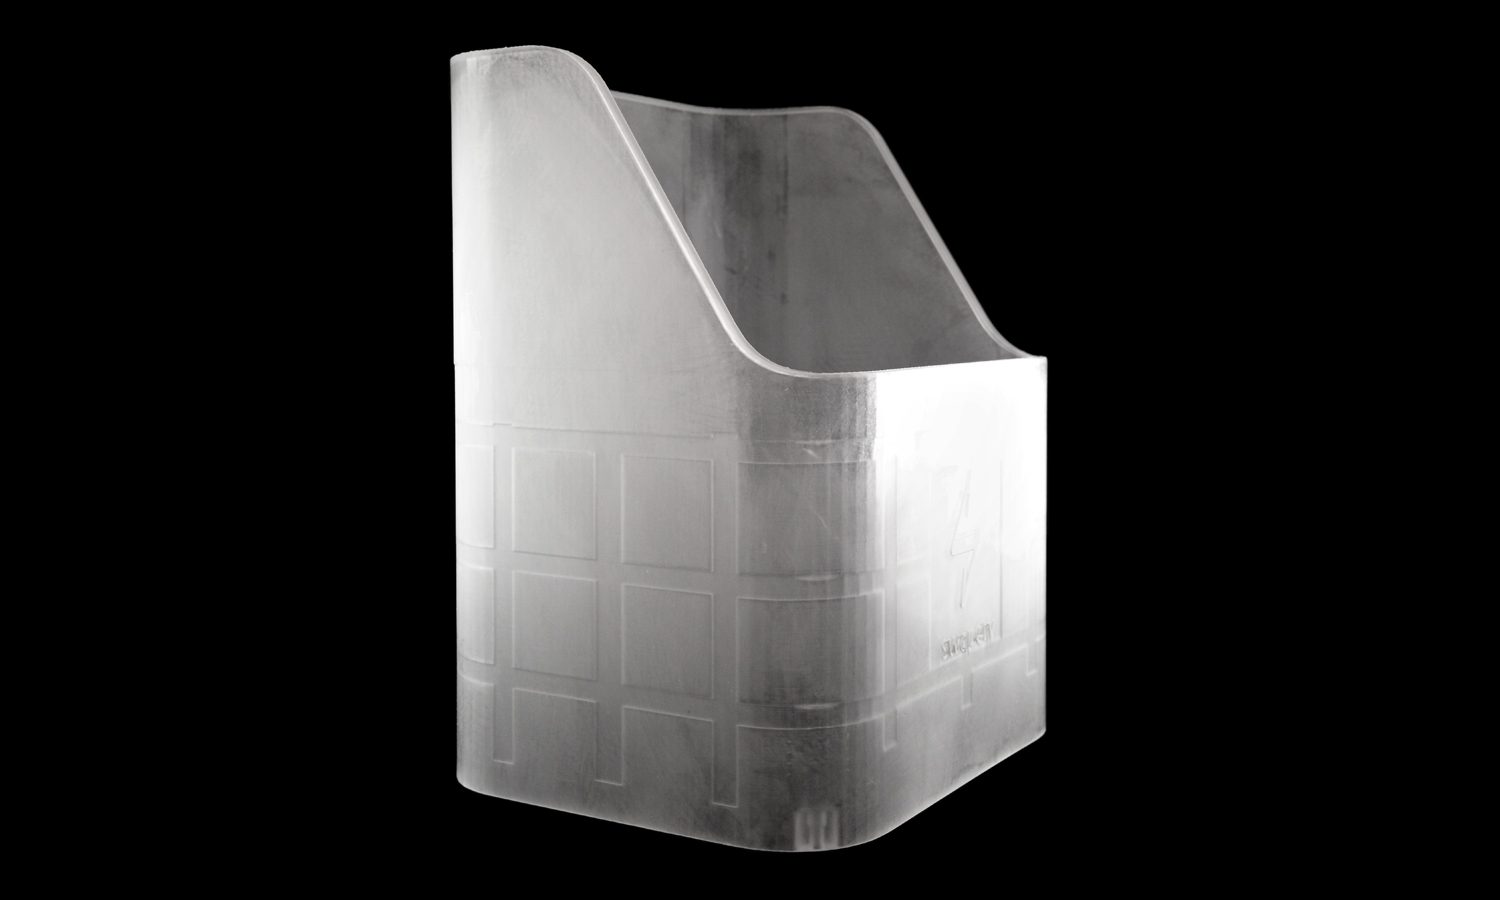
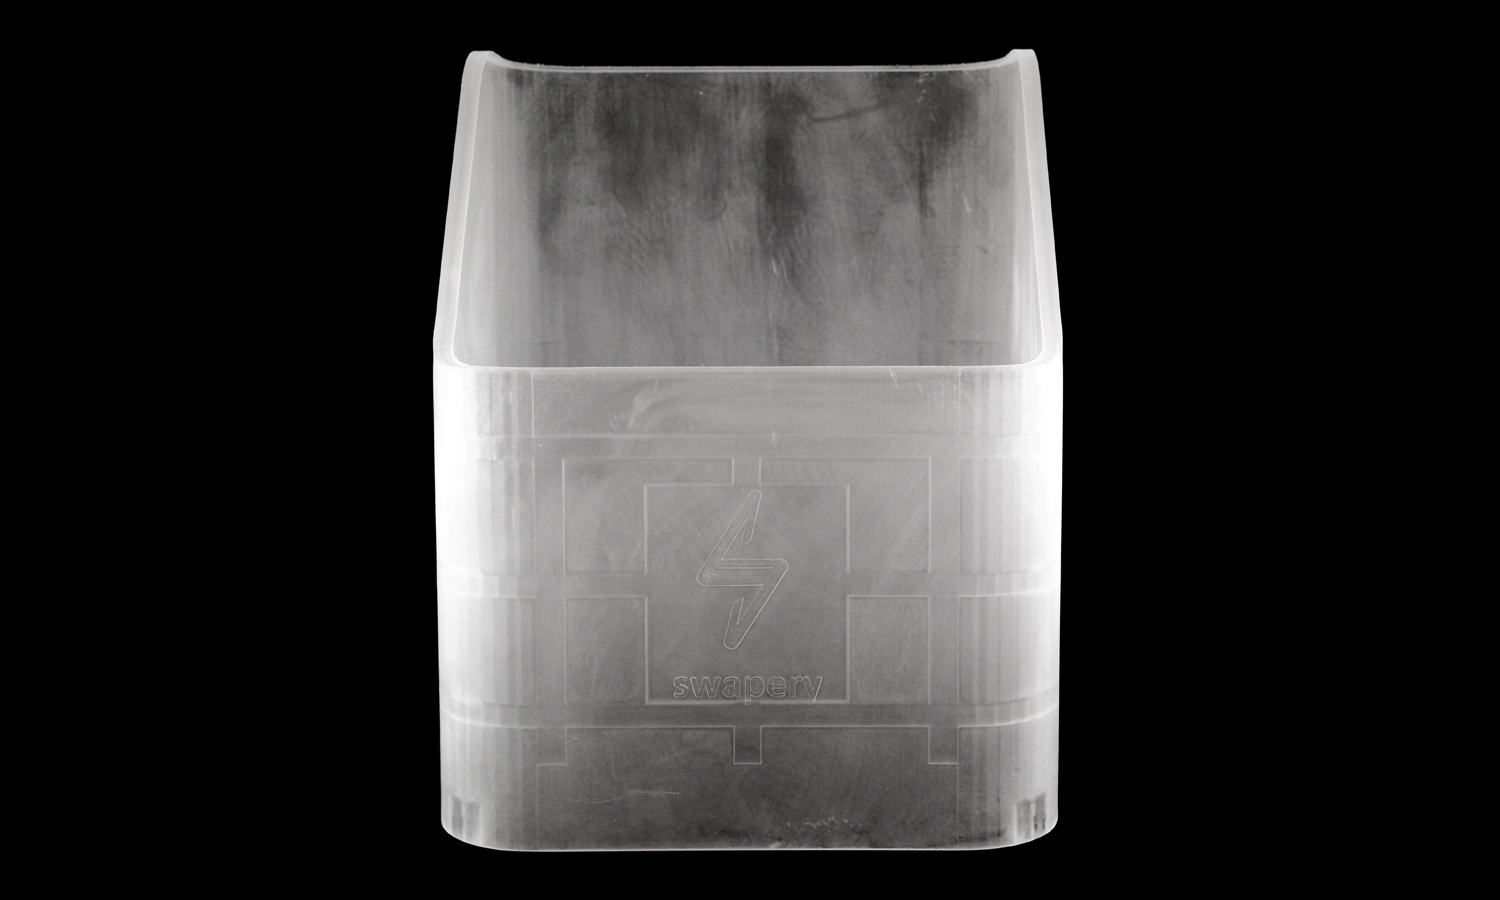
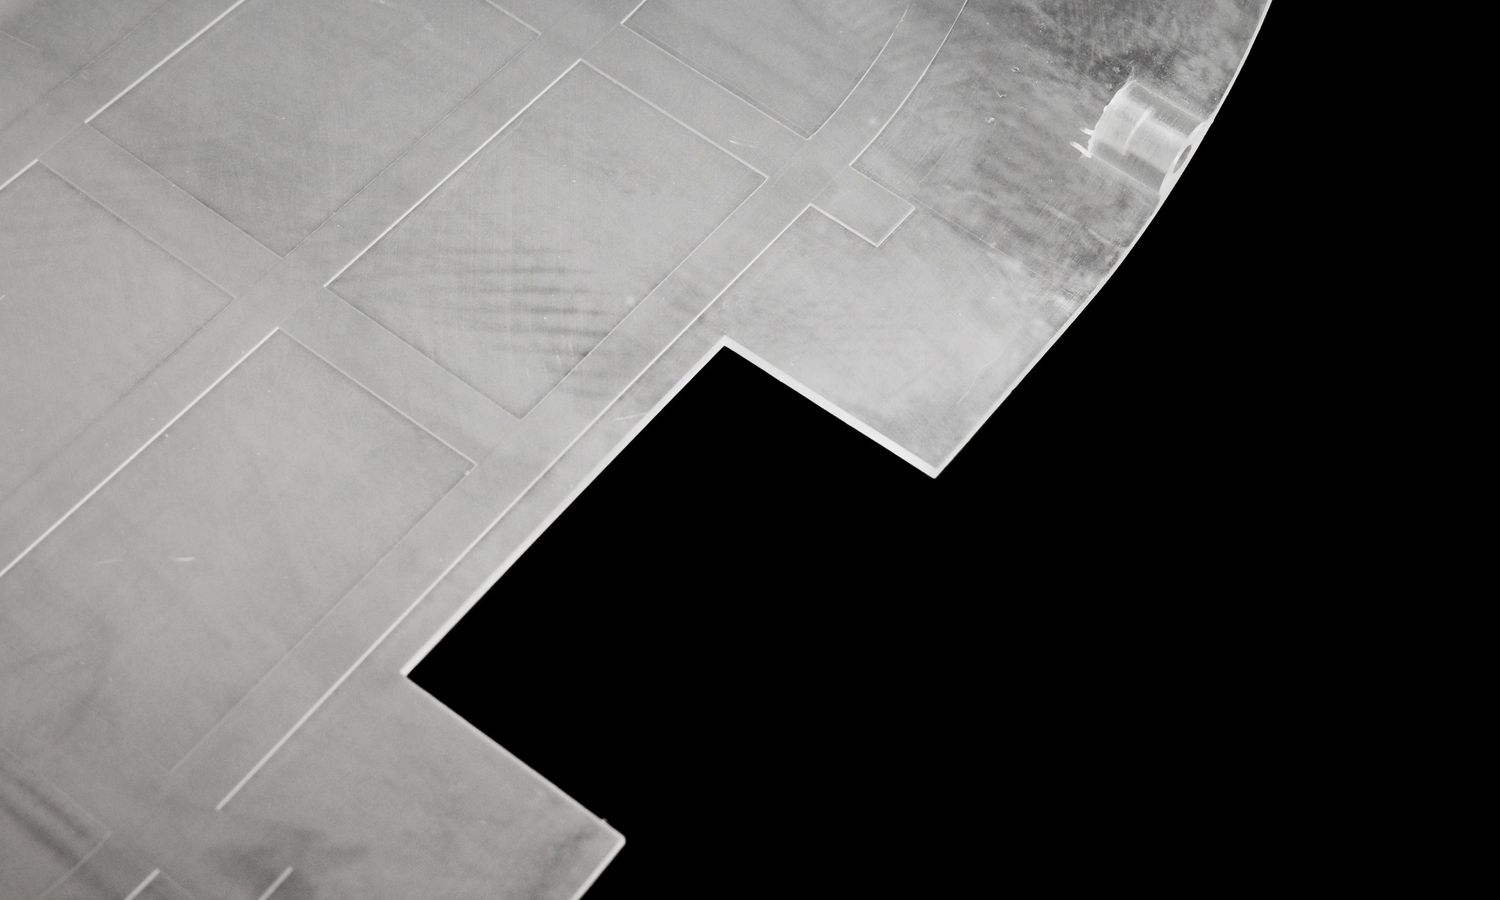
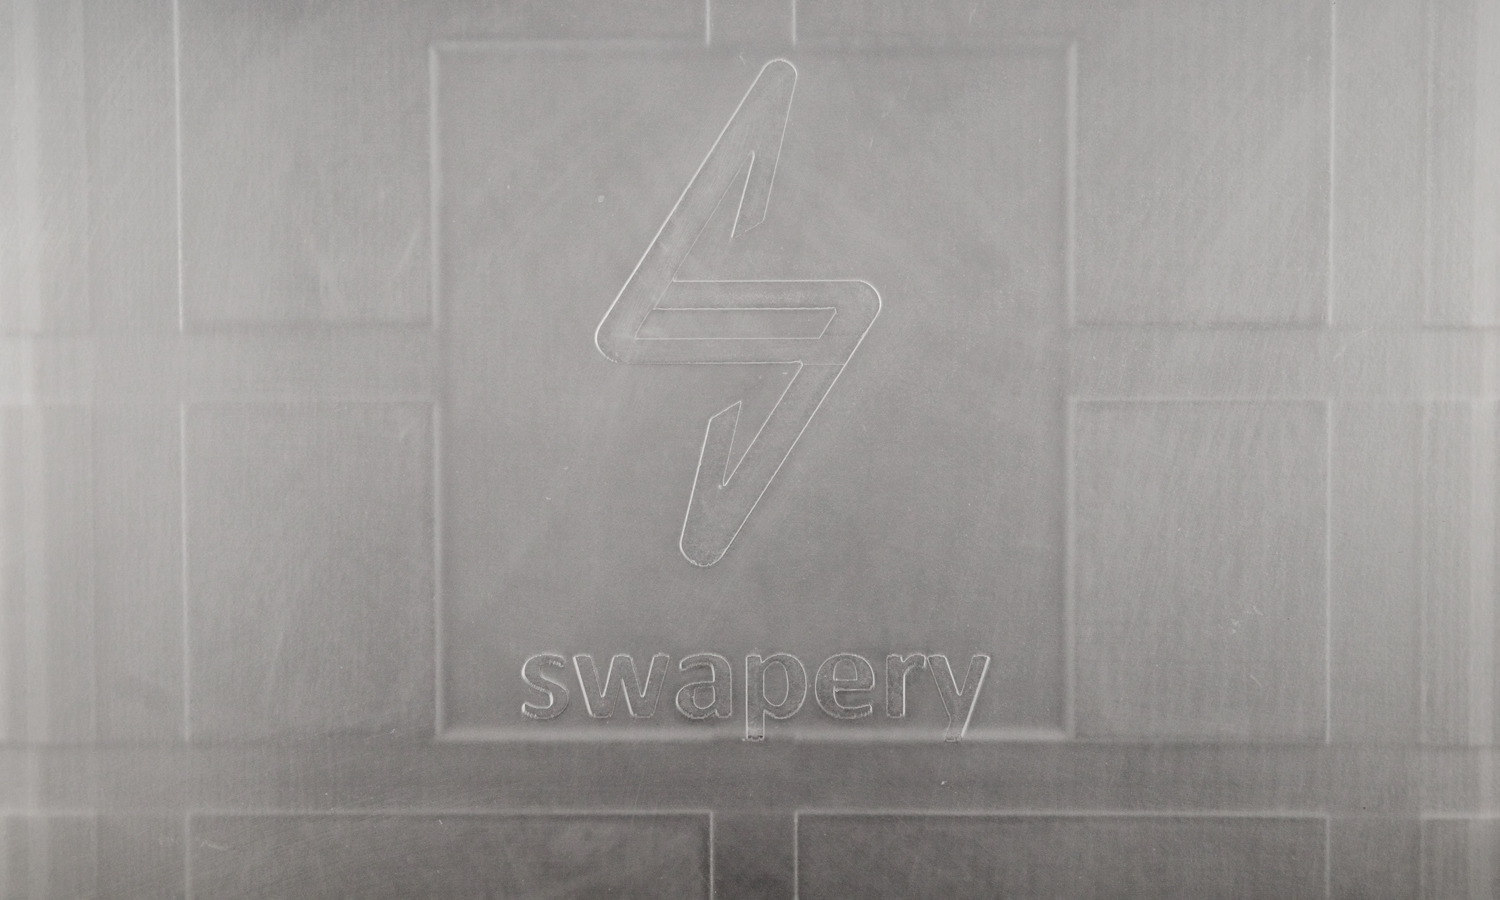
Are you looking for a convenient and durable way to store and swap your batteries? If so, you might be interested in our SLA 3D Printed Frosted Clear Resin Swappable Battery Container Box Prototype. This product is designed to hold swappable batteries securely and easily. It has a sleek and transparent appearance that showcases your logo and brand name. It also has small bosses inside for attaching the batteries firmly.
This prototype was made using SLA 3D printing technology, which offers high resolution, accuracy, and surface quality. SLA 3D printing uses a laser to cure liquid resin into solid parts, creating smooth and detailed models. The frosted clear resin material is ideal for prototyping, testing, and showcasing your products.
If you want to create your own SLA 3D printed prototypes, you can rely on FacFoxŌĆÖs resin printing services. FacFox is a leading online platform that provides fast, affordable, and professional 3D printing solutions. You can upload your 3D models, choose from a variety of resin materials and colors, and get an instant quote. FacFox will print your parts with high quality and deliver them to your doorstep. Whether you need one piece or hundreds, FacFox can handle it.
Visit FacFoxŌĆÖs website today and discover the benefits of SLA 3D printing for your projects. You will be amazed by the results!
Solution
- Step 1: A 3D model of the product was created using CAD software and uploaded to FacFoxŌĆÖs website.
- Step 2: The model was checked for errors and optimized for SLA 3D printing by our engineers.
- Step 3: The model was sliced into thin layers and sent to an SLA 3D printer.
- Step 4: The printer used a laser to selectively cure SLA Frosted Resin into solid layers, building the product from bottom to top.
- Step 5: The product was removed from the printer and washed with alcohol to remove excess resin.
- Step 6: The product was cured under UV light to enhance its strength and durability.
- Step 7: The product was inspected for quality and sanded to achieve a smooth and frosted finish.
- Step 8: The product was packed and shipped to the customer.
