Material Plastic
Quantity 5 pcs
Price Range $1-100
Lead Time 3 workdays
Gallery
About Project
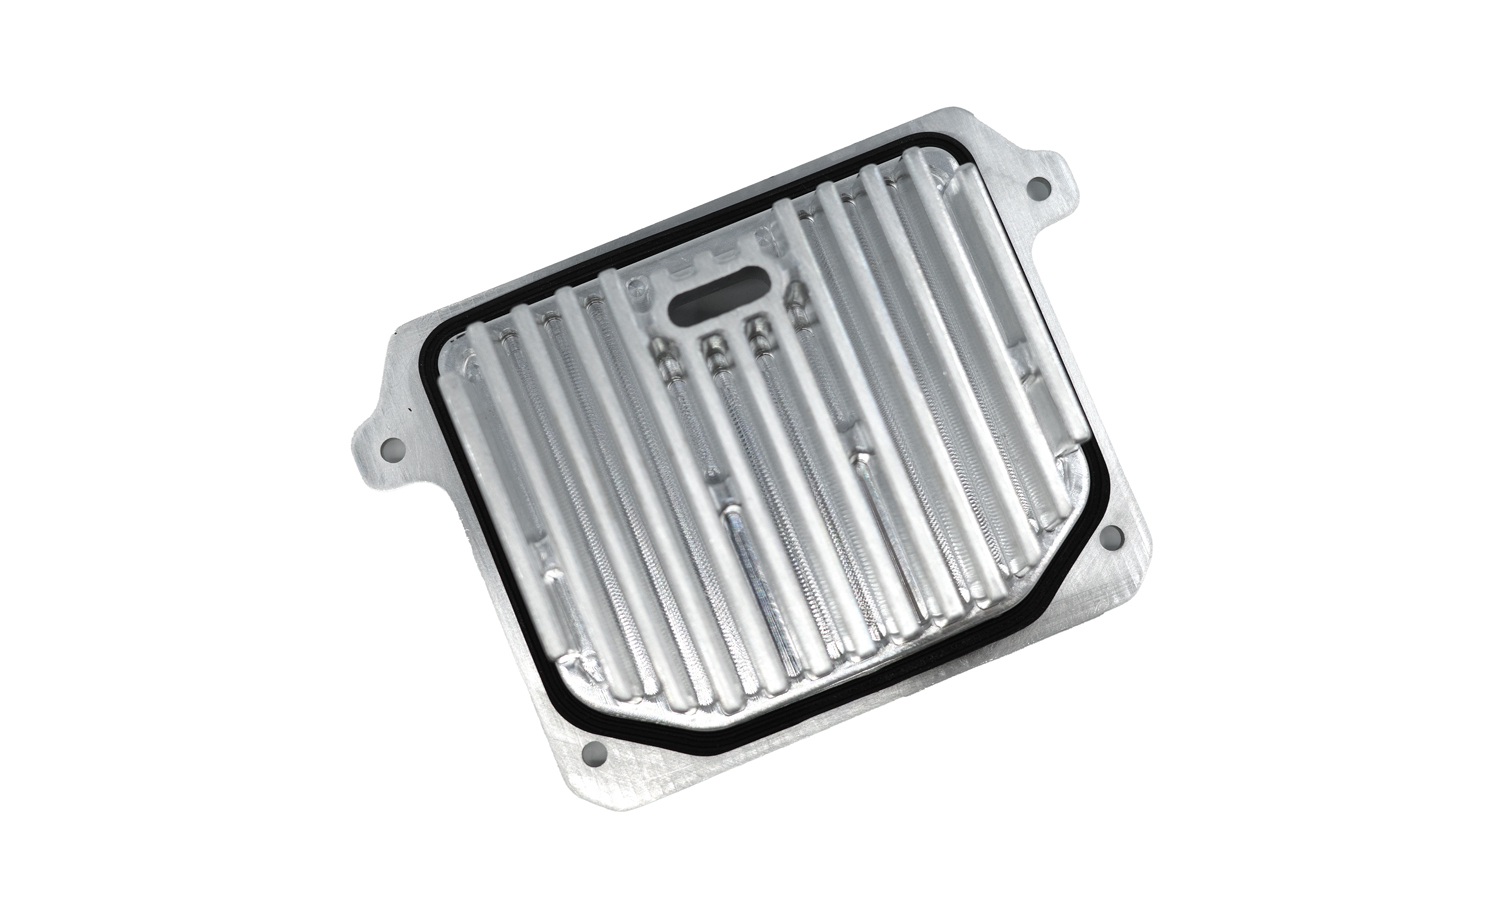
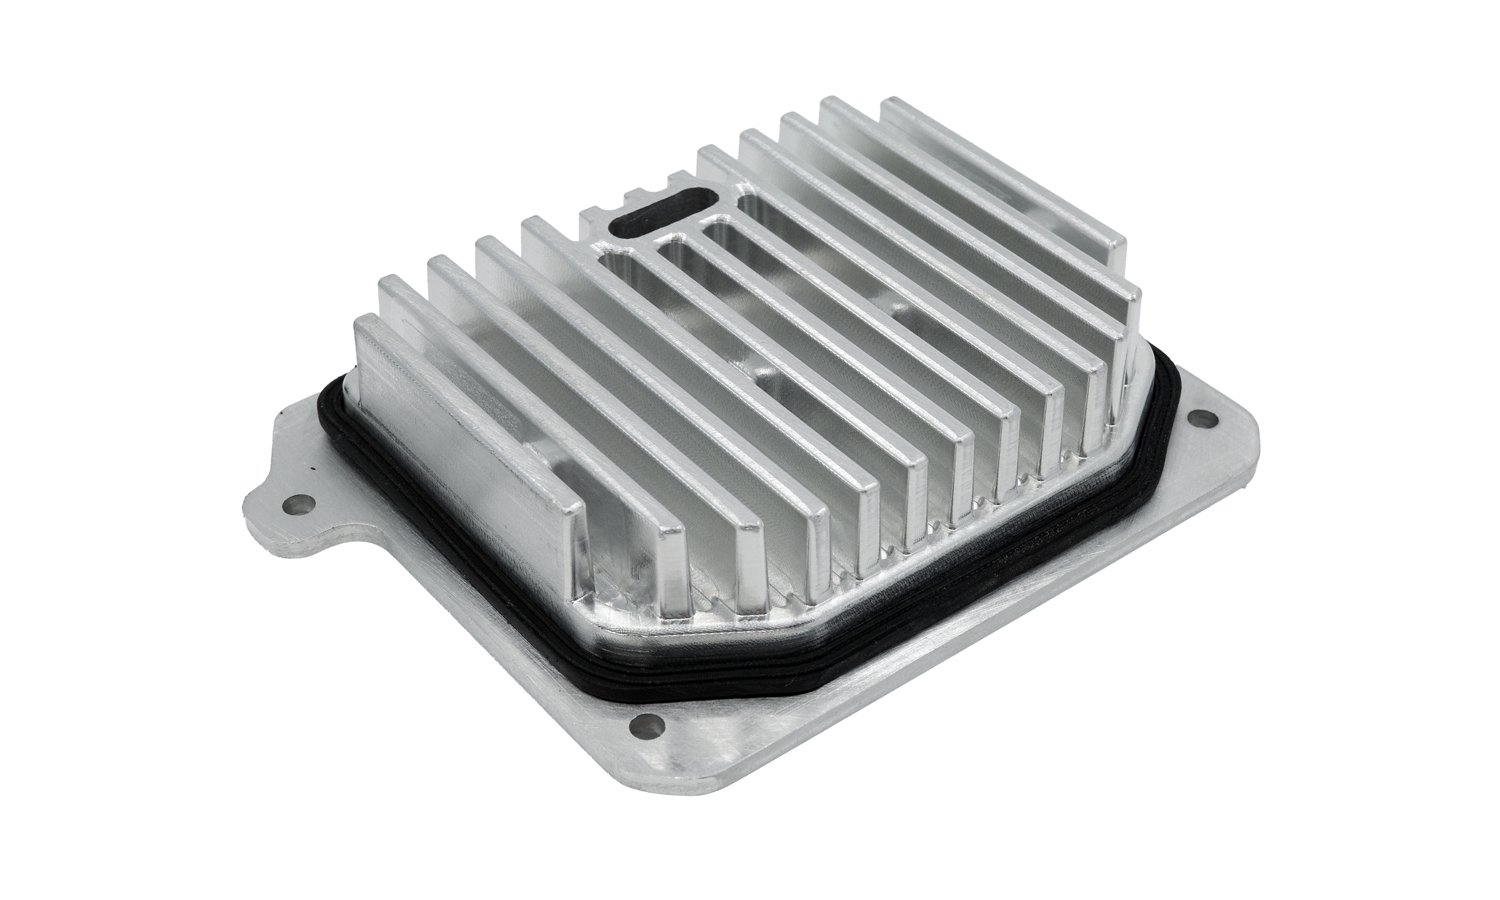
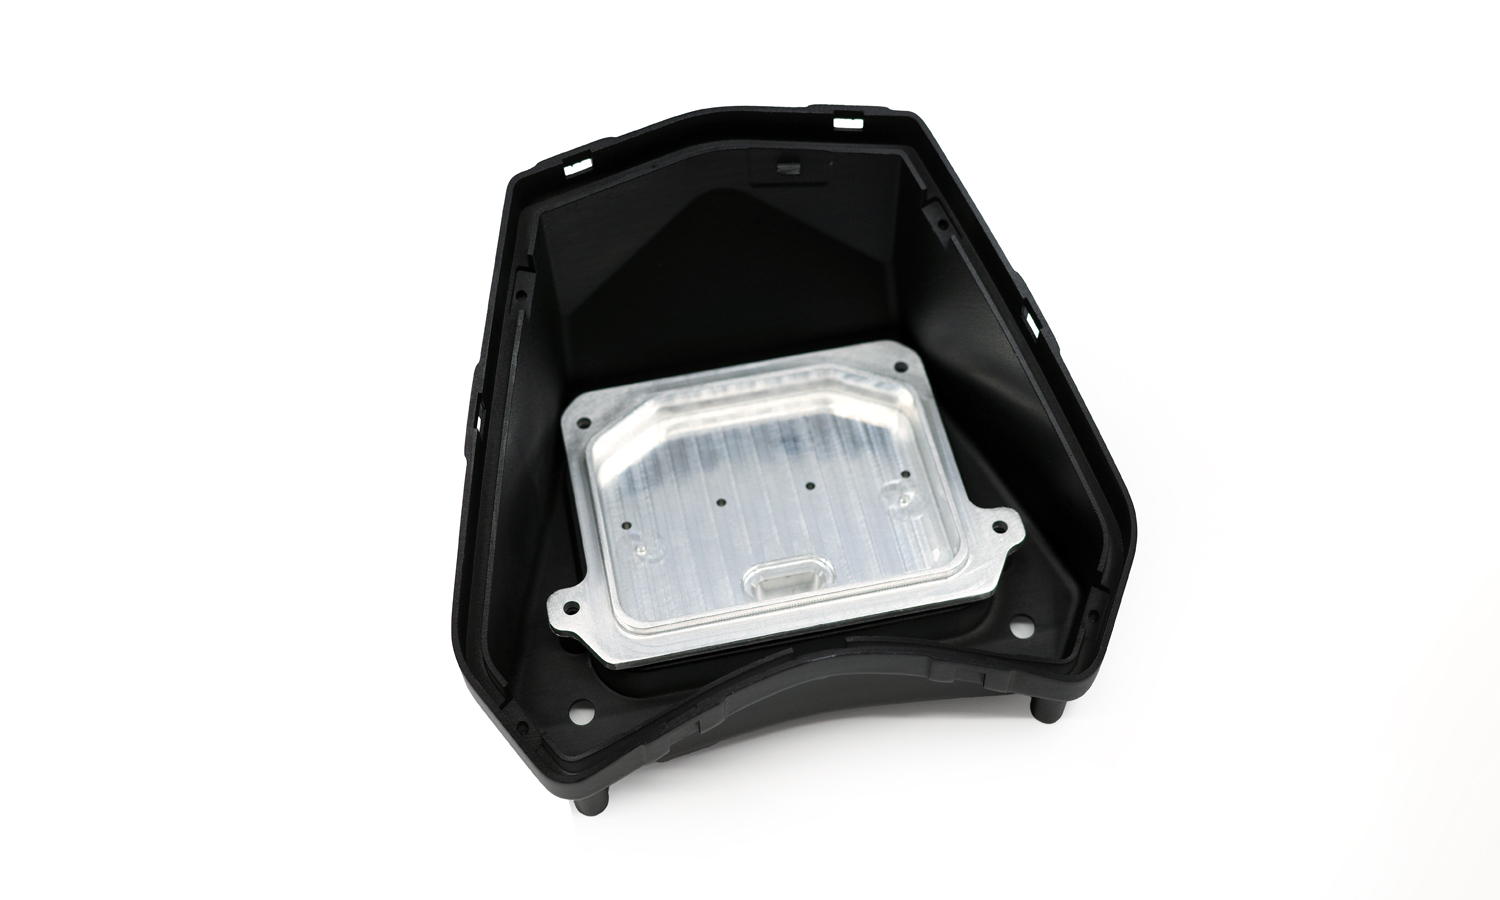
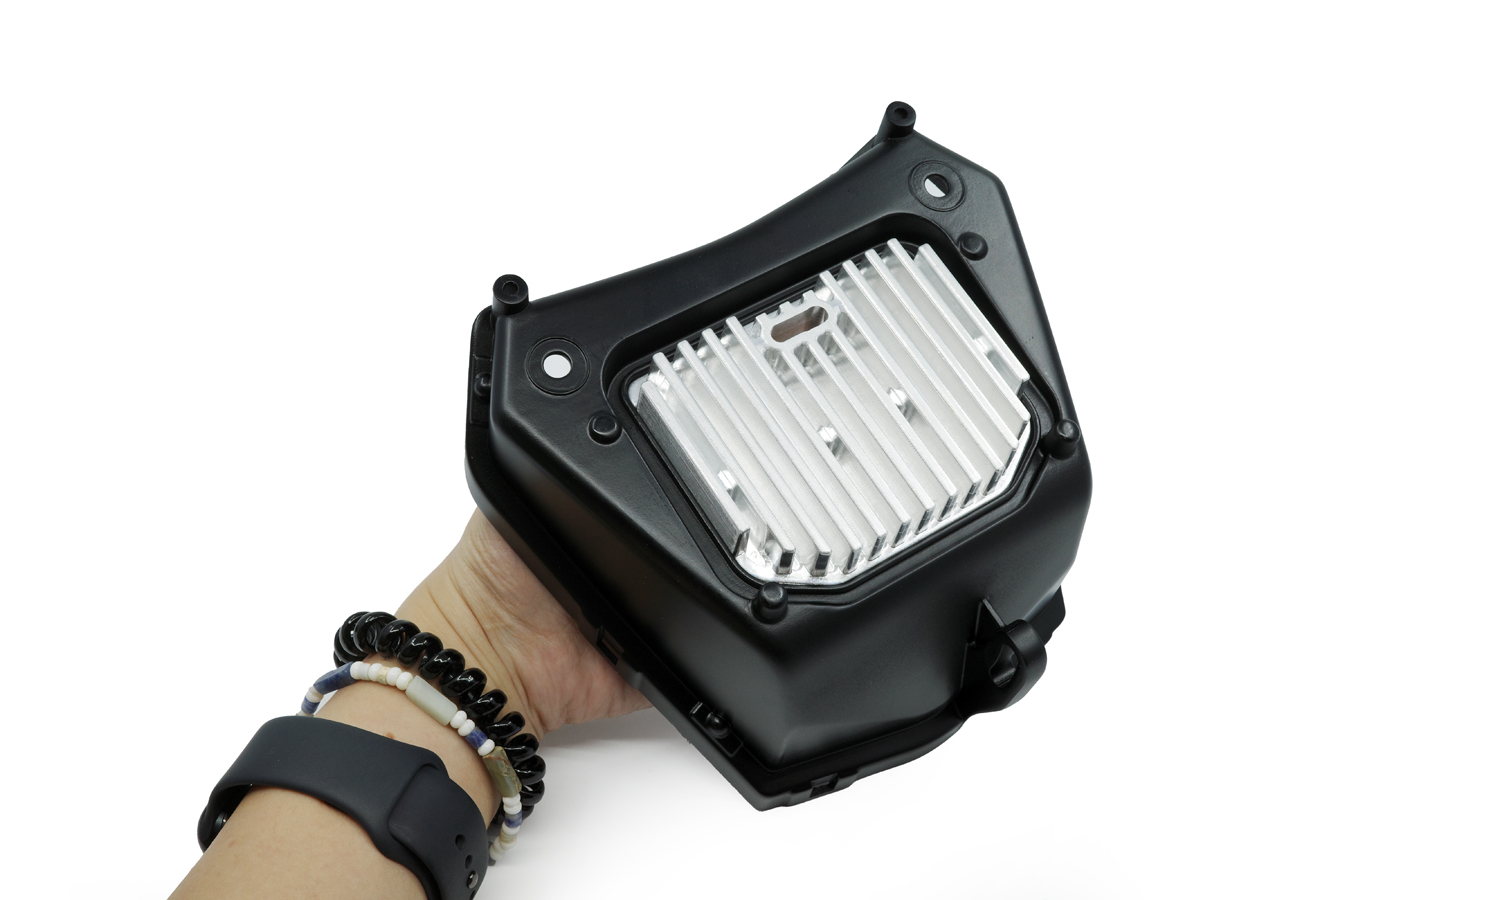
In our previous case, we manufactured a customized motorcycle taillight housing using a combination of 3D printing and CNC machining. To ensure the component performed reliably in real-world conditions, we later developed a dedicated sealing solution.
Using urethane casting, we produced precision-fit gaskets tailored to the taillight housing. This method allowed us to replicate the necessary elasticity and resilience of rubber-like materials, while maintaining tight dimensional tolerances. The cast urethane gaskets provide:
- Excellent sealing performance against dust, moisture, and vibration
- Durability for long-term use under automotive conditions
- Cost-effective, low-volume production ideal for custom or aftermarket parts
By combining rigid housing parts with flexible sealing components, we delivered a complete, functional assembly for our client’s motorcycle lighting system.
At FacFox, we help clients achieve turnkey solutions-from structural components to precision gaskets-leveraging the best mix of 3D printing, CNC machining, and urethane casting.
Solution
- Step 1: Application requirements were gathered and the gasket spec was defined (target compression 20-30%, Shore A ~50-60, UV/oil/temperature resistance).
- Step 2: Gasket geometry was designed around the taillight housing groove, with radiused corners and draft added for molding.
- Step 3: A highŌĆæresolution master pattern was fabricated (SLA/CNC) to the nominal gasket dimensions.
- Step 4: The master surface was finished, sealed, and releaseŌĆæcoated to ensure a clean mold cavity.
- Step 5: A twoŌĆæpart silicone mold box was built and a parting line, gates, and vents were planned.
- Step 6: PlatinumŌĆæcure RTV silicone was mixed, vacuumŌĆædegassed, poured over the master, and cured to form the first half.
- Step 7: The assembly was inverted, mold release was applied, and the second silicone half was cast and cured to complete the tool.
- Step 8: The mold was opened, the master was removed, and the cavity was inspected and cleaned of flash or debris.
- Step 9: A twoŌĆæcomponent urethane elastomer system was selected, weighed by ratio, pigmented if required, and thoroughly mixed.
- Step 10: The urethane mix was vacuumŌĆædegassed to eliminate entrapped air; the mold was preheated and releaseŌĆæcoated.
- Step 11: The urethane was poured or injected into the closed mold; pressure casting was applied to suppress remaining bubbles.
- Step 12: Parts were cured to gel at room temperature and then postŌĆæcured in an oven to reach final mechanical properties.
- Step 13: Gaskets were demolded carefully to avoid stretch, sprues were removed, and edges were deflashed.


