Material Resin
Quantity 1 pcs
Price Range $1-100
Lead Time 2 workdays
Gallery


About Project
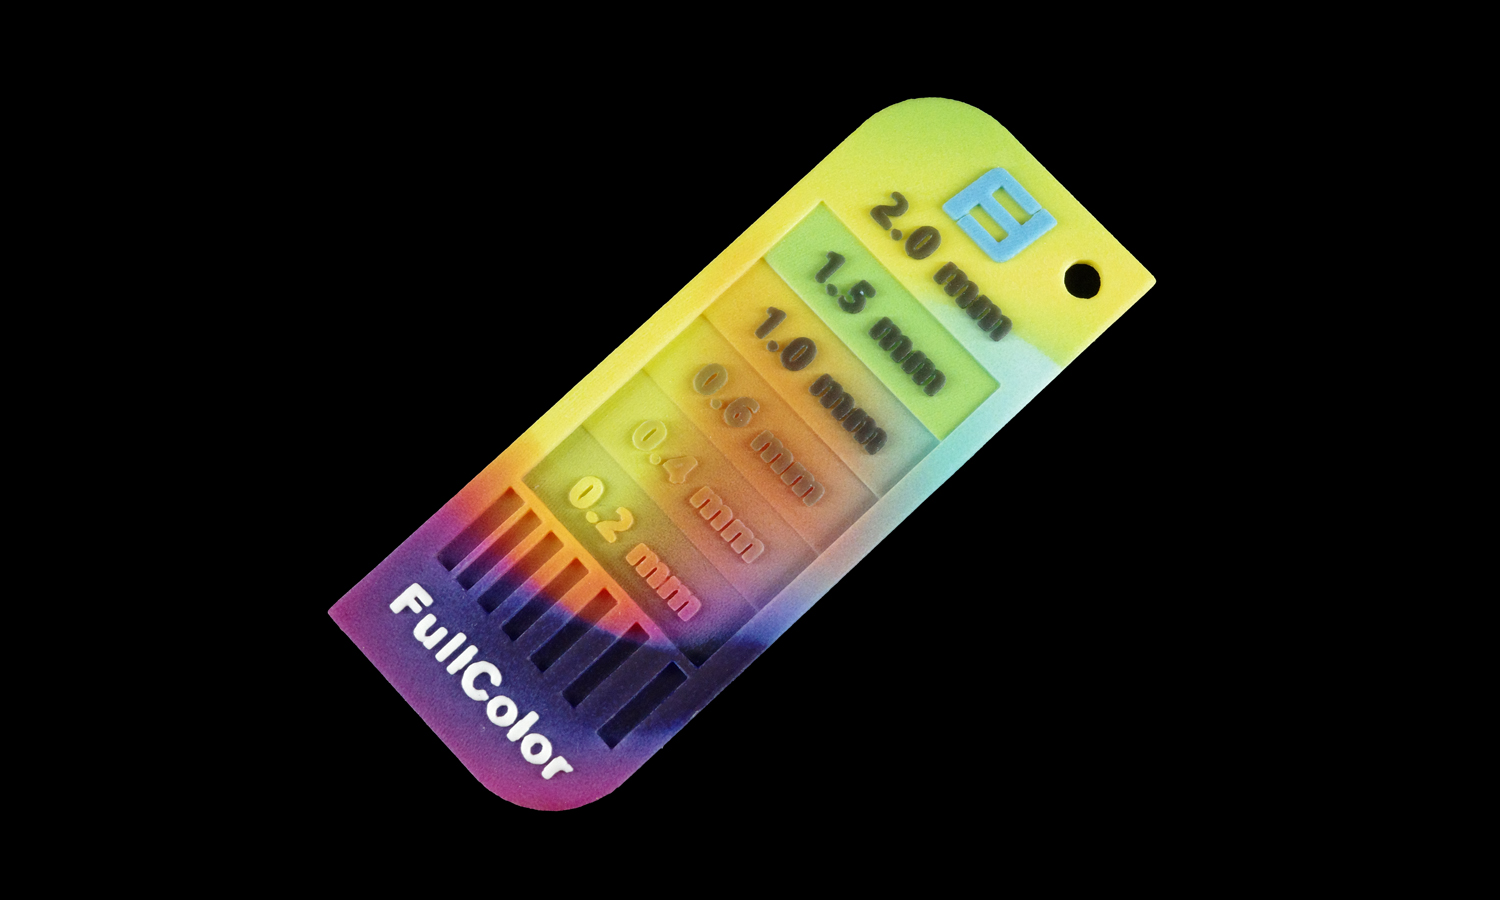
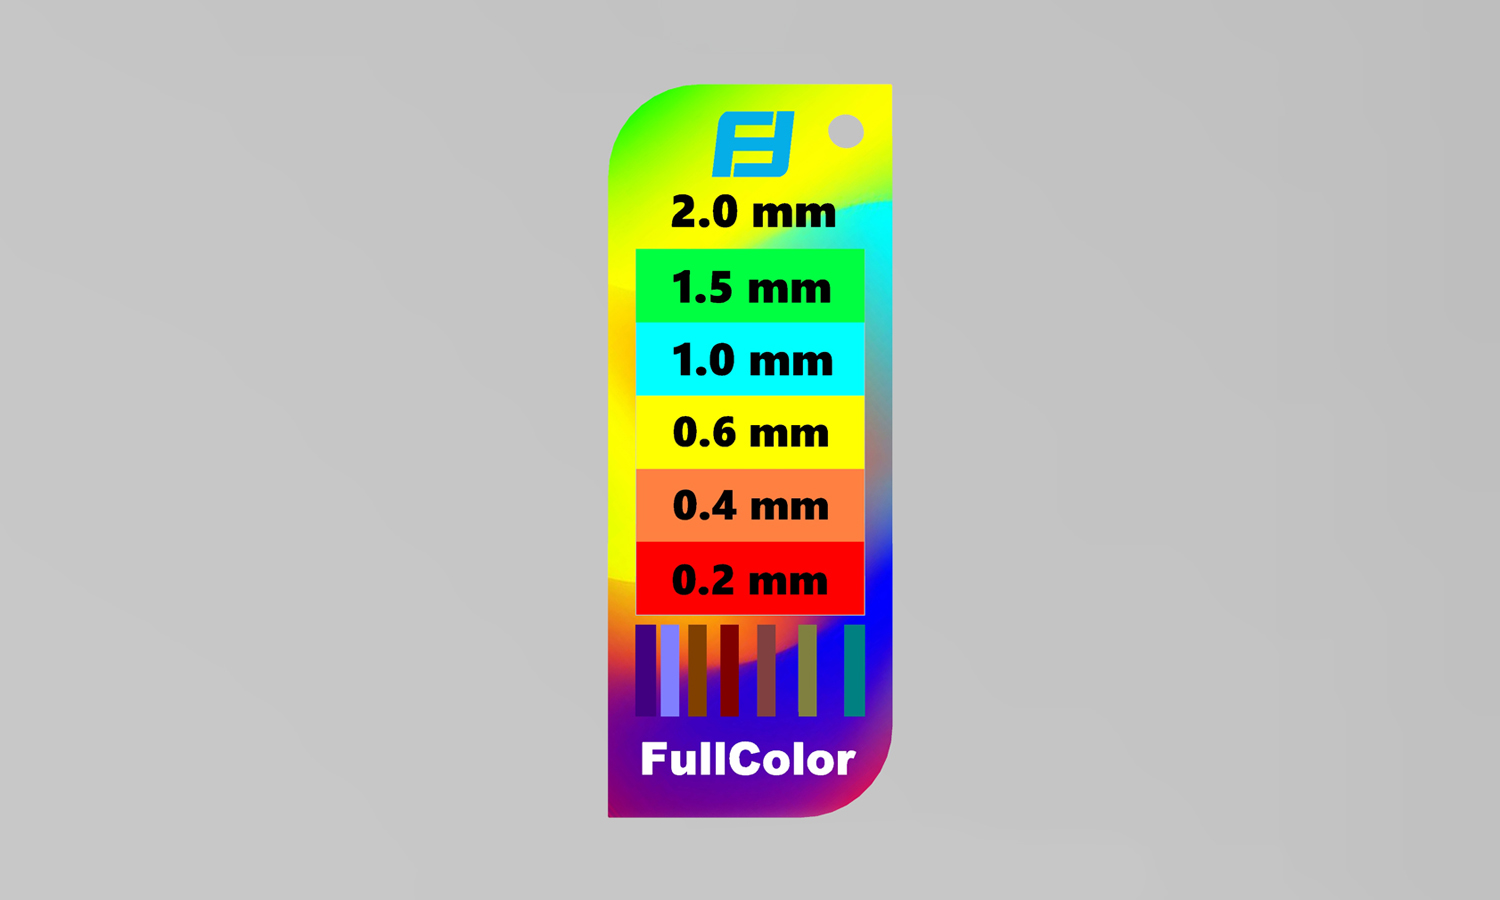
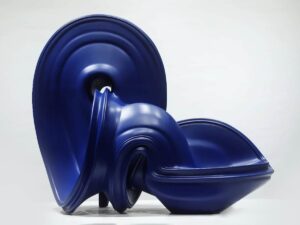
Take a close look at this vibrant object – it’s a PolyJet 3D printed wall thickness tester, designed to visually demonstrate the impact of varying thicknesses on color application. What makes it truly fascinating are the subtle details that reveal the intricacies of full-color 3D printing.
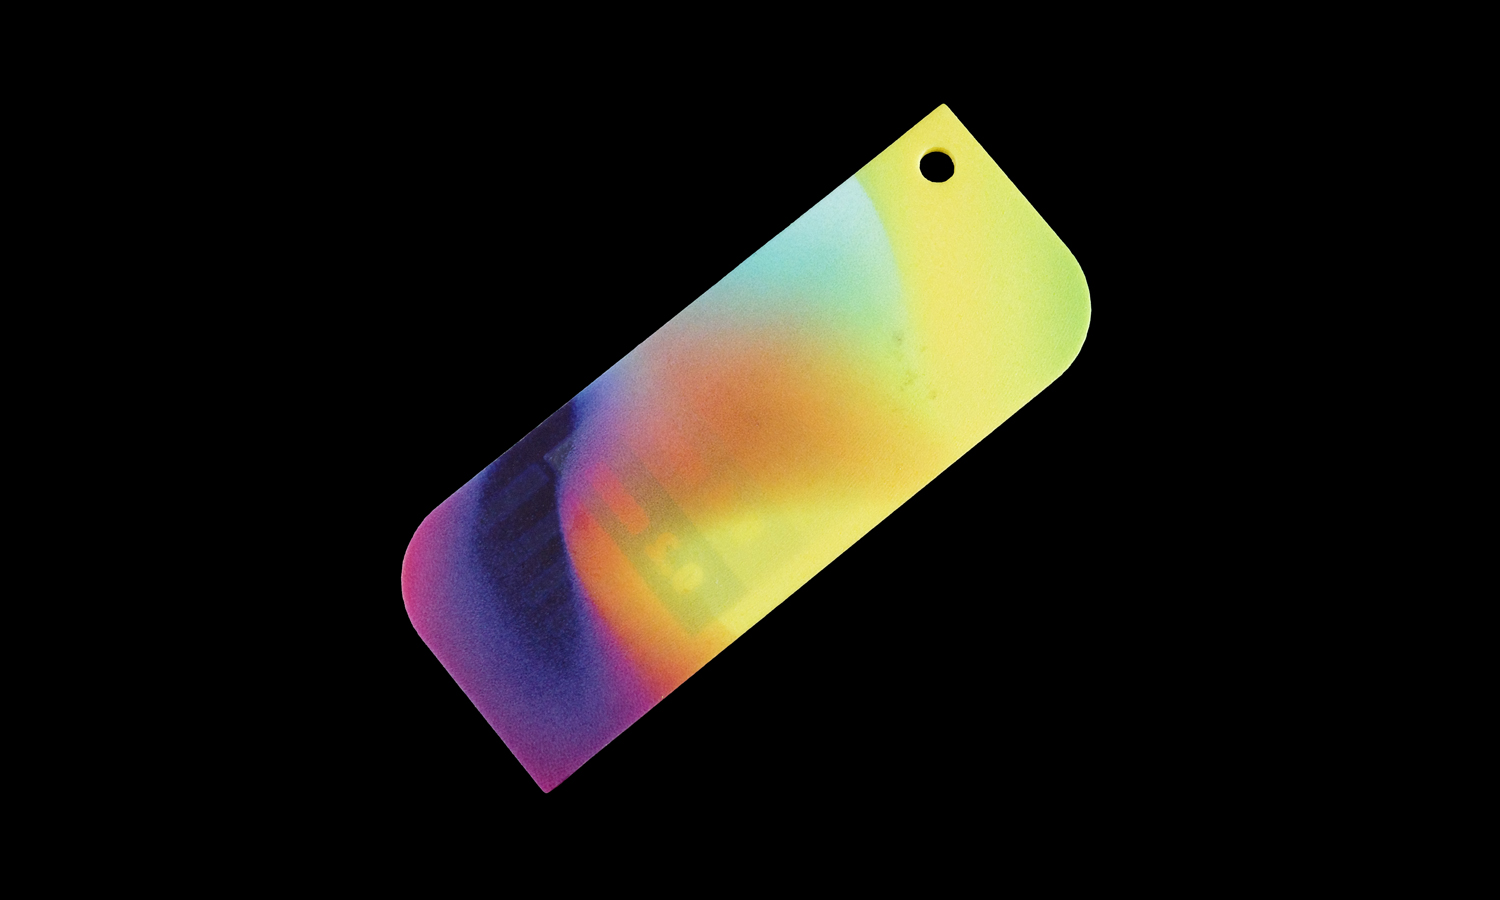
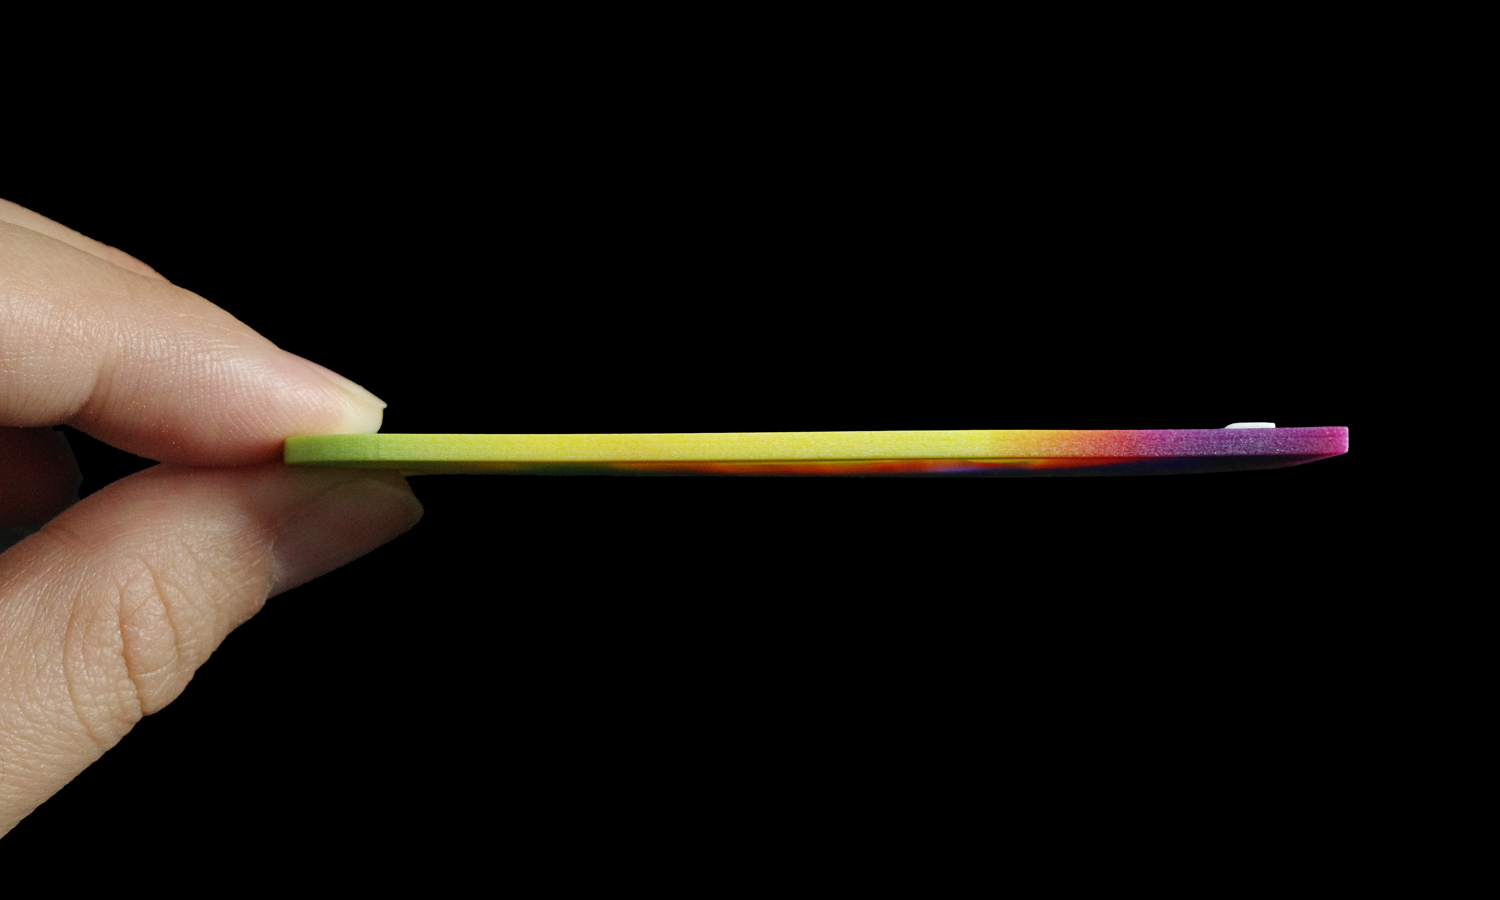
Notice how the thinner sections become translucent, allowing light to pass through with greater ease. This inherent property of the printing material interacts beautifully with the applied colors. Remarkably, this print showcases the capability of achieving a 0.2mm wall thickness, a testament to the precision of PolyJet technology.
However, the challenges of coloring such delicate features become apparent. The embossed black text gradually fades as the wall thickness decreases, with the 0.2mm section showing no black at all. This highlights the difficulty in depositing consistent color on extremely thin structures.
Furthermore, observe the noticeable color bleeding outwards in areas with different wall thicknesses. This phenomenon is directly linked to the coloring process, where the ink interacts with the surrounding material. The tester also illustrates how lighter hues tend to appear brighter, while darker shades become more subdued, resulting in a significant contrast across the spectrum.
Based on these observations, we recommend a minimum wall thickness of 1.0mm for safer and more consistent full-color 3D printing. This guideline helps ensure structural integrity and optimal color vibrancy in your prints.
Ready to bring your most colorful ideas to life? FacFox’s full-color 3D printing service harnesses the power of PolyJet technology to create stunning, multi-hued prototypes and end-use parts. Experience the richness and detail achievable with our advanced printing capabilities. From intricate gradients to bold, solid colors, let FacFox transform your digital designs into tangible reality. Explore the possibilities today!
Solution
- Step 1: A digital 3D model of the wall thickness tester was created using computer-aided design (CAD) software.
- Step 2: The 3D model was then uploaded to the PolyJet 3D printer’s software.
- Step 3: Print settings, including layer thickness and color information, were configured by the operator.
- Step 4: Photopolymer resins, in various colors, were loaded into the printer’s material cartridges.
- Step 5: The printing process was initiated, and thin layers of liquid photopolymer were jetted onto the build platform.
- Step 6: Immediately after each layer was jetted, it was cured by ultraviolet (UV) light.
- Step 7: For full-color printing, droplets of different colored resins were selectively jetted and combined to achieve the desired hues for each layer.
- Step 8: The build platform was lowered incrementally as each new layer was printed and cured.
- Step 9: Once the entire object was printed, it was removed from the build platform.
- Step 10: Support structures, which were generated during the printing process to support overhanging features, were carefully removed.
- Step 11: The printed part was then post-processed, which may have involved cleaning to remove any residual uncured resin.
- Step 12: A final inspection was performed to ensure the part met the required specifications.


