Material Resin
Quantity 0 pcs
Price Range $1-100
Lead Time 1 workdays
Gallery
About Project
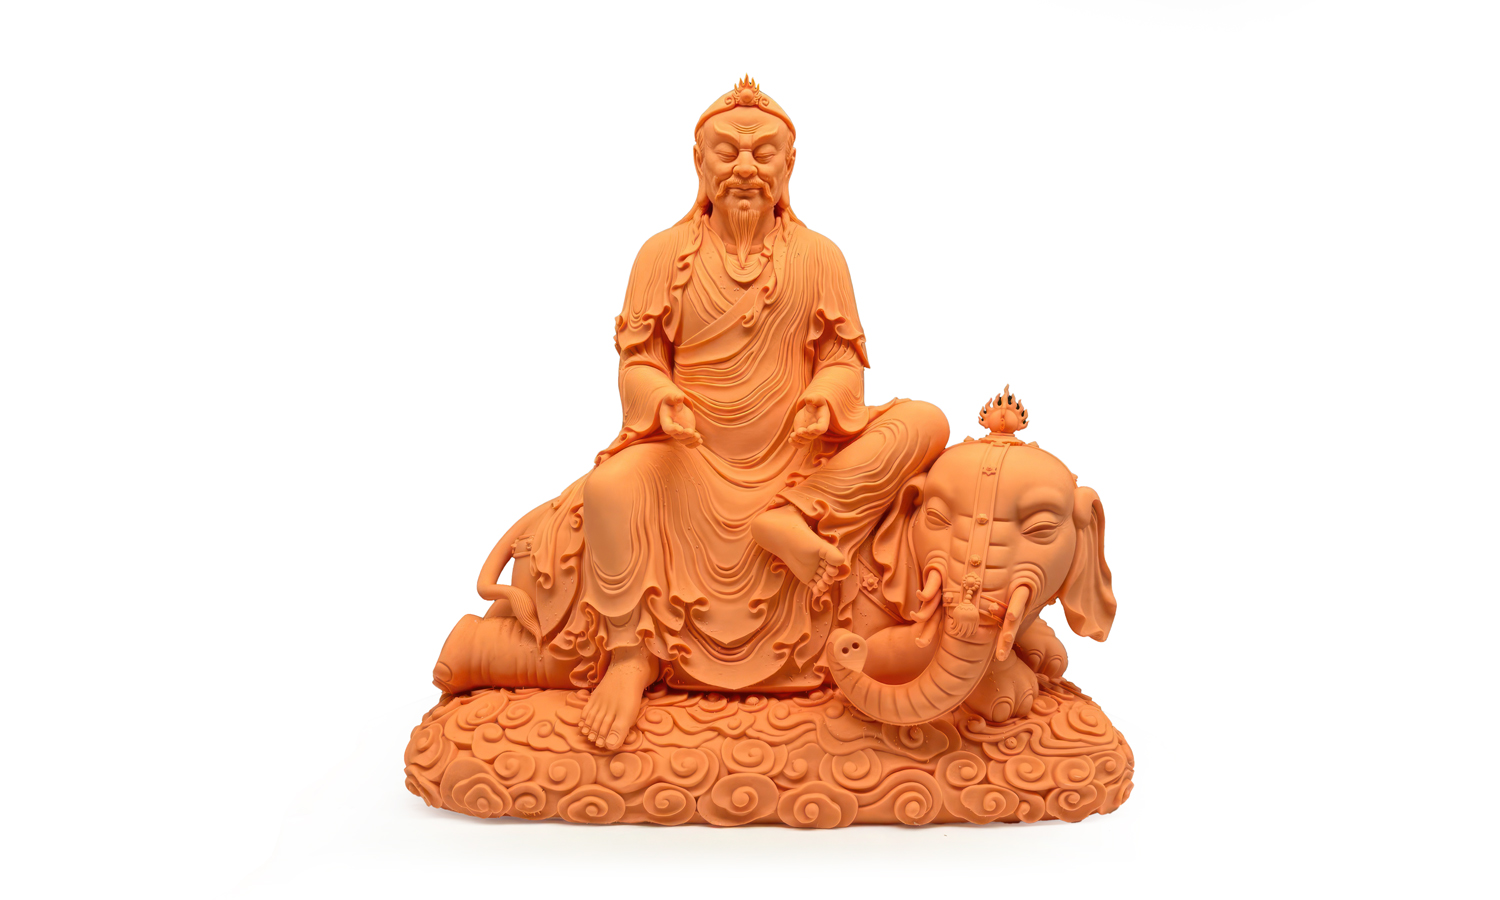
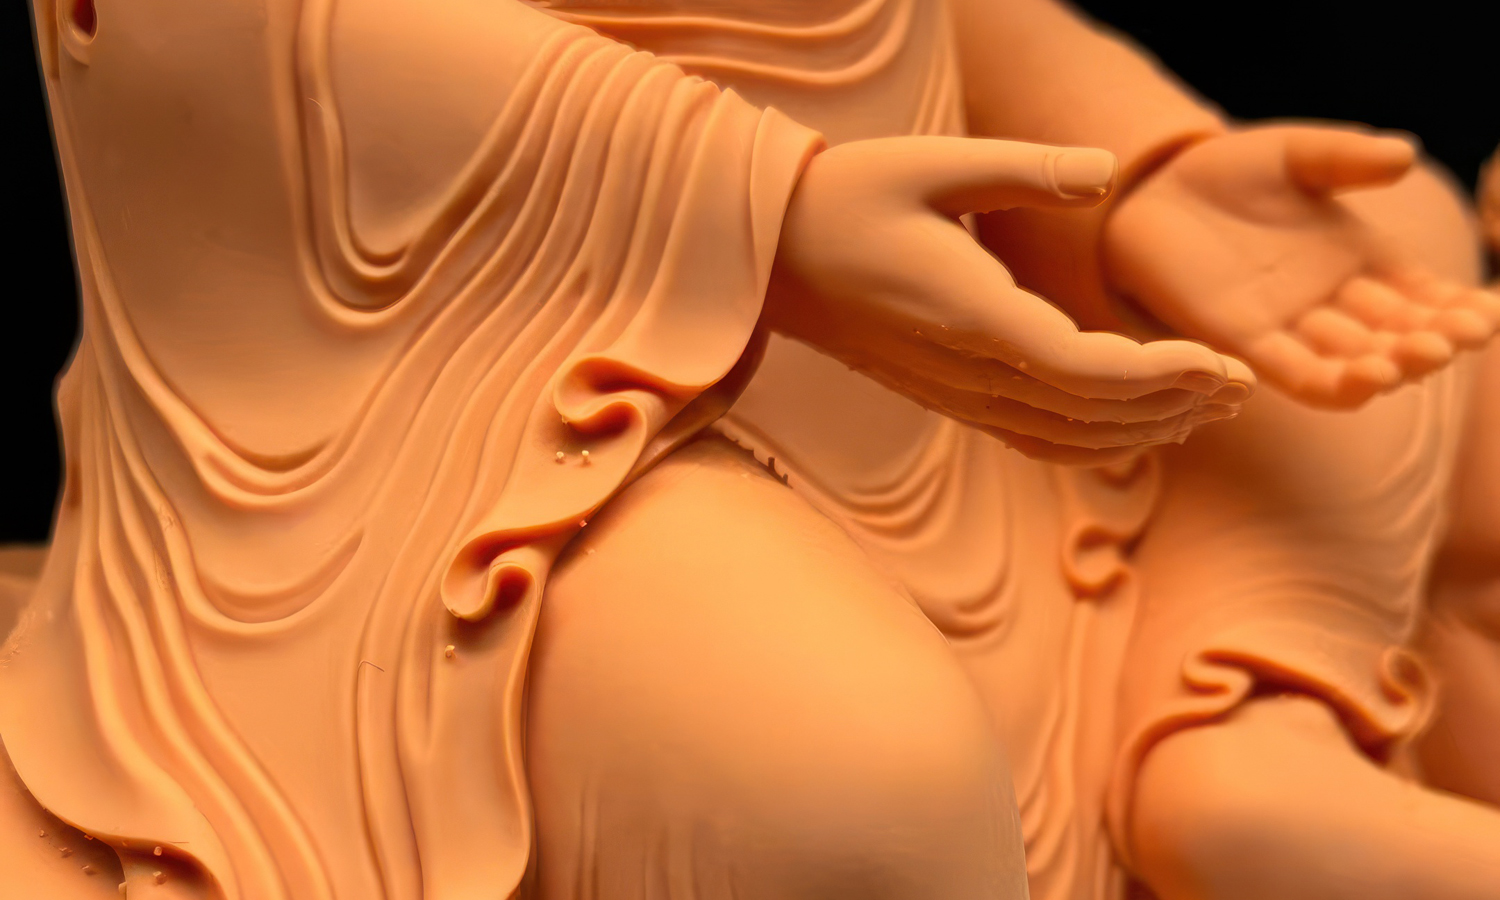
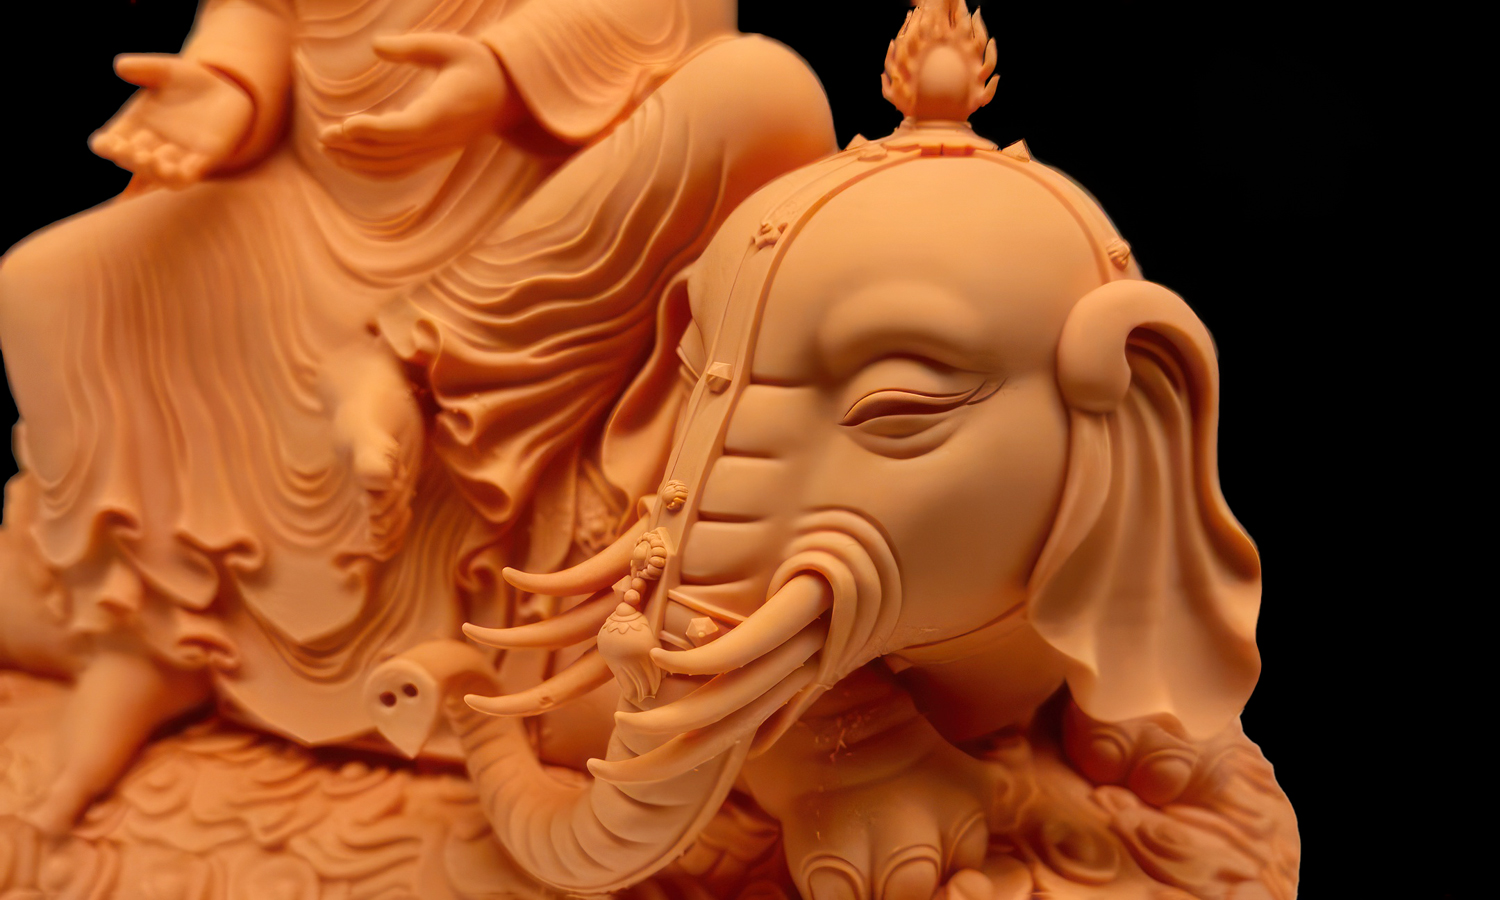
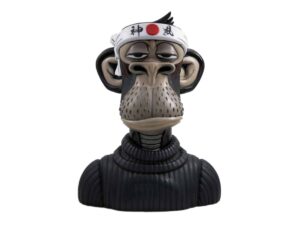
This statue features a calm and dignified figure, adorned in flowing robes with intricate folds, seated gracefully on a cloud base alongside a finely detailed elephant. The expressive features and refined textures capture both solemnity and elegance, making it a true showcase of craftsmanship.
The model was produced using DLP Ultra Detail Resin, a material designed for ultra-high-resolution 3D prints. Known for its smooth surface finish and ability to reproduce even the finest details, it’s a popular choice for figurines, miniatures, jewelry prototypes, and other designs where precision matters most. With the power of resin 3D printing, complex artistic creations like this can be faithfully realized without compromise.
At FacFox, we offer professional 3D printing services with advanced DLP and SLA technologies, providing access to premium materials such as Ultra Detail Resin. Whether you’re working on collectible miniatures, jewelry masters, or intricate prototypes, our team can help you bring your vision to life with unmatched accuracy.
¤æē Turn your ideas into reality with FacFox 3D Printing Service – where detail and creativity meet!
Solution
- Step 1: The digital sculpt file was prepared and inspected to ensure watertight geometry and printable wall thickness.
- Step 2: The model was oriented in the slicing software, and supports were automatically generated and then manually refined to protect fine features such as the folds of the robe and the elephant’s trunk.
- Step 3: The file was sliced at a fine layer resolution suitable for DLP Ultra Detail Resin.
- Step 4: The printer vat was filled with fresh Ultra Detail Resin, and the print job was started.
- Step 5: The miniature was built layer by layer through digital light processing, ensuring high precision in the intricate textures.
- Step 6: After printing, the build platform was lifted to drain excess resin, and the part was carefully removed.
- Step 7: The model was washed in solvent baths to remove any uncured resin residue.
- Step 8: UV post-curing was performed to fully harden the resin and stabilize the surface.
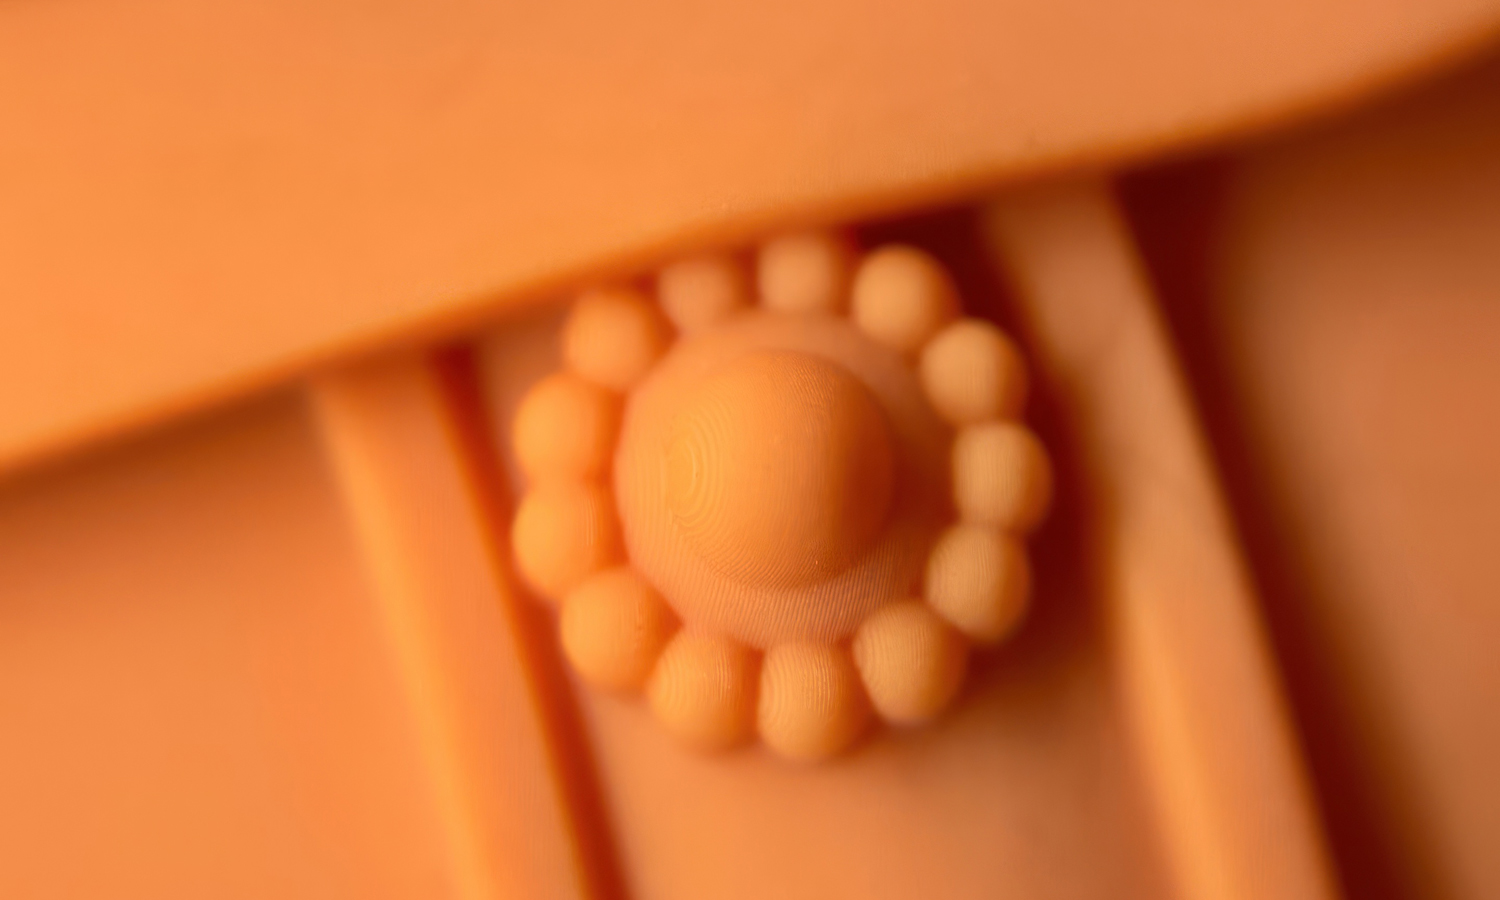
- Step 9: Support structures were clipped away, leaving small round contact points visible on the surface.
- Step 10: No polishing or painting was carried out, so the model retained its natural printed finish, with the support marks still present and awaiting further sanding and refinement if desired.

