- New Material Online: SLA High-temp Resin-220┬░C available!
- 3D Pen Printed Clear PLA Rings and Earrings
Gallery
About Project
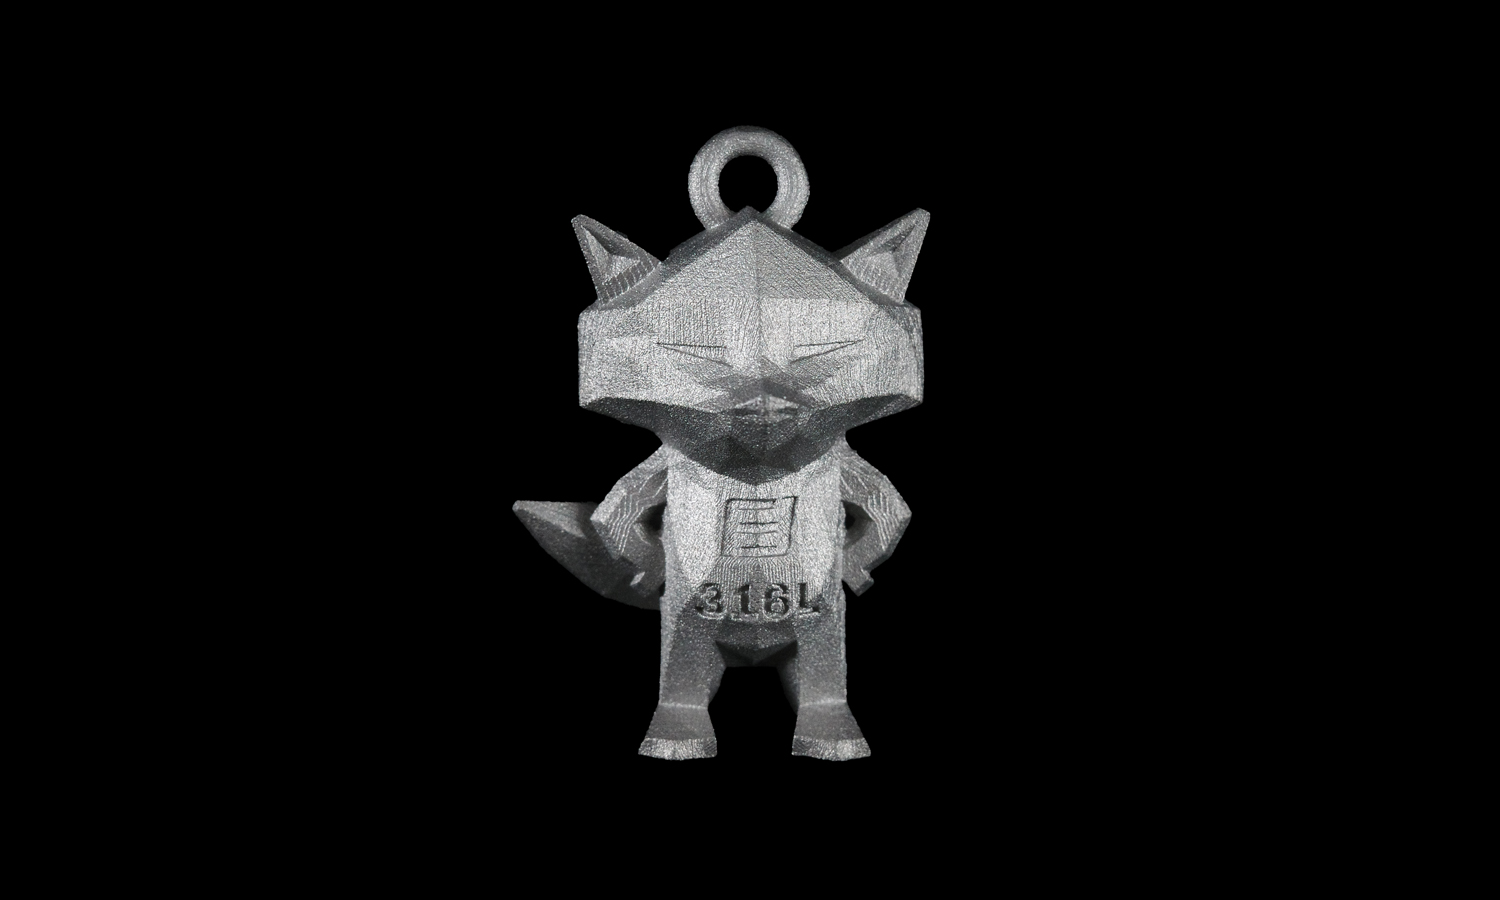
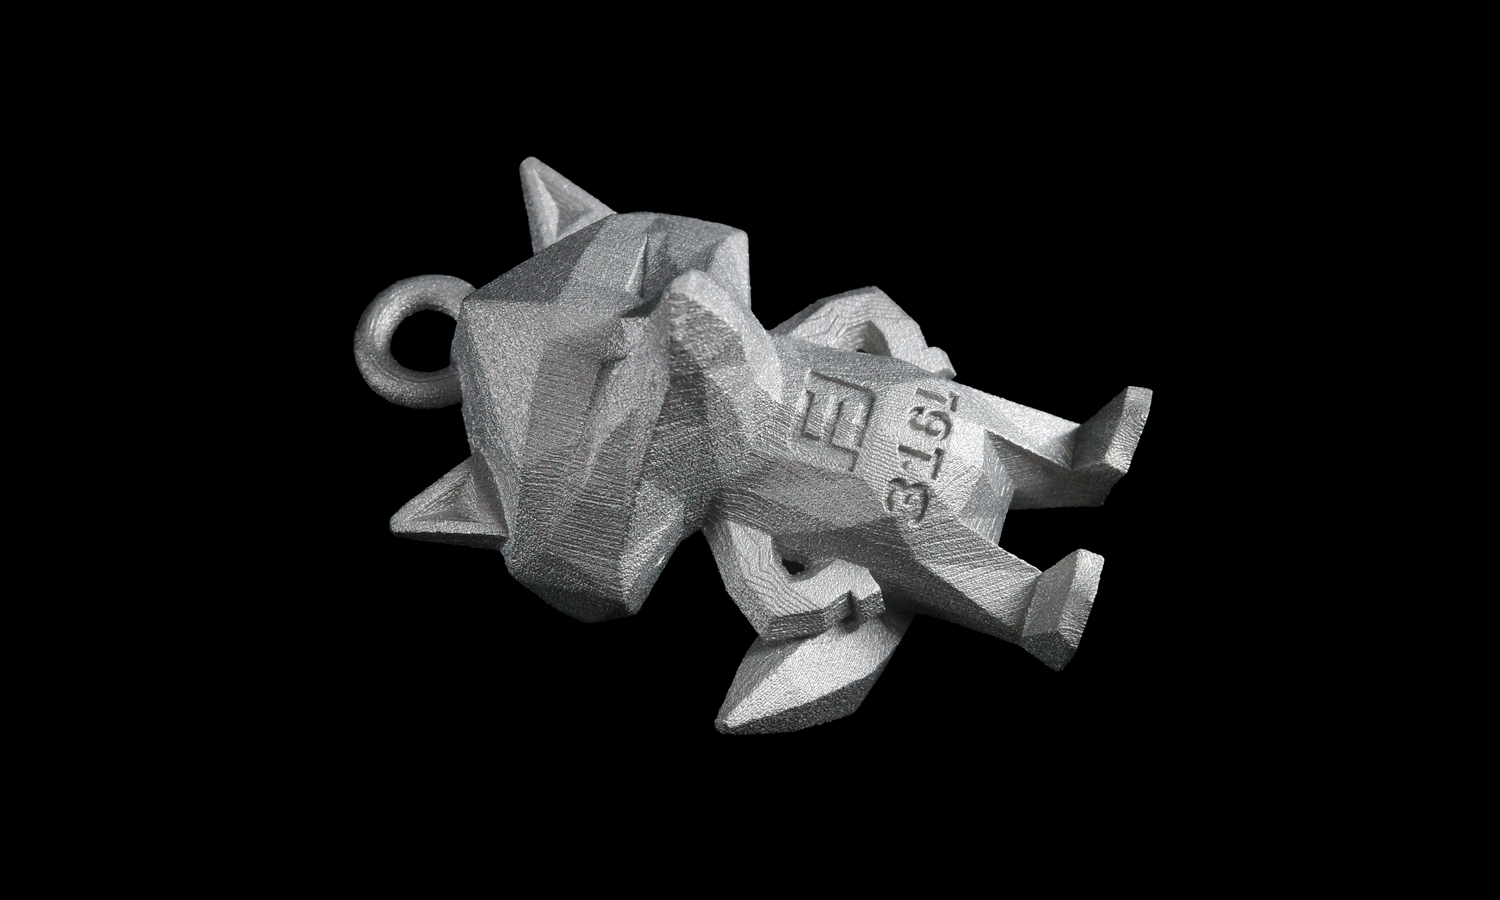
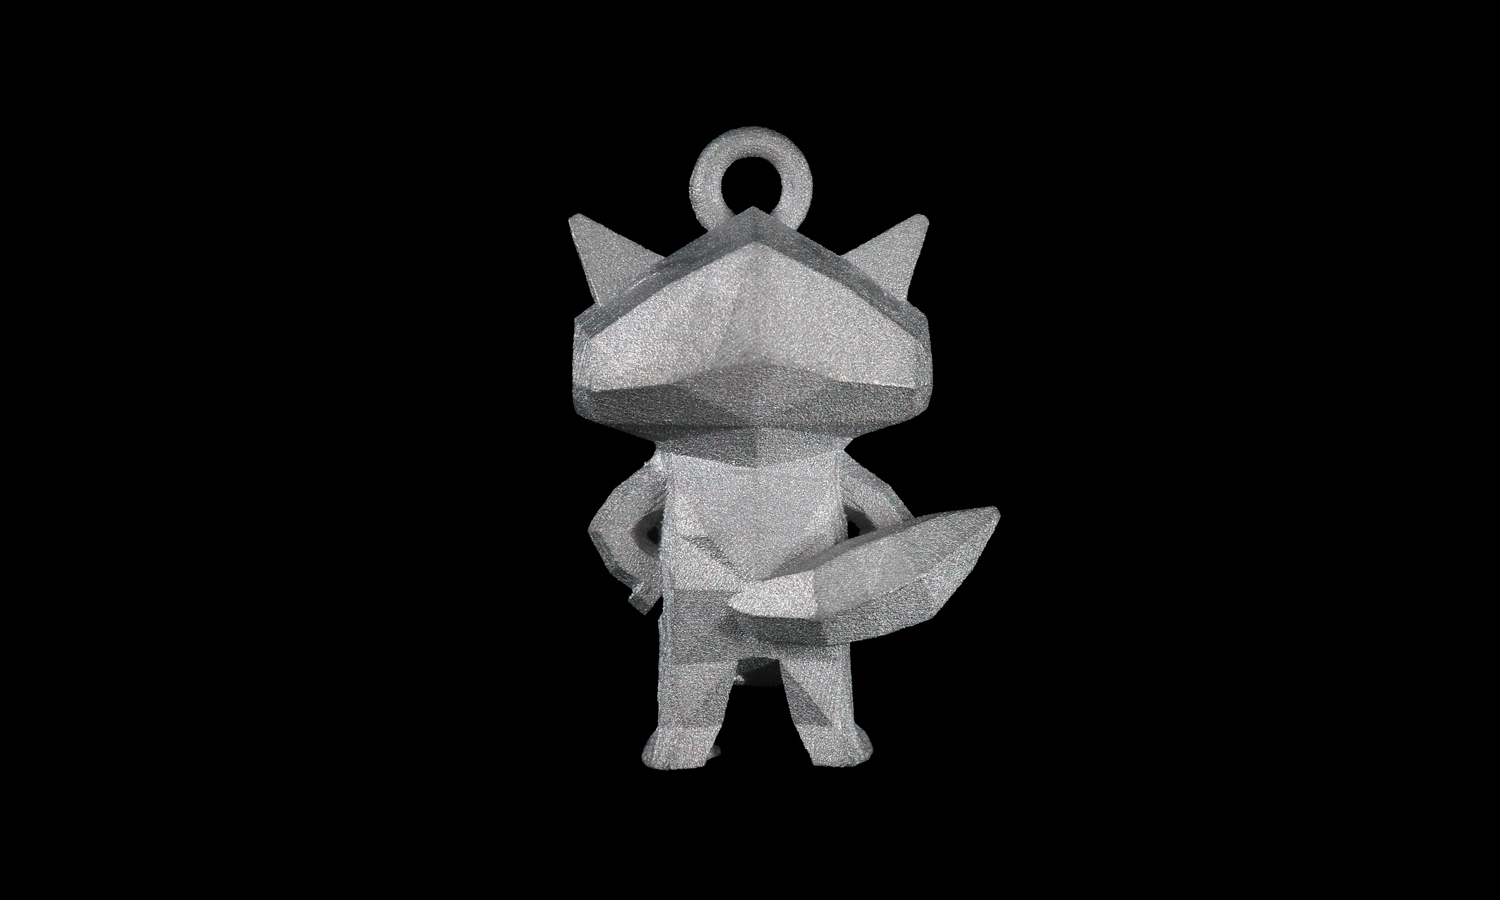
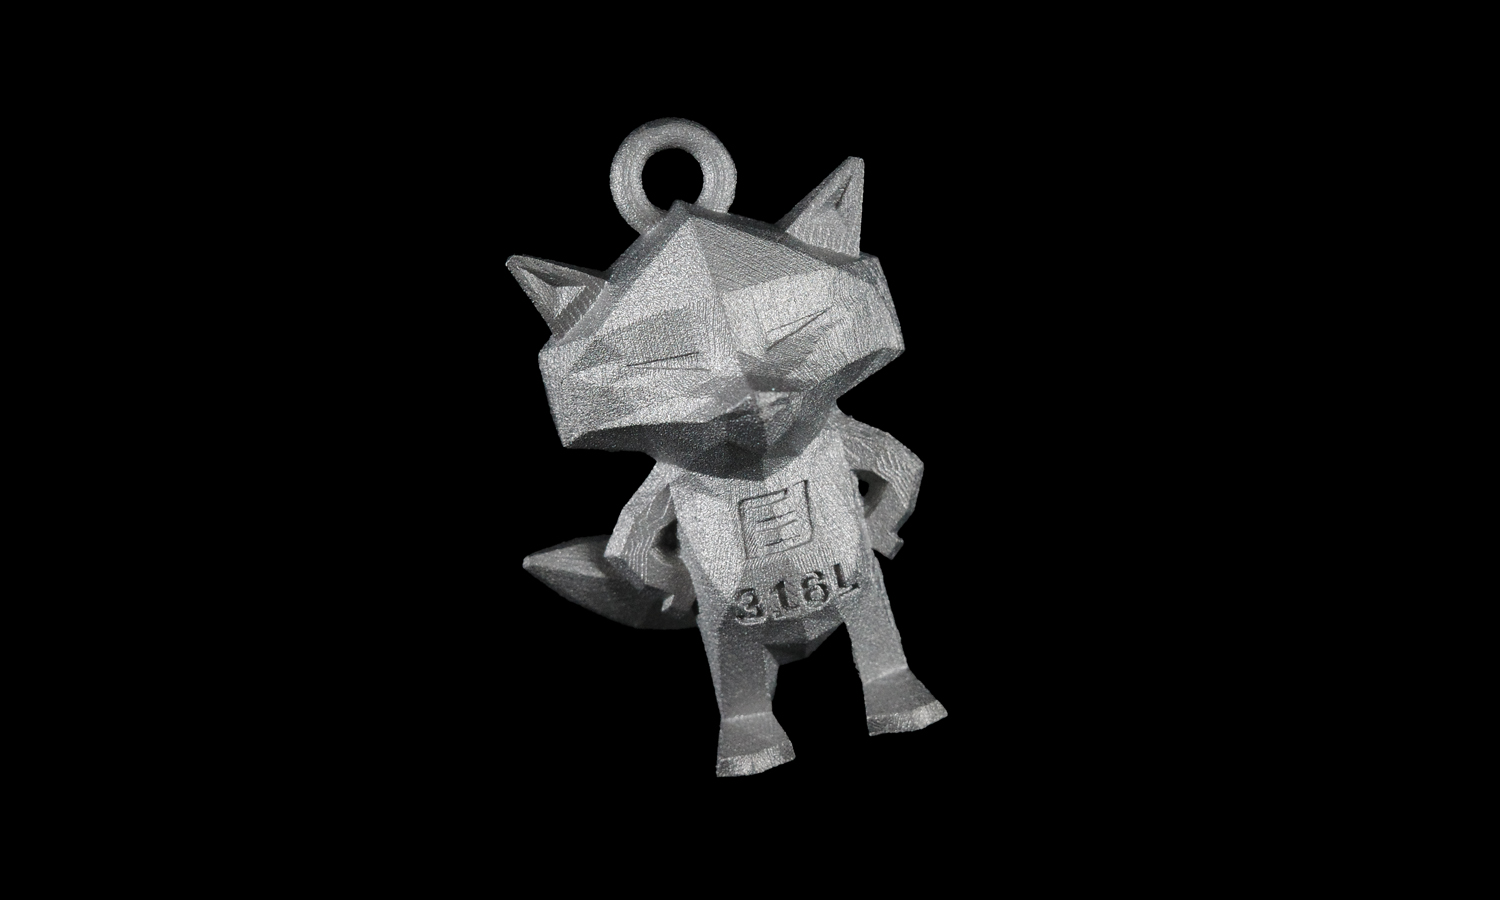
Introducing Henry the Fox, a captivating 3D-printed miniature that seamlessly blends artistry and innovation. This unique figurine, crafted using BinderJet 3D printing technology with durable SS316L stainless steel, showcases the power of additive manufacturing.
Henry’s striking, low-poly design and raw finish lend a contemporary and artistic flair to this collectible piece. The intricate details, from the confident pose to the loop atop its head, are a testament to the precision of 3D printing.
With the FacFox logo proudly displayed on its chest and the “316L” inscription subtly etched below, Henry not only serves as a delightful collectible but also as a symbol of cutting-edge manufacturing capabilities.
Ready to bring your 3D designs to life? FacFox offers a wide range of metal 3D printing services, including BinderJet, to transform your ideas into tangible objects. With our expertise and state-of-the-art technology, you can create stunning and functional metal parts.
Solution
- Step 1: 3D Model Creation. A digital 3D model of Henry the Fox was designed using computer-aided design (CAD) software.
- Step 2: STL File Generation. The 3D model was exported as an STL file, a standard format for 3D printing.
- Step 3: Slice Preparation. The STL file was sliced into layers, each representing a cross-section of the final model.
- Step 4: Powder Bed Preparation. A thin layer of stainless steel powder (SS316L) was spread evenly across the build platform.
- Step 5: Binder Jetting. A print head jetted a liquid binder onto the powder bed, selectively bonding the powder particles in the shape of the first layer of Henry the Fox.
- Step 6: Powder Removal. Excess powder was removed from the partially built model.
- Step 7: Layer Deposition. A new layer of powder was spread, and the process of binder jetting and powder removal was repeated for each subsequent layer.
- Step 8: Debinding. The partially built model was subjected to a debinding process to remove the binder.
- Step 9: Sintering. The debinded part was sintered in a high-temperature furnace to fuse the metal powder particles, creating a solid, dense object.
- Step 10: Quality Inspection. The final product was inspected to ensure it met quality standards.
