RoboLotl Multicolor FDM Print with a Print-in-Place Body

RoboLotl Multicolor FDM Print with a Print-in-Place Body

facfox-case-study
Process 3D Print
Material Plastic
Quantity 1 pcs
Price Range $100-1,000
Lead Time 2 workdays

Gallery

About Project

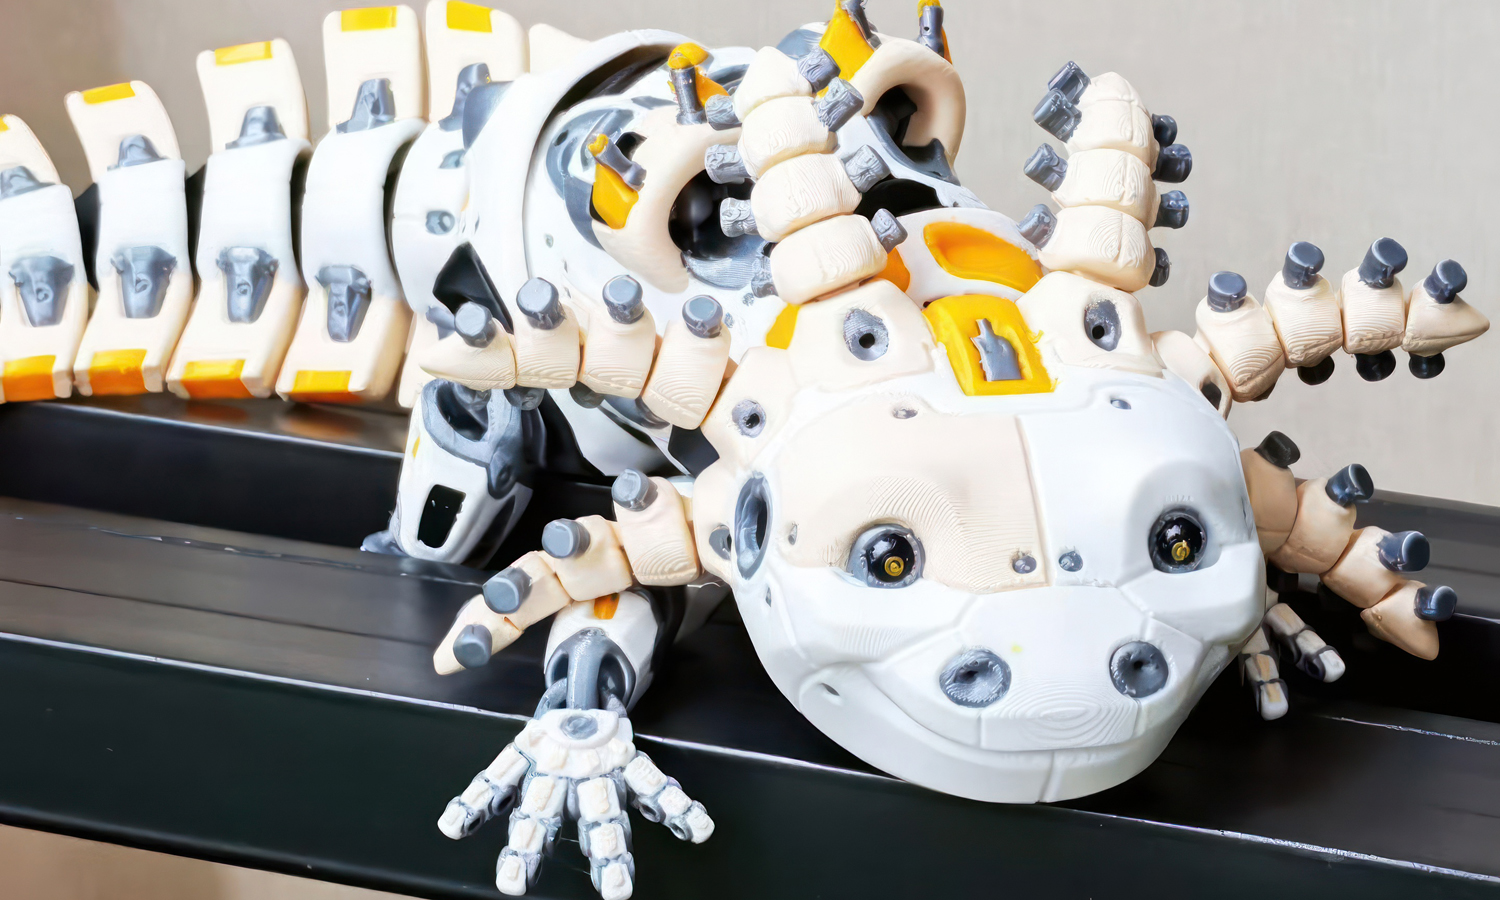
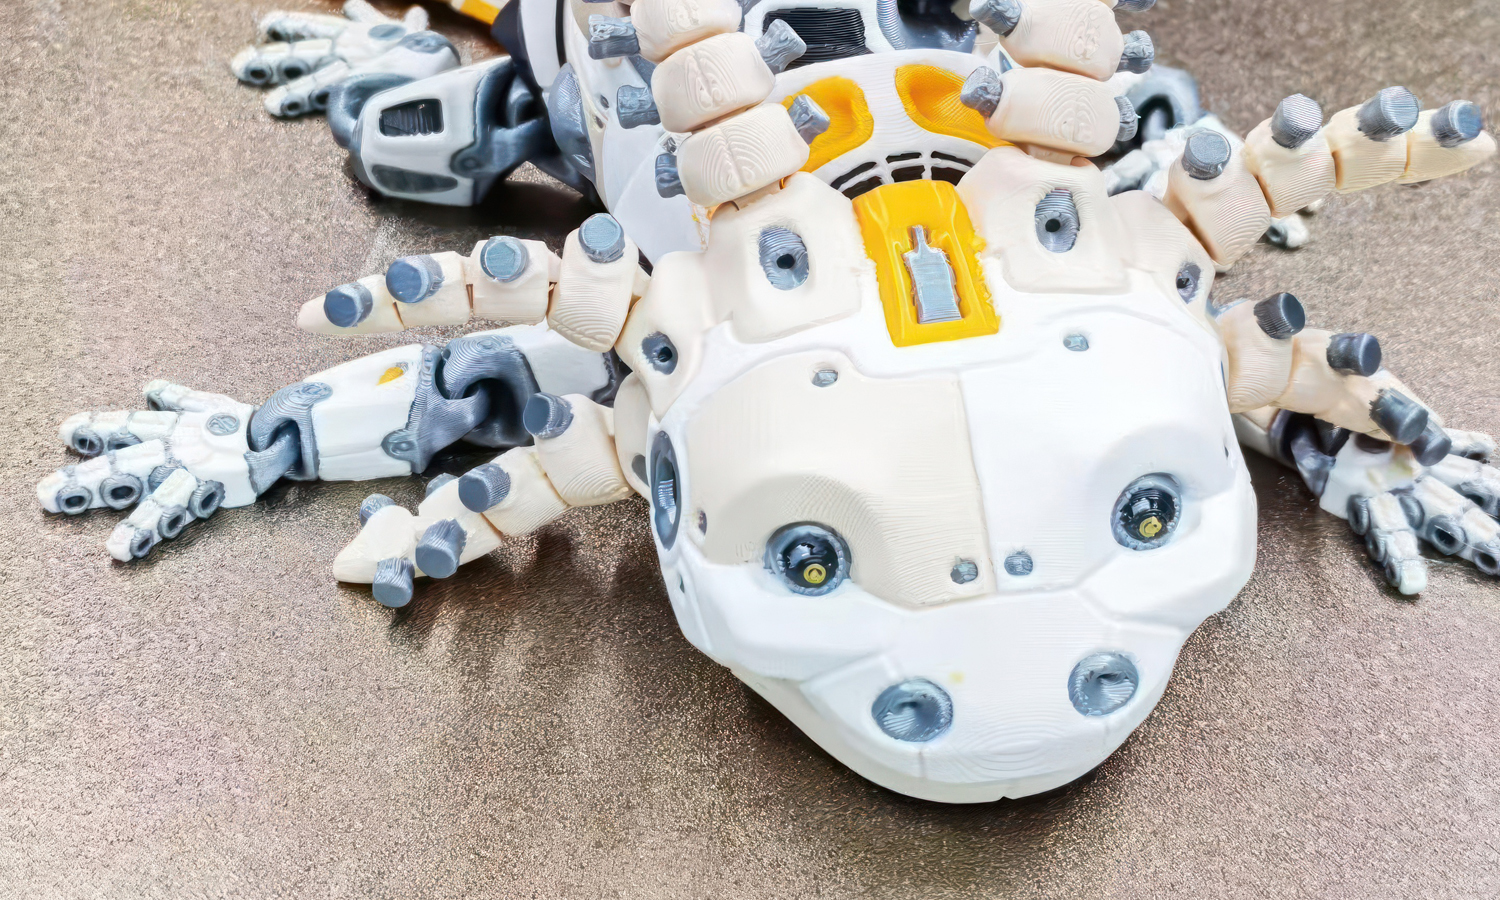
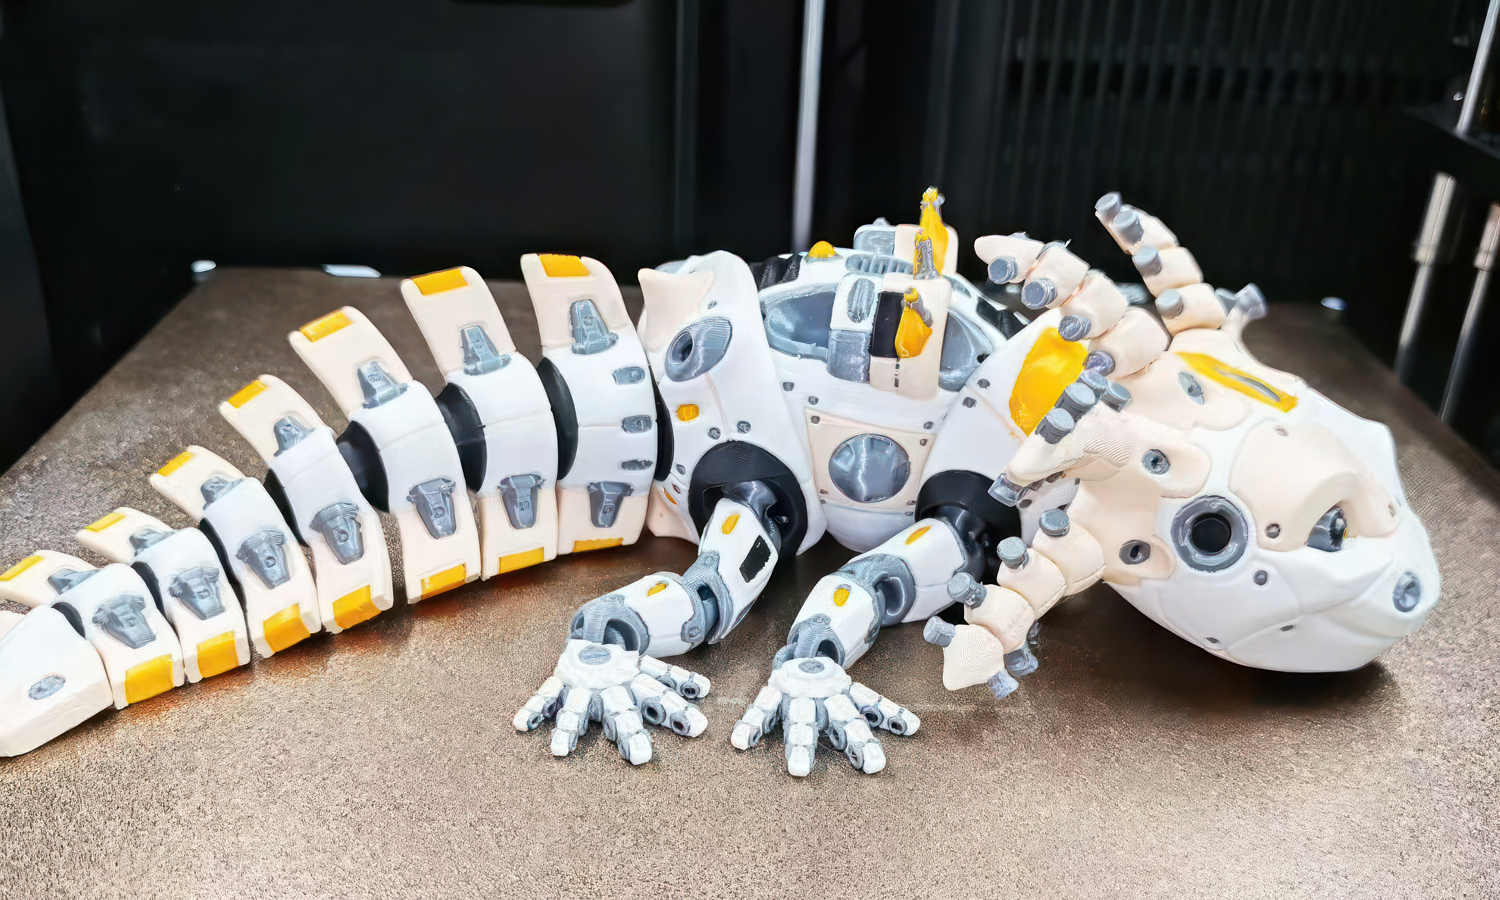
RoboLotl is MatMire Makes’ robot take on an axolotl. Its round face and branching gills give it the look of a curious little creature, while the segmented armor makes it look ready to crawl off the desk. Give its tail a gentle nudge and the links swing in sequence, making it fun to handle as well as display.

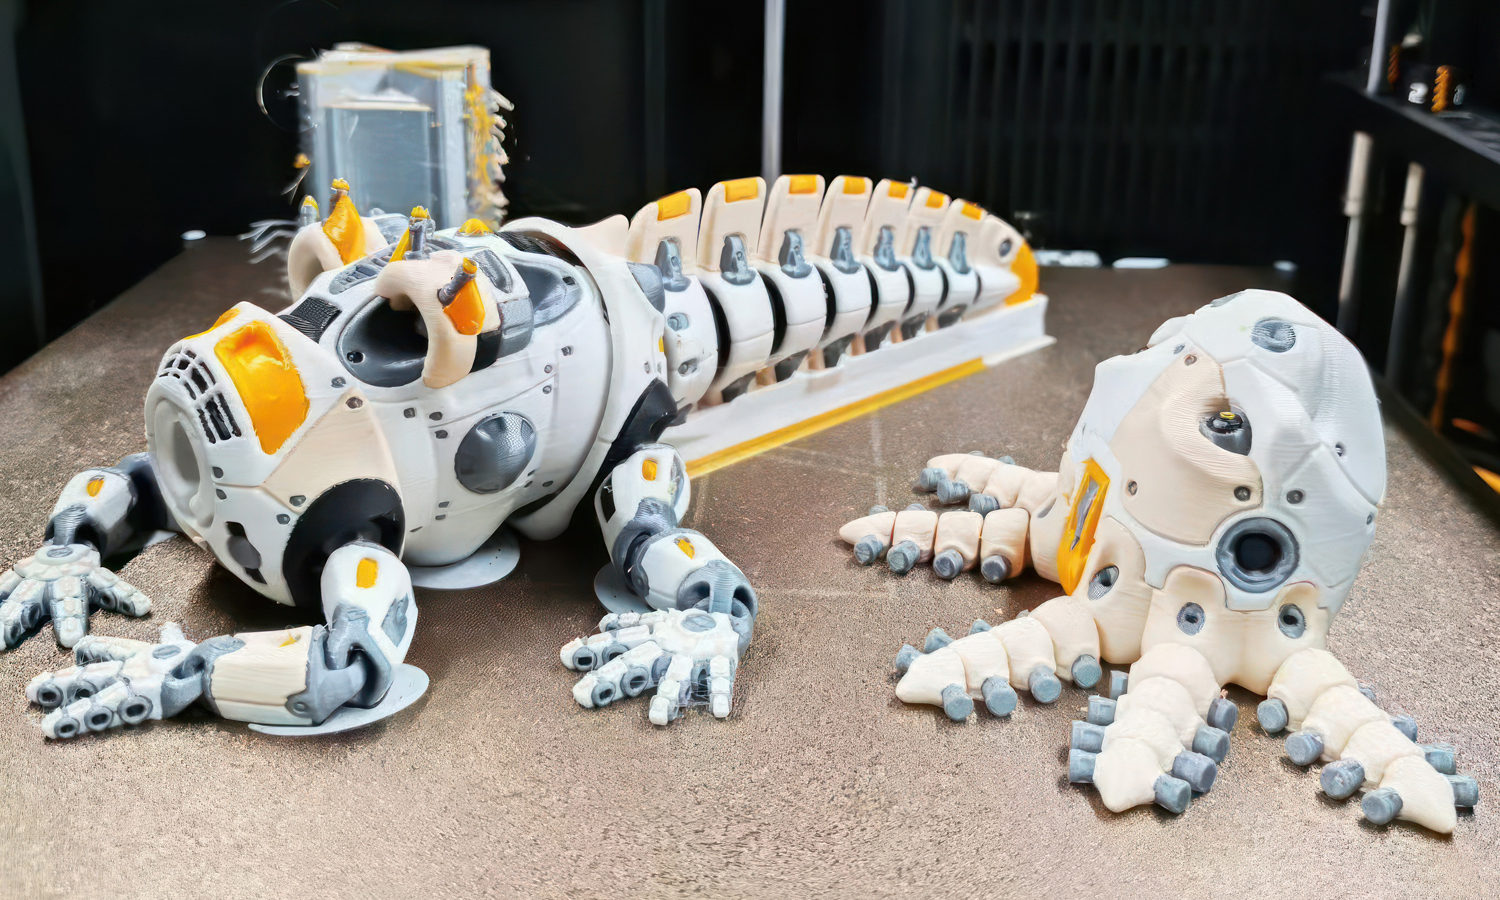
White and cream form the shell panels, with bright yellow accents and metallic silver-gray mechanical details. Automatic filament changes built these colors into the FDM print. The body and tail hinges are printed in place and move without extra pins. The head is printed separately and snaps onto the body.

Planning a multicolor character or a toy with moving joints? Send FacFox your model and color layout to discuss filament selection, joint clearances, and print preparation. FacFox website · info@facfox.com

Challenge

The small gaps between body and tail segments have to stay open through the print. Stray filament or excess extrusion in a hinge can bind a joint, while color changes across the face, gills, and armor make clean color boundaries important throughout the 30-hour build.


Solution

  • Step 1: Review the body and head files. Check the gaps at the body and tail hinges in the slicer preview, especially if the model is resized.
  • Step 2: Assign white, cream, bright yellow, and metallic silver-gray to the corresponding regions. Map each color to the automatic feeder and use profiles appropriate to the loaded filament.
  • Step 3: Review the first-layer footprint around the feet and tail, and preview any supports near the head. Keep added support out of the hinge gaps.
  • Step 4: Print using multicolor FDM with automatic filament changes. The build took 30 hours, with the interlocking body and tail joints formed together on the build plate.
  • Step 5: After the plate cools, remove the printed parts and trim any adhesion aids or head supports as applicable. Snap the separately printed head onto the body using the designer’s assembly method.
  • Step 6: Gently articulate the body and tail segments one at a time. Check for fused gaps, trapped strands, or rubbing between panels, and inspect color boundaries around the face and tail.