SLA 3D Printed Clear Resin Effect Part for Anime Statues

SLA 3D Printed Clear Resin Effect Part for Anime Statues

facfox-case-study
Process 3D Print, Support Removal, Post Curing, Polish
Material Resin
Quantity 1 pcs
Price Range $1-100
Lead Time 3 workdays

Gallery
About Project

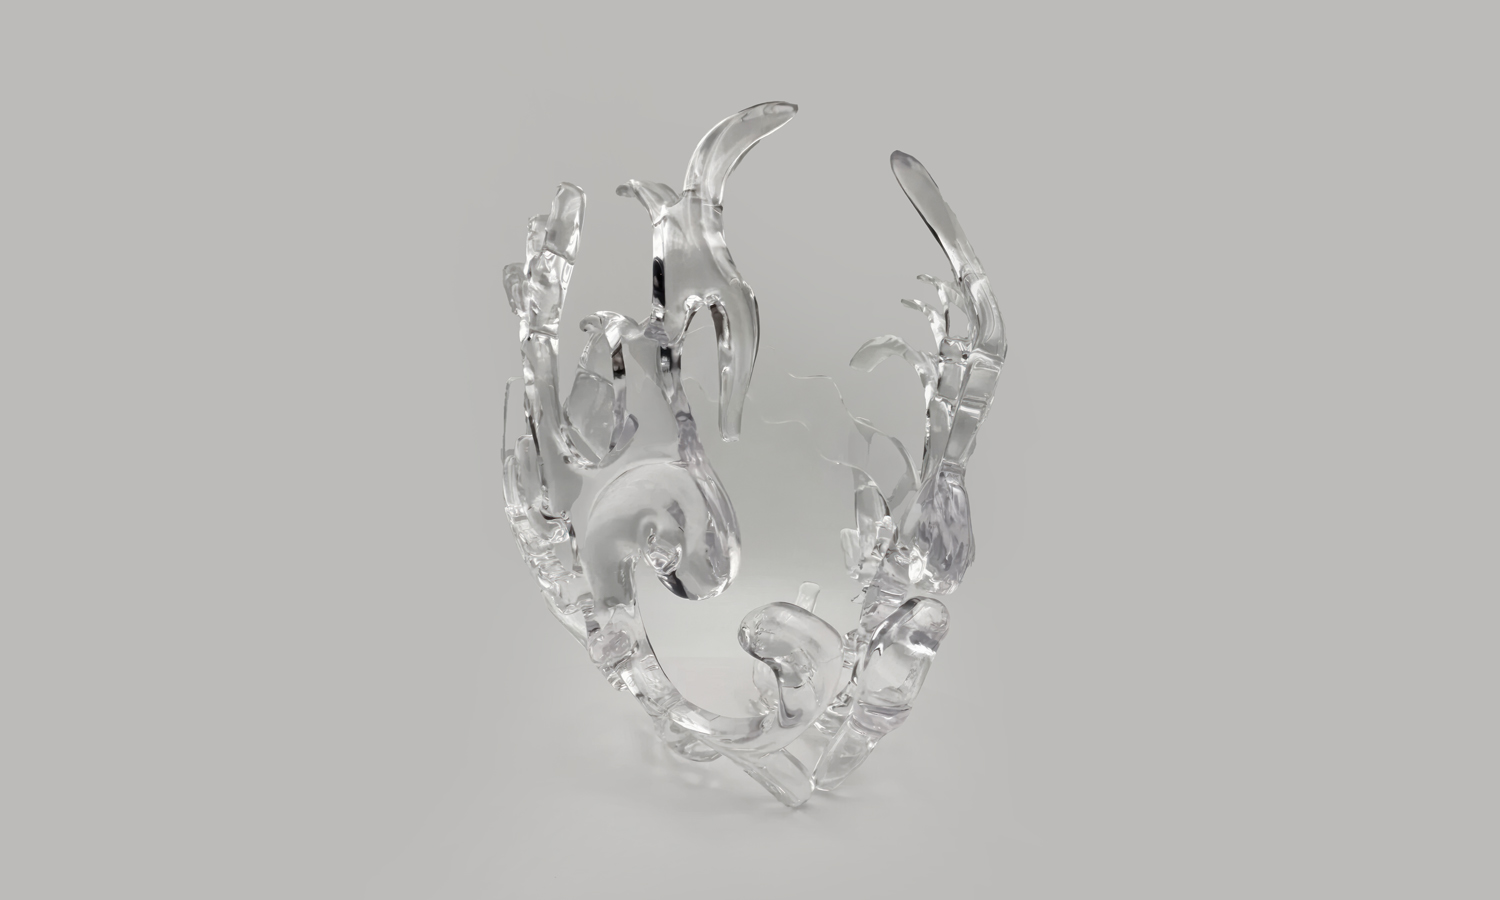
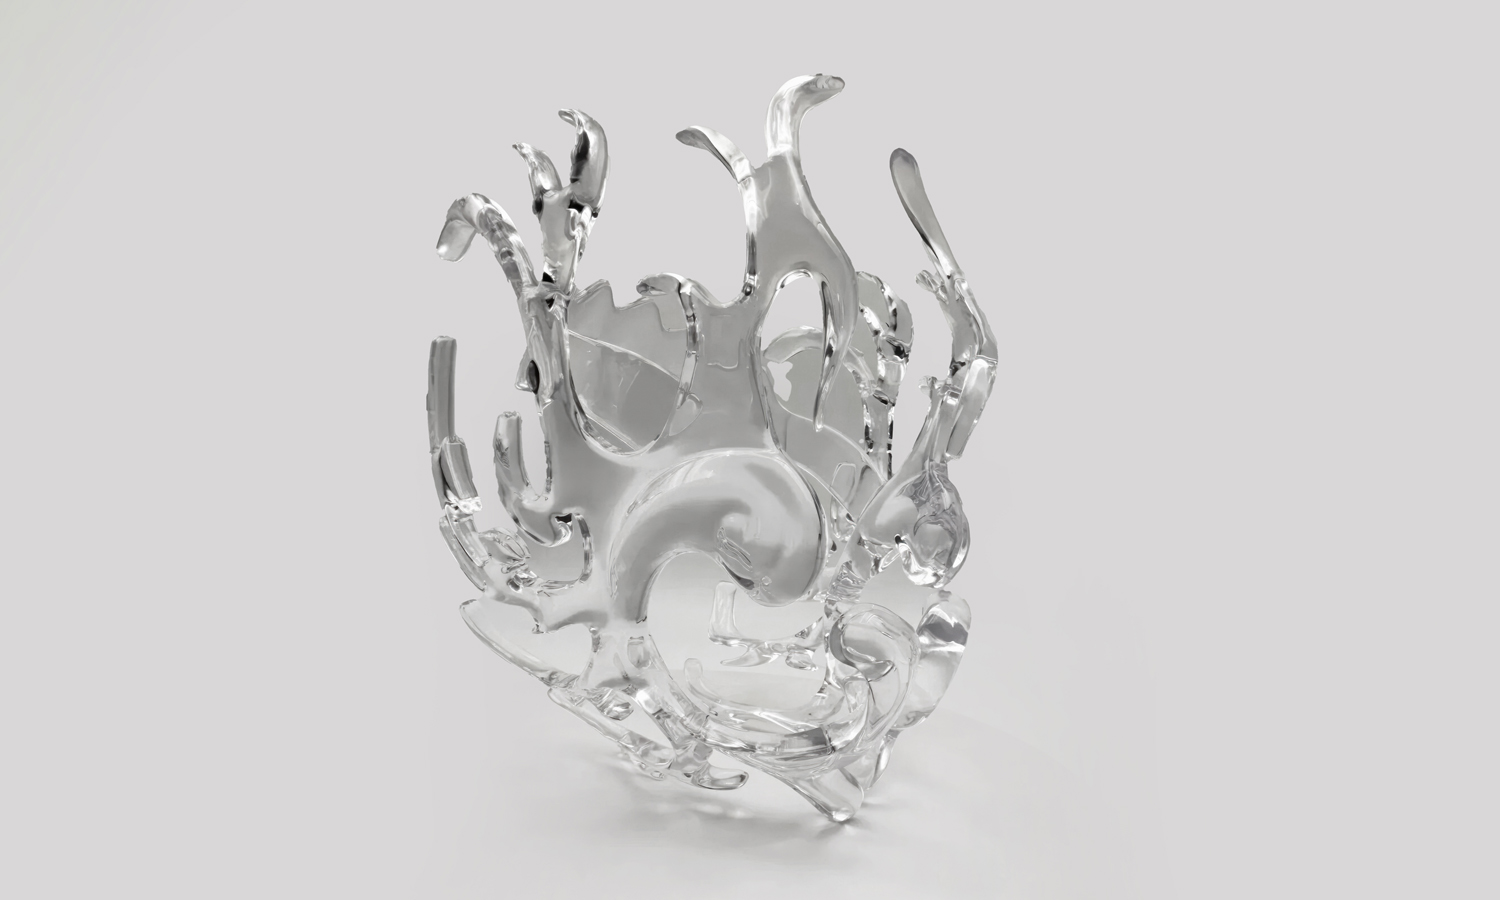
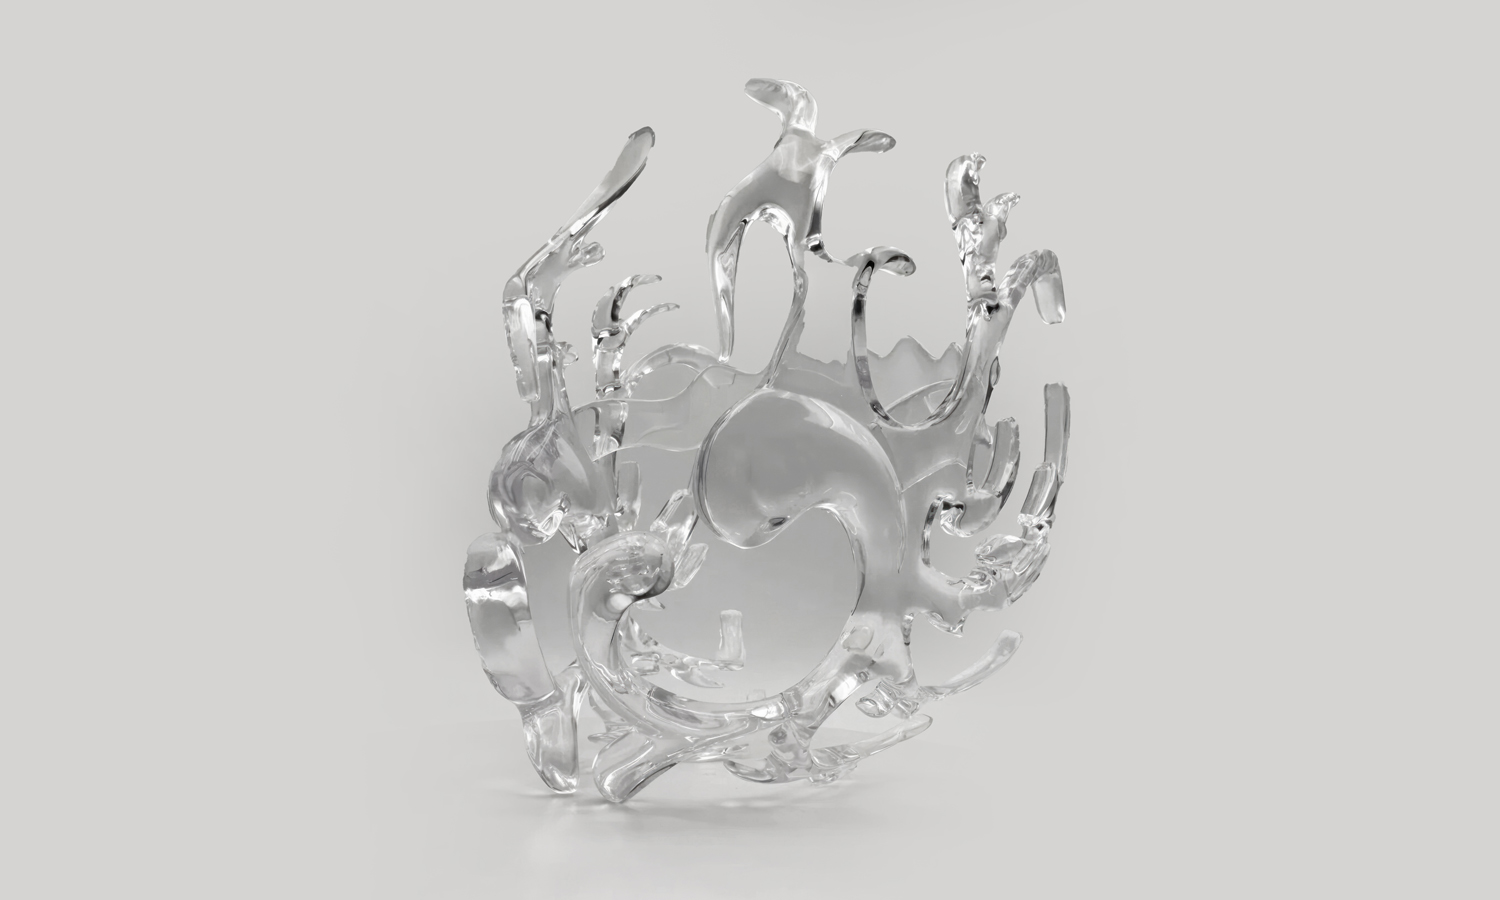
This clear sculptural component is designed as an effect part for an anime statue or GK model. Its upward spiral and flowing silhouette can suggest flames, water, wind, ice, or an expanding energy aura around the character.

The central opening includes supporting and locating features for the main figure. It can remain crystal clear for a frost or storm effect, or receive transparent gradient colors to create fire, water, or magical energy. Contact FacFox or upload your 3D files for a quote.

Challenge

The complex spiral form combines thin rising tips, deep curves, open gaps, and a central cavity used to hold or frame a character figure. Support marks, residual resin, uneven curing, or inconsistent sanding would remain visible through the transparent material. The project therefore required both structural control around the mounting features and meticulous surface finishing across every accessible face to achieve a uniform, glass-like appearance.

Solution

  • Step 1: Recommend a suitable process and material based on the client’s requirements and budget, assess printing and assembly risks, and discuss necessary model revisions with the client.
  • Step 2: Review the model for minimum thickness, fragile tips, trapped-resin areas, center of gravity, and the fit of the internal locating slots and support points.
  • Step 3: Select high-transparency SLA resin and orient the part to balance print stability, drainage, optical quality, and access to the central cavity.
  • Step 4: Arrange supports on less visible surfaces and structurally stronger regions, keeping contact points away from sharp tips, key fitting faces, and major optical areas whenever possible.
  • Step 5: Print with controlled layer height and exposure, then wash the part thoroughly, allow it to dry, and complete a carefully controlled UV post-cure to limit distortion and discoloration.
  • Step 6: Remove supports gradually, trim contact points, repair minor pits, and check all thin branches and mounting features for damage.
  • Step 7: Wet-sand the surface through progressively finer abrasive grades, paying special attention to curved transitions, support-contact areas, and edges visible through the clear body.
  • Step 8: Polish the resin with fine compound and wax, then apply a compatible high-gloss clear coat in a clean environment to restore uniform transparency and surface depth.
  • Step 9: Inspect the finished part under transmitted and reflected light, verify clarity, bubbles, scratches, sharp edges, and fitting accuracy, and trial-fit it with the statue where available.