Gallery
About Project
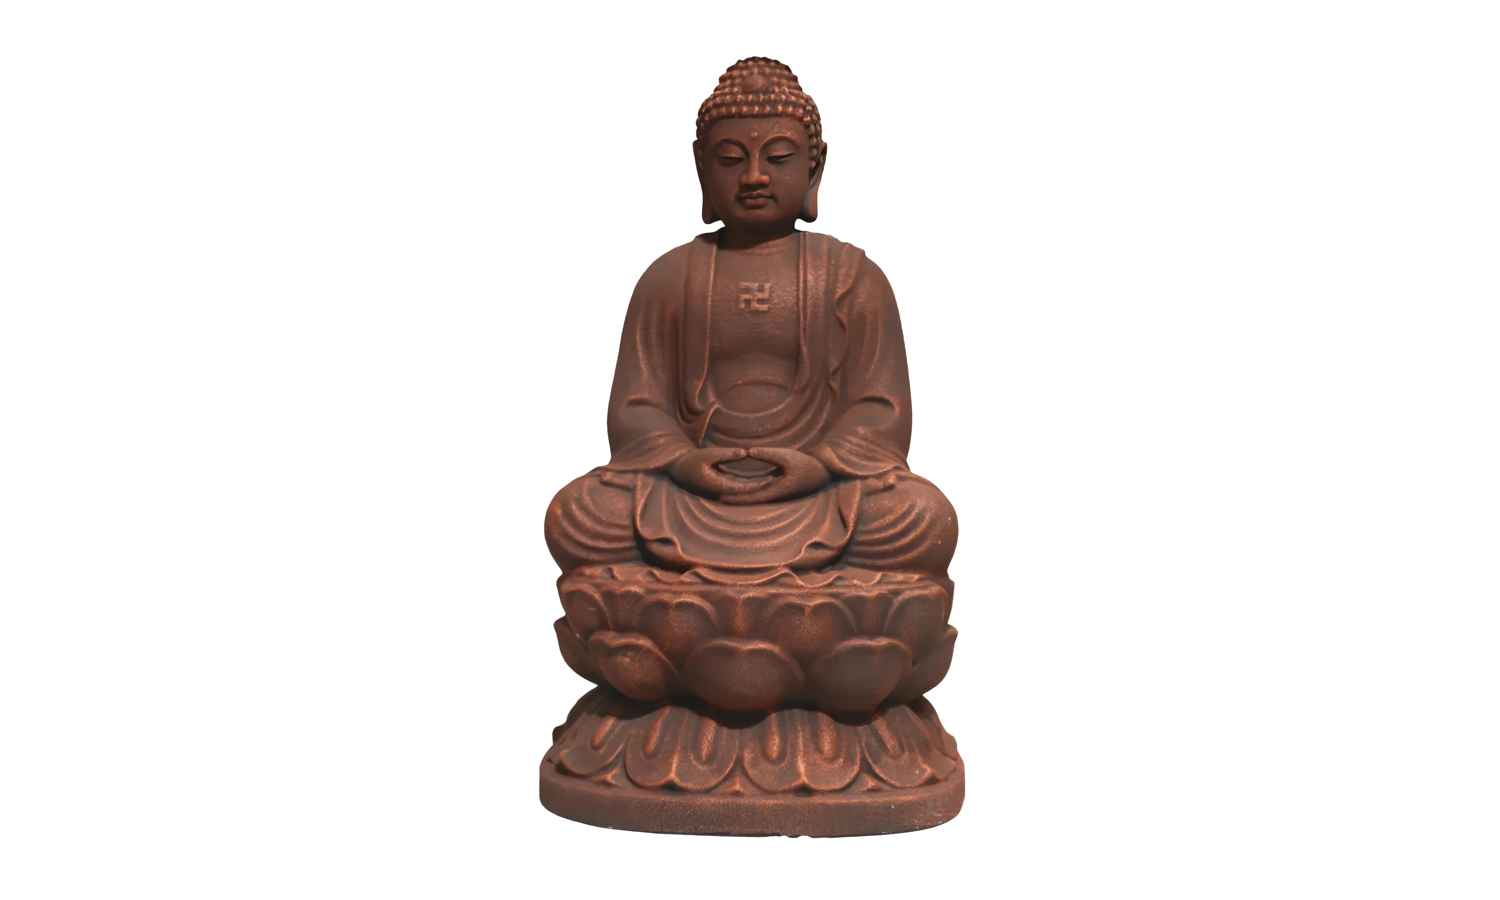
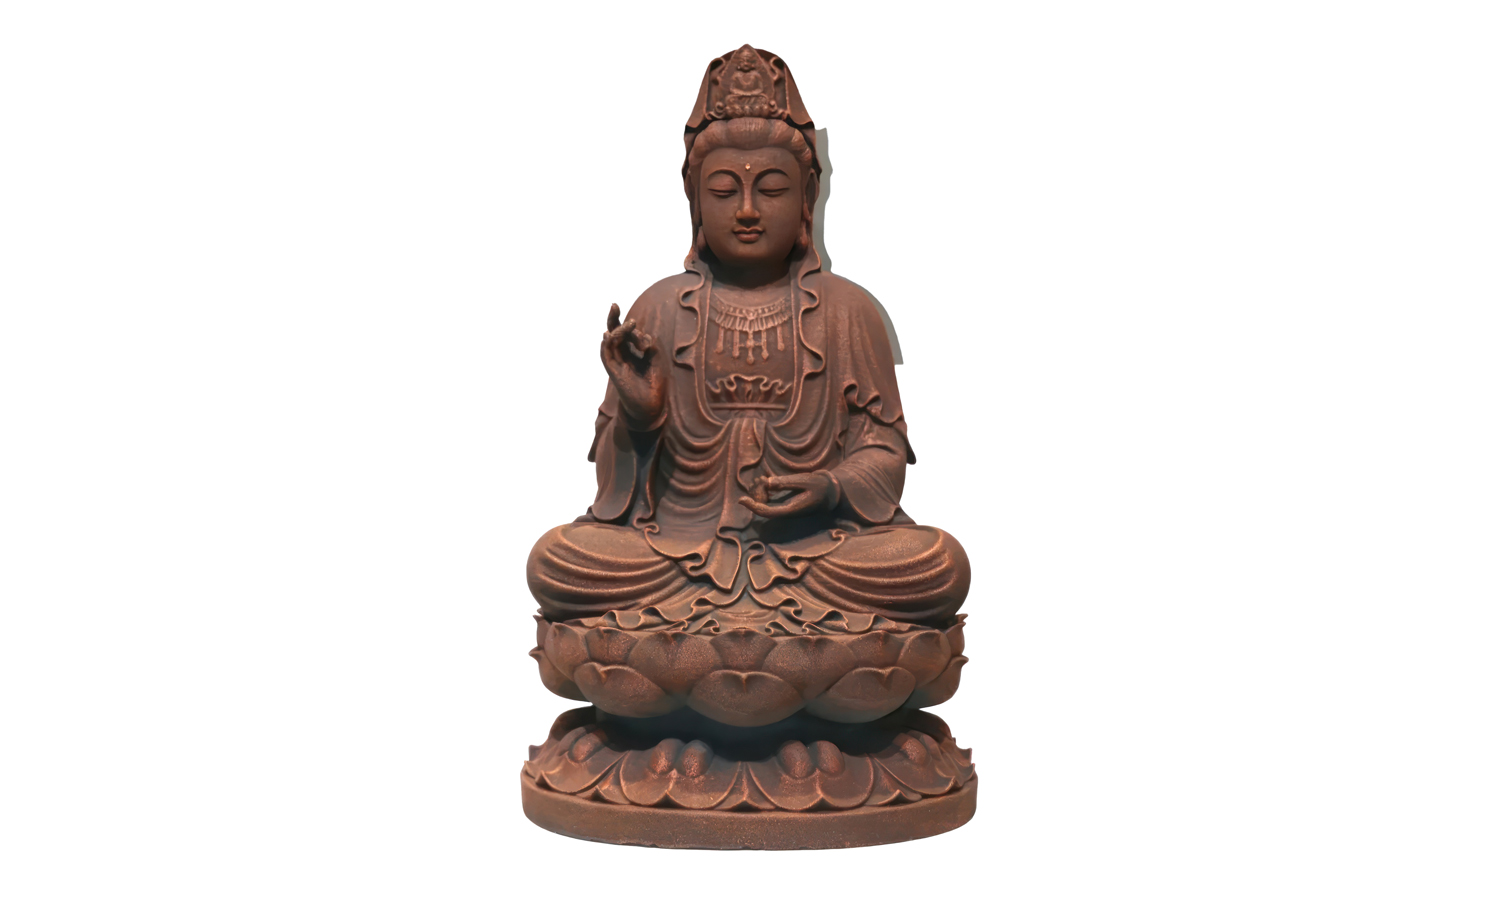
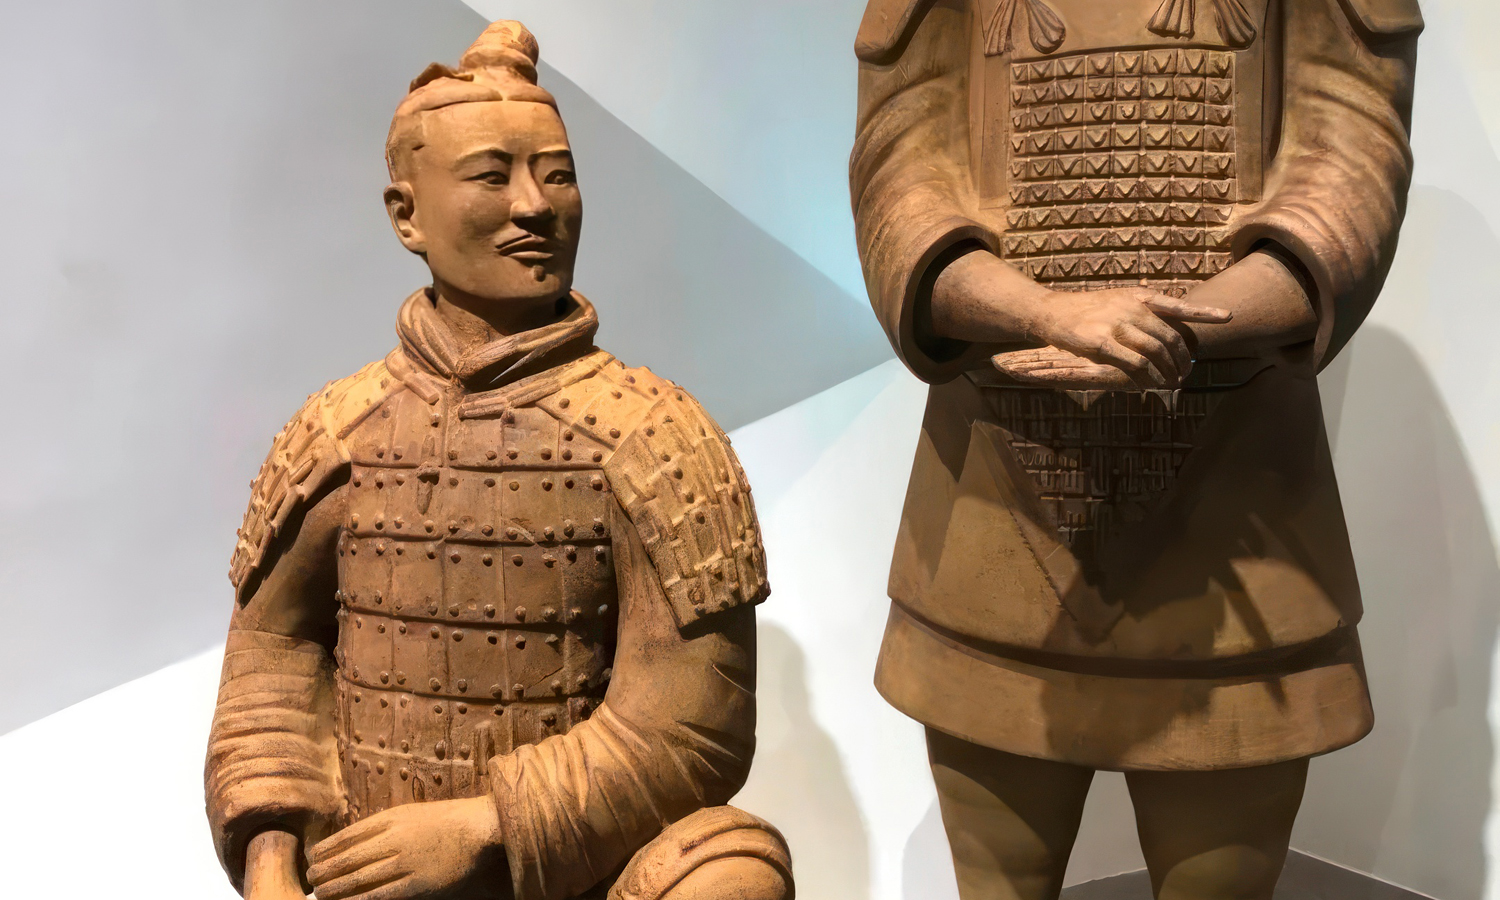
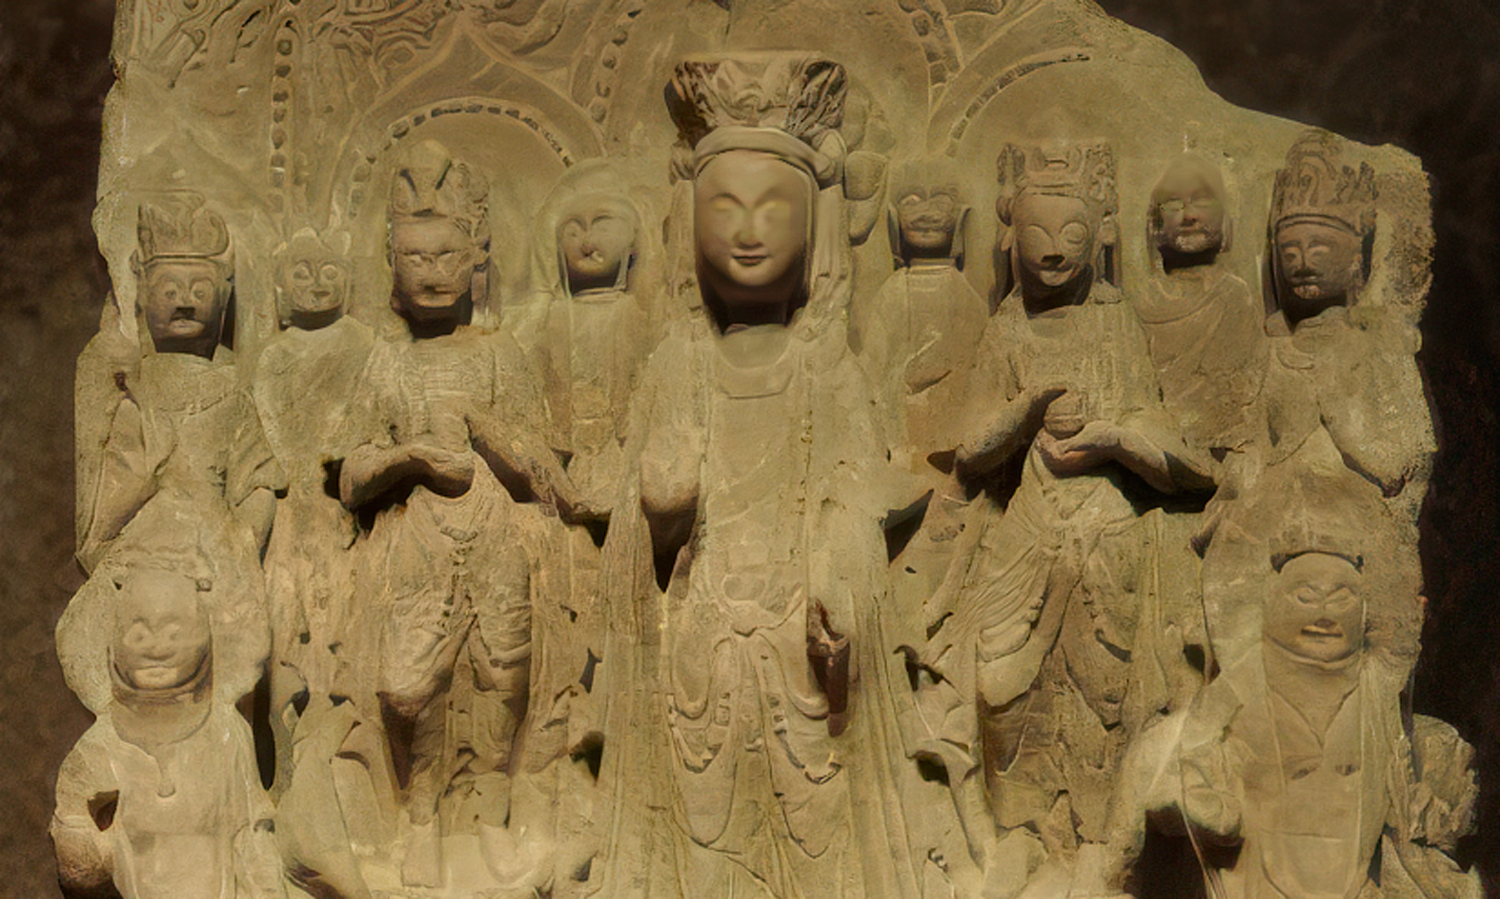
How can museums let visitors study a cultural artifact closely while keeping the original protected? This collection demonstrates a practical answer through Binder Jet 3D printed sandstone replicas.
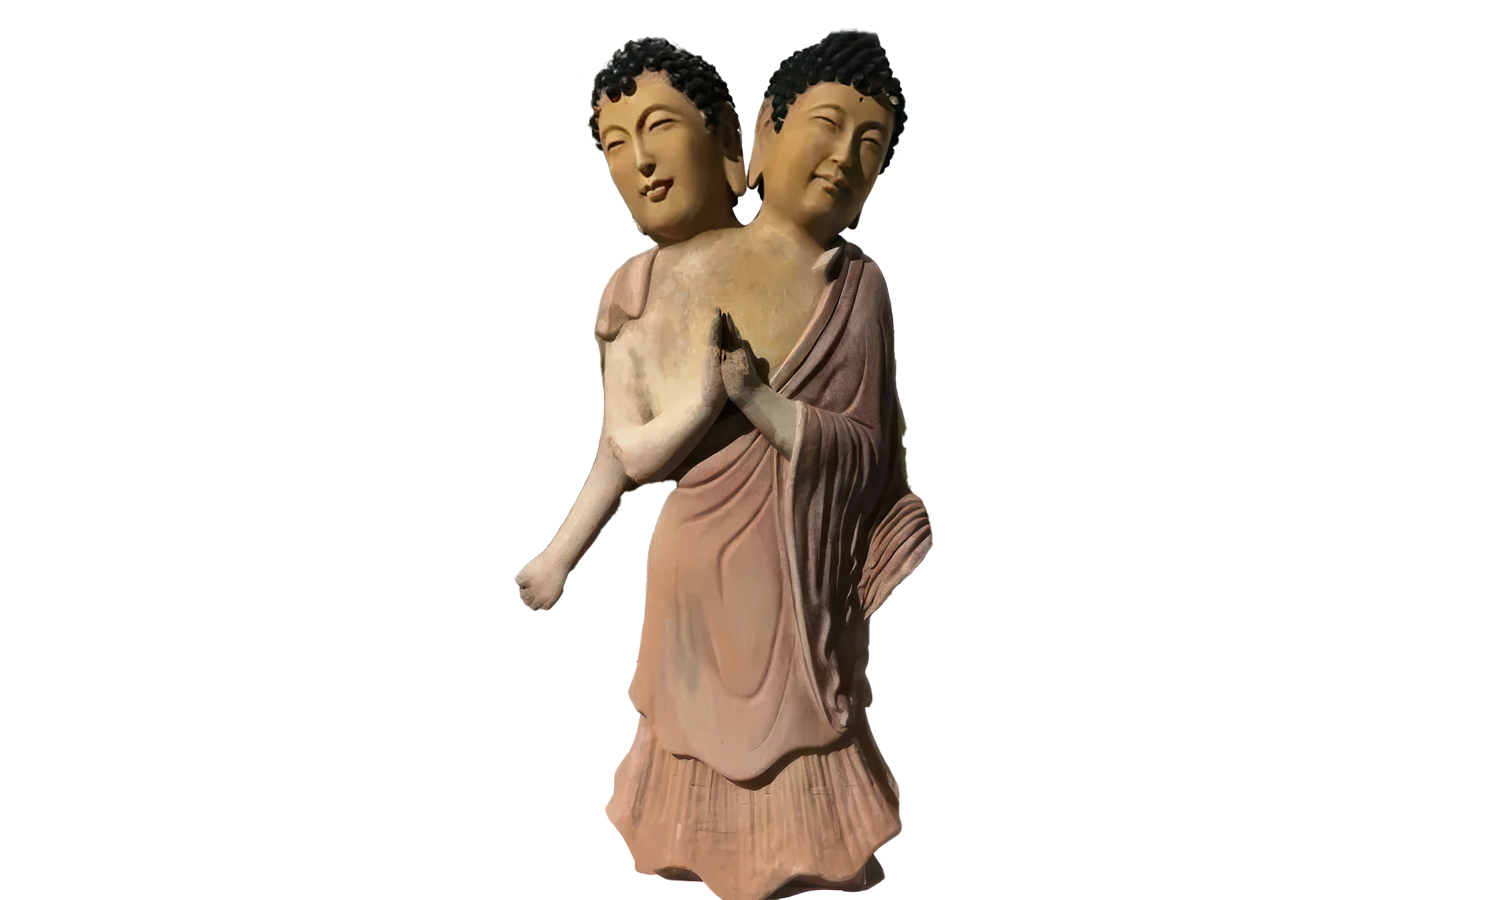
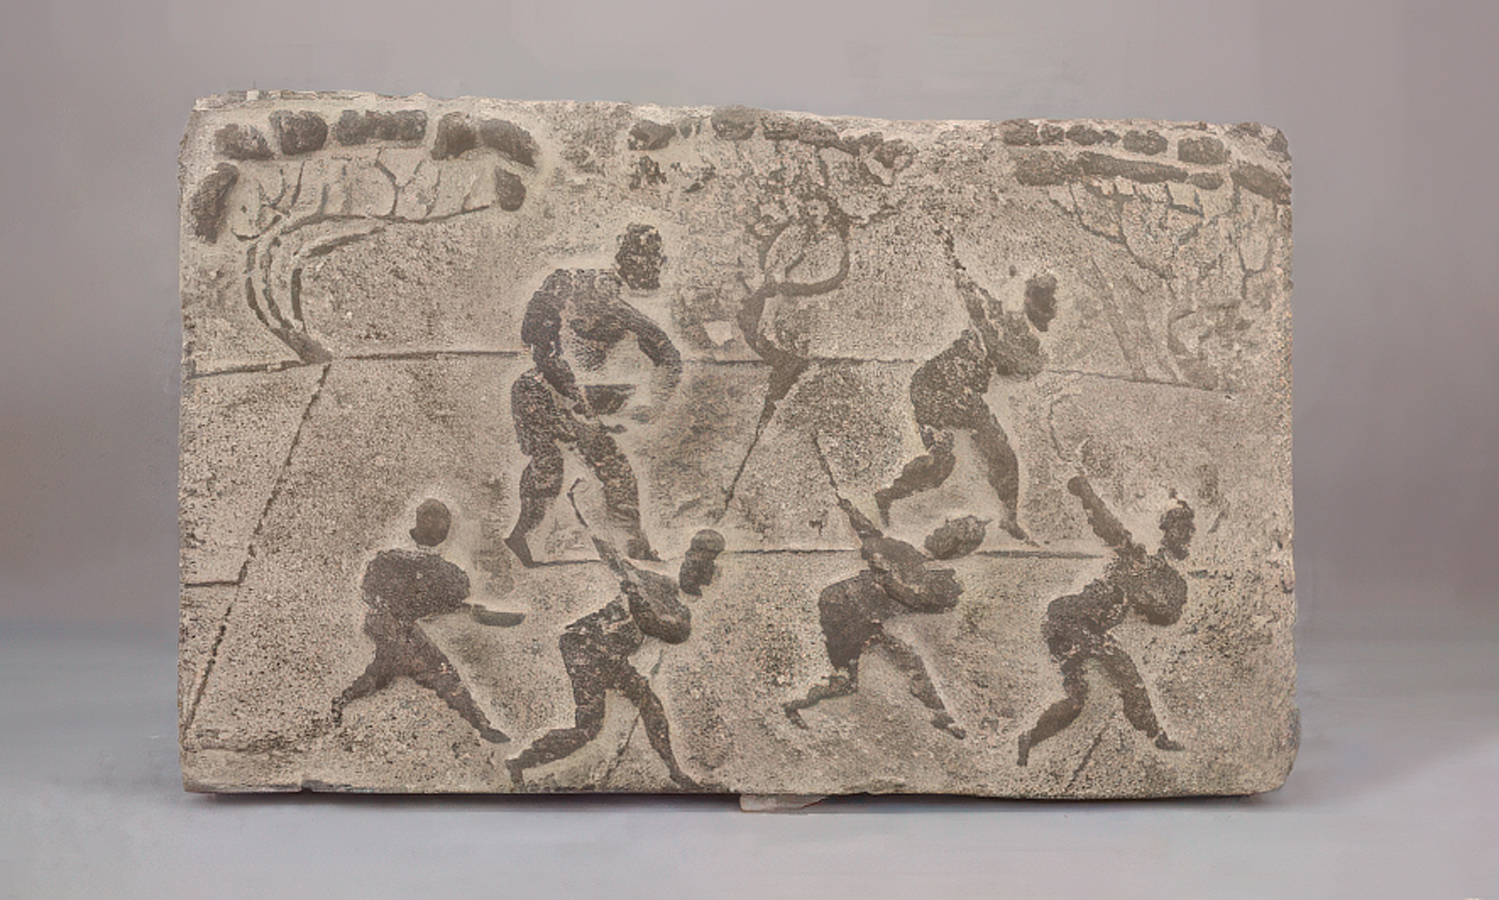
The reproduced subjects range from terracotta warriors and seated Buddhist figures to complex devotional sculptures and narrative relief panels. Their visual impact depends on very different details: facial expressions, layered robes, armor plates, lotus petals, delicate halos, clustered figures, and weathered carved surfaces. Converting these forms into physical replicas requires more than simply enlarging or reducing a file. Digital geometry must be checked, damaged areas interpreted carefully, fragile features reinforced where necessary, and larger objects divided for reliable production and assembly.
Binder Jetting builds each sandstone or sand-based composite part inside a powder bed, allowing complex shapes to be produced without dedicated support structures. After printing, loose powder is removed and the replicas can be strengthened, sealed, stained, painted, or given an aged finish to suit the intended display. The resulting objects provide a convincing sense of volume and texture while protecting the originals from frequent transport or direct contact.
For museums, universities, cultural institutions, traveling exhibitions, and educational programs, such replicas can support hands-on interpretation, comparative displays, accessibility initiatives, conservation planning, and gift development. They also make it possible to reproduce one digital archive at multiple scales or locations. Contact FacFox to discuss a heritage reproduction project, or upload your 3D files for a quote.
Solution
EN:
- Step 1: Define the replica’s purpose, viewing distance, target scale, handling requirements, and acceptable level of restoration with the curator or project team.
- Step 2: Obtain accurate geometry through non-contact 3D scanning, photogrammetry, or an existing digital archive, depending on the artifact and available records.
- Step 3: Clean the mesh, close unintended gaps, preserve meaningful damage, and reconstruct only the areas approved for digital restoration.
- Step 4: Adjust minimum thicknesses, reinforce vulnerable fingers or ornaments, hollow suitable volumes, and divide large replicas into printable sections with concealed joints.
- Step 5: Orient and nest the parts in the powder bed, then produce them in sandstone or a sand-based composite using Binder Jetting.
- Step 6: Excavate and depowder the parts carefully, apply the required strengthening or sealing treatment, assemble sections, and refine visible joints.
- Step 7: Apply the approved natural, stained, painted, metallic, or aged finish, complete a visual inspection, and prepare the replicas for exhibition or education.