Gallery
About Project
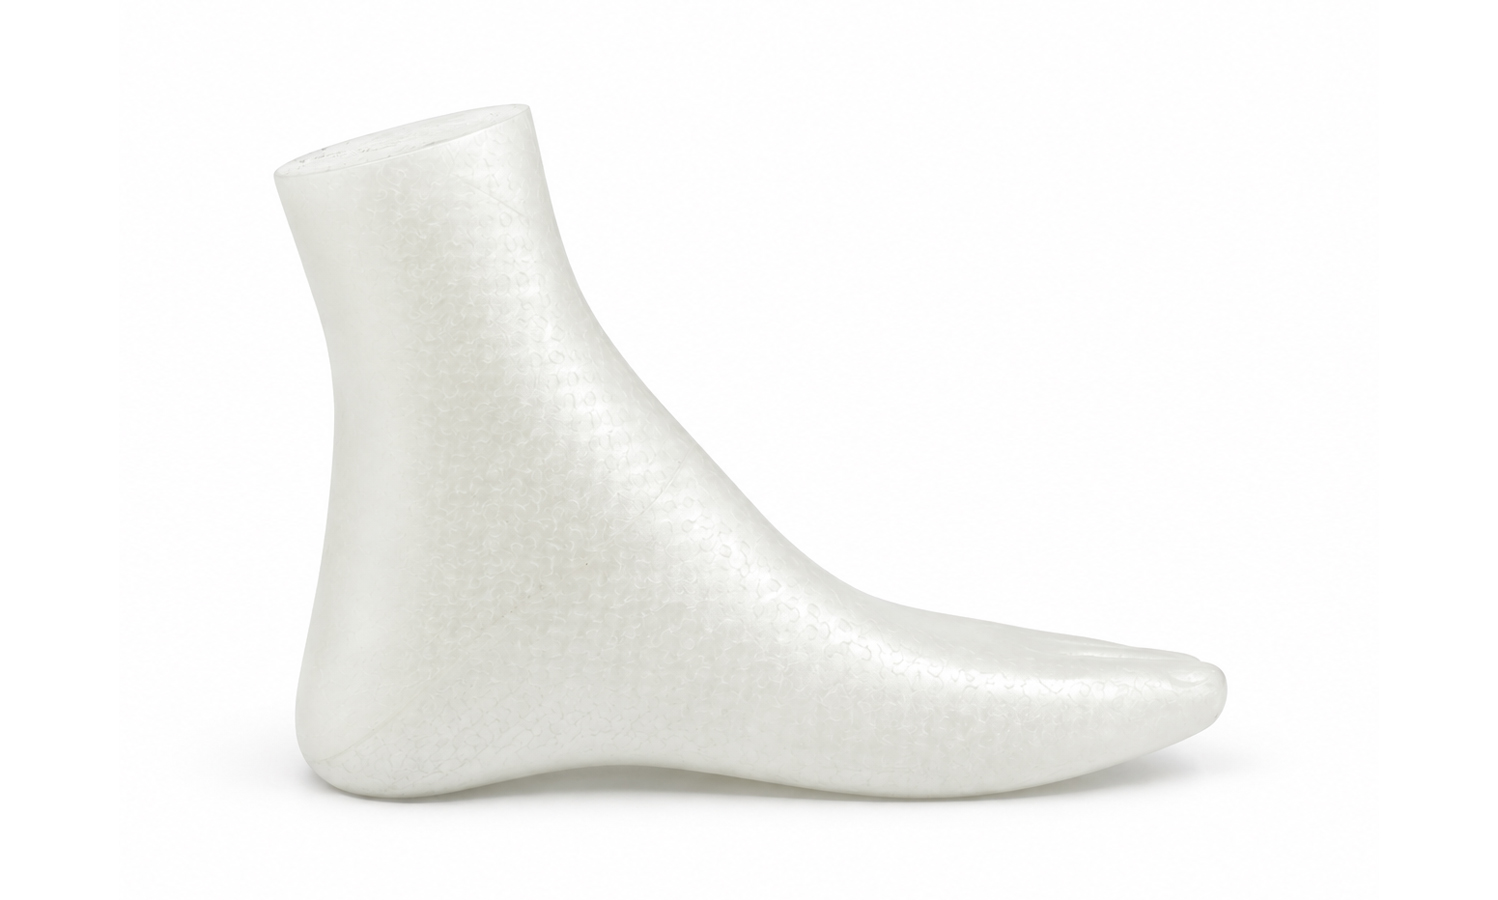
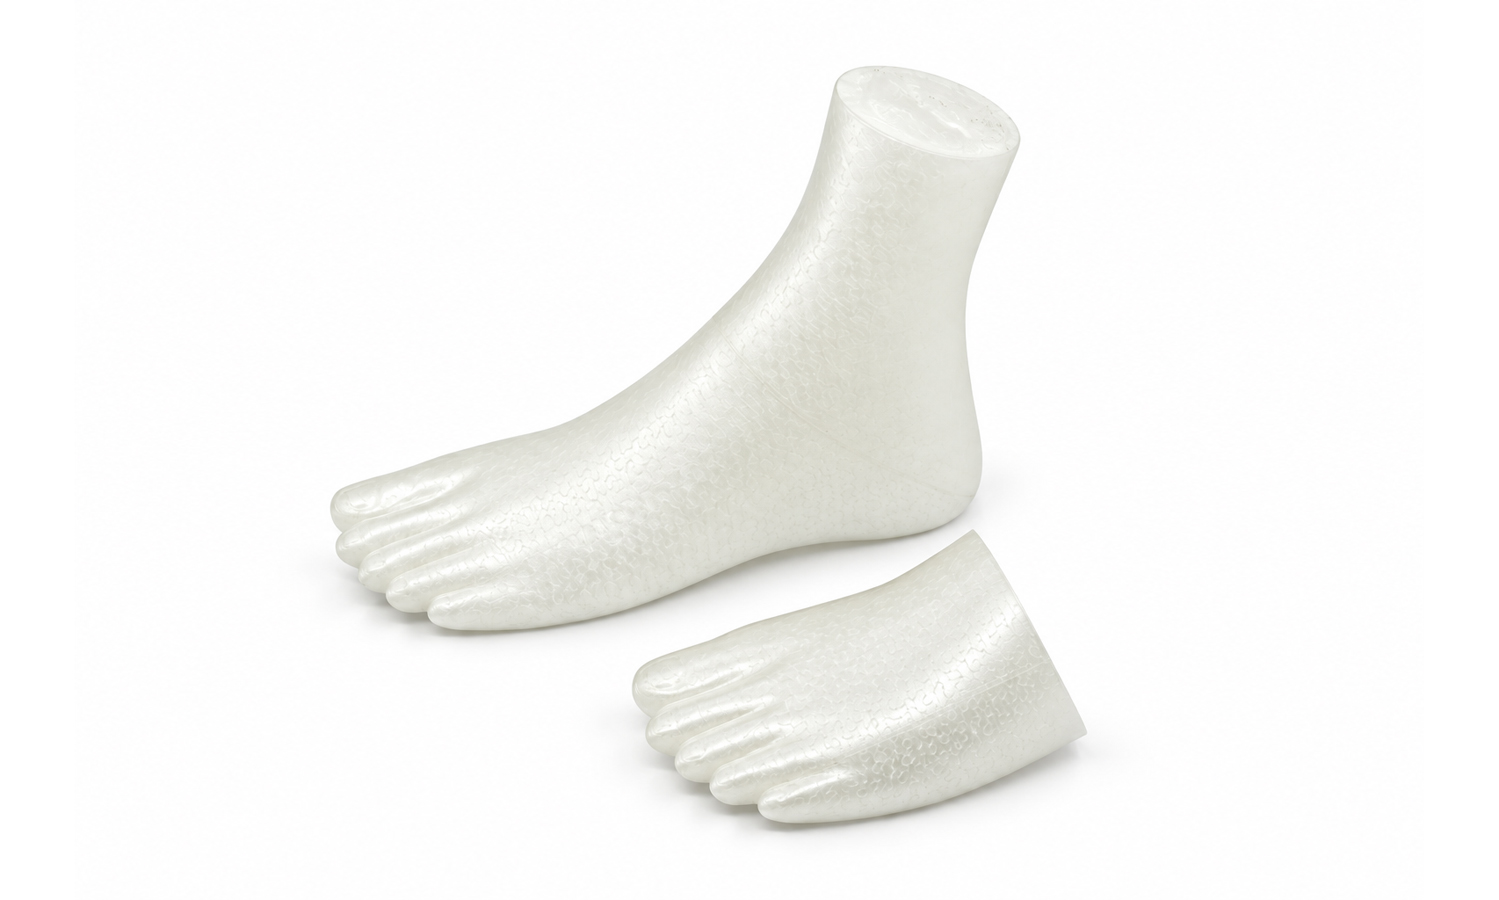
Don’t panic! This is not a real human foot. It is an FDM 3D printed PolyCast pattern made for a downstream investment casting application. PolyCast is designed to replace conventional wax patterns in this workflow: the printed form can be invested in a ceramic shell and later burned out, leaving a cavity for molten material.
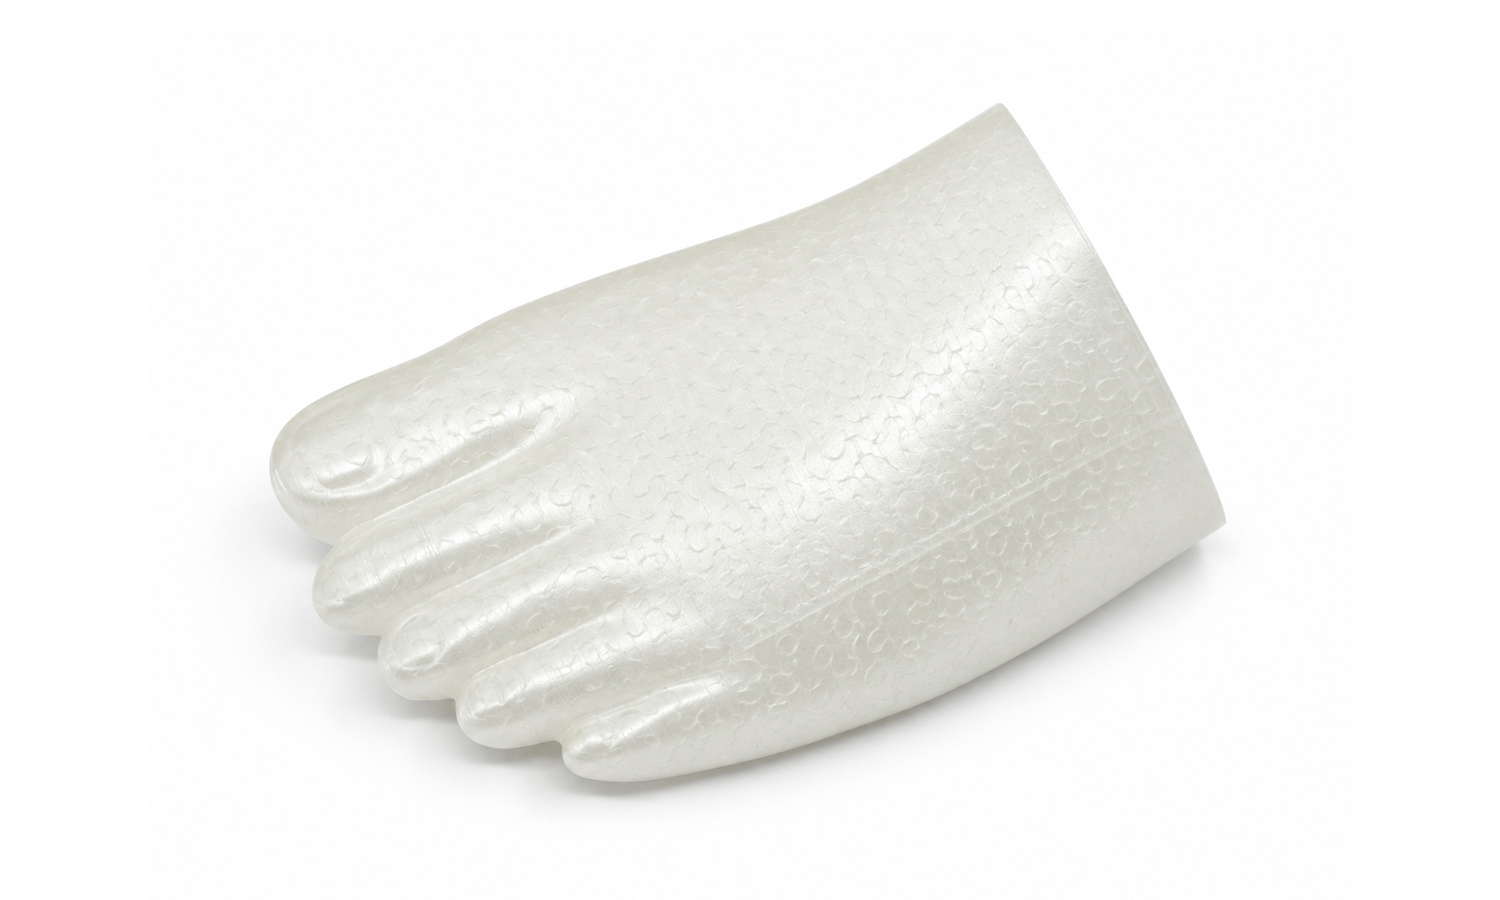
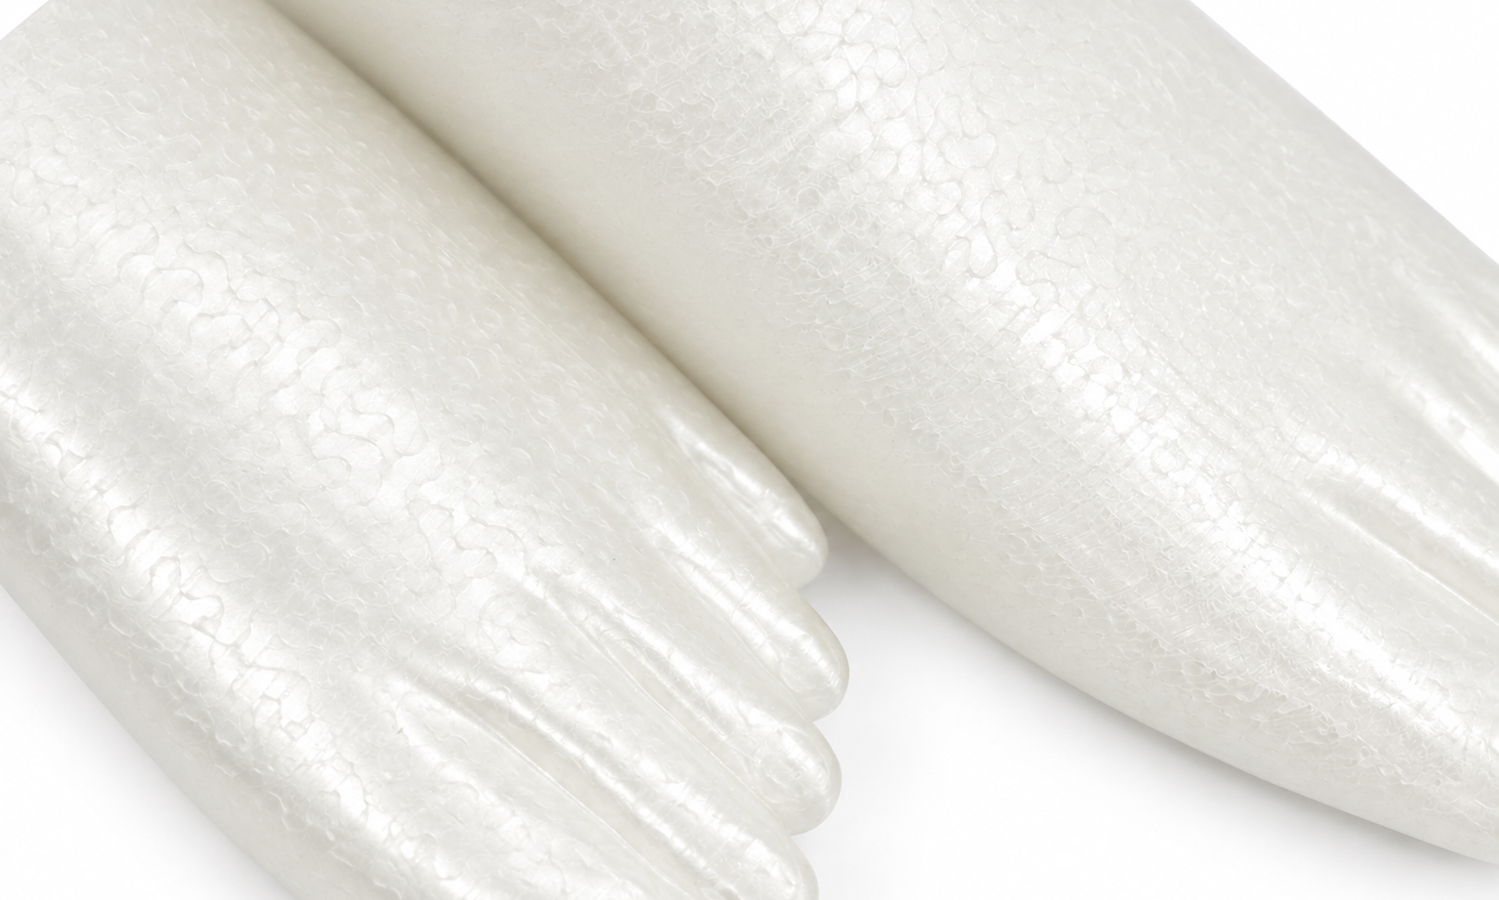
The foot was produced as two separate sections and bonded together after printing. Dividing the geometry made the model practical to manufacture while still allowing the assembled pattern to reproduce the full anatomical form. The resulting piece is surprisingly lightweight, and its pale, slightly translucent surface carries a cellular texture that looks a little like molded foam. Depending on the required casting finish, this texture and the bonded seam can be further refined before the pattern enters the foundry process.
This approach is useful for customized cast parts, anatomical forms, sculpture, art editions, and one-off geometries that would be expensive or slow to prepare with dedicated wax tooling. Need a complex casting pattern without committing to traditional tooling? Send FacFox your 3D file, target dimensions, and casting requirements for a custom FDM PolyCast manufacturing quote.
Challenge
The anatomical foot pattern had to be produced as two separately printed sections and then bonded into one continuous form. Accurate alignment was essential because any step, gap, or distortion at the joint could affect the downstream investment casting result.
The model also needed to preserve the overall foot geometry and toe details while remaining practical to print, assemble, handle, and prepare as a sacrificial casting pattern.
Solution
- Step 1: The foot model was reviewed as an investment casting pattern, including overall dimensions, anatomical continuity, toe details, wall strategy, and assembly requirements.
- Step 2: The geometry was divided into two printable sections, with a controlled joint area for alignment and bonding after production.
- Step 3: Both sections were manufactured by FDM 3D printing in PolyCast, producing lightweight sacrificial patterns without dedicated wax-injection tooling.
- Step 4: The printed sections were cleaned and dry-fitted to check the joint, external contours, and continuity of the foot shape.
- Step 5: The two sections were aligned and bonded into one complete foot pattern.
- Step 6: Final inspection checked the bonded seam, overall dimensions, toe geometry, surface condition, and readiness for any additional finishing required by the foundry.
- Step 7: The completed PolyCast pattern could then proceed to the client’s downstream investment casting workflow.