Gallery
About Project
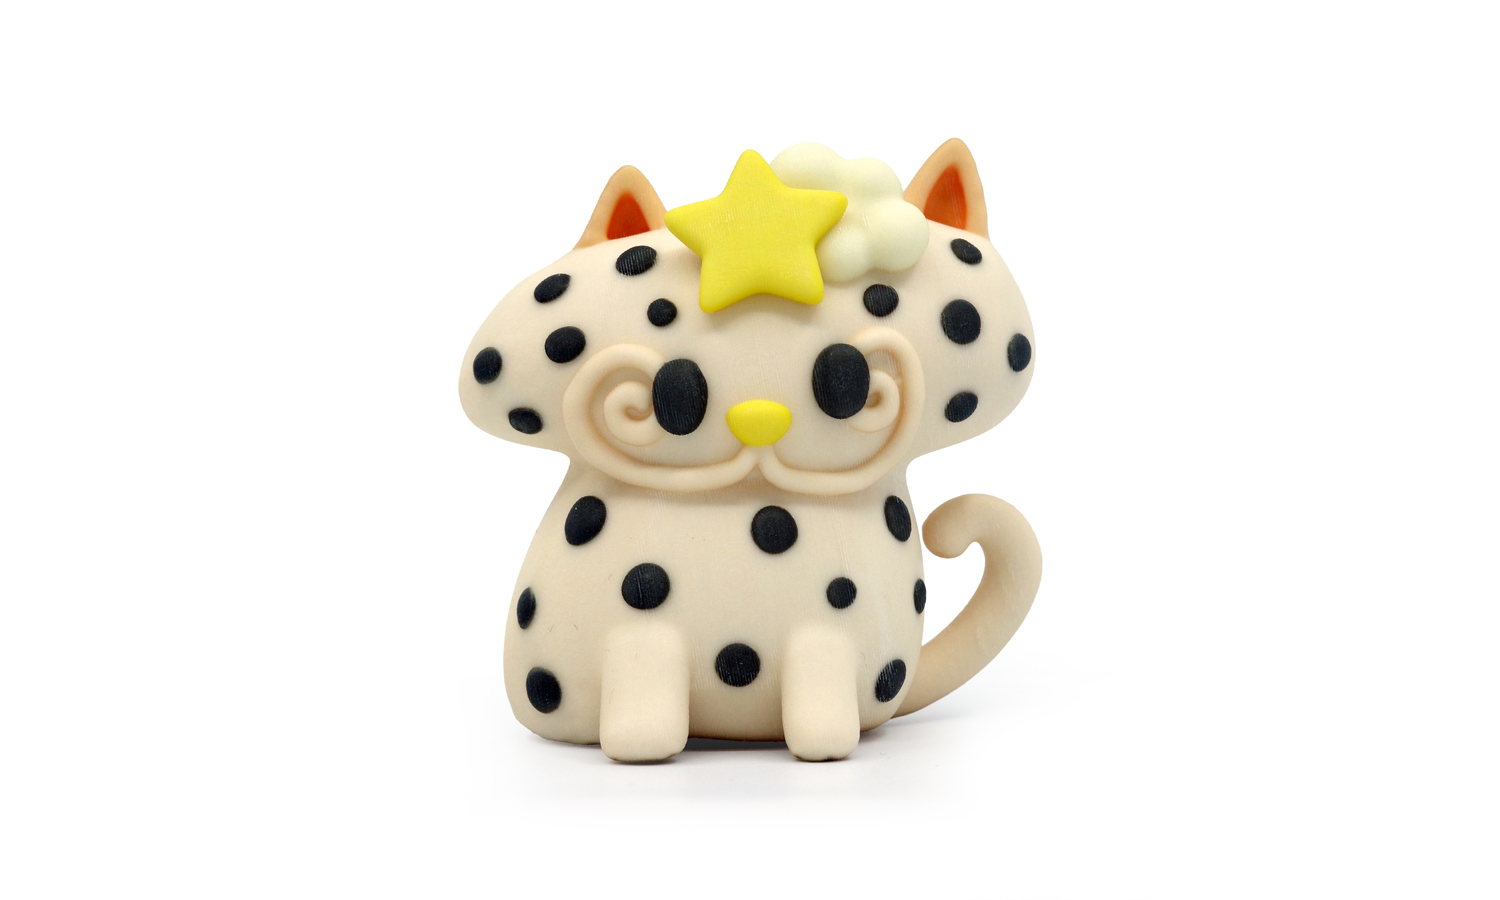
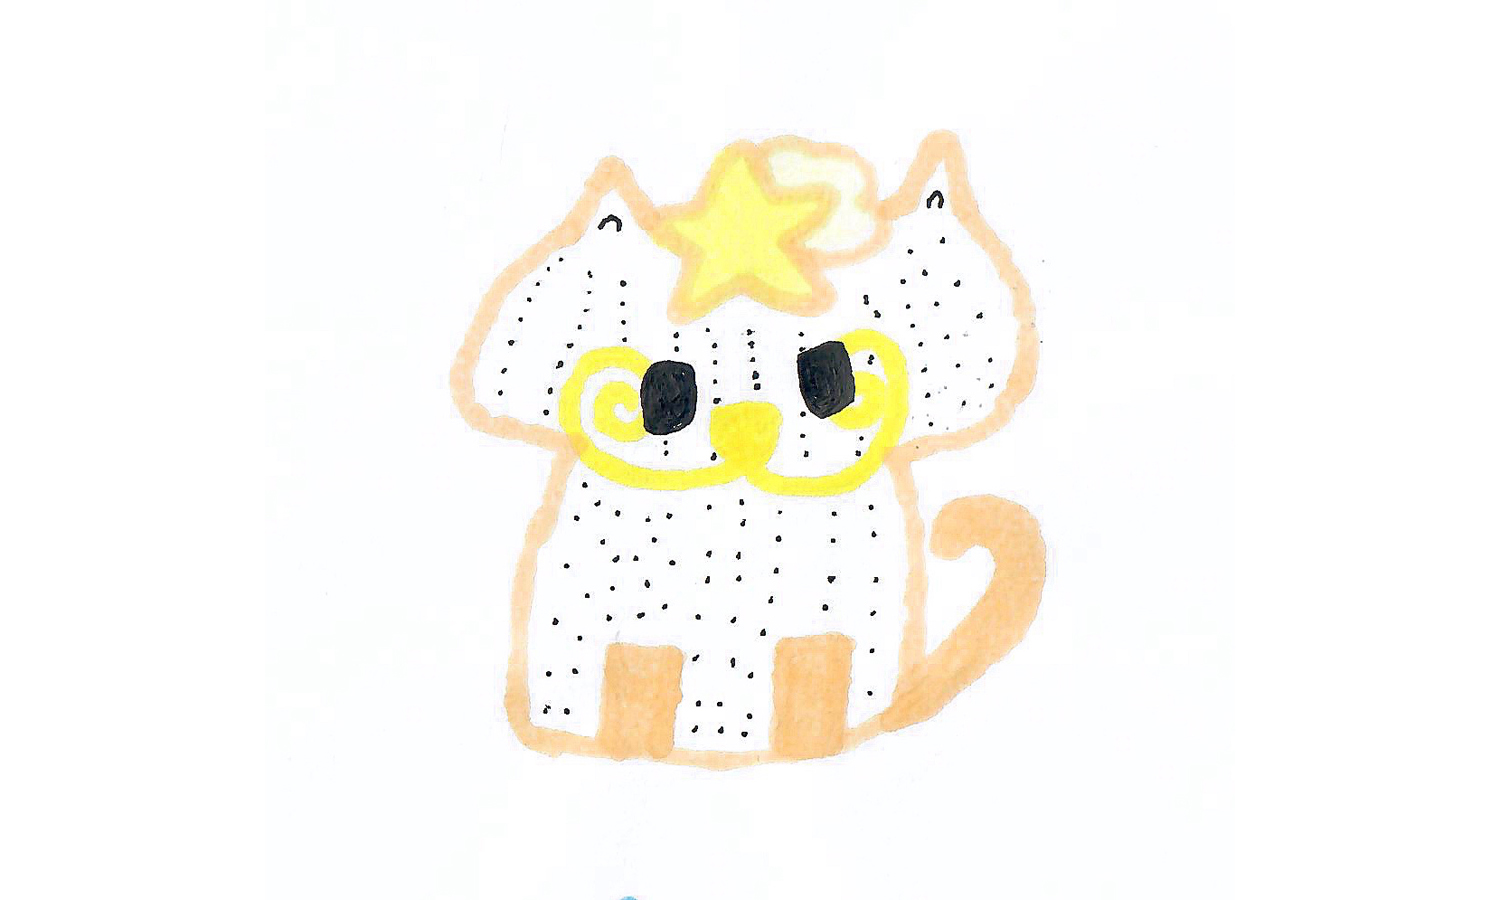
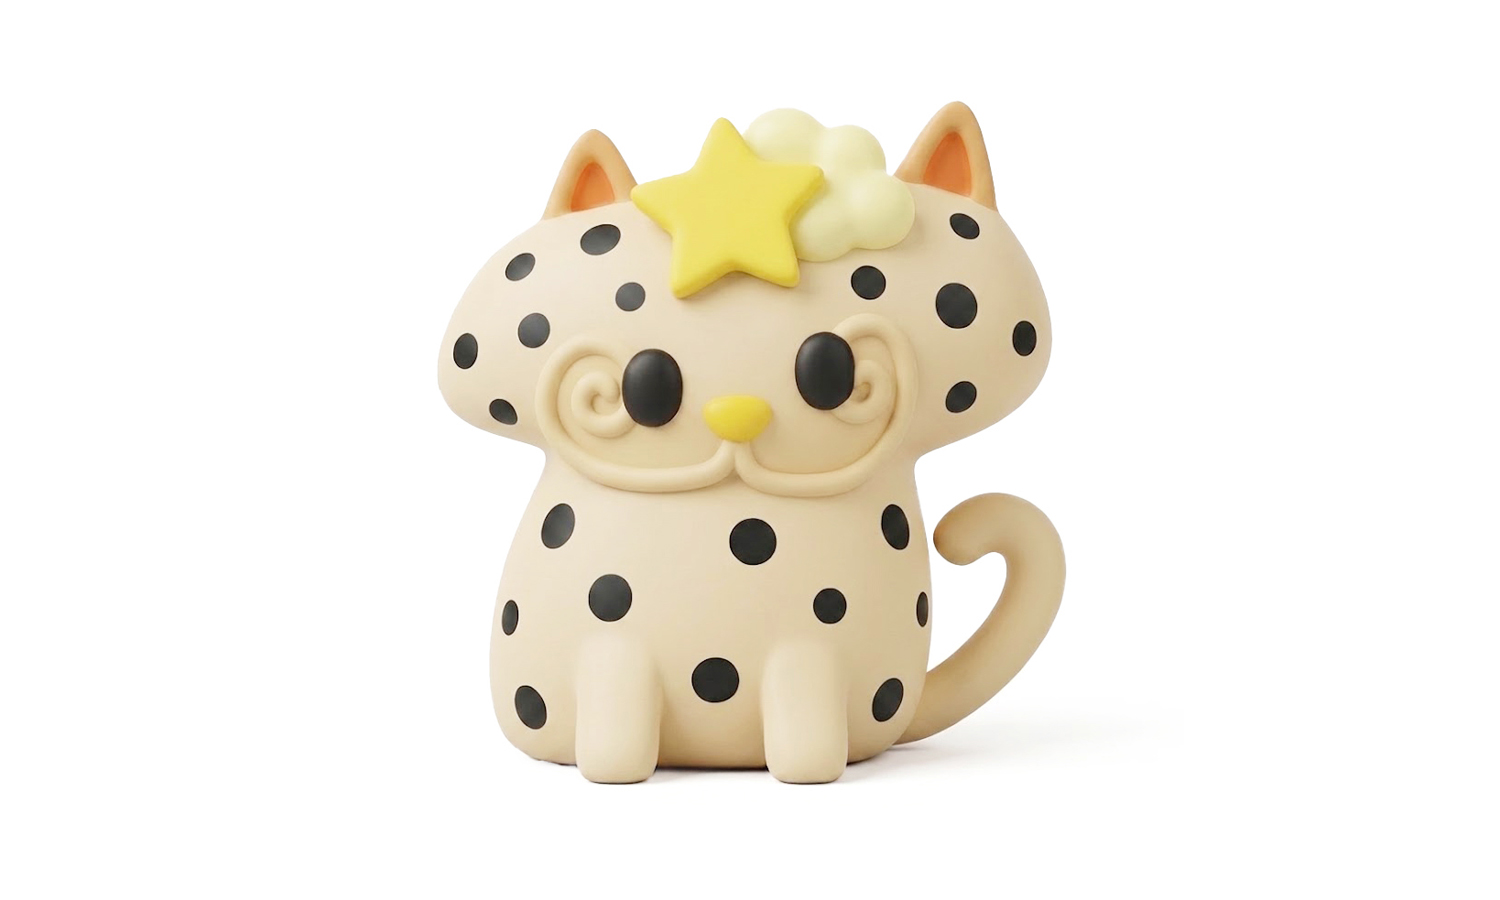
This project began with a drawing by one of our employee’s children: a sweet little Polka Dot Star Cat with black dots, a yellow star, a curled tail, and a glasses-like face detail. The goal was to turn the drawing into a small physical figure while keeping the cheerful, slightly imperfect charm of the original artwork.
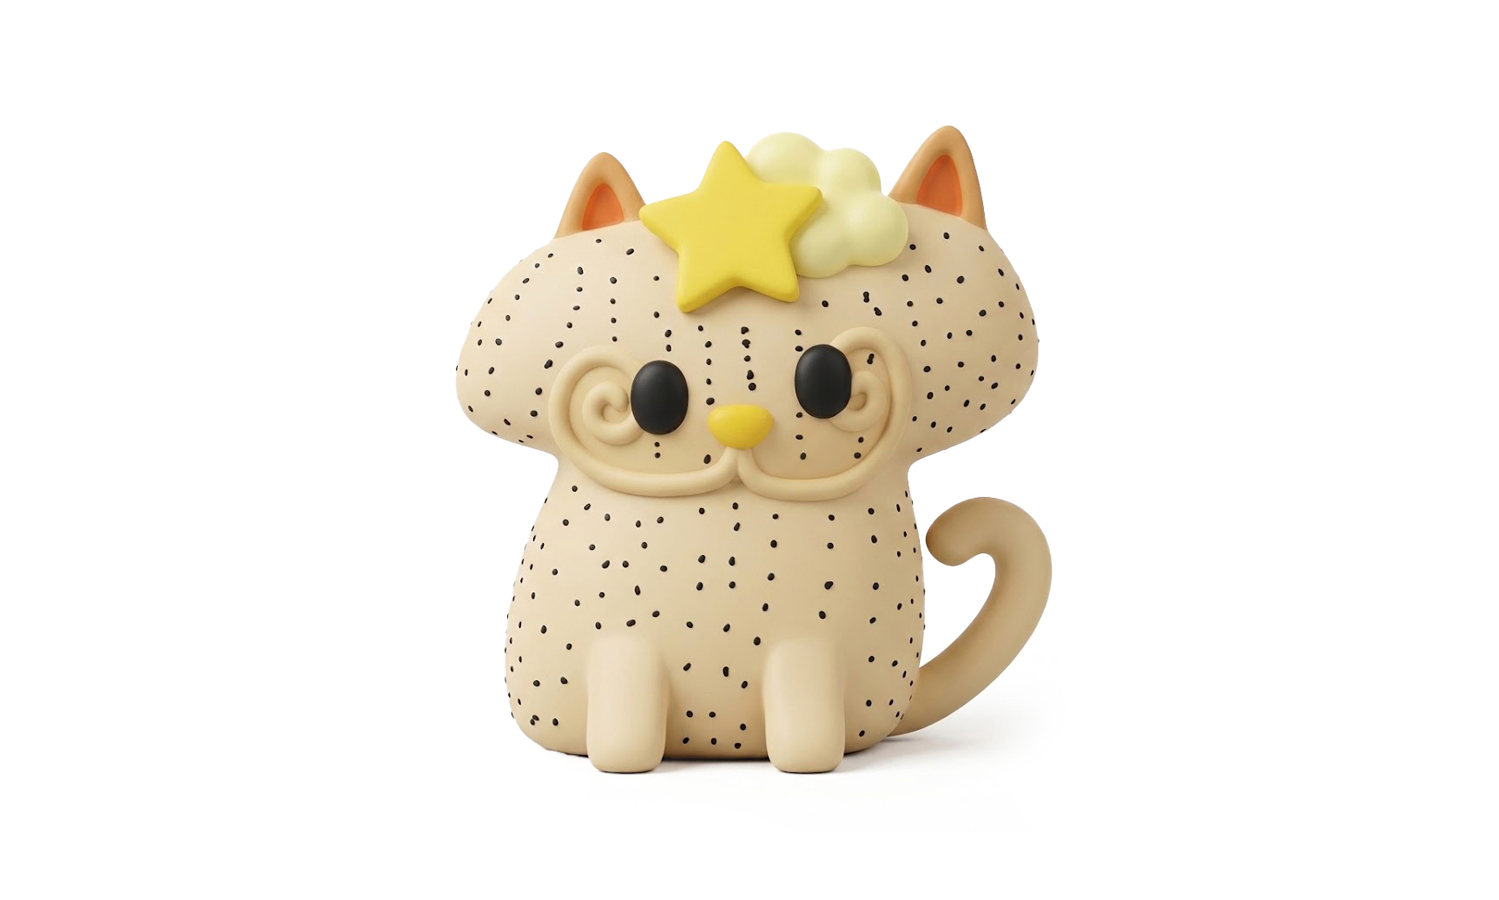
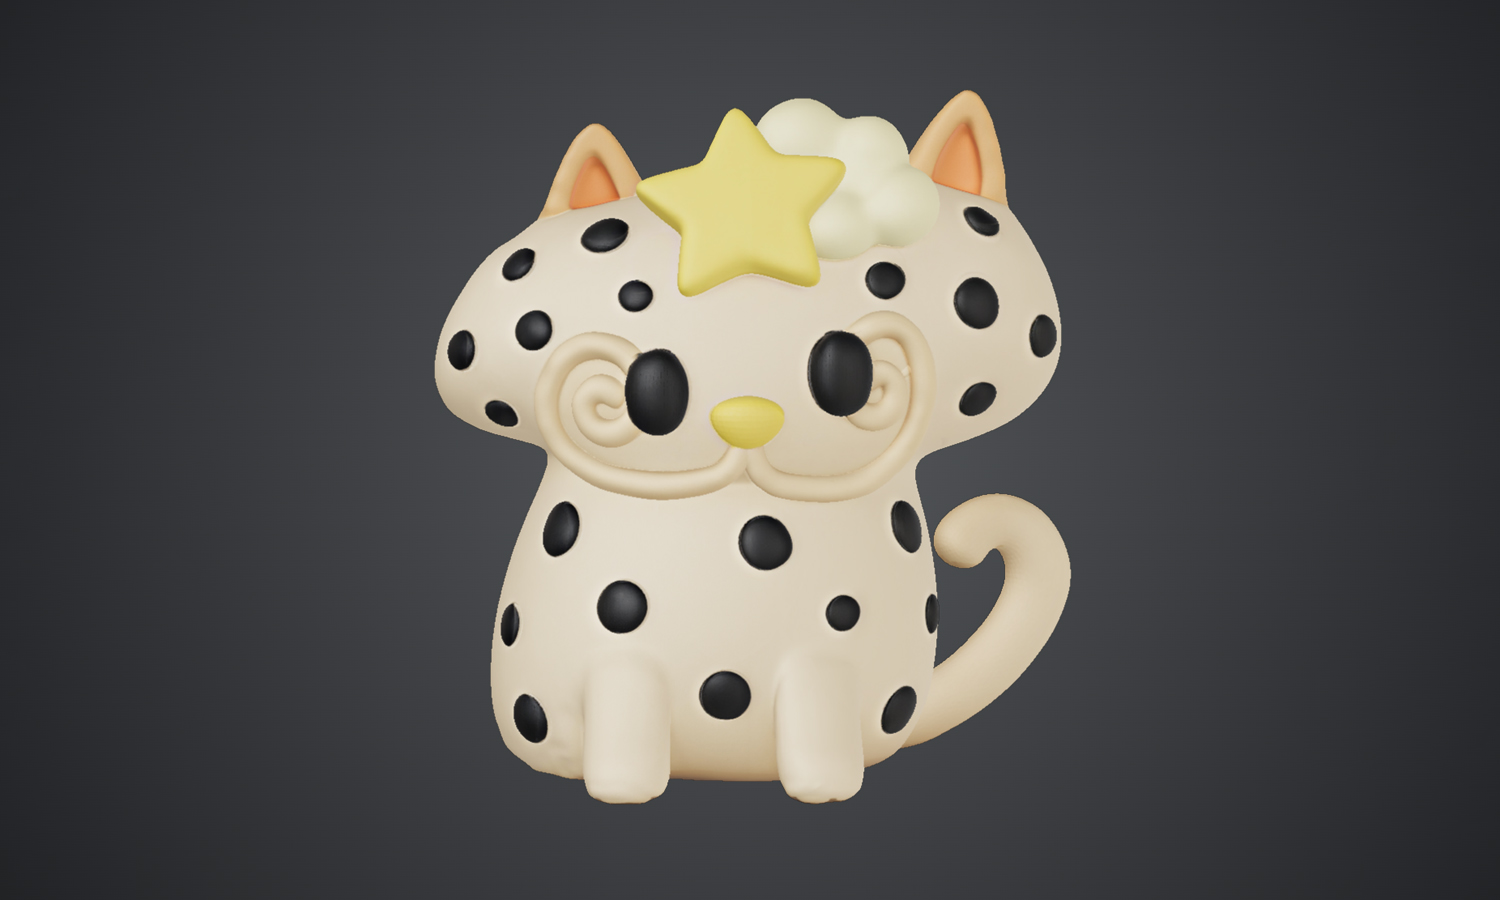
The workflow used AI-assisted design as a bridge from 2D to 3D. A cartoon-style full-color view was first generated from the sketch, then adjusted twice: the mouth area was corrected so it would not become yellow, and the black dots were enlarged and reduced in density for a cleaner toy-like appearance. The approved view was then used to generate a 3D model, including the back side, tail volume, rounded body, raised star, facial loops, and dot placement.
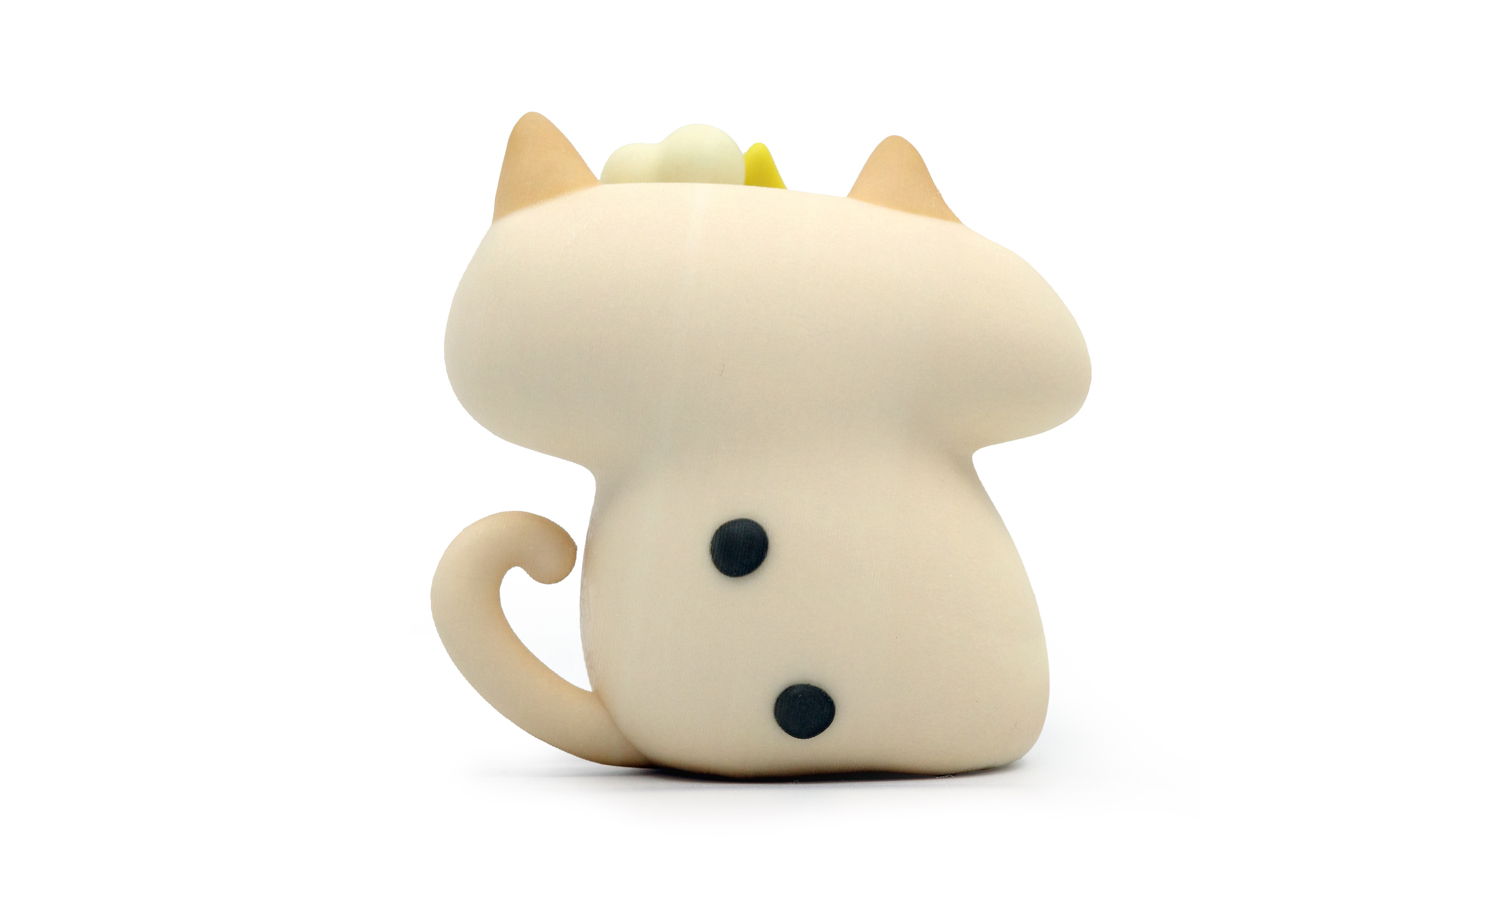
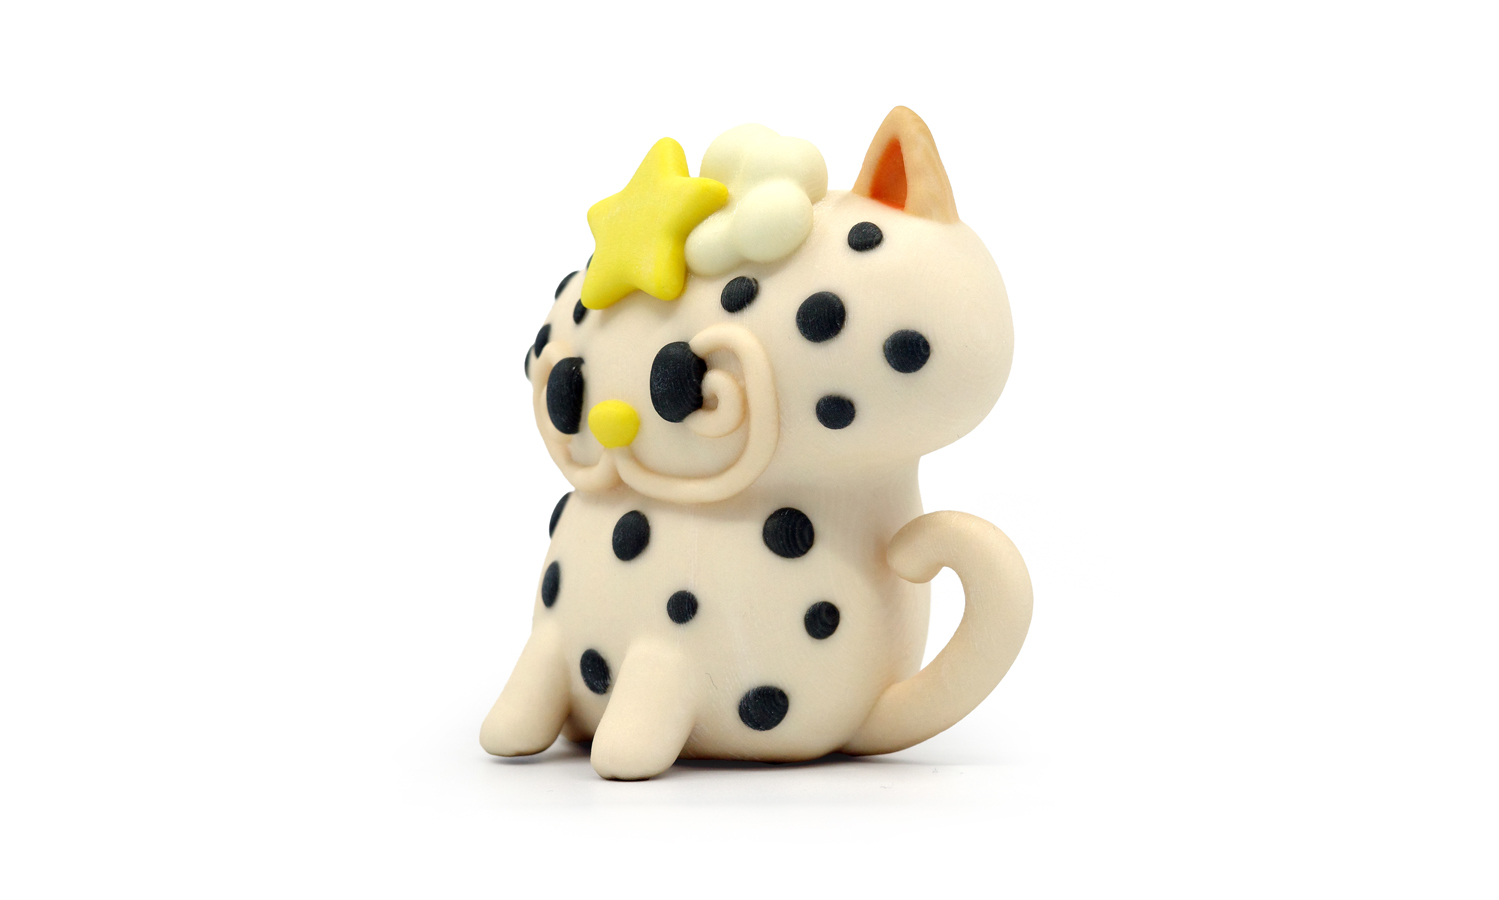
The final figure was produced as a solid 10 cm tall Mimaki full-color 3D print. It preserves the playful look of the child’s drawing, including the cream-white body, black polka dots, yellow star, yellow nose, and soft rounded proportions. The surface was not sanded or polished, so visible layer lines remain. Some dots are not perfectly round and have slightly fuzzy edges because the generated 3D model already contained uneven dot geometry. For a personal keepsake, those imperfections help tell the story of the drawing-to-toy transformation.
This workflow is suitable for children’s artwork keepsakes, family gifts, school creative projects, personalized mascots, AI-assisted toy concepts, and custom 3D printed character models.
Solution
- Step 1: The child’s original drawing was reviewed, including the cat silhouette, orange outline, curled tail, black polka dots, yellow star, facial decoration, whiskers, and nose.
- Step 2: A cartoon-style full-color 3D view was generated from the concept sketch, using the drawing as the main reference for texture, accessories, colors, and matte toy-like appearance.
- Step 3: The first adjustment corrected the mouth area so that only the whiskers and nose remained yellow, avoiding an unintended yellow mouth region.
- Step 4: The second adjustment enlarged the black dots and reduced their density, making the surface pattern cleaner and more suitable for a small physical figure.
- Step 5: The approved 3D view was used to generate a 3D model, with the tool imagining the remaining sides of the cat, including the back, body volume, tail, and rear dot placement.
- Step 6: The model was prepared as a solid 10 cm tall figure and printed using Mimaki full-color 3D printing, preserving the rounded body, star, facial loops, black dots, curled tail, and soft cartoon proportions.
- Step 7: The finished print was inspected in its unpolished state, including visible layer lines, non-perfectly round dots, fuzzy dot edges, color placement, and overall similarity to the original child’s drawing.