Material Resin
Quantity 5 pcs
Price Range $1-100
Lead Time 2 workdays
Gallery
About Project
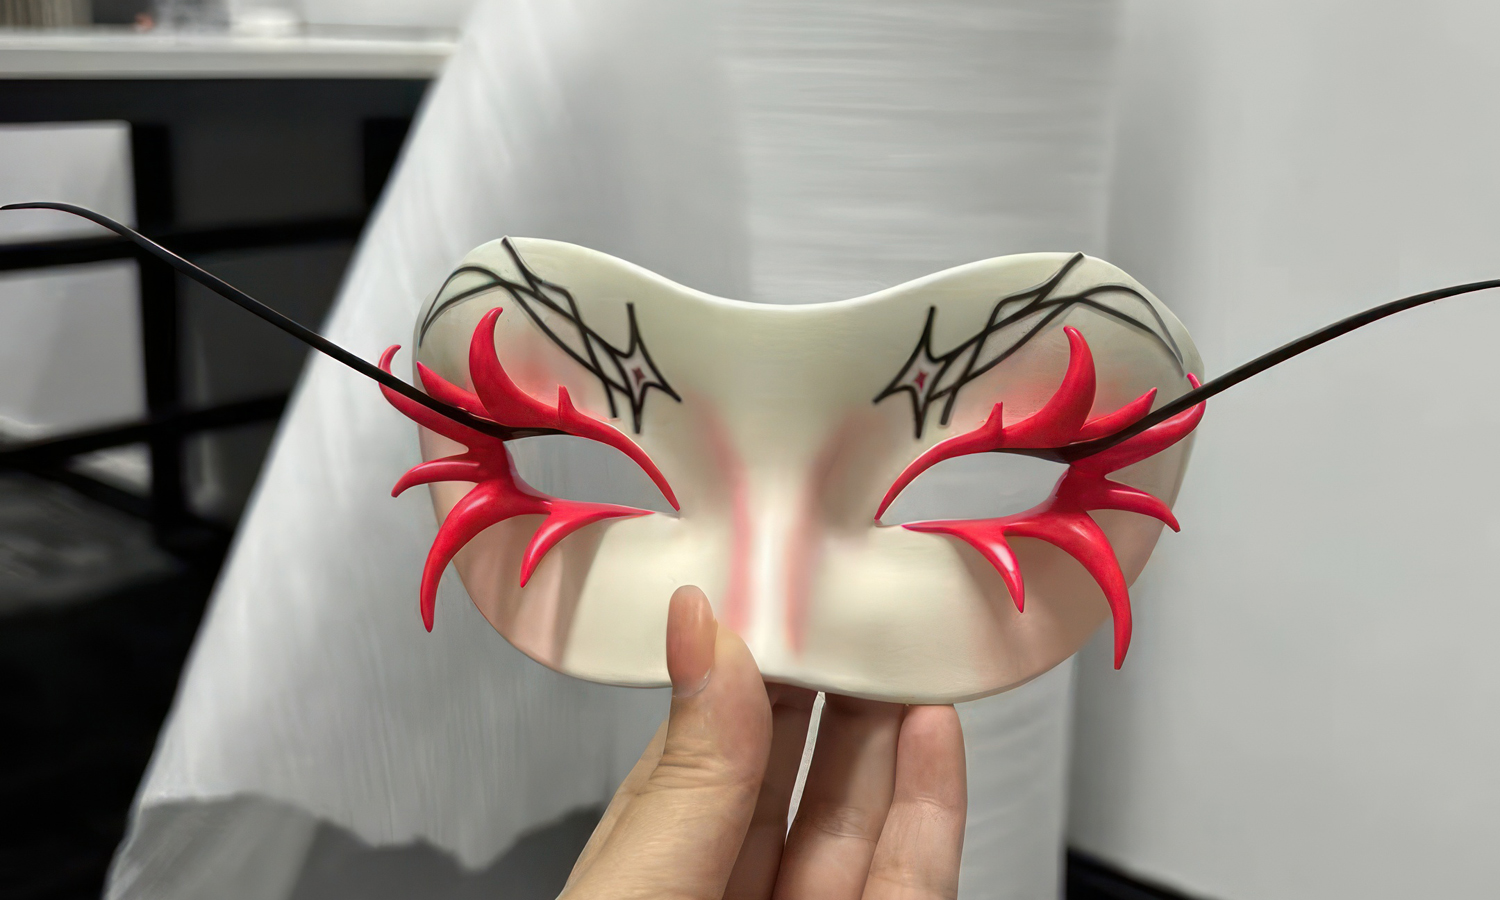
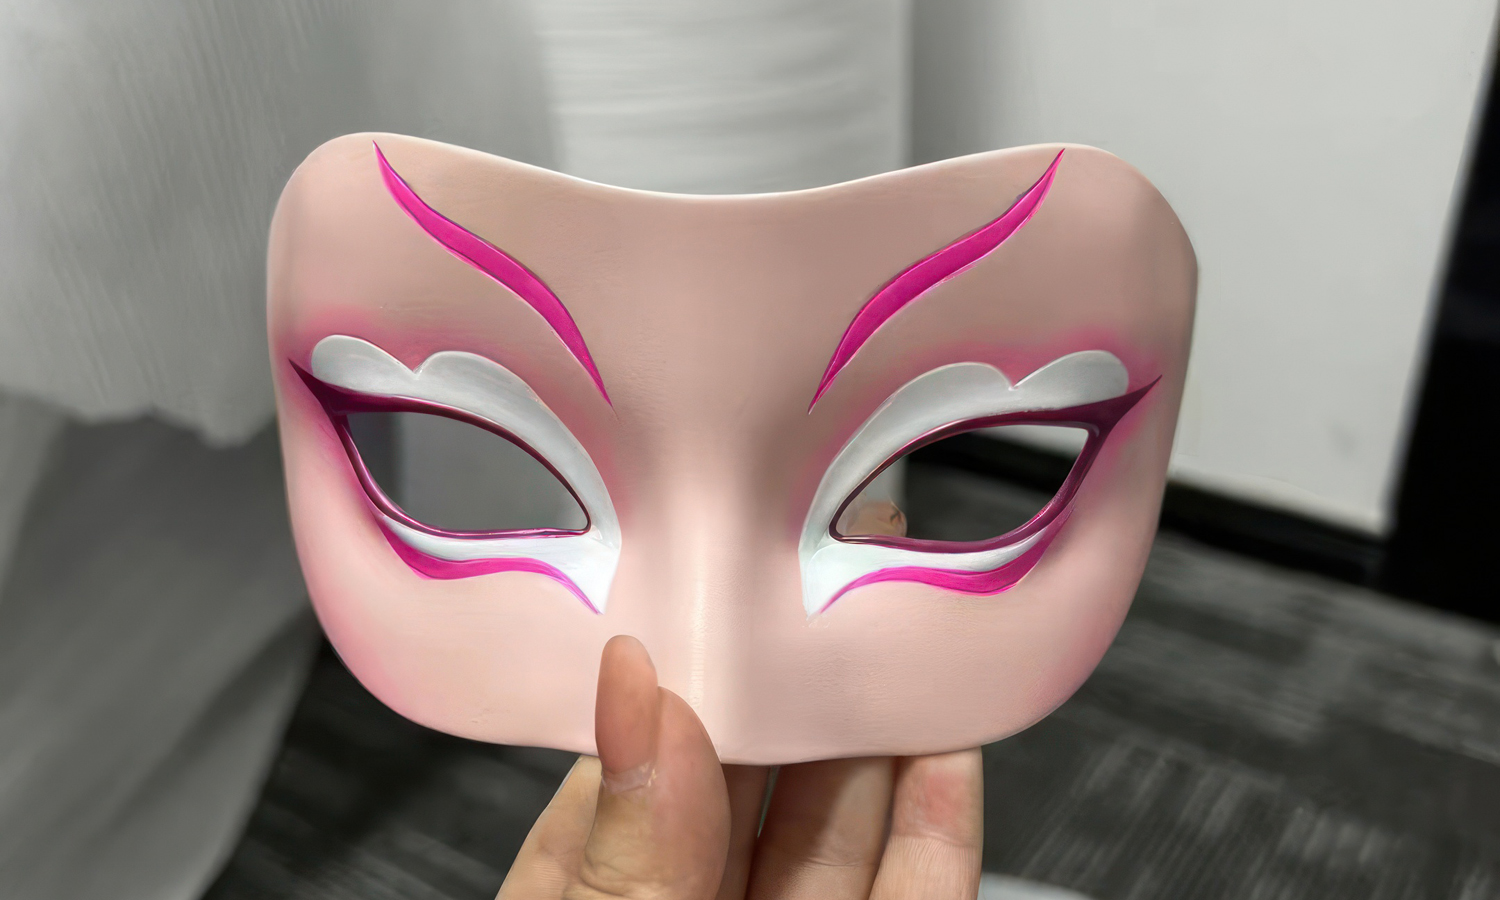
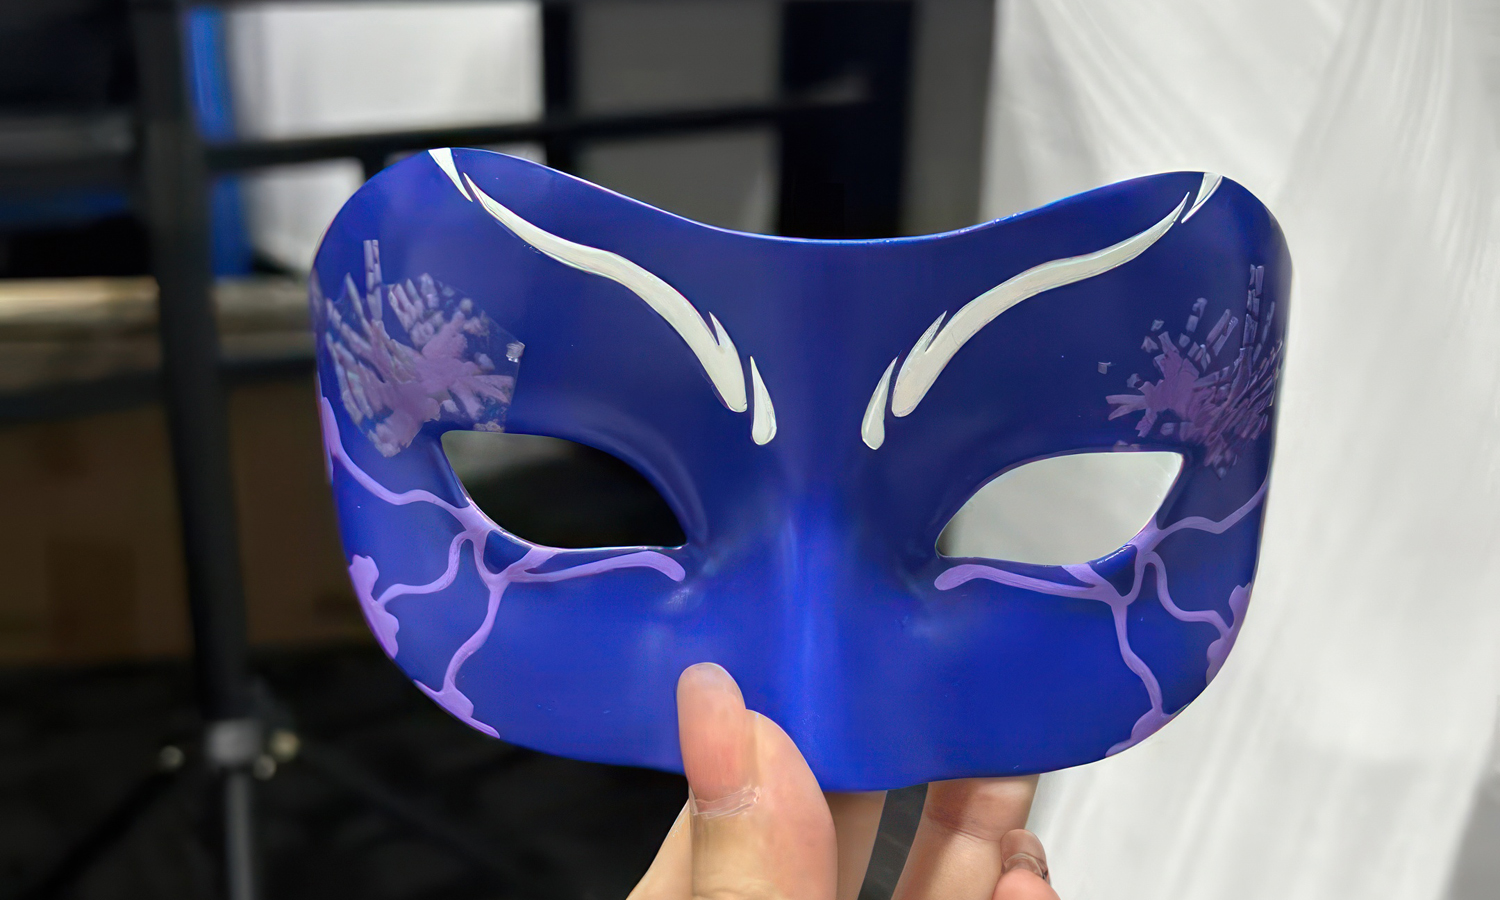
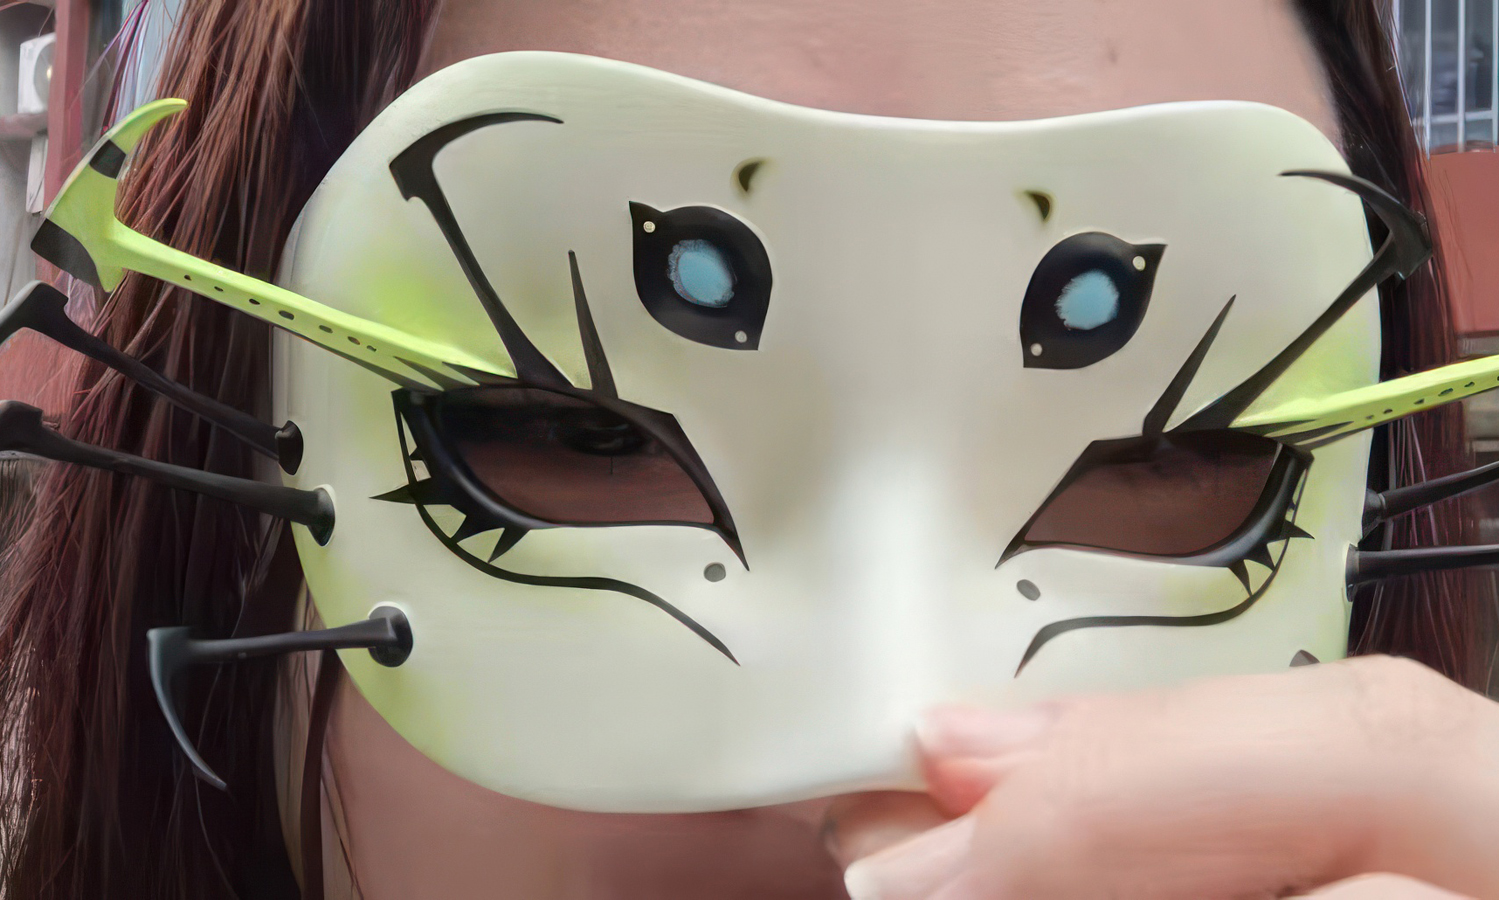
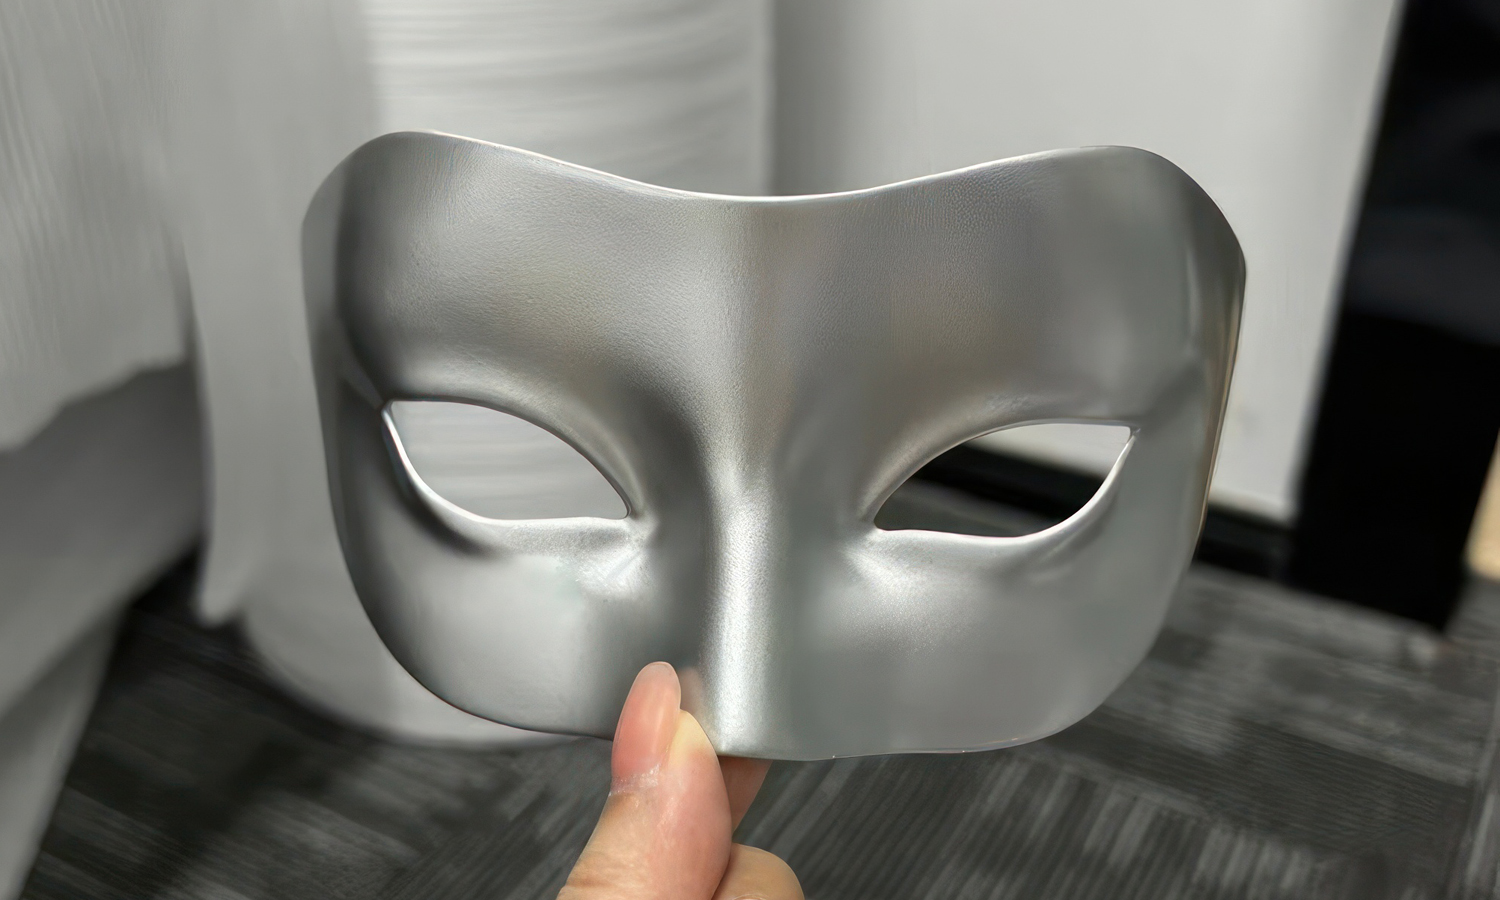
A good mask does more than cover the face—it changes the whole mood of a look. These custom eye masks were likely created for masquerade balls, festival celebrations, cosplay events, stage performances, or themed parties where ordinary store-bought accessories would feel too generic. Each mask has a different personality: some are elegant and theatrical, some feel sharp and mysterious, and one almost looks like a fantasy creature with extended side details.
The client did not choose full-color 3D printing for this project. Instead, the masks were first produced as SLA 3D printed white resin blanks, then sanded, primed, painted, and decorated by hand. This workflow gave the maker more freedom to add metallic silver, deep blue, pink gradients, black linework, red raised accents, and other dramatic visual effects. Compared with mass-produced masks, a custom printed mask can be adjusted to better follow the curves around the eyes, nose bridge, cheeks, and forehead, making it more suitable for wearing and styling.
For artists, costume designers, event planners, and performers, this kind of workflow is perfect for turning a sketch into a physical wearable prop. SLA 3D printing provides a smooth, detailed base for painting, while hand finishing makes each piece feel truly one of a kind. If you want to create custom masks, cosplay props, stage accessories, or festival items, contact FacFox, get an instant quote online, or email us for your projects.
Solution
- Step 1: The mask models were checked before production, including the facial curvature, eye openings, nose bridge area, edge thickness, strap holes, and raised decorative structures.
- Step 2: The models were oriented and supported for SLA printing, so the front surfaces could remain smooth and the thin mask edges could be produced with stable geometry.
- Step 3: The masks were printed in white resin using SLA 3D printing, where liquid photopolymer resin was selectively cured layer by layer to form the detailed mask blanks.
- Step 4: After printing, the support structures were removed, and the resin parts were cleaned and post-cured to improve surface stability before finishing.
- Step 5: The printed blanks were sanded and prepared for painting, especially around the eye openings, nose bridge, edges, and raised decorative areas.
- Step 6: The masks were painted and decorated by hand, including metallic coating, color gradients, black linework, red accents, and other stylized patterns requested for the final appearance.
- Step 7: The finished masks were inspected for surface smoothness, fit-related geometry, paint coverage, visual symmetry, and overall performance-ready effect.