Material Resin
Quantity 1 pcs
Price Range $100-1,000
Lead Time 5 workdays
Gallery
About Project
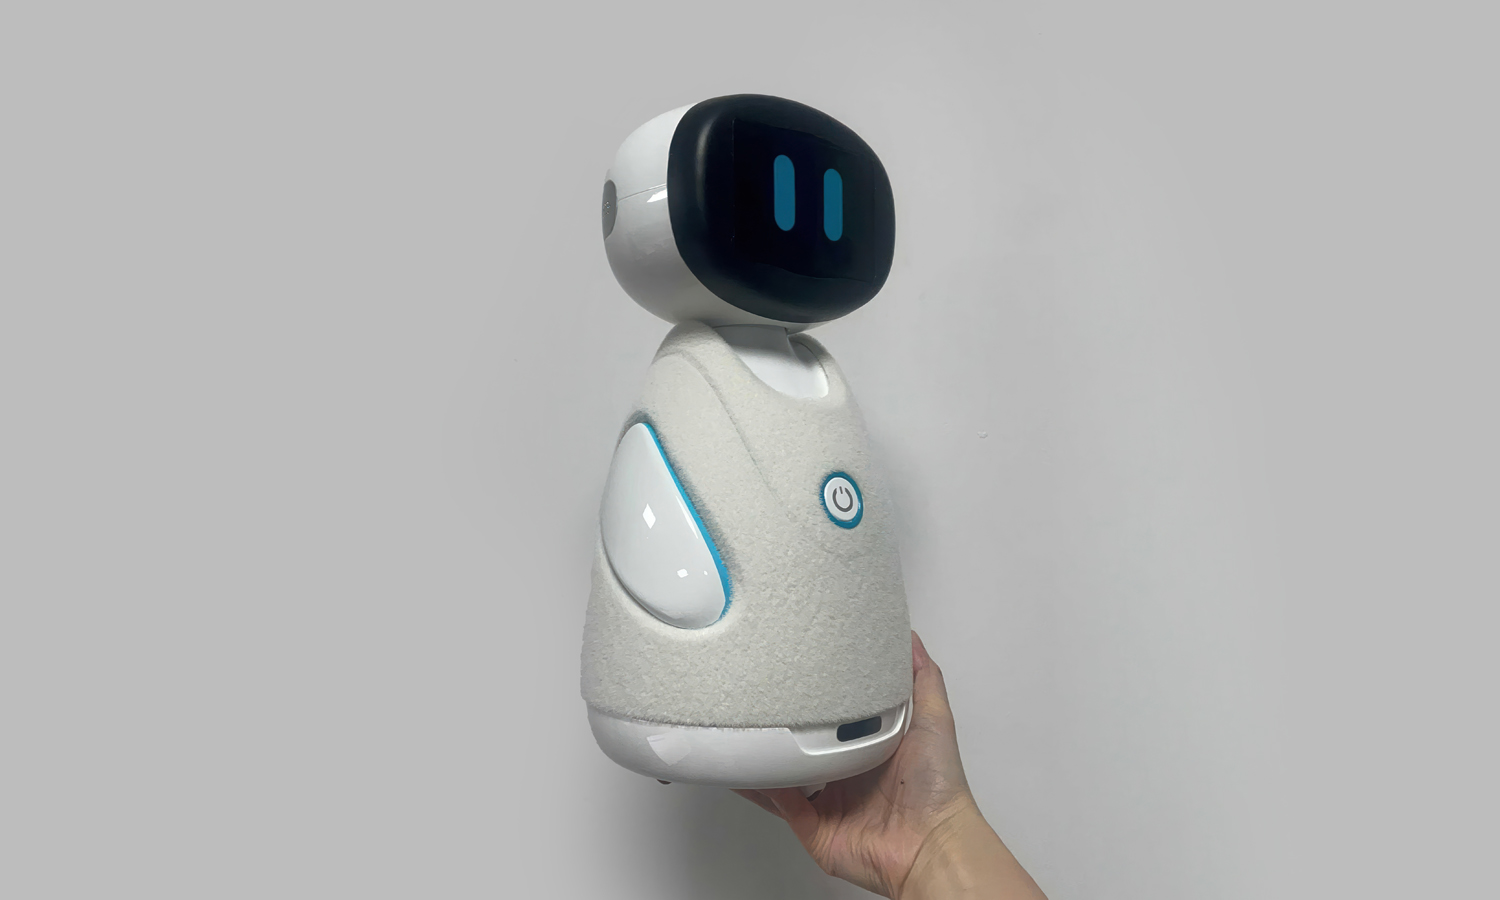
When people think of robots, “cold plastic” and “sleek metal” are usually the first things that come to mind. But this latest prototype completely flips the script! Designed specifically as a companion for children, this friendly little guy is all about warmth, comfort, and interactive fun.
The Secret Ingredient: Flocking Technology
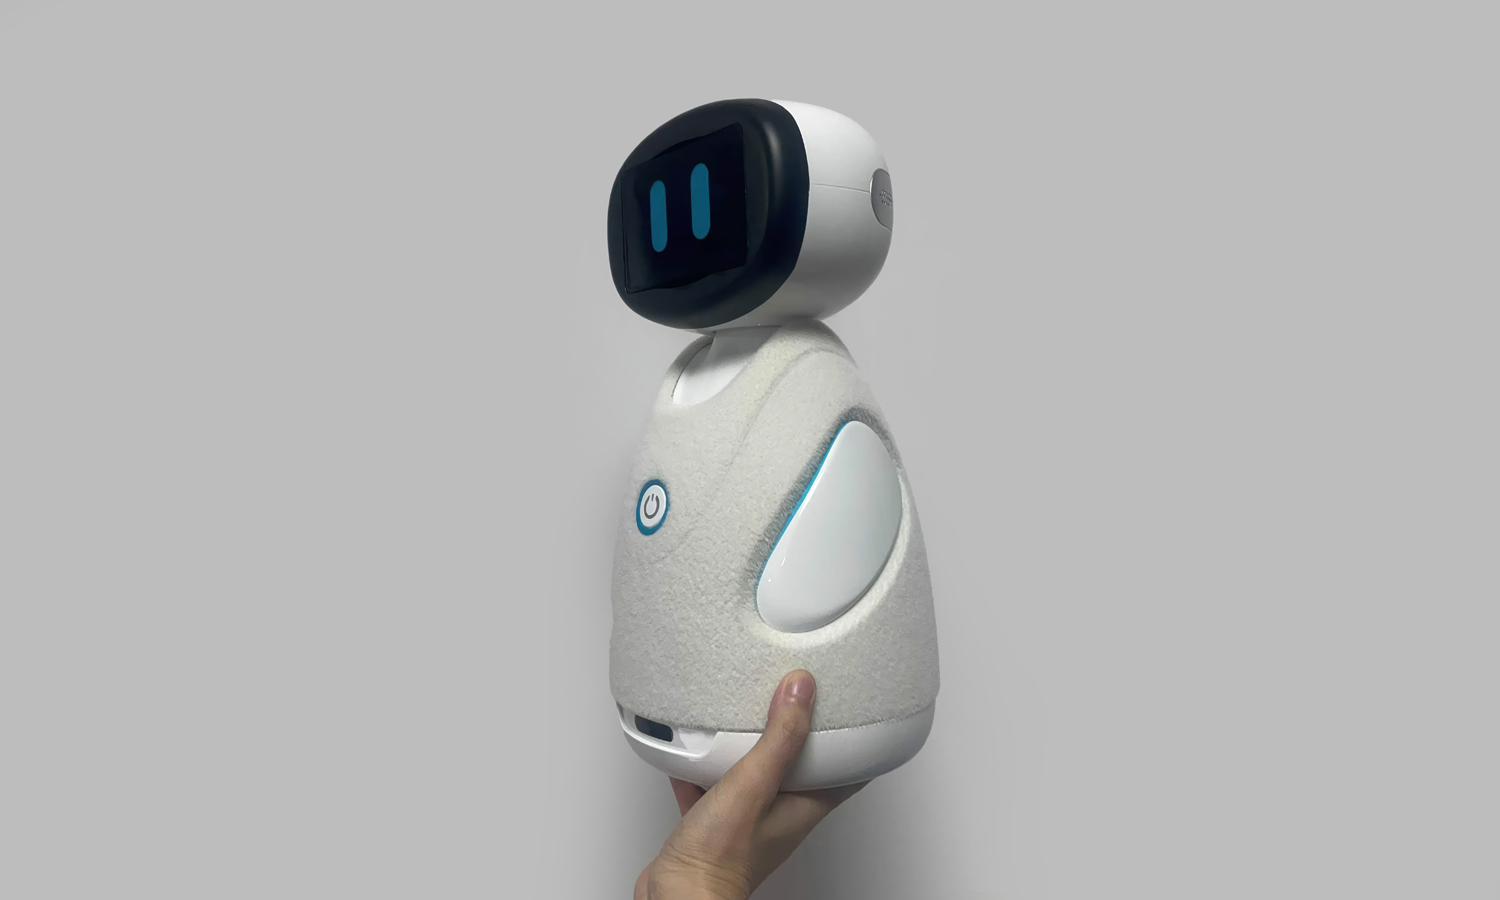
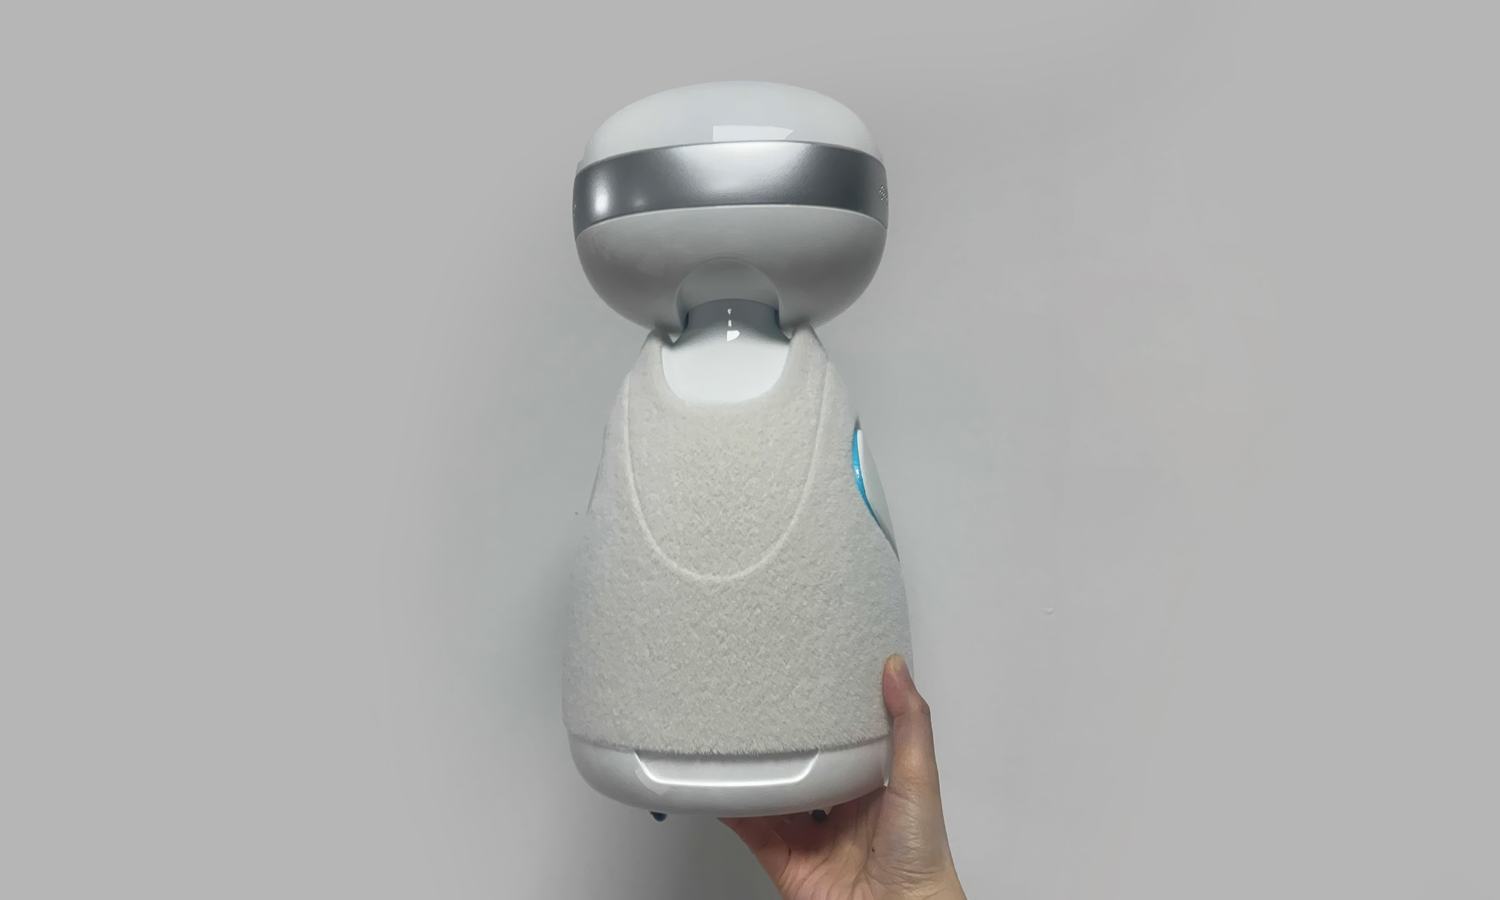
To make this piece truly special for its young audience, the client requested a unique flocked surface finish. Instead of a standard hard shell, we applied a soft, velvet-like fuzzy texture across its main body. The result? A high-tech robot that feels as huggable as a favorite plush toy!
Here is what makes this design a total standout:
- Kid-Friendly Tactility: The flocked coating provides a warm, comforting grip, inviting children to touch, hold, and interact with the robot naturally.
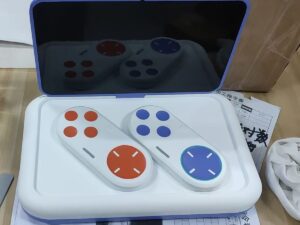
- A Beautiful Visual Contrast: The soft, matte texture creates a stunning balance against the glossy digital face display, expressive blue eyes, and glowing side accents.
- Next-Level Prototyping: It proves that functional smart hardware can still feel incredibly gentle and emotional.
Bringing such a unique vision to life requires a manufacturing partner who understands both engineering precision and specialized aesthetics. FacFox offers comprehensive, professional 3D printing services and advanced surface finishes to turn your most creative concept designs into physical reality. Partner with FacFox today to elevate your next prototyping project with top-tier 3D printing and custom manufacturing solutions!
Solution
- Step 1: The digital 3D model of the robot was optimized for manufacturing and sliced into precise horizontal layers using specialized software.
- Step 2: The robot components were fabricated layer by layer using Stereolithography (SLA) 3D printing technology, where a UV laser was utilized to selectively cure liquid photosensitive resin.
- Step 3: The printed parts were removed from the build platform and thoroughly washed in an isopropyl alcohol (IPA) bath to eliminate any remaining uncured resin.
- Step 4: The temporary support structures were carefully detached, and the surfaces were meticulously sanded to ensure a perfectly smooth finish for post-processing.
- Step 5: The head and electronic housing components were primed and painted to achieve a high-gloss look, while the main body was prepared for the specialized textile application.
- Step 6: A specialized adhesive layer was evenly applied to the exterior sections of the robot’s body.
- Step 7: Electrostatic flocking technology┬Āwas deployed, during which millions of short nylon fibers were chemically charged and shot into the wet adhesive to create the soft, velvet-like texture.
- Step 8: The flocked components were oven-dried to cure the adhesive, and the final electronic parts, side panels, and digital display were assembled into the body.

