Gallery
About Project
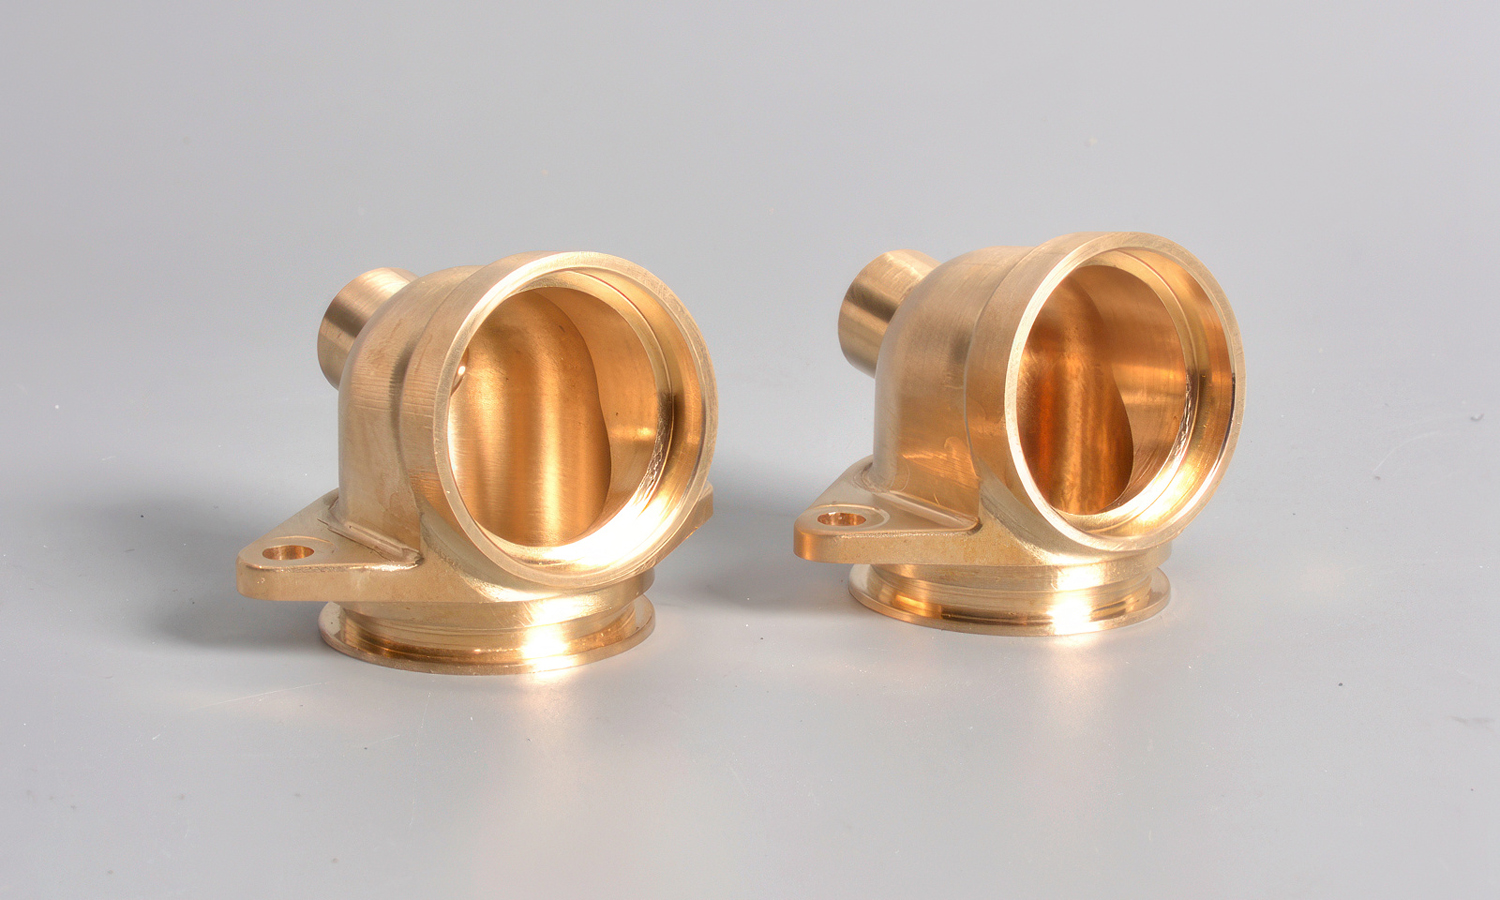
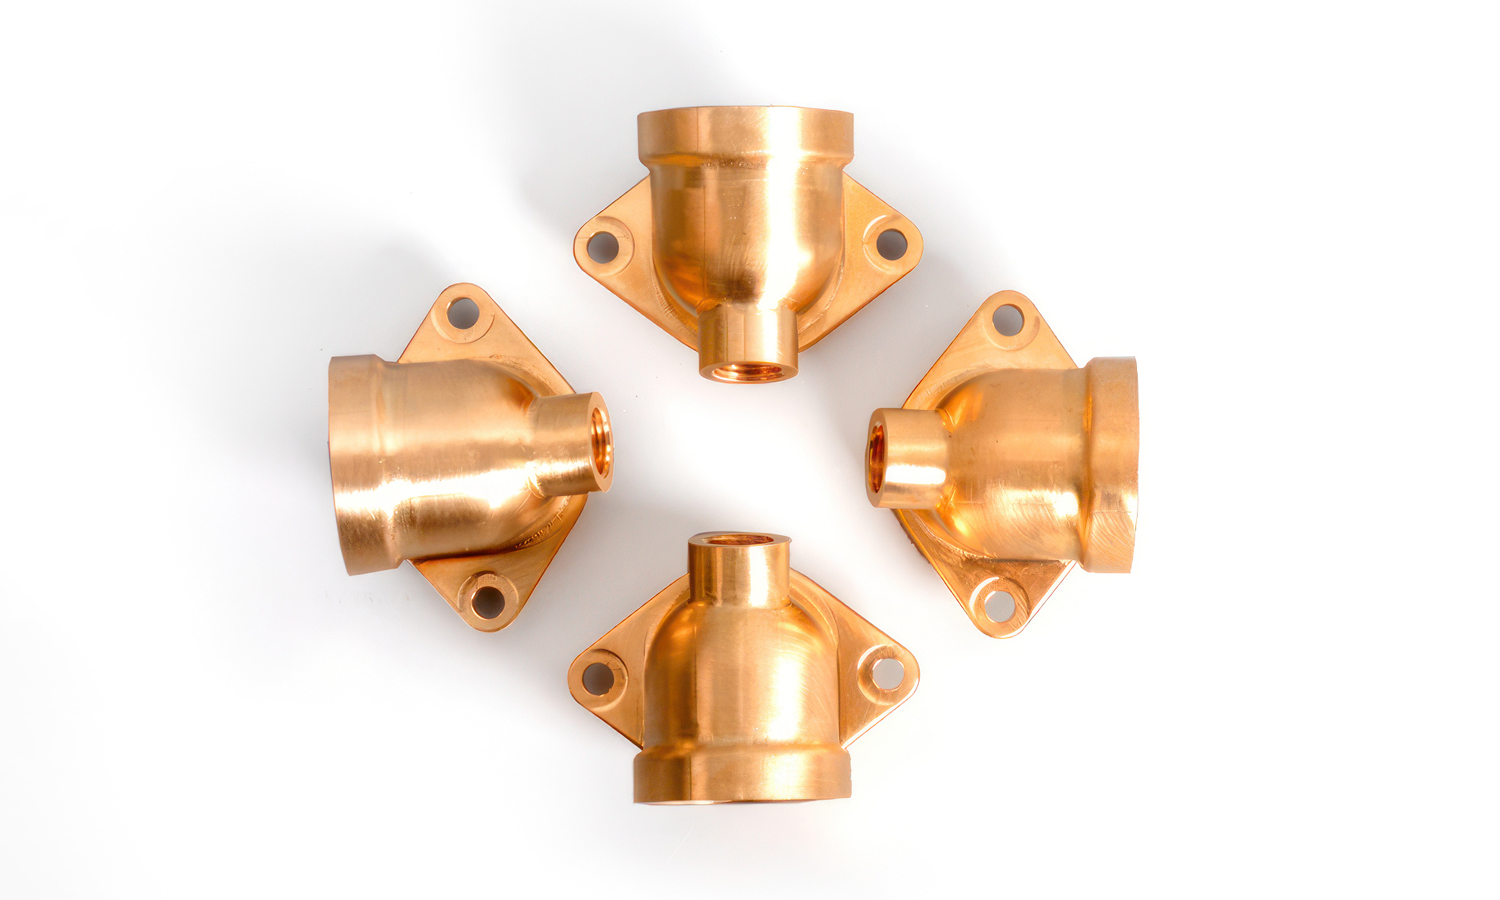
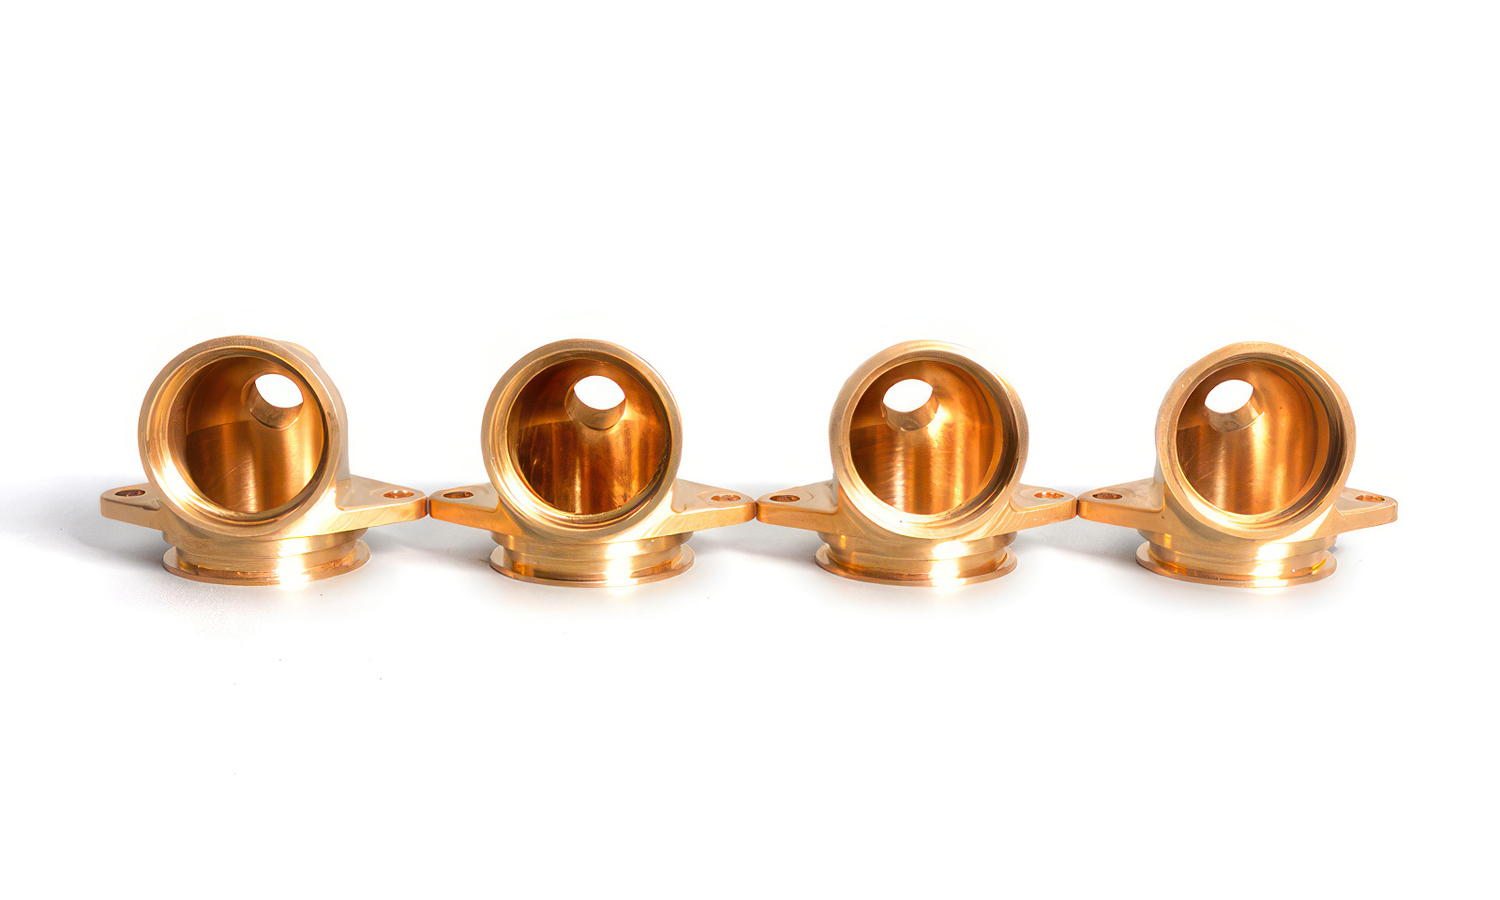
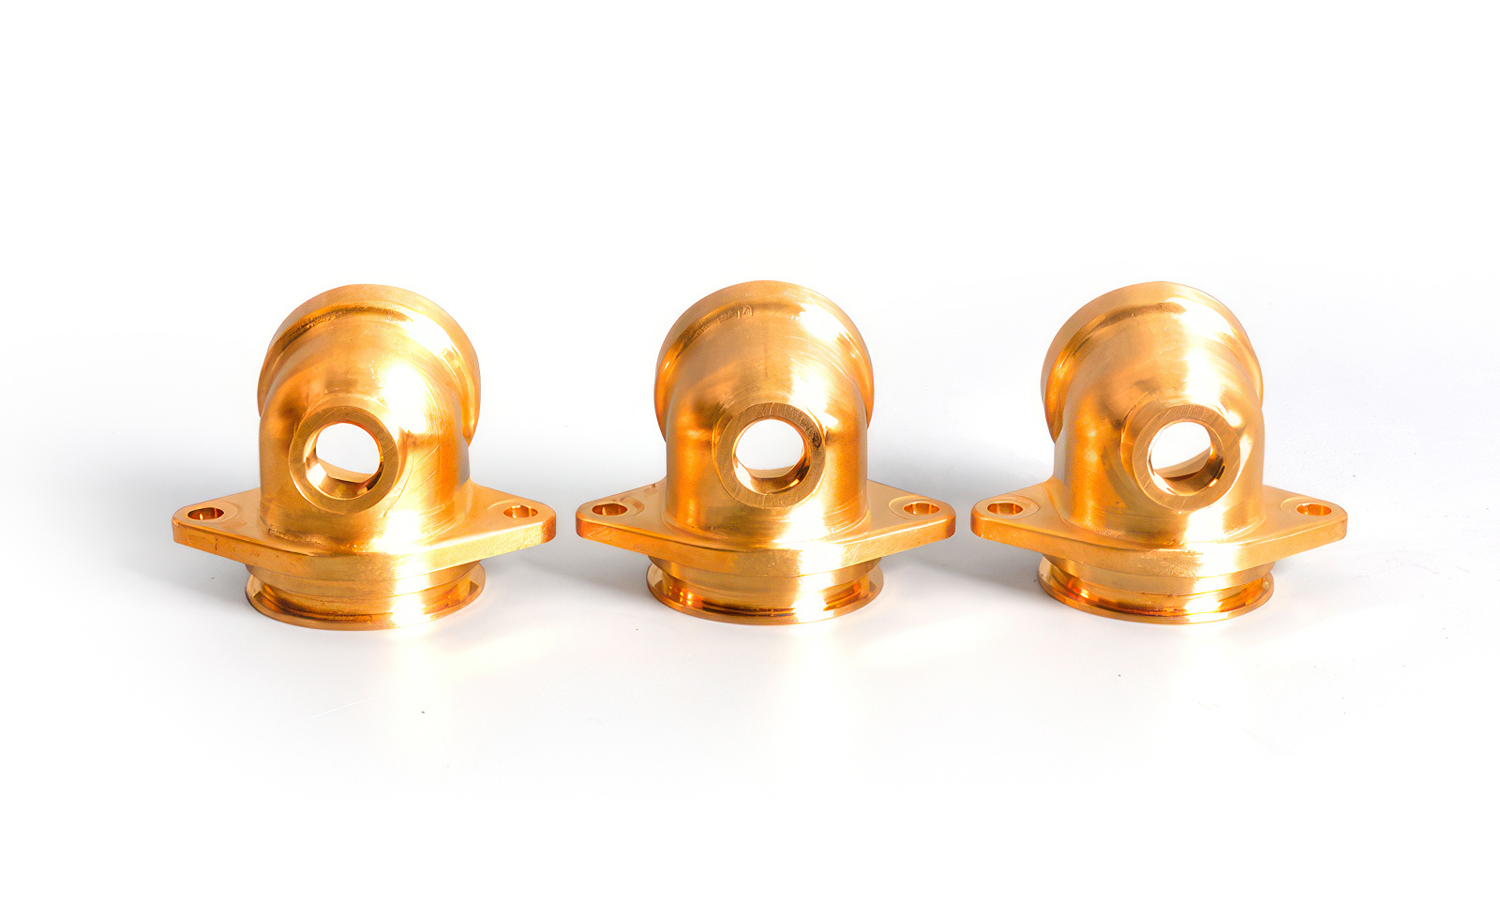
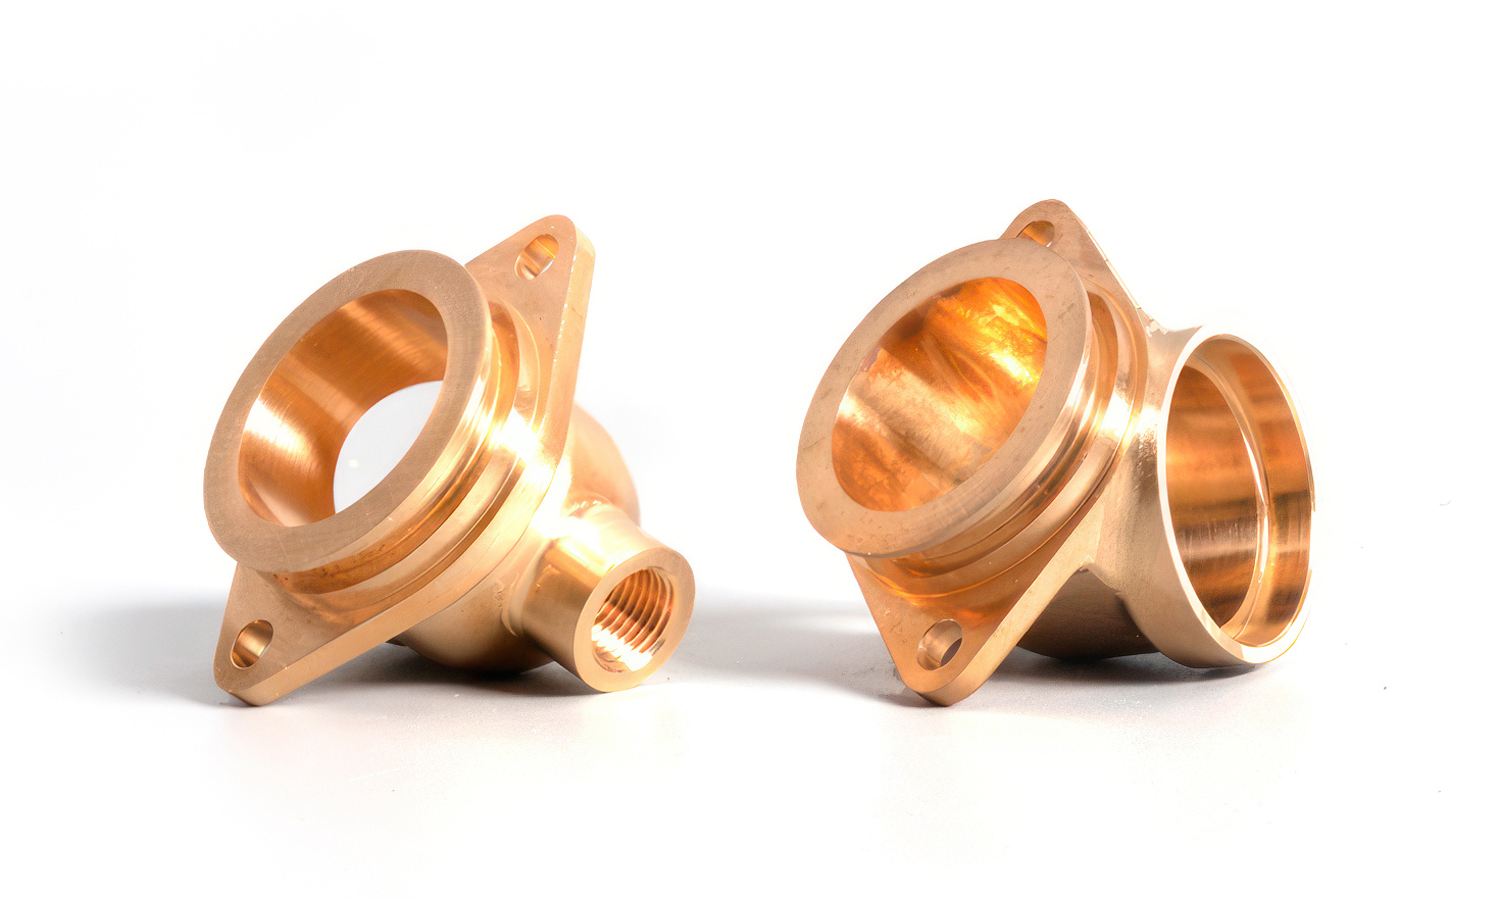
These precision-engineered components appear to be custom CNC-machined elbow fittings or housing connectors, likely crafted from a high-quality copper alloy or brass (given that warm, metallic glow).
The Beauty of Precision
Looking at the smooth internal bores, clean threaded ports, and the crisp mounting flanges, it is clear these parts are built for high-performance applications. Whether they are destined for fluid systems, electrical enclosures, or cooling assemblies, the level of detail is impressive. You can even see the subtle tool marks from the machining process, which speak to the authenticity and craftsmanship of a solid block of metal being transformed into a functional piece of art.
The geometry here is particularly trickyŌĆöblending a cylindrical body into a flat, triangular mounting base with perfect symmetry requires serious technical skill. These aren’t just parts; they are a testament to what modern manufacturing can achieve when precision is the priority.
Bring Your Designs to Life with FacFox
If you are looking to turn your digital blueprints into high-quality physical components like these, FacFox is your go-to partner. Our professional CNC machining services offer incredible accuracy across a massive range of materials, including copper, aluminum, stainless steel, and engineering plastics.
Whether you need a single prototype to test a concept or a full production run, FacFox combines state-of-the-art technology with fast turnaround times to keep your project moving forward. Ready to start? Upload your CAD files today and letŌĆÖs build something amazing together!
Solution
- Step 1: A high-quality copper or brass alloy was selected in the form of solid cylindrical bar stock to ensure structural integrity and excellent thermal conductivity.
- Step 2: The raw material was secured in a multi-axis CNC lathe, where the primary cylindrical body and the base flange were turned to achieve the required outer dimensions.
- Step 3: The complex elbow geometry and the triangular mounting flange were milled using high-speed precision cutting tools to remove excess material and create the distinct “saddle” shape.
- Step 4: The internal cavities and the large main bore were drilled and bored to exact tolerances, ensuring a smooth path for fluid or air flow.
- Step 5: The side ports were precisely located and threaded (tapped) to allow for secure connection with other threaded fittings or sensors.
- Step 6: The mounting holes on the flange were plunged and countersunk, providing the necessary clearance for assembly bolts.
- Step 7: The finished parts were deburred and subjected to a light surface polishing to remove any sharp edges left by the machining process.
- Step 8: Finally, each component was inspected using high-precision gauges to verify that all dimensions matched the original CAD specifications.


