Material Resin
Quantity 4 pcs
Price Range $1-100
Lead Time 3 workdays
Gallery
About Project
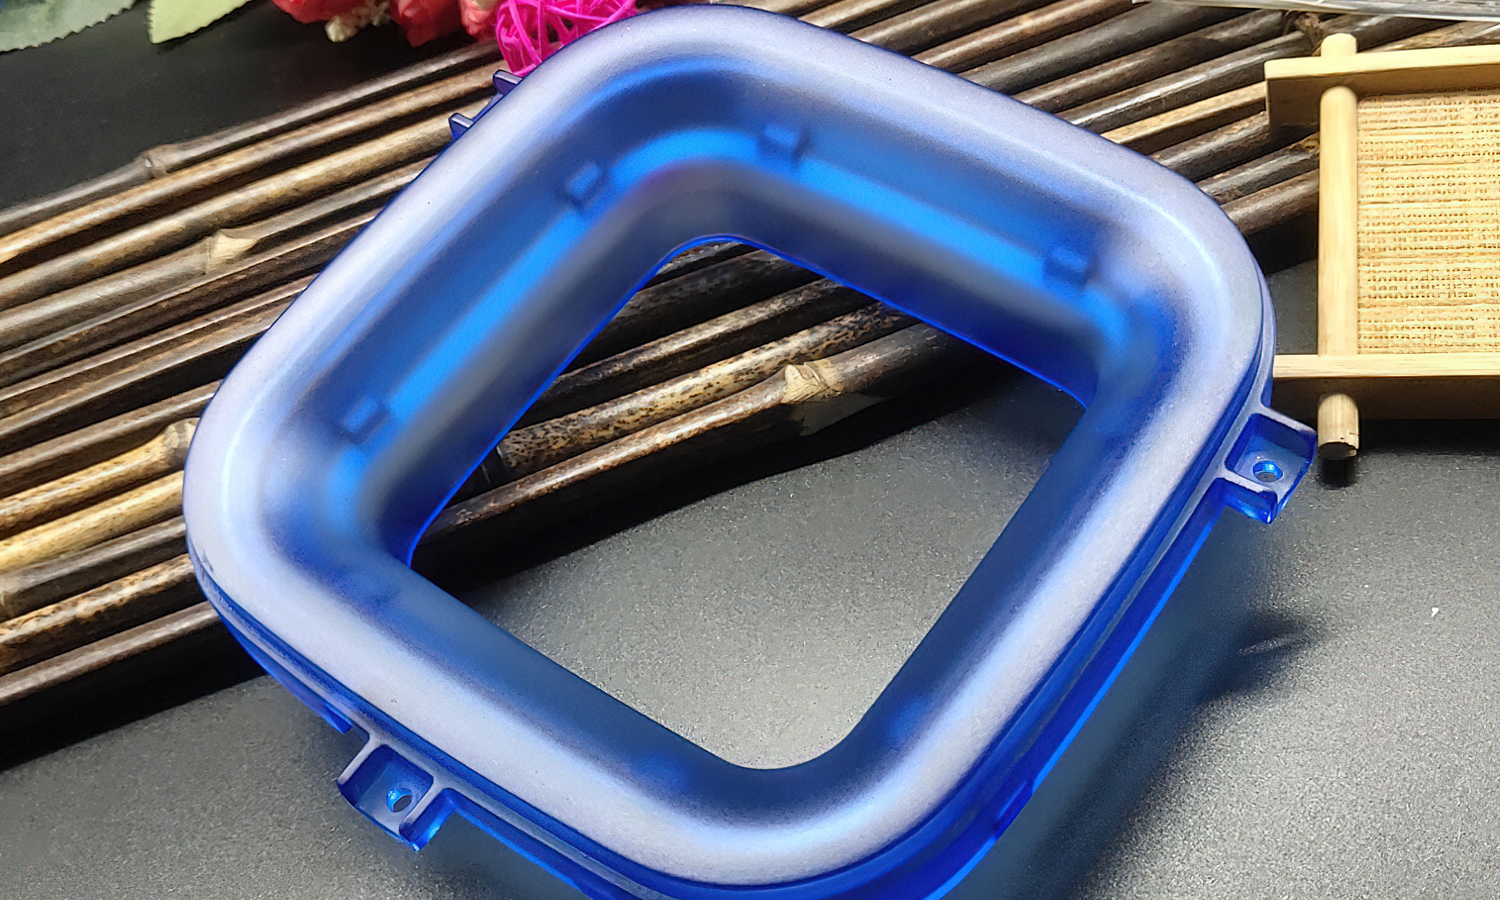
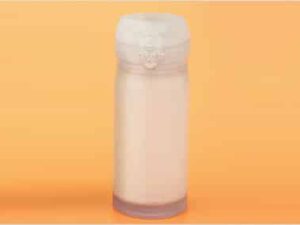
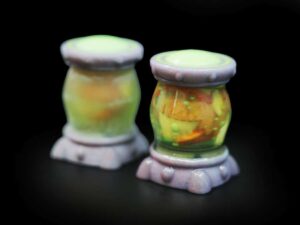
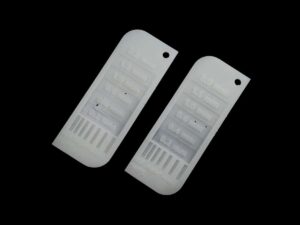
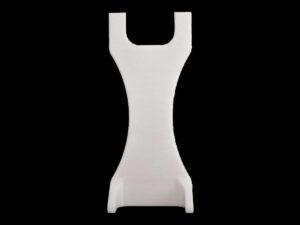
This collection of transparent resin parts demonstrates the versatility and precision of SLA 3D printing. Each piece showcases a different surface treatment or post-processing method tailored to its intended optical and aesthetic requirements.
Some components were fully polished to achieve glass-like transparency, ideal for light-transmitting applications such as optical lenses, covers, and housing prototypes. Others were selectively sanded after polishing to create a frosted effect, which diffuses light evenly and adds a refined matte texture suitable for illumination products and display covers. Several parts were dyed with translucent pigments in colors like smoke gray, amber, and sapphire blue, giving them a stylish, finished appearance while maintaining internal visibility.
These models highlight the advantages of transparent resin for functional prototypes – allowing engineers and designers to visualize internal structures, verify assembly tolerances, and achieve near-production visual quality without injection molding.
Why Choose FacFox for Transparent Resin Prototyping?
FacFox’s SLA 3D printing service delivers smooth, high-accuracy transparent parts using industrial-grade resins. With a full suite of post-processing options-UV curing, polishing, sanding, dyeing, and clear coating-we can reproduce textures ranging from crystal-clear to delicately frosted. Whether you’re prototyping optical housings, lighting diffusers, or aesthetic display components, FacFox offers end-to-end customization and professional finishing that bring your designs to life.
Explore more at FacFox.com – your trusted partner for precision 3D printing and rapid prototyping.
Solution
- Step 1: CAD files were inspected for wall thickness, clearances, and watertightness.
- Step 2: Parts were oriented for optical faces and supports were generated to avoid witness marks.
- Step 3: Models were printed with SLA using clear/transparent resin at fine layer height.
- Step 4: Builds were removed and excess resin was drained from cavities.
- Step 5: Parts were washed in IPA and dried to a residue-free state.
- Step 6: UV post-curing was performed to reach full hardness and clarity.
- Step 7: Support nibs were trimmed and gates were micro-sanded.
- Step 8 (Clear finish): Progressive wet sanding (e.g., 600→2000 grit) and compound polishing were applied until a glass-like surface was achieved.
- Step 9 (Frosted finish): Uniform matte diffusion was created by controlled bead-blasting or 800–1200 grit wet sanding after polishing.
- Step 10 (Dyed finish): Translucent colors were introduced by immersing parts in heated dye baths; tones were fixed by UV re-cure.
- Step 11: Optional clear coat/UV-resistant varnish was applied to lock in gloss and color.

