Gallery

About Project
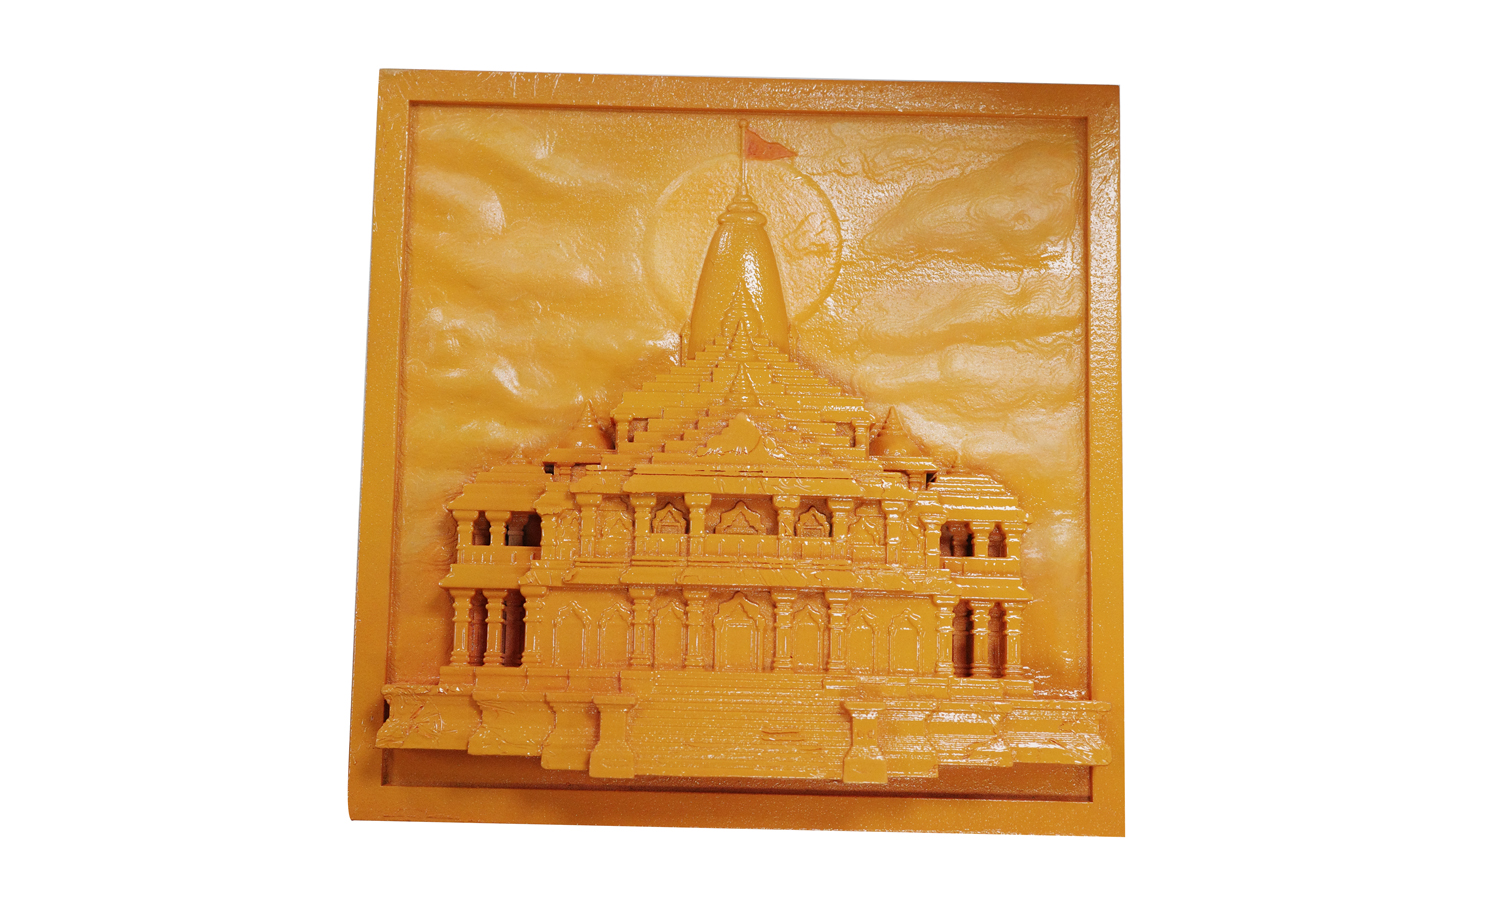
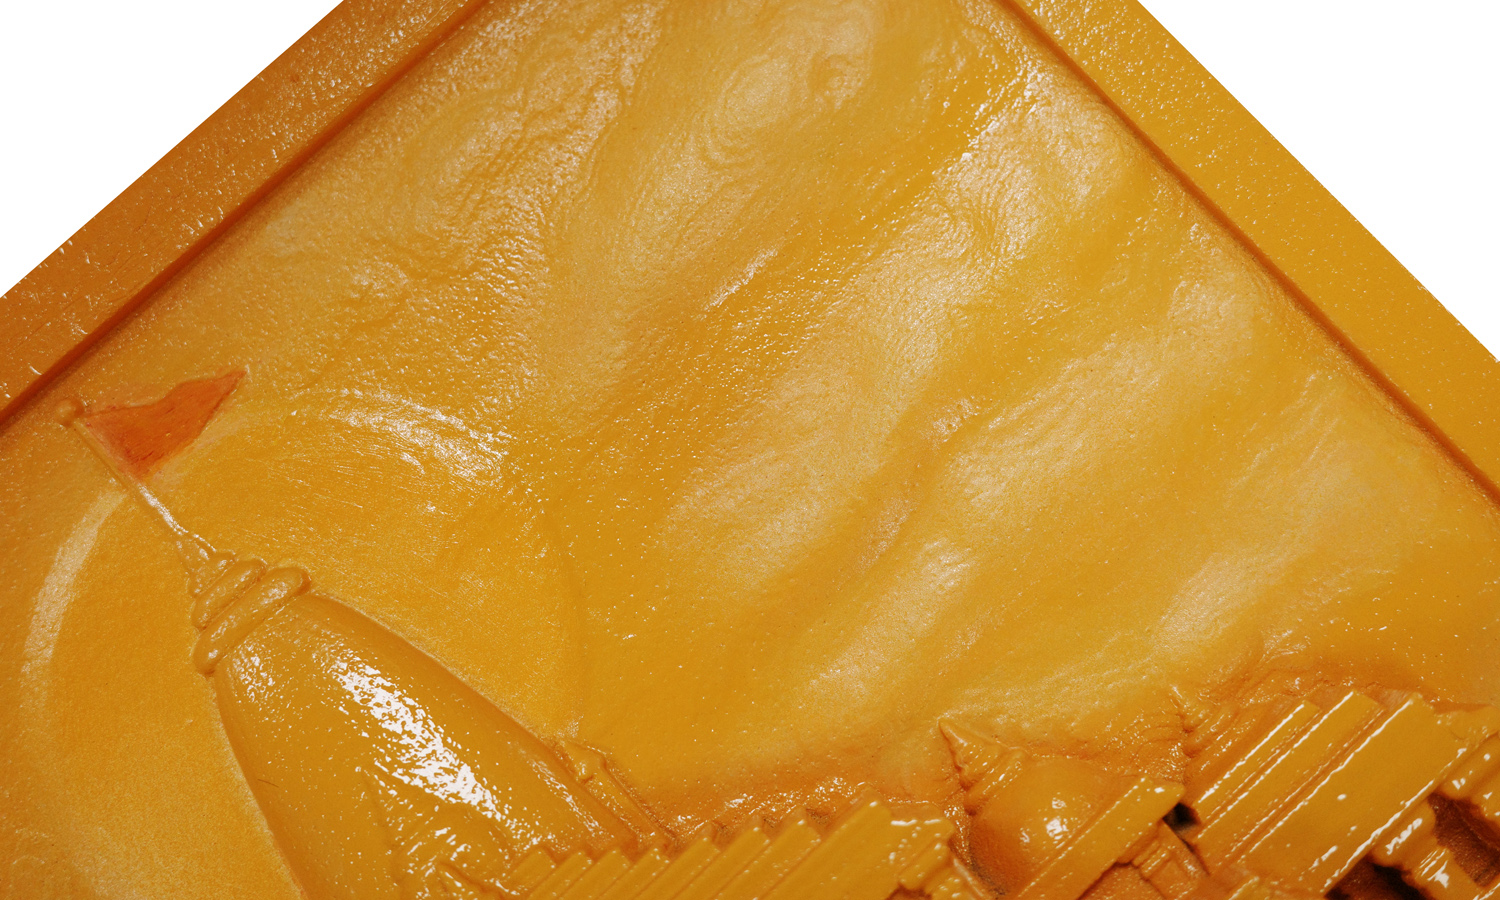
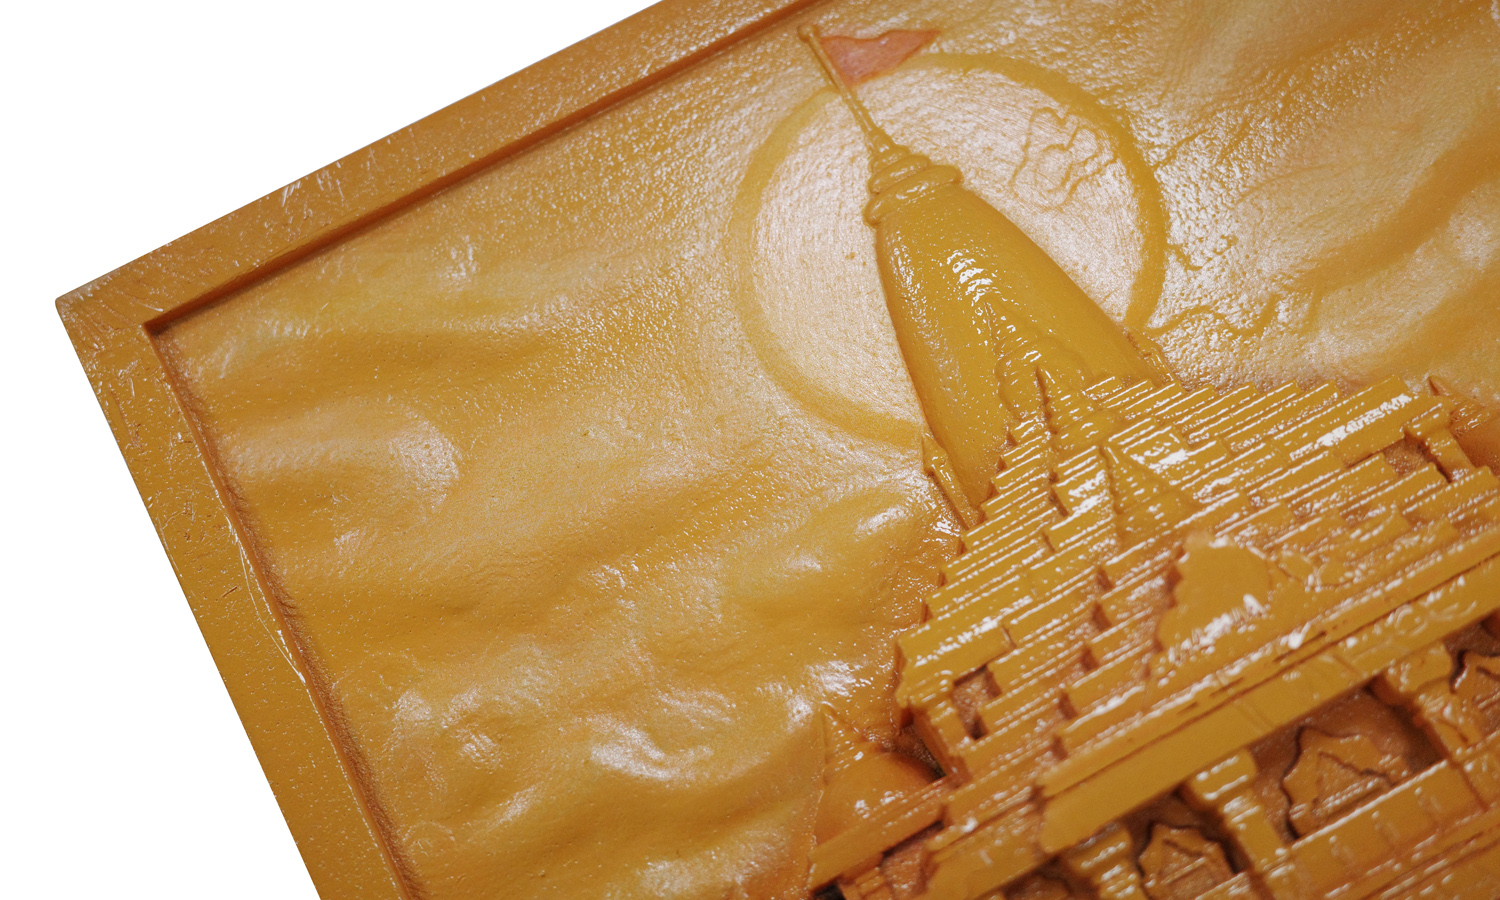
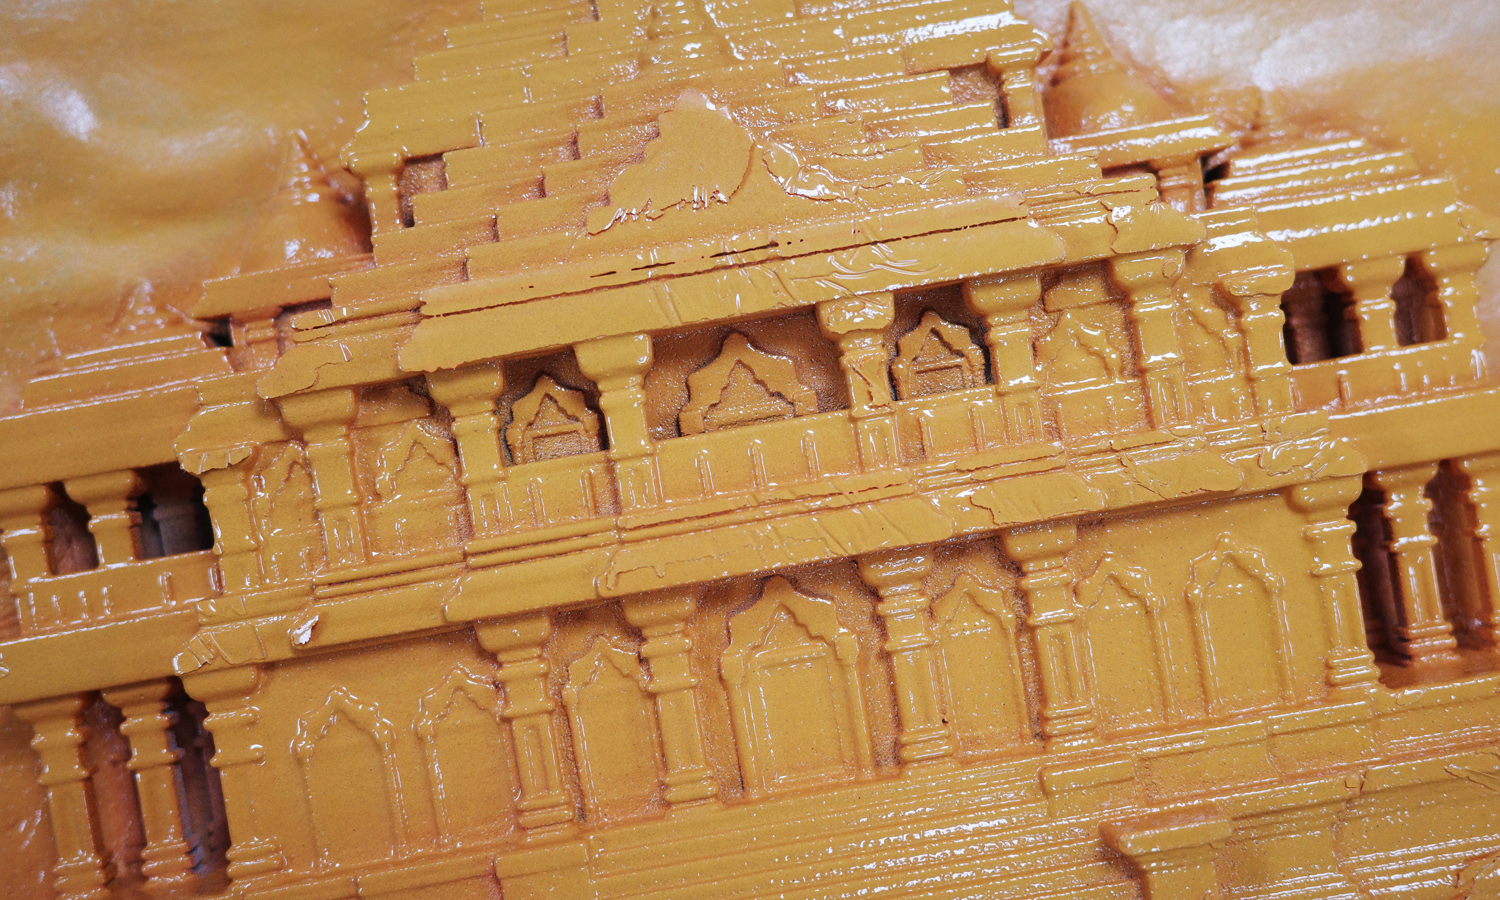
This architectural relief of a temple was produced with ColorJet 3D printing (CJP sandstone), a process known for capturing intricate geometries and subtle depth transitions. The model was printed as a single piece with fine details across the columns, arches, and spires, and later post-processed with an orange coating to enhance its visual presence.
The ColorJet process builds parts layer by layer using gypsum-based powder and colored binder, allowing full-color or monochrome prints with excellent detail fidelity. After depowdering and infiltration, the piece was hand-painted in a bright orange tone to simulate the warm hue of sandstone under sunset light.
Post-Processing Defects and Lessons Learned
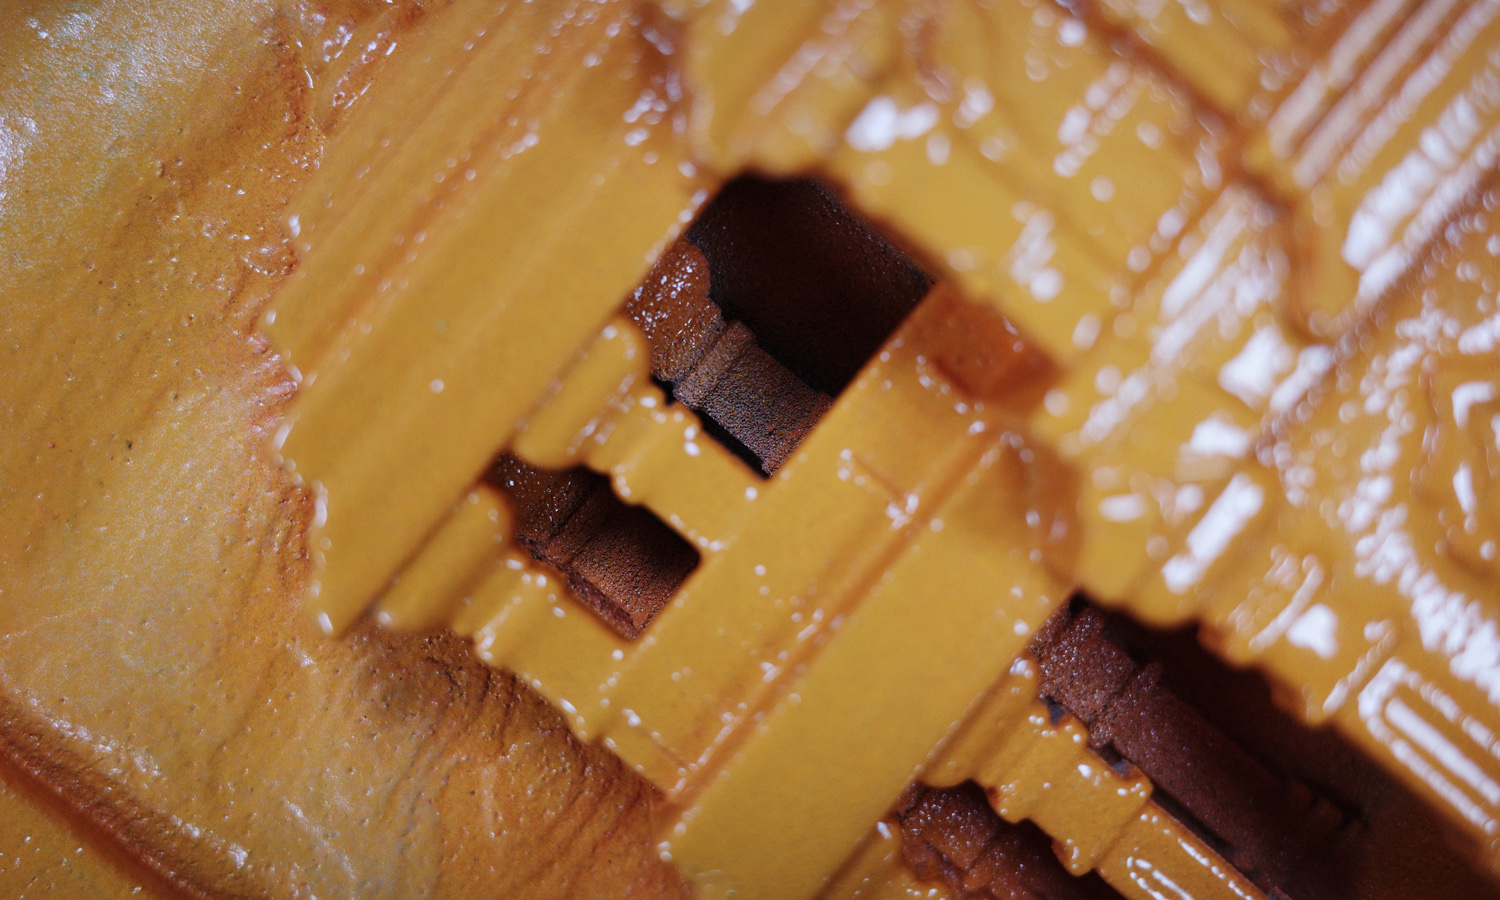
While the overall print retained architectural accuracy, the post-painted surface revealed localized glossy pooling and softened details. Upon inspection, this effect was caused by overly thick paint application-a common issue when working with porous materials like CJP sandstone. When the paint layer is too viscous or applied in one heavy coat, it tends to accumulate in recessed areas, dulling fine details and creating uneven reflectivity.
3D Printing with FacFox
At FacFox, we specialize in ColorJet sandstone 3D printing for decorative models, architectural miniatures, and display pieces. Our experienced team provides comprehensive finishing services-from sealing and painting to protective coating-to ensure the best combination of vivid color, fine detail, and lasting durability. Whether you’re creating a cultural artifact replica, an interior art relief, or a museum-grade exhibit, FacFox helps bring your design from digital to tangible with professional precision.
Explore sandstone printing with FacFox and turn your 3D models into stunning art pieces.
Solution
- Step 1: The 3D model of the temple relief was prepared and optimized for printing.
- Step 2: The file was sliced and printed using the ColorJet (CJP) sandstone process, where gypsum-based powder was bound layer by layer with colored adhesive.
- Step 3: After printing, the part was depowdered and infiltrated with cyanoacrylate to enhance strength and surface density.
- Step 4: The surface was lightly sanded and sealed to ensure uniform absorption.
- Step 5: Several thin layers of orange paint were airbrushed to achieve a rich, even tone.
- Step 6: A clear protective coating was applied to add gloss and durability.
- Step 7: The finished piece was inspected, cleaned, and packaged for safe delivery.


