- FDM 3D Printed Flowerpot Inspired by Van Cleef & Arpels
- SLA 3D Printed AI-Generated Crystal Splash Resin Bowl
Material Resin
Quantity 1 pcs
Price Range $100-1,000
Lead Time 1 workdays
Gallery
About Project
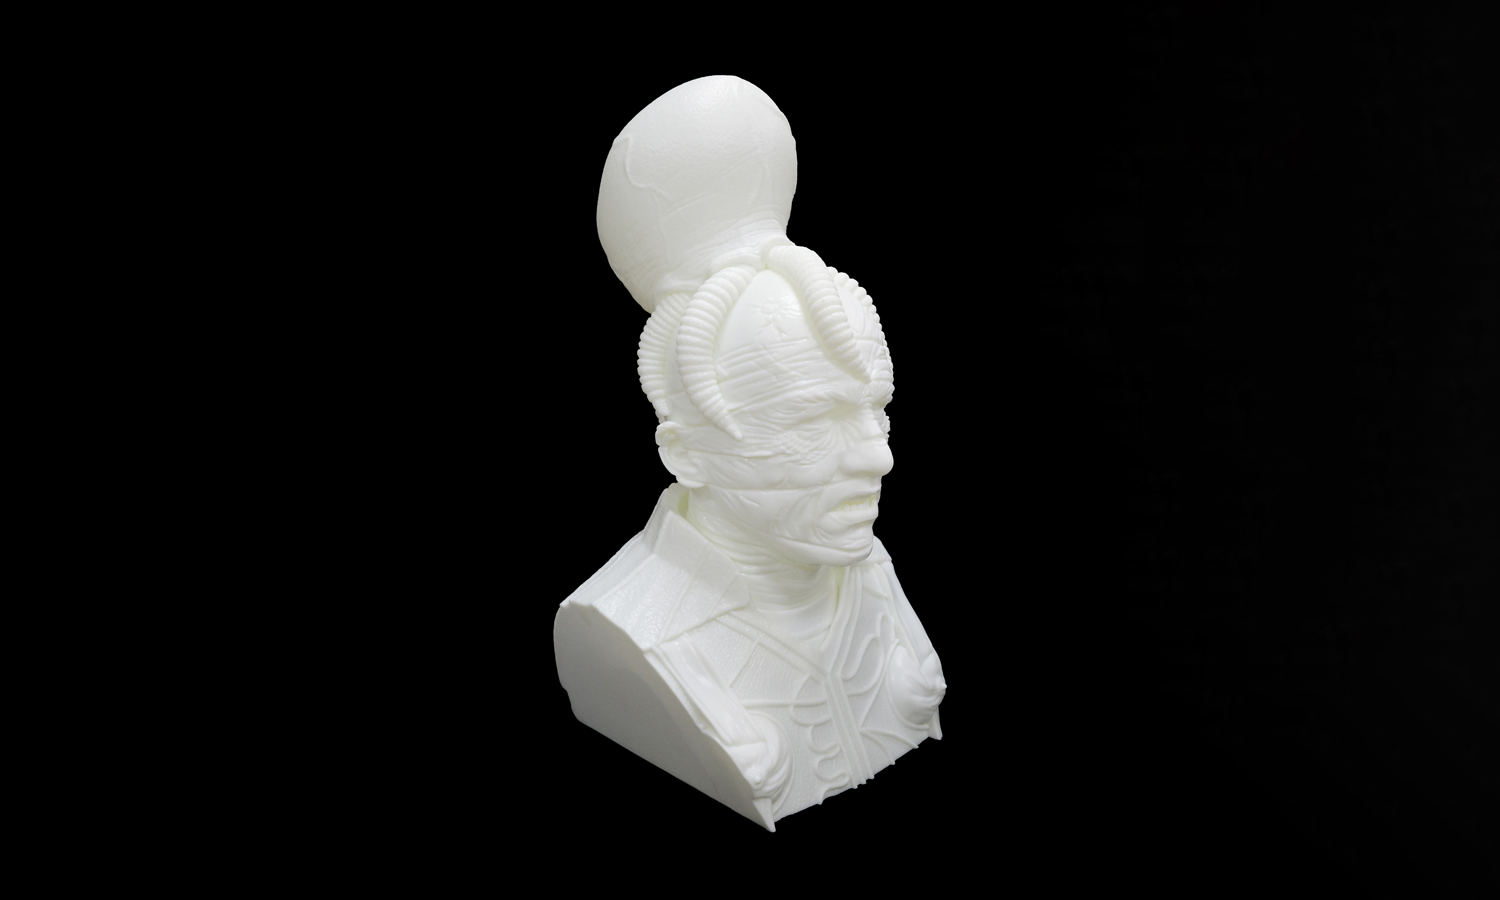
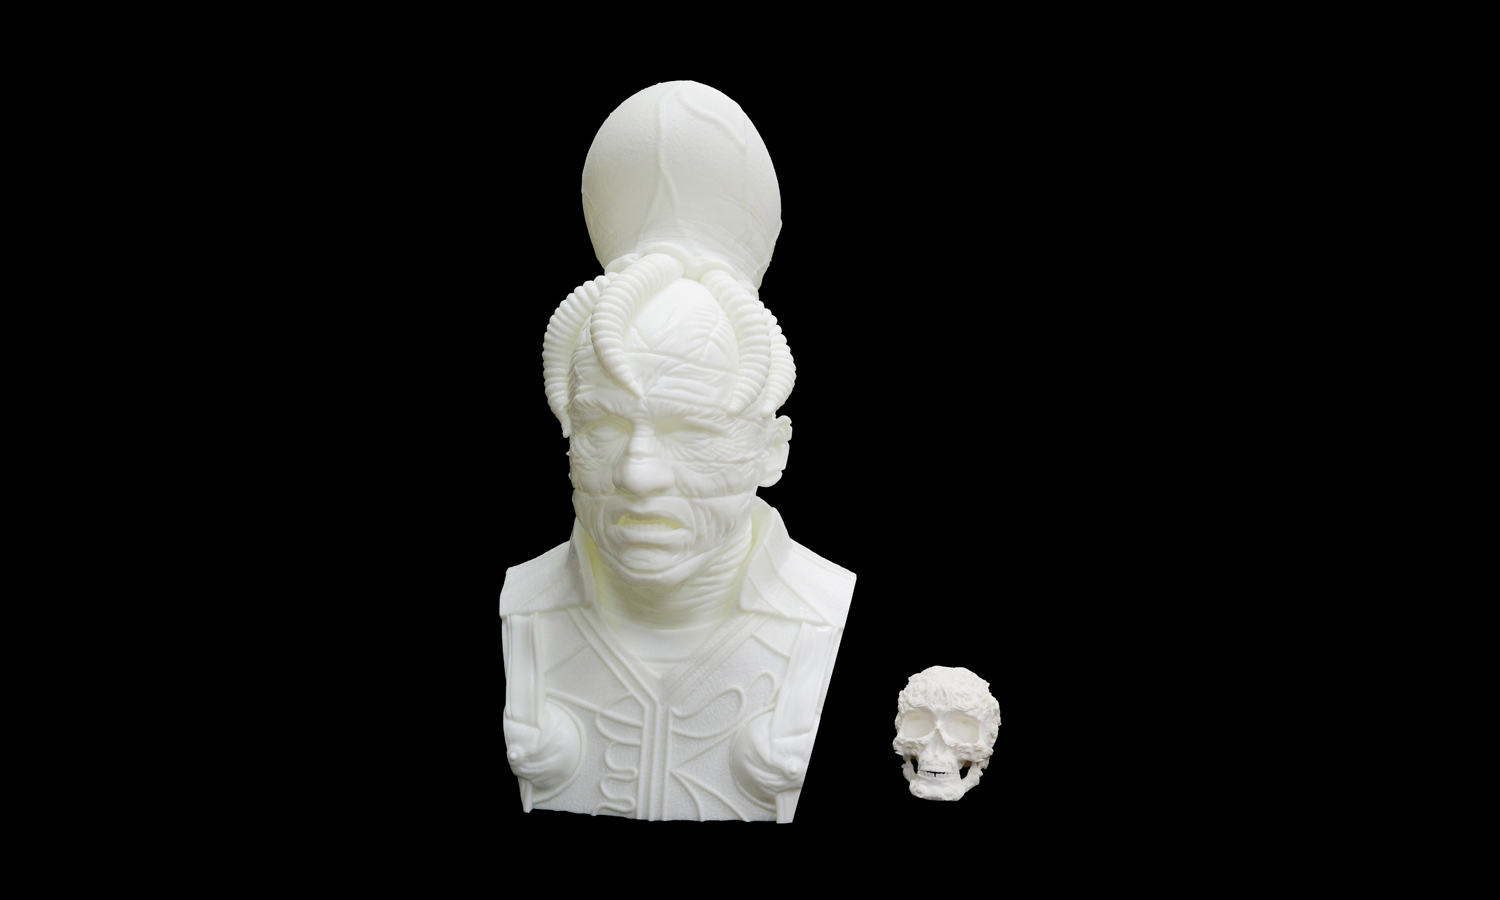
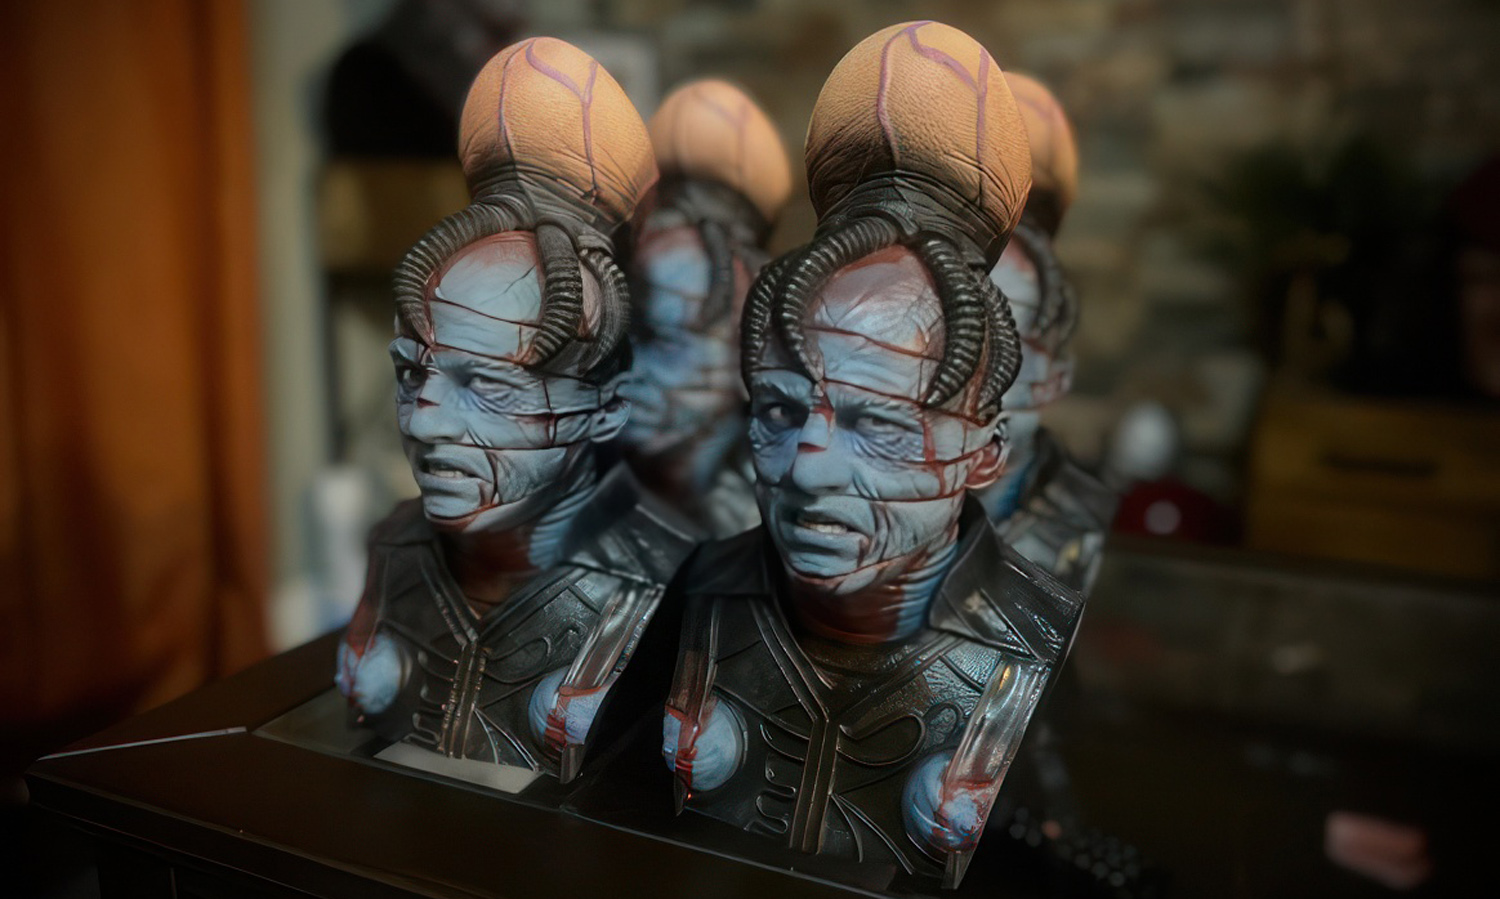
Earlier, we shared the SLA 3D Printed Hellbound Channard Cenobite resin garage kit. This full-scale resin garage kit was printed forВ Hellbound Busts, a talented studio dedicated to building hyper-realistic 1:1 horror sculptures using a combination of digital sculpting, 3D printing, and silicone artistry.
That model, made with high-resolution resin printing, showcased every vein, wrinkle, and armor detail from the design.
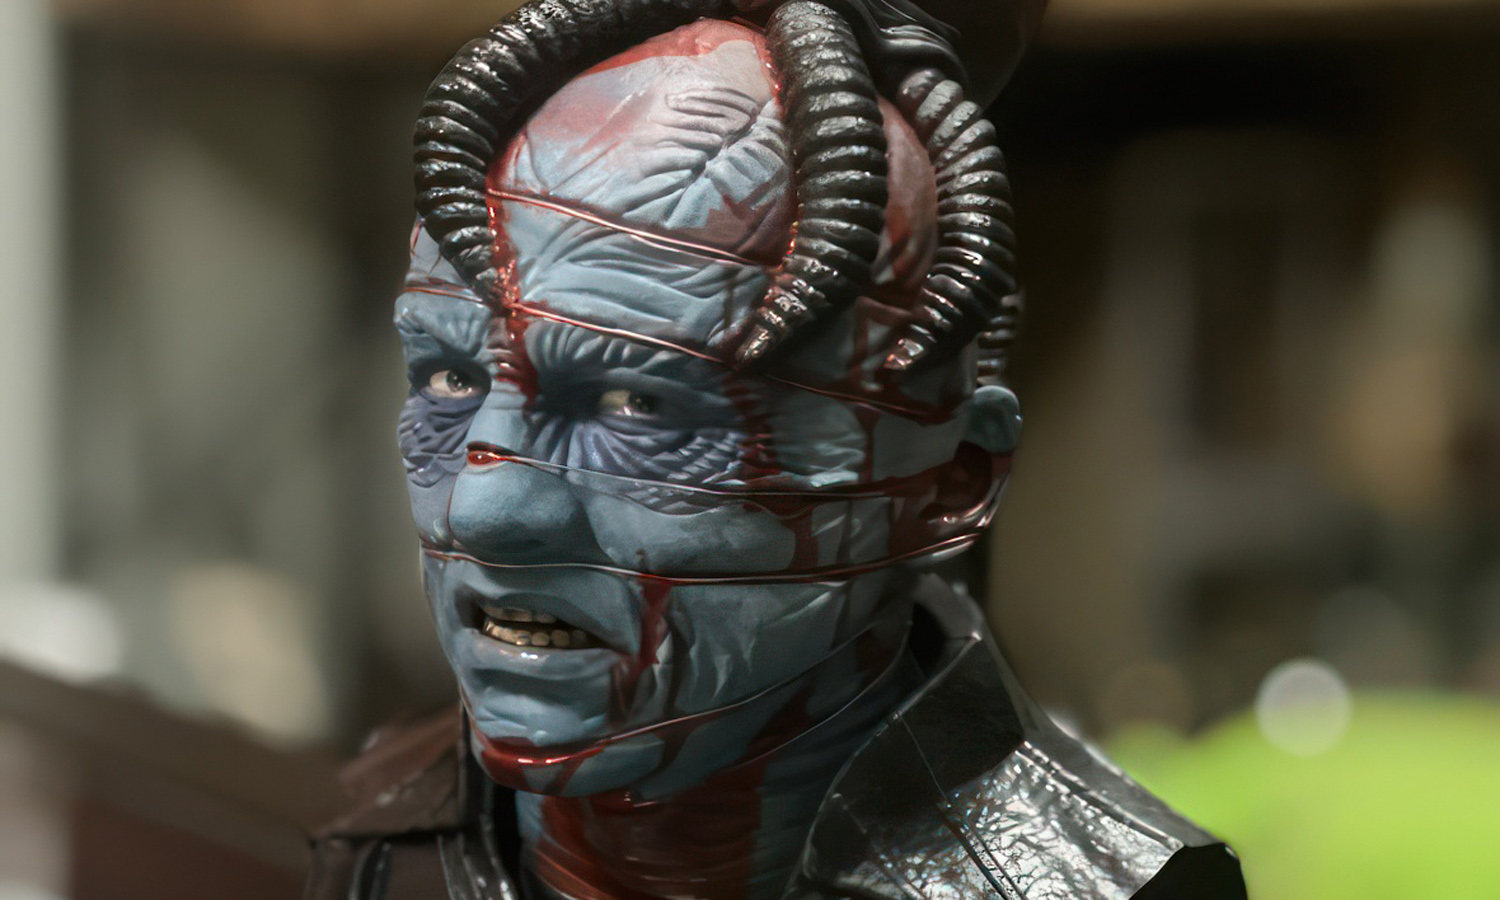
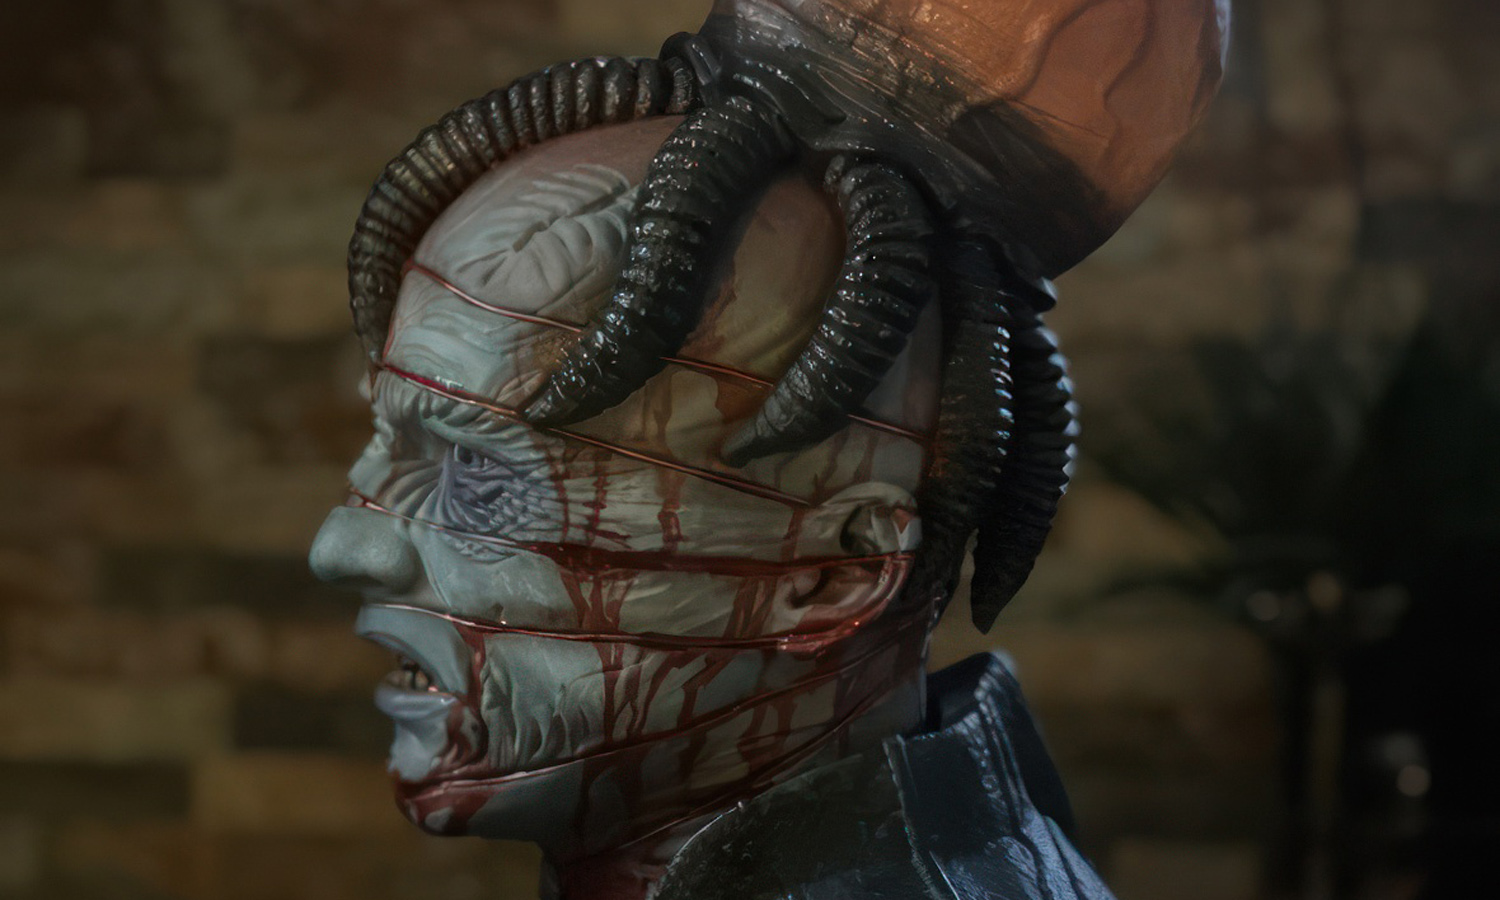
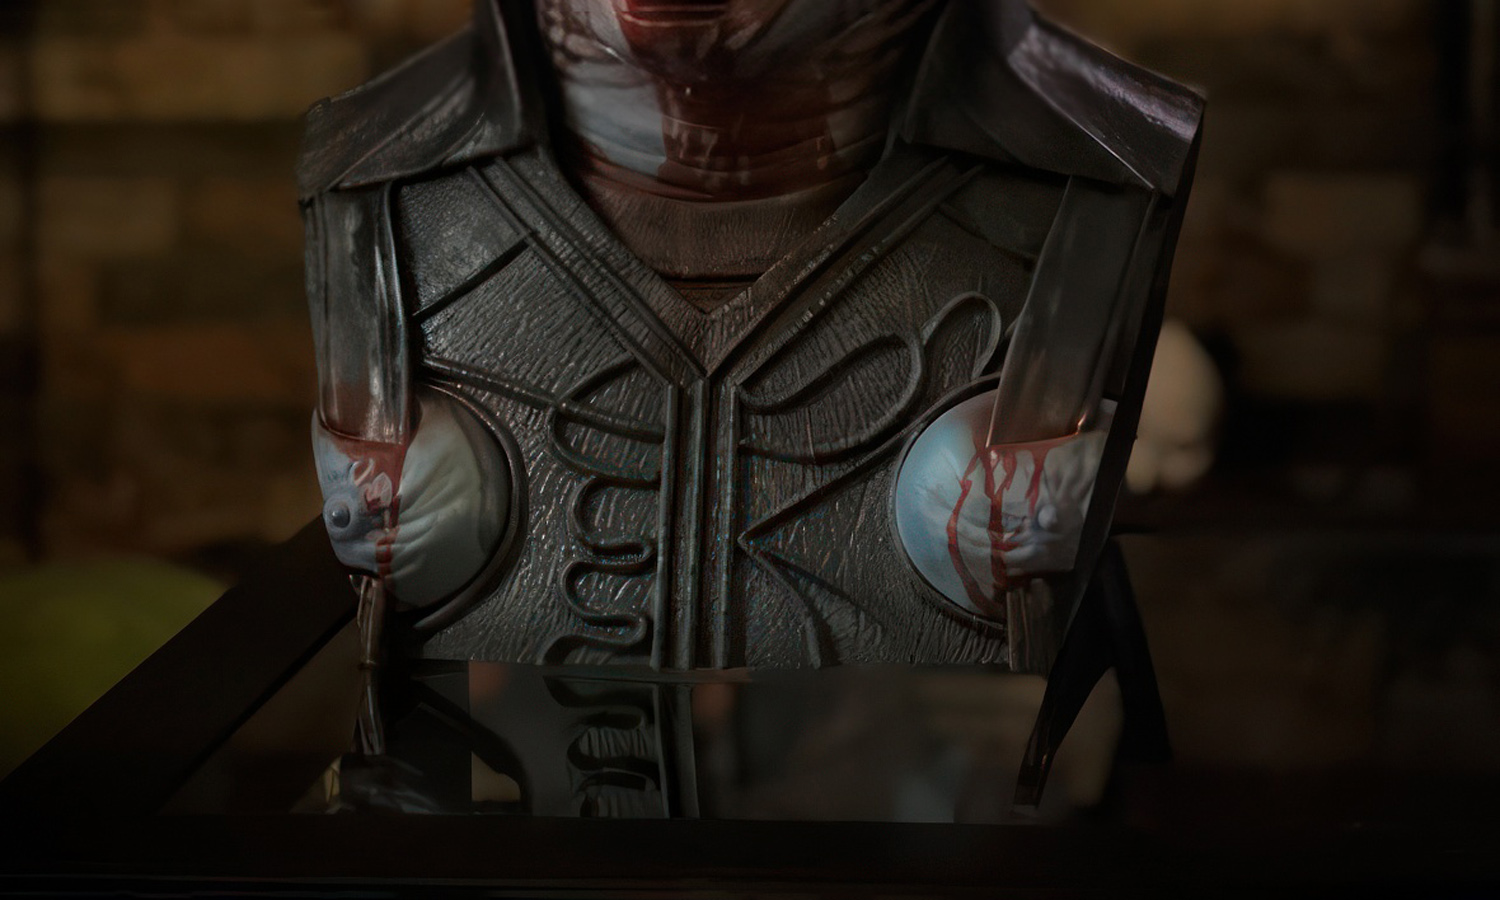
Now, the client has elevated the piece even further through hand-painting. With skillful brushwork and careful color blending, the once plain resin bust has been transformed into a gruesome display piece. The pale blue skin tones are accented with realistic veins and shadows, while the blood-red highlights add a chilling, visceral effect. Metallic textures on the armor and tubing contrast sharply with the organic headpiece, which is shaded to emphasize its grotesque form.
This project demonstrates how SLA 3D printing provides the perfect foundation for collectors and artists. The smooth surface finish and fine detail resolution of resin prints allow painters to focus on creativity, bringing depth and character to every feature.
At FacFox, we provide high-quality SLA resin printing for garage kits, figures, and collectibles, ensuring that every sculpt is delivered with crisp detail, ready for painting and finishing.
рҹ‘ү Turn your designs into tangible works of art with FacFox’s SLA 3D printing services.
Solution
- Step 1: Surface Preparation. The raw resin print was carefully sanded and cleaned to remove any supports and layer lines. A thin layer of primer was sprayed on to give the paint better adhesion and to highlight the sculpted details.
- Step 2: Base Colors. The main skin areas were painted with a pale blue base coat. The armor sections were given a dark metallic base, while the organic headpiece was coated with a flesh-tone foundation.
- Step 3: Shading & Highlights. Darker blue washes were applied in the recesses of the face to bring out depth, while lighter highlights were brushed onto raised areas like the cheekbones and wrinkles. Metallic dry-brushing was used to enhance the armor’s texture.
- Step 4: Blood & Veins Effects. Thin, vein-like streaks were carefully hand-painted across the face and body, followed by gloss red paint to simulate blood effects. The shiny finish gave the wounds a realistic, wet appearance.
- Step 5: Detailing & Texturing. The tubing and mechanical elements were painted with a combination of metallic silver and black washes for a worn, sinister look. The crown-like organic structure on the head was shaded with purples and reds to give it a fleshy, grotesque finish.
- Step 6: Final Touches. A matte varnish was applied to most areas to protect the paintwork, while selective glossy finishes were left on the blood and wounds to keep their wet effect.
