Gallery


About Project
For every passionate knitter, the right tools can make all the difference-and with 3D printing, custom and practical tools are more accessible than ever. This set of colorful, lightweight accessories brings modern engineering to traditional handcraft, enhancing both convenience and joy in the knitting process.
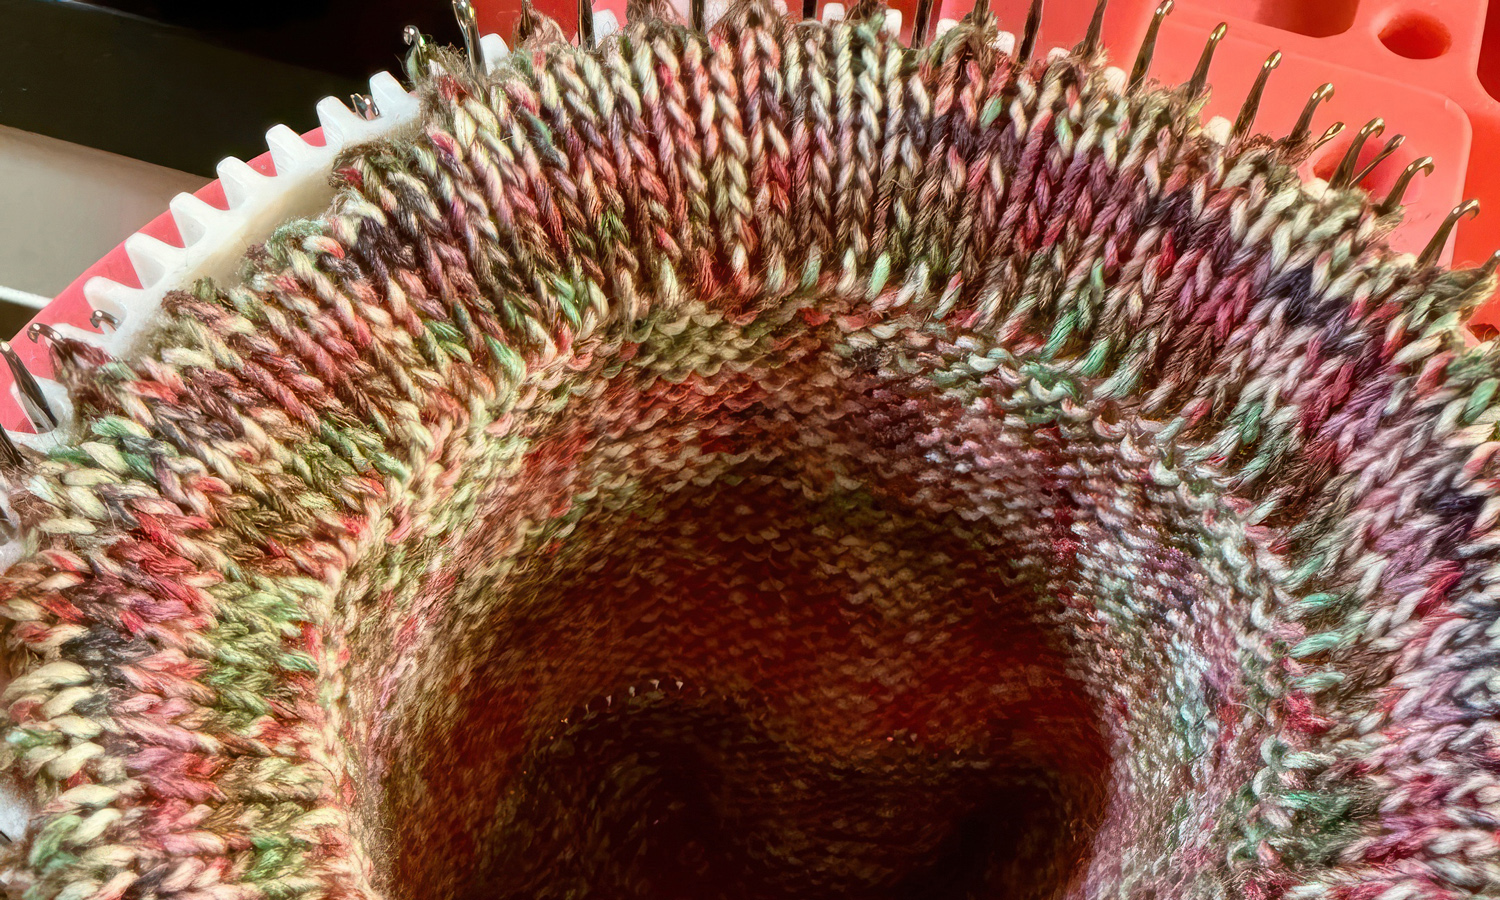
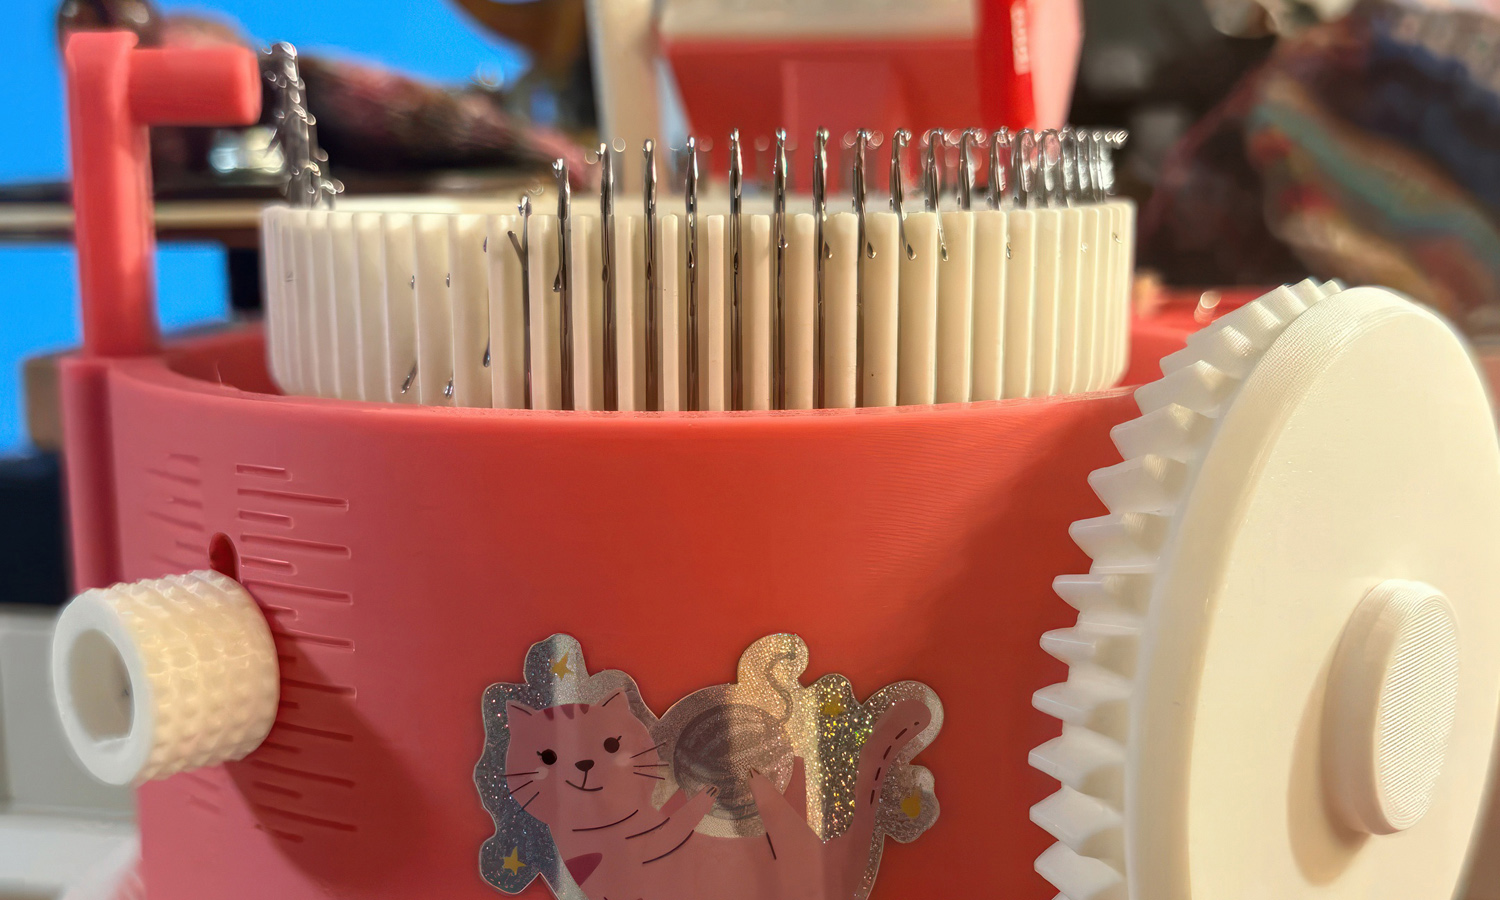
Circular Sock Knitting Machine (CSM Style)
This compact circular sock knitting machine brings industrial-style knitting into the home. With a 3D printed main frame, crank, and cylinder, it’s designed to be both functional and customizable. Once assembled with standard latch needles, it can efficiently knit tubes and socks with just a turn of the crank. Perfect for DIYers, it’s also a fantastic way to experiment with semi-automated knitting without investing in heavy machinery.
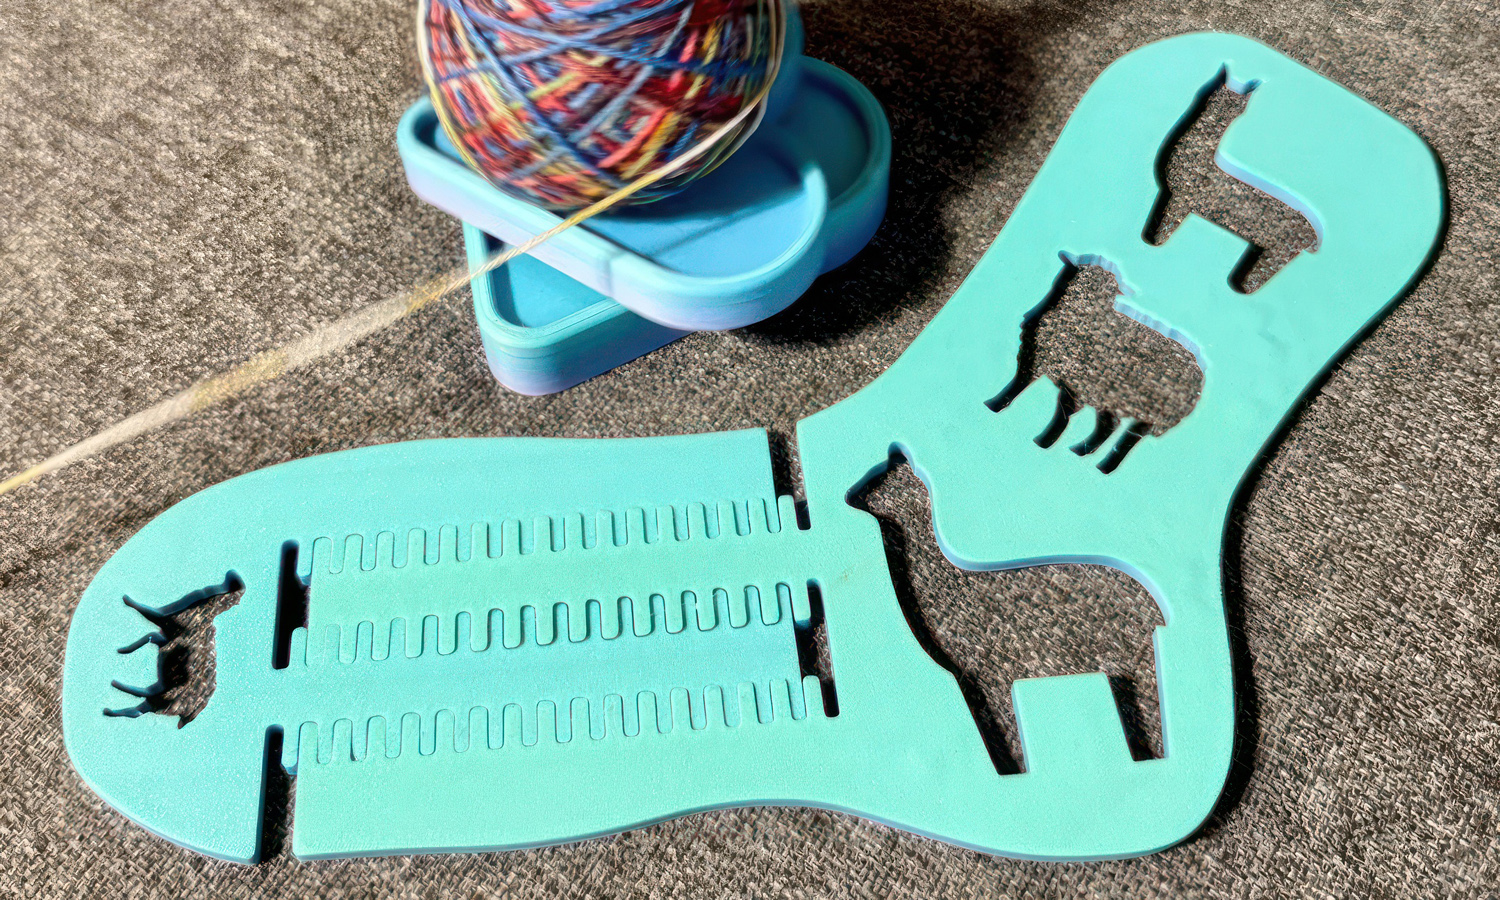
Yarn Spinner
Tangling yarn can be a constant frustration-unless you have this elegantly simple yarn spinner. The 3D-printed cone keeps the yarn cake upright while the base allows it to rotate smoothly as you knit. No more chasing balls of yarn across the floor! Its minimal footprint makes it perfect for travel knitting or tidy workspaces.
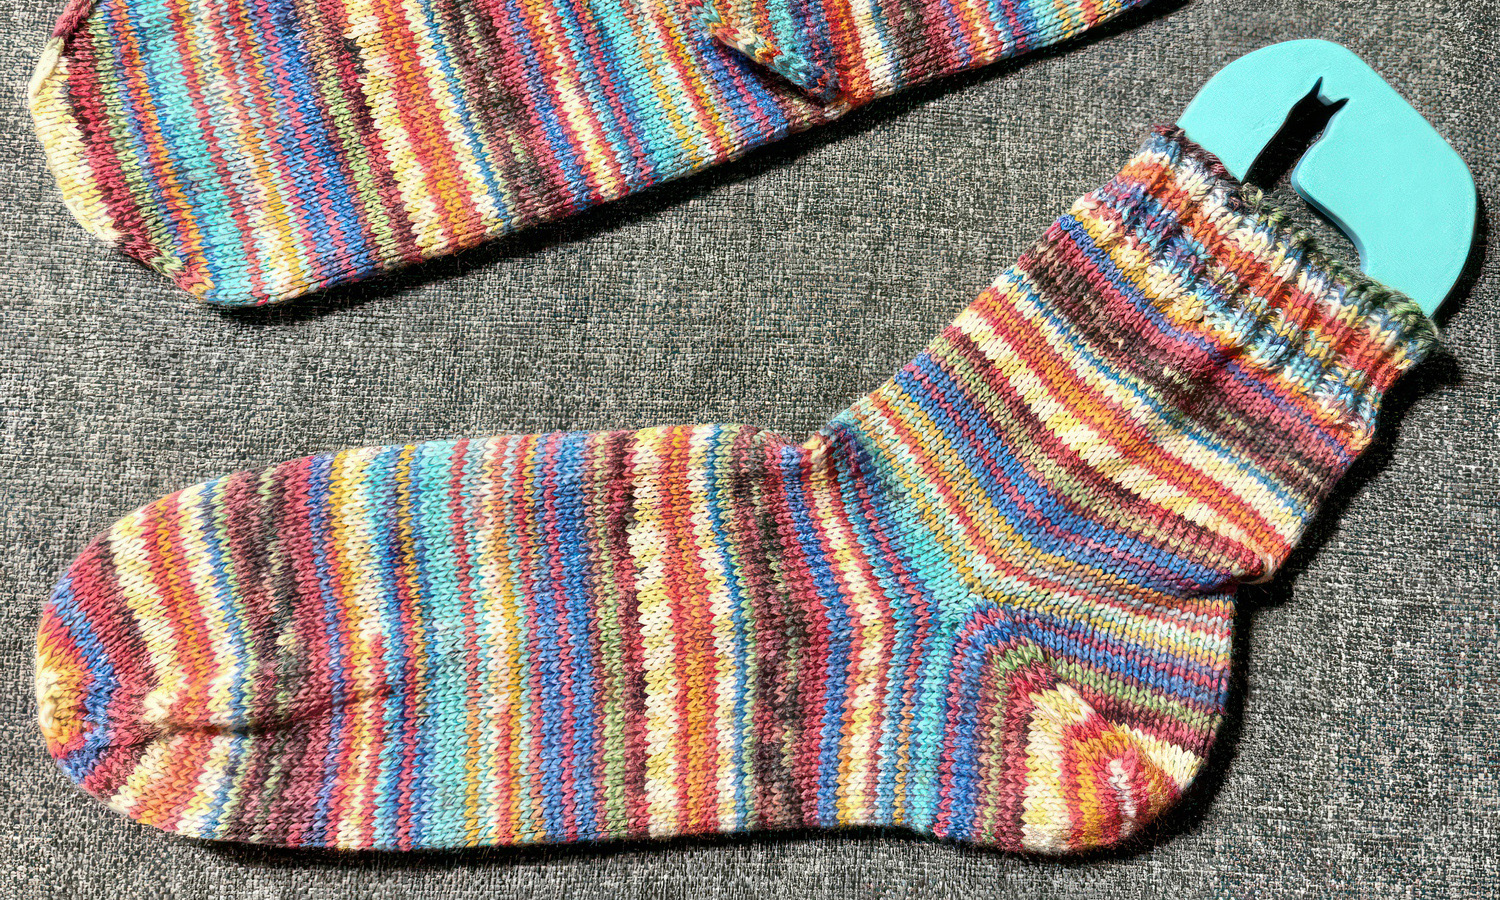
Adjustable Sock Blocker
After knitting a sock, shaping it to the perfect fit is essential. This 3D-printed adjustable sock blocker can be extended or retracted to match different foot lengths, typically from 14-15cm. The charming animal cutouts not only add personality but also reduce print time and material usage. It’s a fun and functional addition to any knitter’s toolkit.
Whether you’re a beginner learning the basics or a seasoned sock artisan, these 3D printed tools offer clever solutions to common knitting pain points. They can be personalized, reprinted, and easily repaired-all while showcasing your creativity beyond the yarn.
At FacFox, we offer professional-grade 3D printing services to bring your craft tool ideas to life. Whether you’re prototyping knitting accessories or producing custom gadgets, we can help you choose the right material, process, and finish to match your needs.
Solution
- Step 1: Each tool was digitally modeled using CAD software, with careful attention given to functional dimensions.
- Step 2: The models were exported as STL files and imported into slicing software, where print orientation, layer height, and infill settings were optimized. A layer height of 0.2mm and infill density between 20% and 100% were selected based on the structural needs of each part.
- Step 3: The components were printed using FDM technology with PLA filament, chosen for its ease of printing, rigidity, and wide availability.
- Step 4: Once printing was completed, all parts were removed from the build plate, and any necessary supports were carefully detached.
- Step 5: Post-processing was performed, which included trimming, light sanding, and testing of moving or interlocking parts to ensure smooth functionality.
- Step 6: The parts were then assembled or slotted together as needed. Functional checks were conducted-such as rotating the yarn spinner, adjusting the sock blocker, or test-knitting on the circular sock machine-to verify usability and durability.


