Gallery
About Project
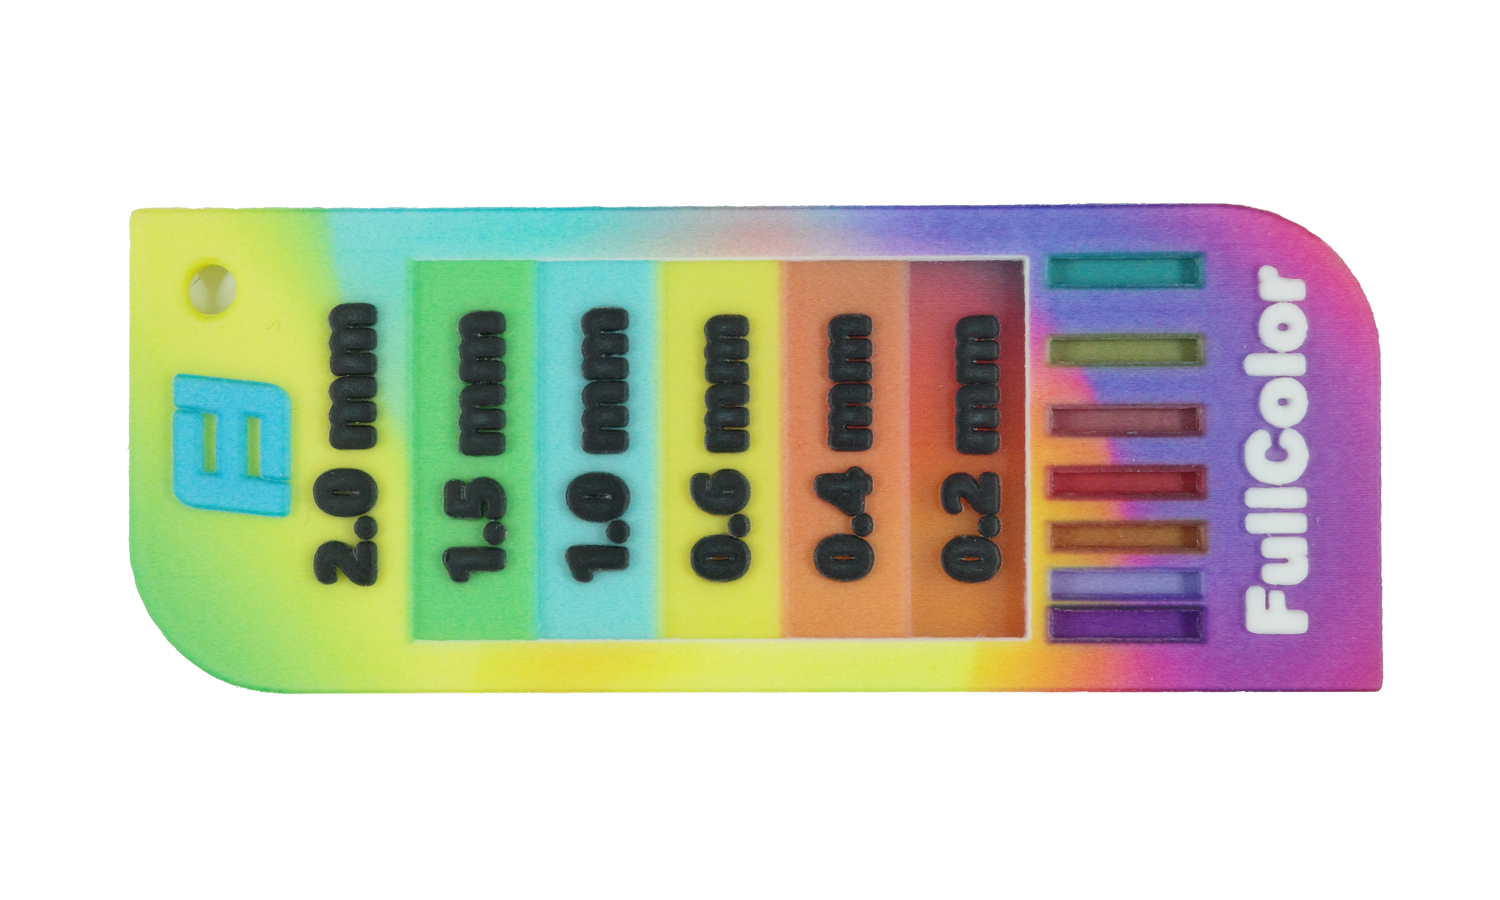
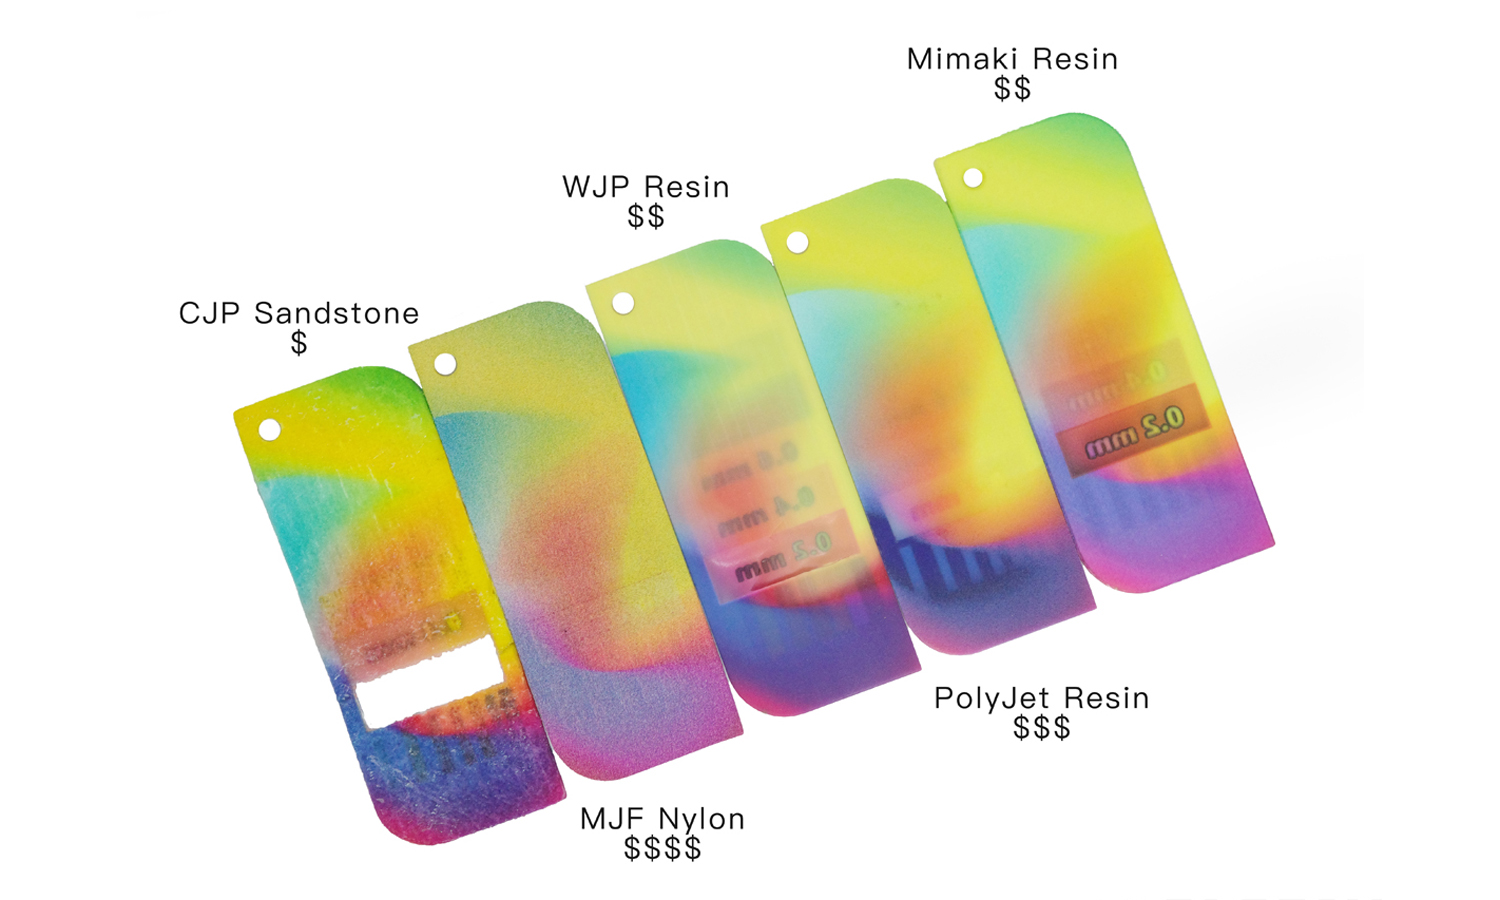
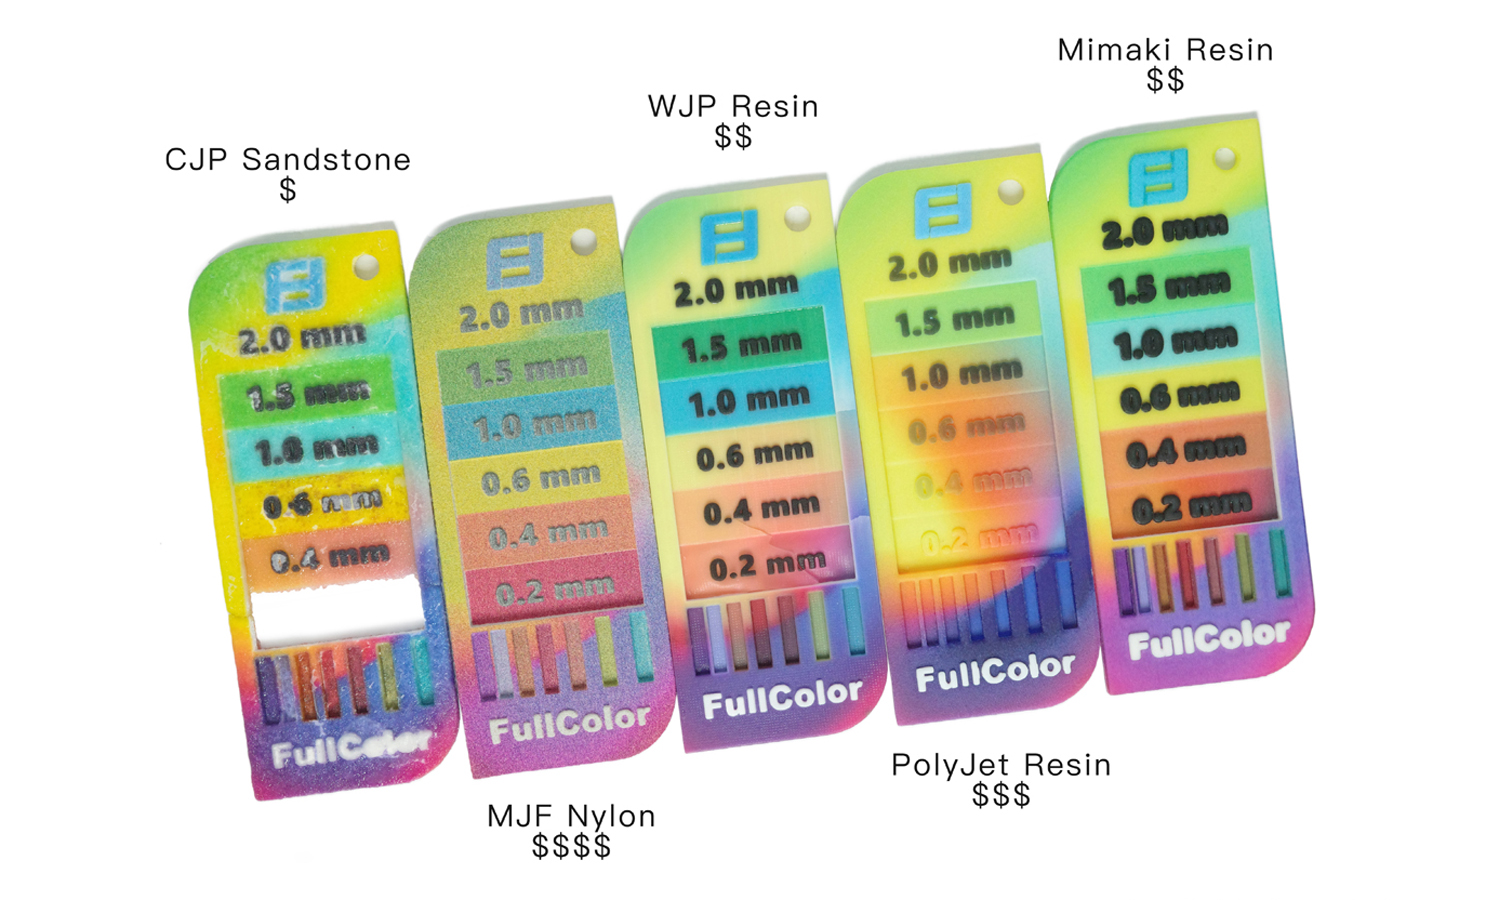
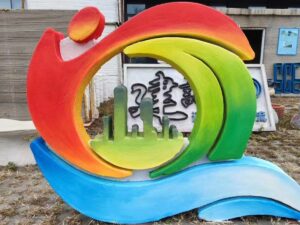
This vibrant, full-color 3D printed object appears to be a wall thickness tester, likely designed for quality control or demonstration purposes. Created on a Mimaki 3D printer, it showcases the impressive capabilities of their full-color printing technology.
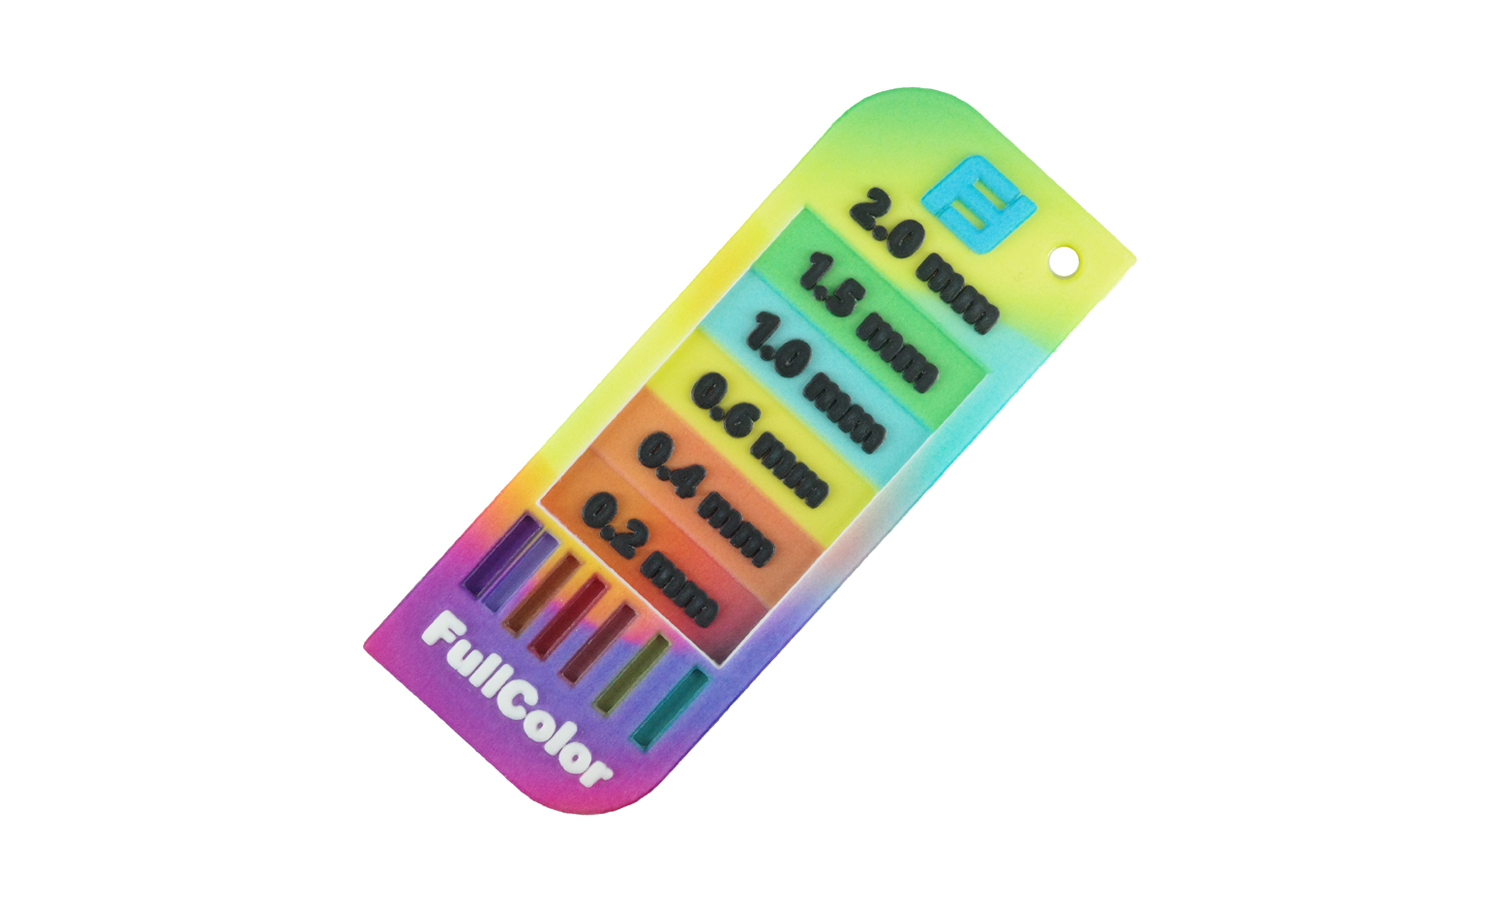
One of the standout features evident in this print is the high saturation and accurate color reproduction. The distinct color blocks for each thickness measurement (2.0mm, 1.5mm, 1.0mm, 0.6mm, 0.4mm, and 0.2mm) are vivid and easily distinguishable. Furthermore, the ability to print sections as thin as 0.2mm highlights the precision achievable with Mimaki’s technology.
However, a closer inspection reveals some limitations. There’s a noticeable color bleeding or outward spill in smaller areas, particularly around the thickness labels. This results in a blurring effect where different thickness indicators merge slightly. This color bleeding is also visible in the vertical color bars at the bottom of the tester.
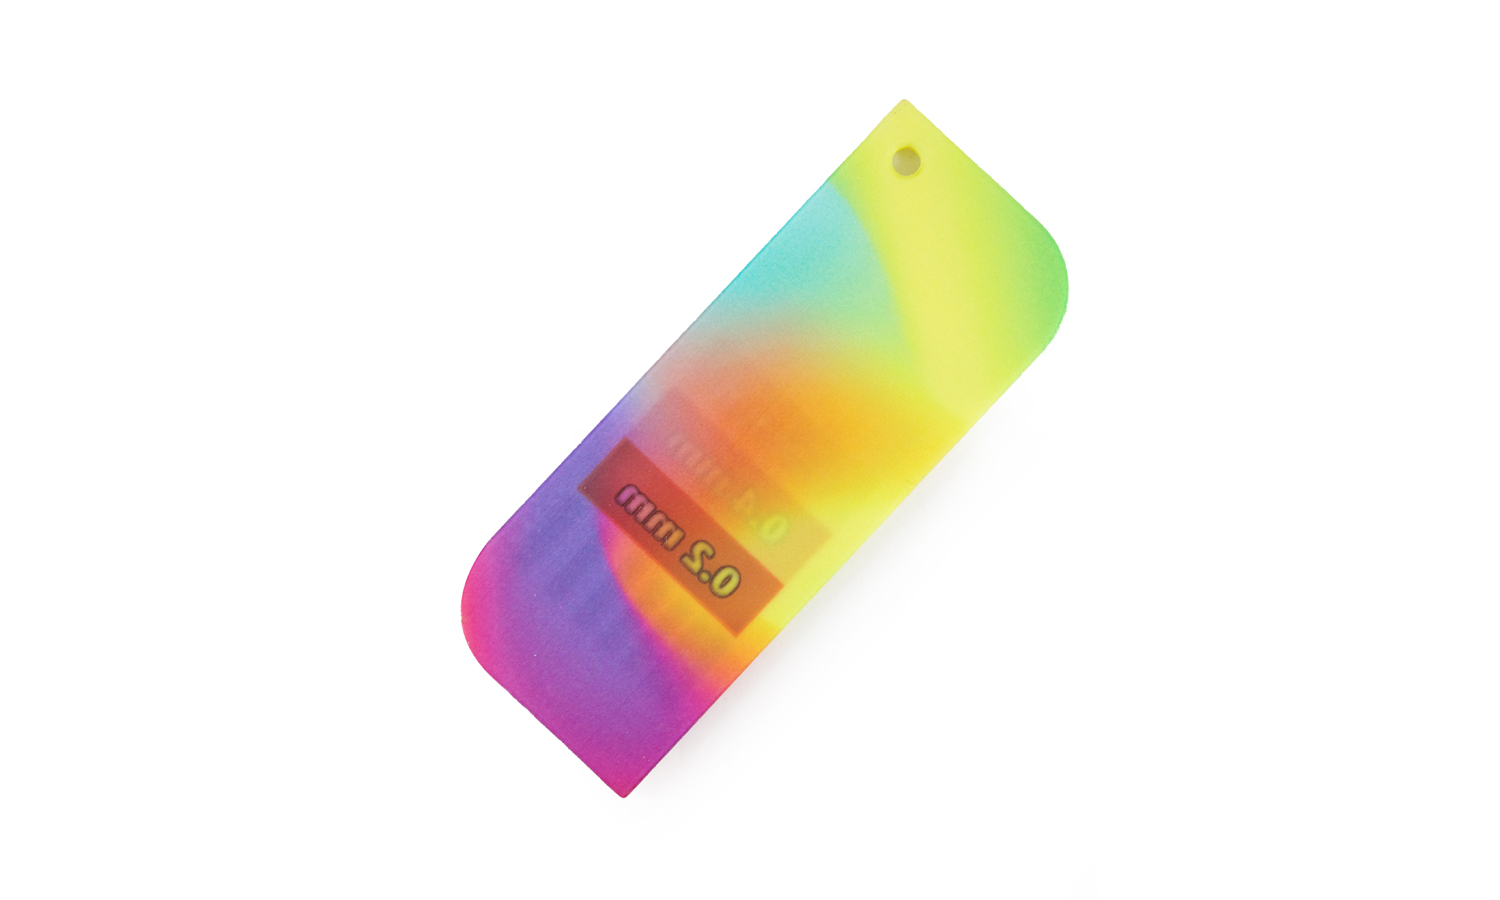
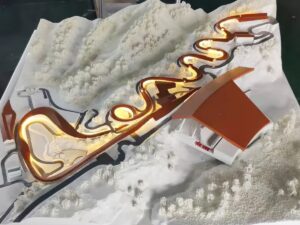
Looking at the back of the print provides further insight into the printing process. The translucency observed in the 0.2mm and 0.4mm sections suggests that Mimaki’s full-color process involves applying a thin layer of color onto a base of white resin powder.
Mimaki’s process allows for the creation of objects with millions of colors, opening up possibilities for realistic prototypes, artistic models, and informative visual aids. Want to experience the power of Mimaki’s full-color 3D printing for your next project? FacFox offers professional Mimaki 3D printing services. Leverage their expertise and cutting-edge technology to create stunning, detailed, and colorful 3D prints. Visit FacFox today to explore the possibilities!
Solution
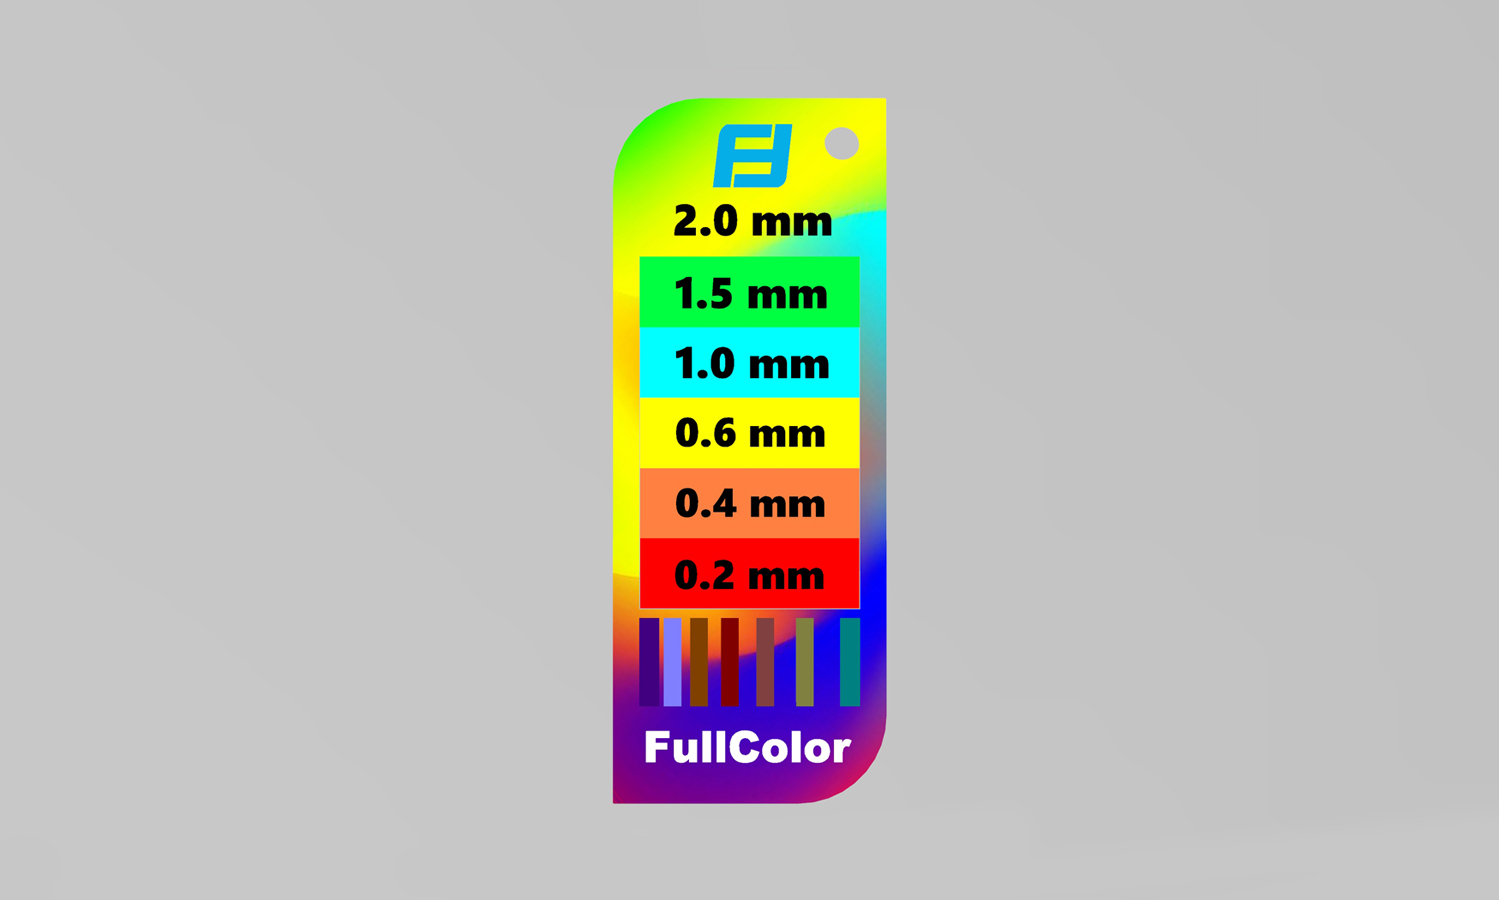
- Step 1: A digital 3D model of the wall thickness tester was created using computer-aided design (CAD) software.
- Step 2: The 3D model was then prepared for printing by slicing it into thin layers.
- Step 3: A Mimaki full-color 3D printer was utilized for the fabrication process.
- Step 4: A base layer of white resin powder was spread across the build platform.
- Step 5: Based on the sliced data, thin layers of colored ink were selectively jetted onto the powder bed.
- Step 6: The powder bed was then recoated with a fresh layer of white resin powder.
- Step 7: The selective jetting of colored ink onto subsequent powder layers was repeated, building the object layer by layer.
- Step 8: This process continued until the entire wall thickness tester was formed within the powder bed.
- Step 9: Once printing was complete, the build platform was carefully removed from the printer.
- Step 10: Excess, unbound powder was gently removed from the printed part.
- Step 11: The finished full-color 3D printed wall thickness tester was then ready for inspection and use.

