Material Plastic
Quantity 1 pcs
Price Range $1-100
Lead Time 3 workdays
Gallery

About Project
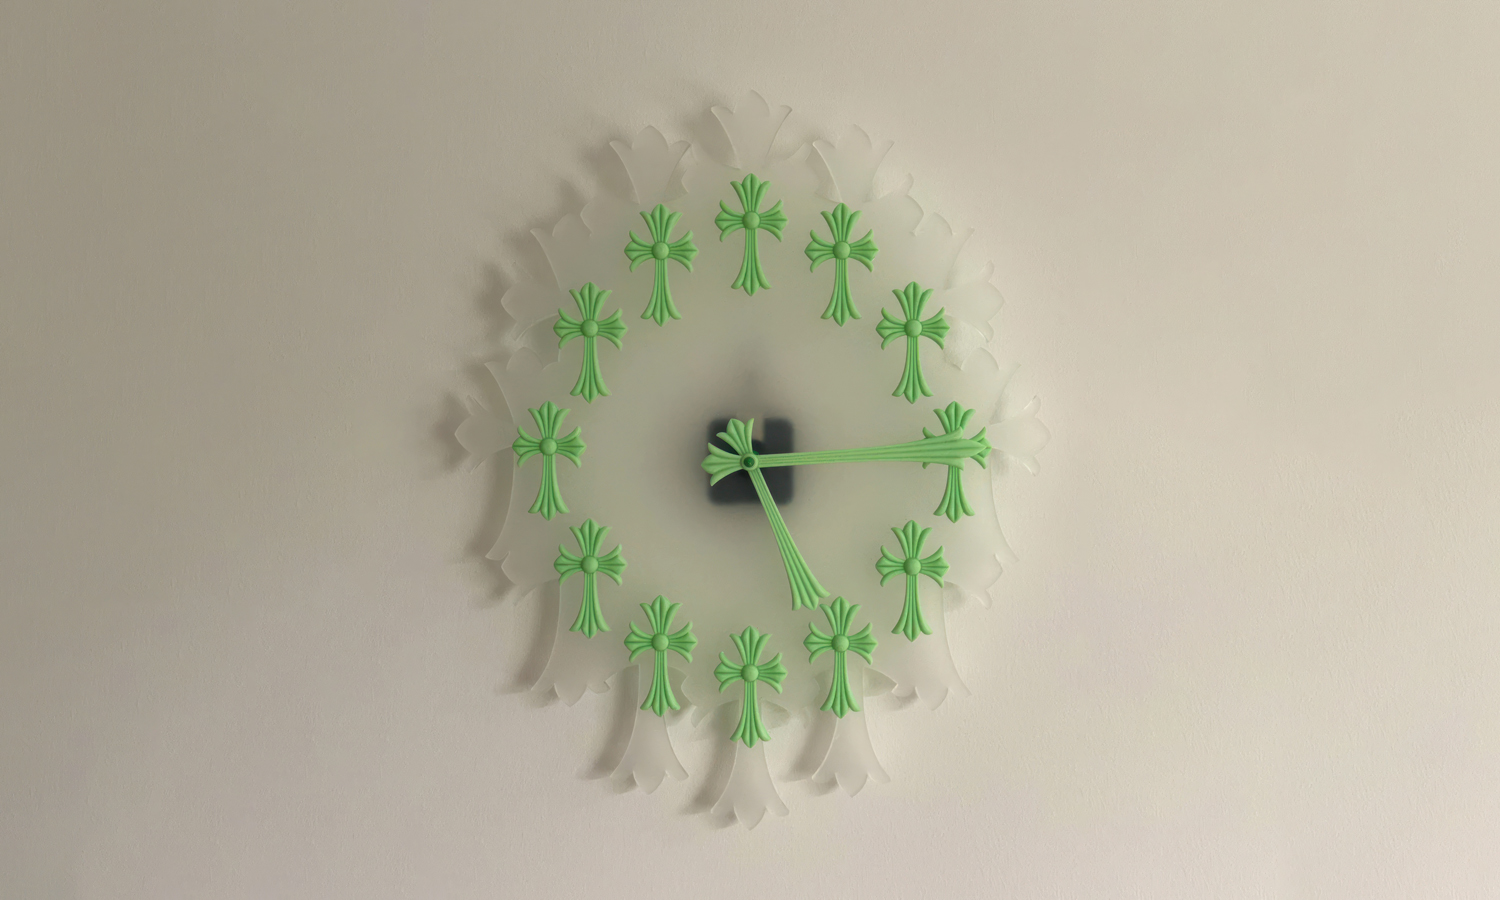
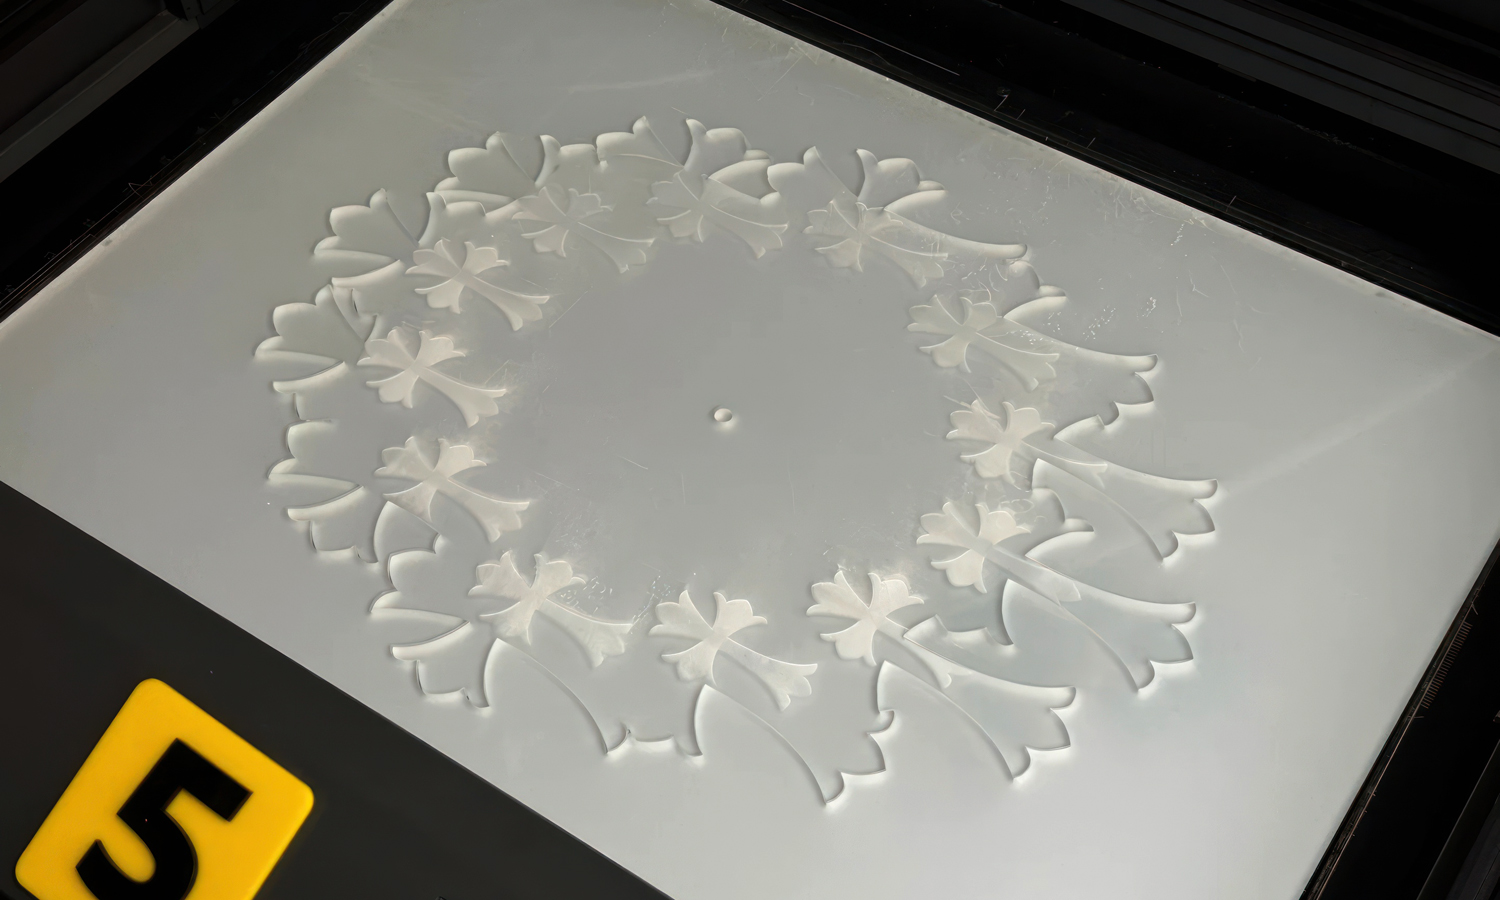
Absolutely loving this custom clock shared by User Shisan! This eye-catching design features a clear, possibly acrylic, circular base with bold, vibrant green cross shapes marking the hours. The matching green hands complete the striking look.
The creator mentioned using a Creality Ender 3 S1 Pro 3D printer and PLA Glow filament for the luminous green elements. It’s clear this design takes inspiration from the iconic aesthetic of Chrome Hearts, bringing a touch of edgy luxury to a functional object.
Feeling inspired to create your own unique designs, whether it’s fashion-forward accessories or custom home decor? FacFox can help! We offer professional and high-quality 3D printing and CNC machining services. From selecting the right materials to achieving precise results, FacFox provides the expertise and technology to bring your vision to life. Explore the possibilities of digital manufacturing with FacFox and turn your creative inspirations into reality!
Solution
- Step 1: The digital 3D model of the cross shapes was created using computer-aided design (CAD) software.
- Step 2: The 3D model was then prepared for printing by slicing it into layers, and printing parameters were set within the slicing software.
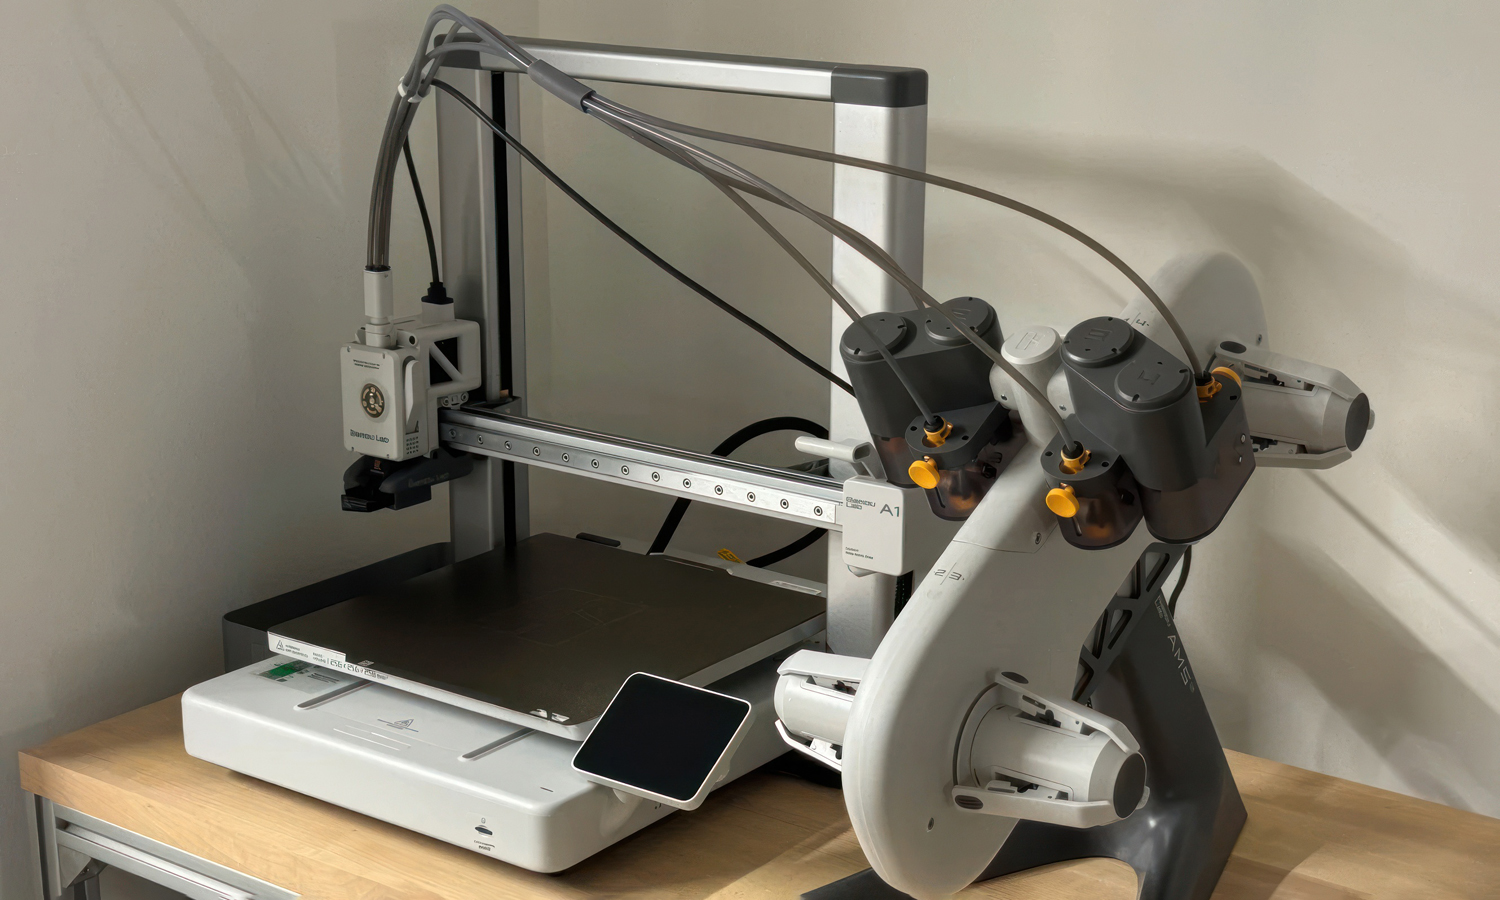
- Step 3: The green cross shapes were printed using a Creality Ender 3 S1 Pro 3D printer with PLA Glow filament. The filament was melted and extruded layer by layer to form the desired shapes.
- Step 4: Once printing was complete, the printed cross shapes were carefully removed from the printer bed.
- Step 5: Any necessary post-processing, such as removing support structures or smoothing rough edges, was performed on the printed green crosses.
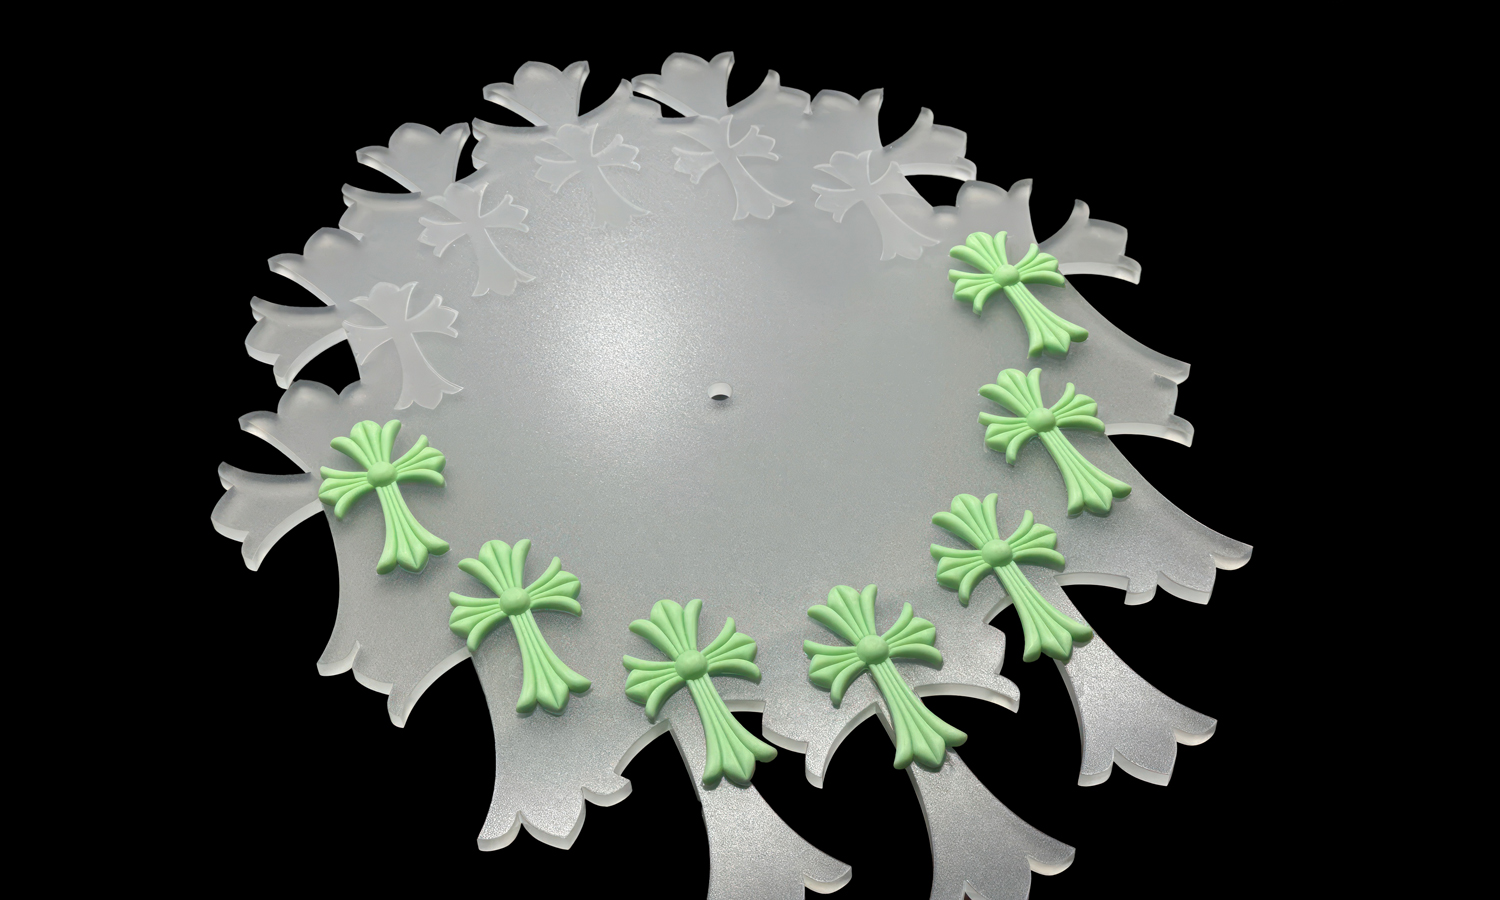
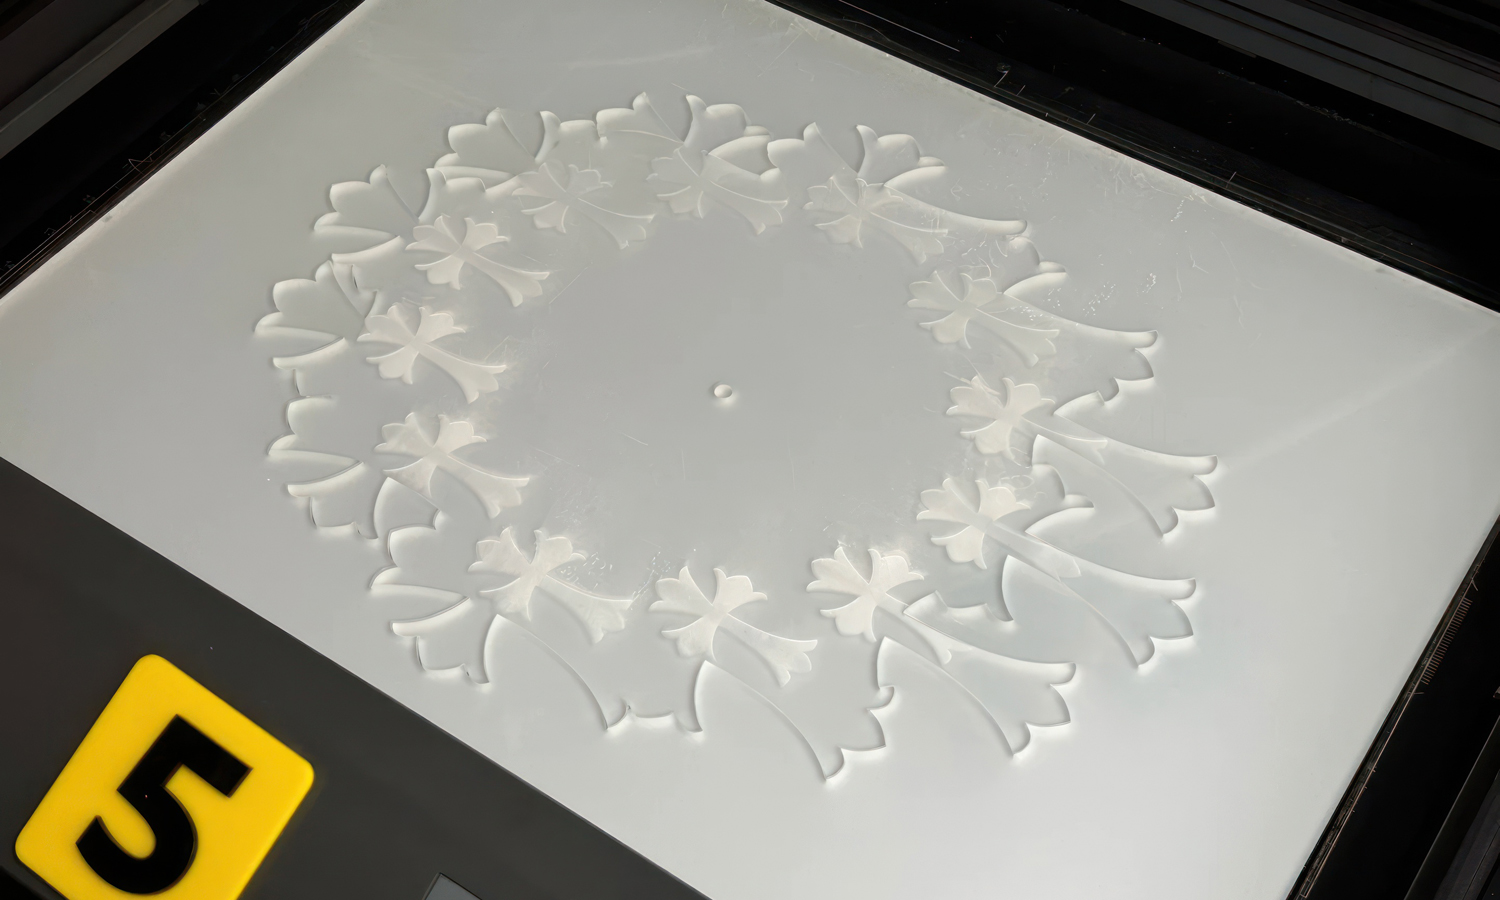
- Step 6: A circular base for the clock was prepared with CNC machining technique.
- Step 7: The precise positions for the hour markers on the circular base were determined and marked.
- Step 8: The individual green cross shapes were then adhered to the circular base at the marked positions, likely using an adhesive suitable for the materials involved.
- Step 9: The clock mechanism, including the motor and hands, was assembled and attached to the center of the circular base.
- Step 10: The green clock hands were carefully mounted onto the clock mechanism.
- Step 11: The final assembled clock was inspected to ensure proper alignment and functionality.


