Gallery
About Project
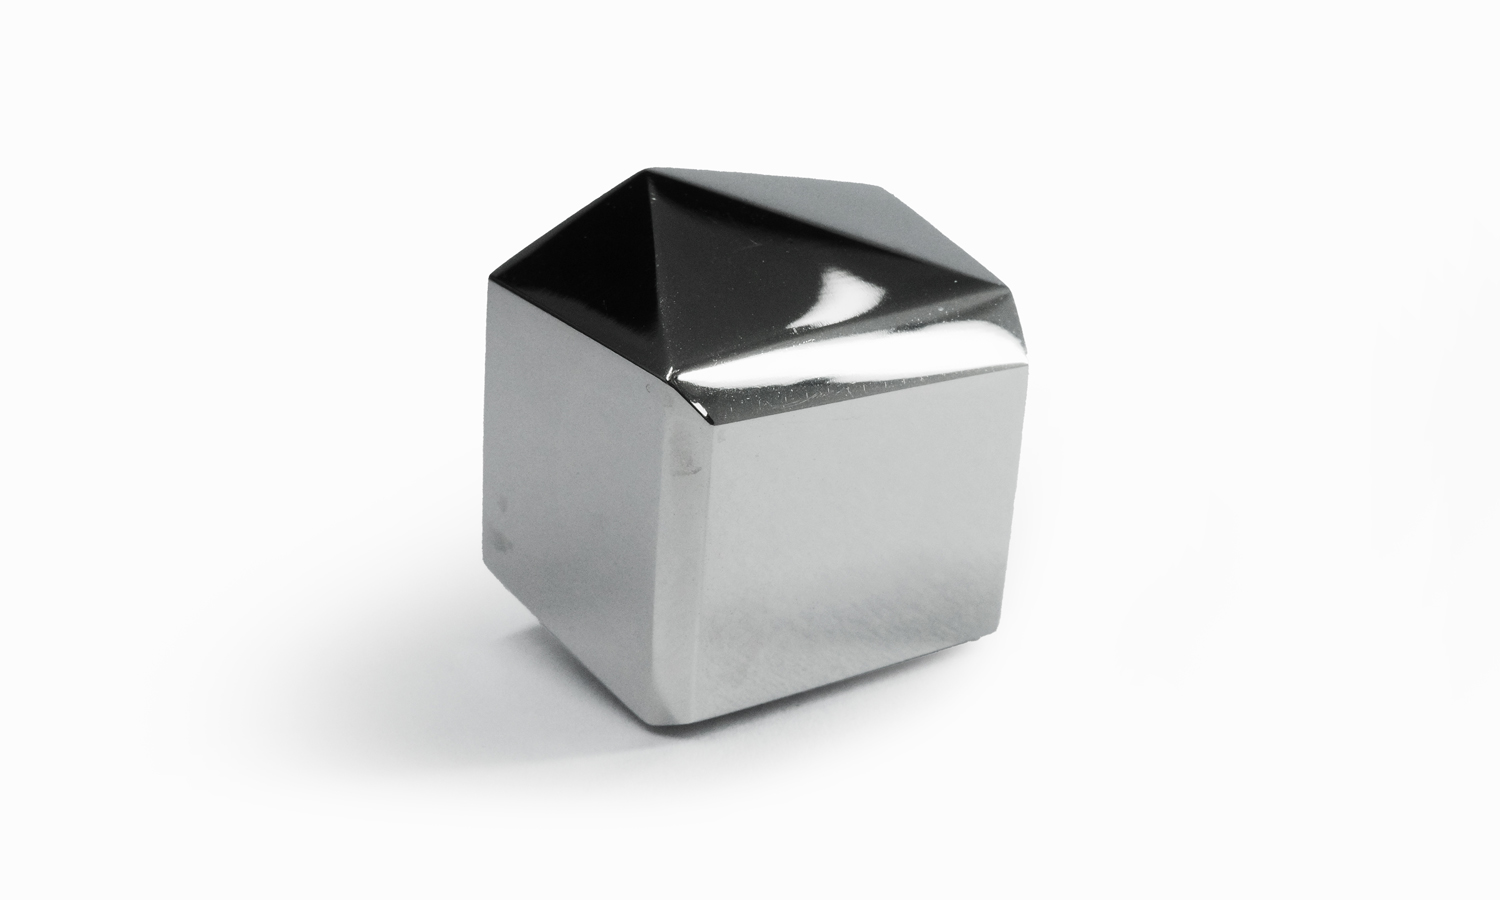
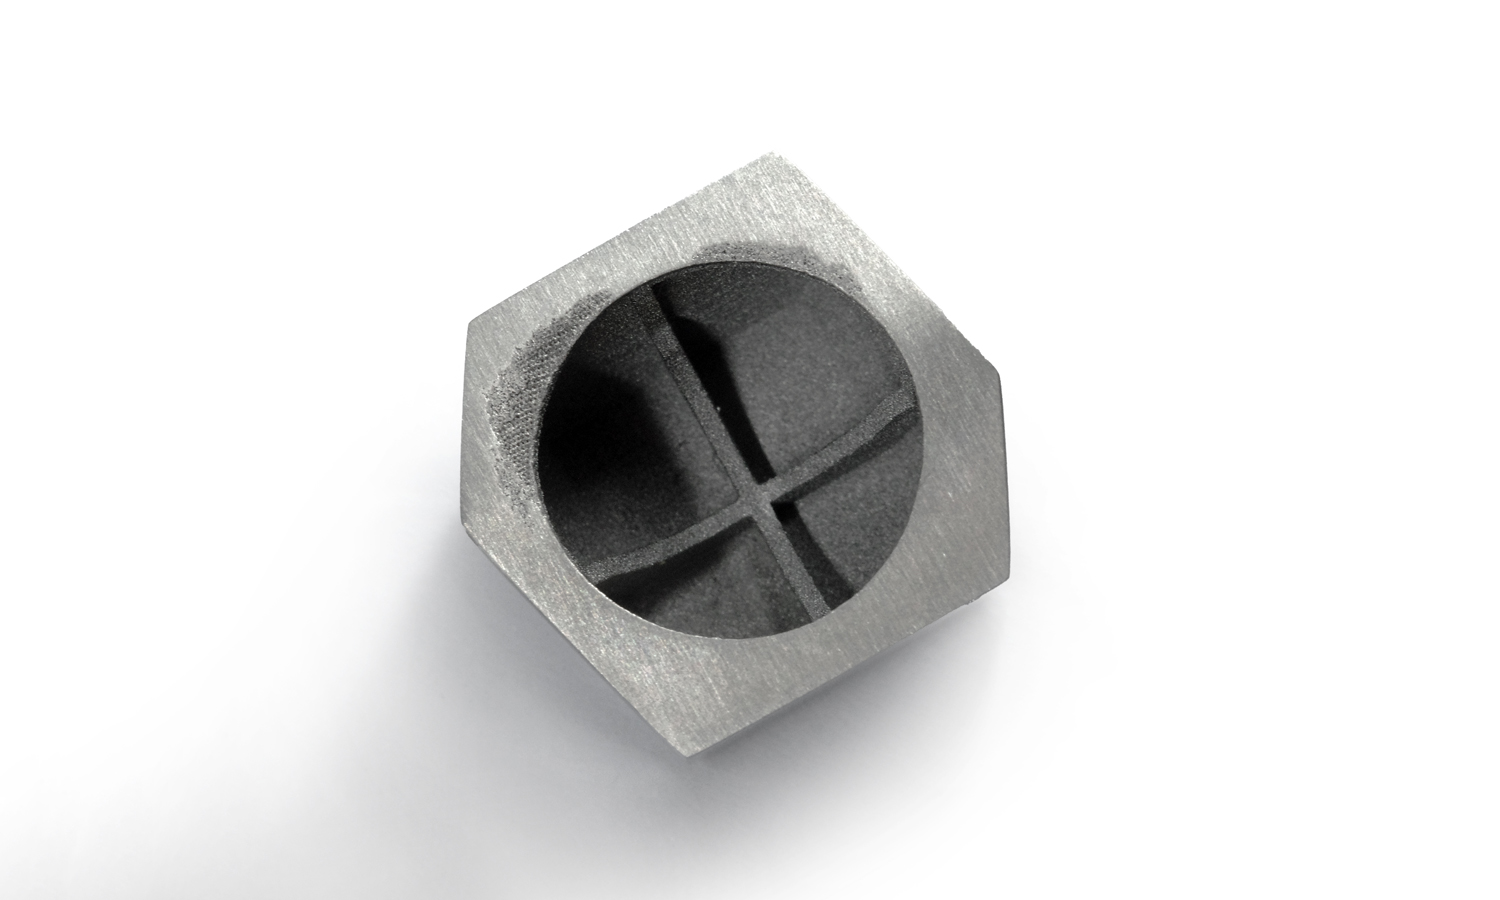
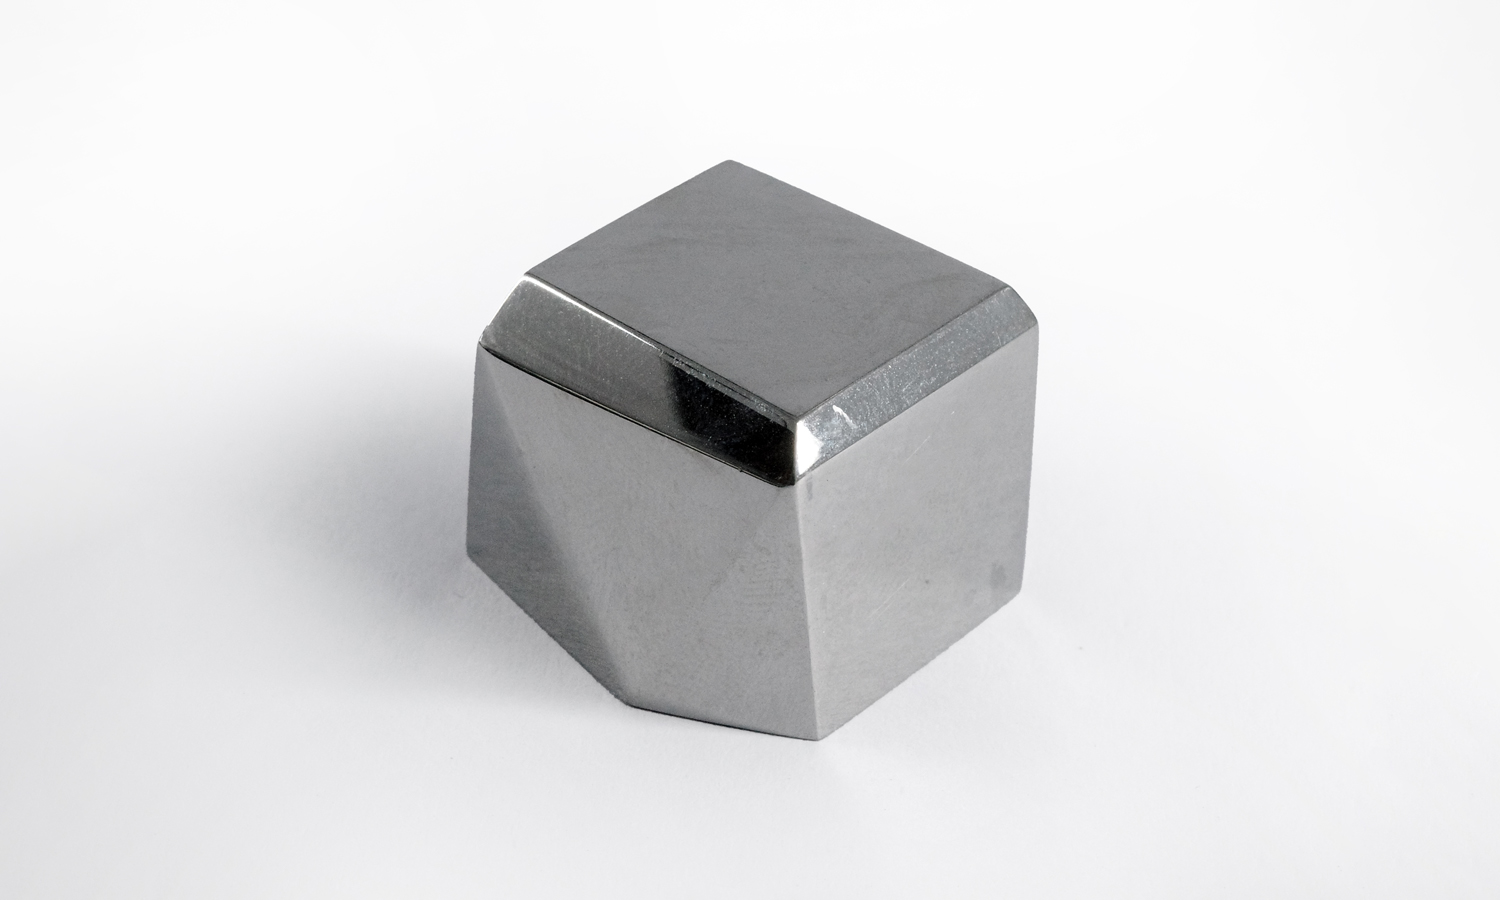
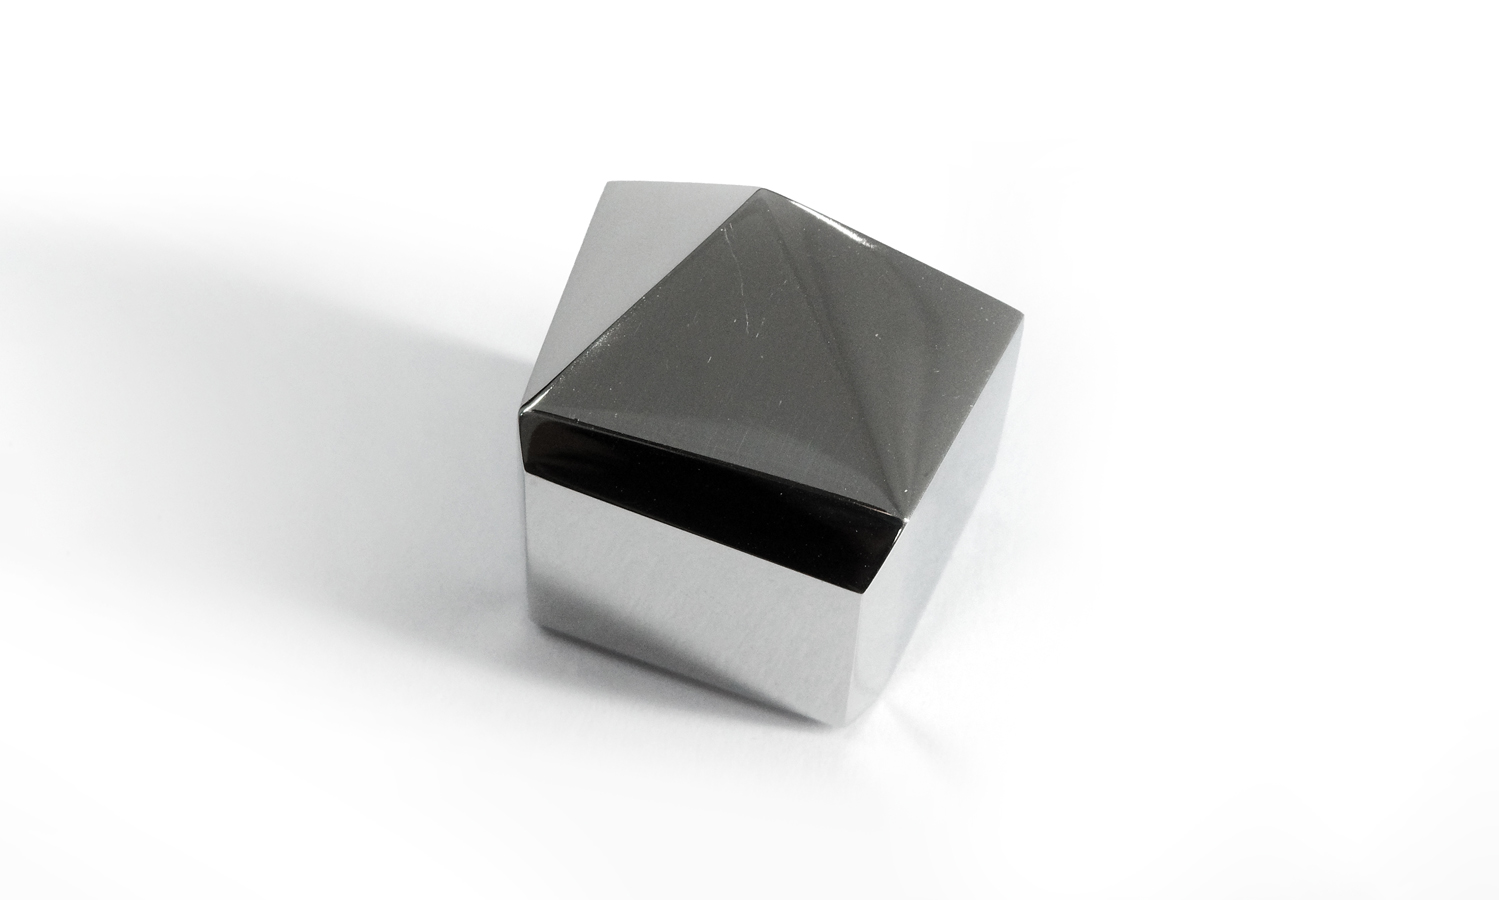
Discover the elegance and functionality of BinderJet 3D Printed and Polished Polyhedral Decoration Nuts. These nuts, featuring a geometric polyhedral front and a hexagonal back with a circular inner cavity, are designed to cover the ends of mechanical components, bolts, and other structural elements, providing a clean, finished look.
Ideal for various applications, including automotive, machinery, furniture, and architectural designs, these decorative nuts not only enhance aesthetics but also add a touch of sophistication. Their polished, reflective surface ensures they stand out in any assembly.
Choose FacFox’s metal 3D printing services for precision and quality. With advanced technology and expert craftsmanship, FacFox brings your designs to life with unparalleled detail and finish. Elevate your projects today with the refined touch of Polyhedral Decoration Nuts. Transform your designs and make a statement!
Solution
- Step 1: 3D Model Creation. A detailed 3D model of the polyhedral cap was designed using computer-aided design (CAD) software.
- Step 2: 3D Model Slicing. The 3D model was sliced into thin layers, each representing a cross-section of the final part.
- Step 3: Powder Bed Preparation. A thin layer of metal powder was spread evenly across a build plate.
- Step 4: Binder Jetting. A binder jetting head, equipped with multiple nozzles, selectively deposited a liquid binder onto the powder bed, adhering the powder particles together to form the shape of the first layer.
- Step 5: Powder Removal and Curing. Excess powder was removed from the partially built part, and the part was cured to solidify the binder and the metal powder.
- Step 6: Layer-by-Layer Build-up. Steps 3, 4, and 5 were repeated, layer by layer, until the entire part was built.
- Step 7: Debinding. The part was subjected to a debinding process to remove the binder, leaving behind a porous metal structure.
- Step 8: Sintering. The part was sintered in a high-temperature furnace to fuse the metal powder particles together, creating a solid, dense metal part.
- Step 9: Polishing. The part was polished to achieve a smooth, reflective surface and enhance its aesthetic appeal.
- Step 10: Quality Inspection. The finished part was inspected to ensure it met quality standards and specifications.
